
|
|
|
#1
 03-11-2011, 01:43 PM
|
|||||
|
|||||
|
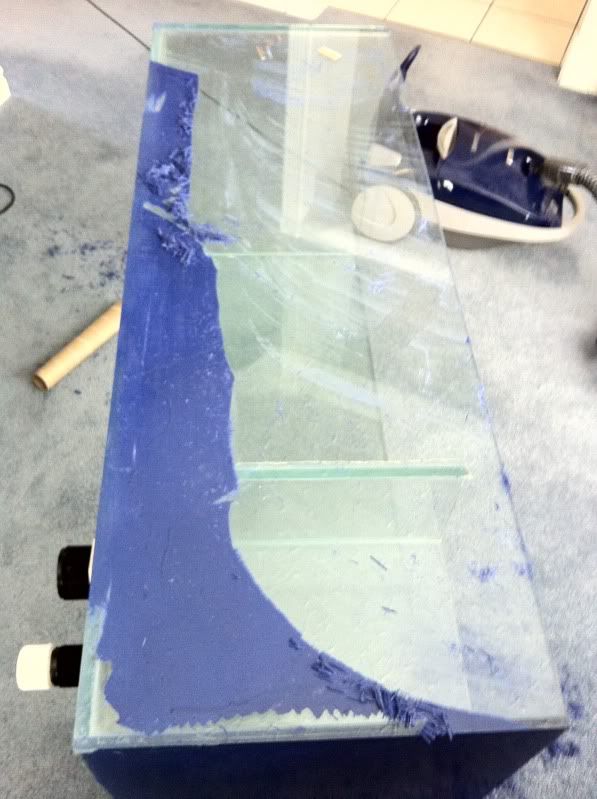
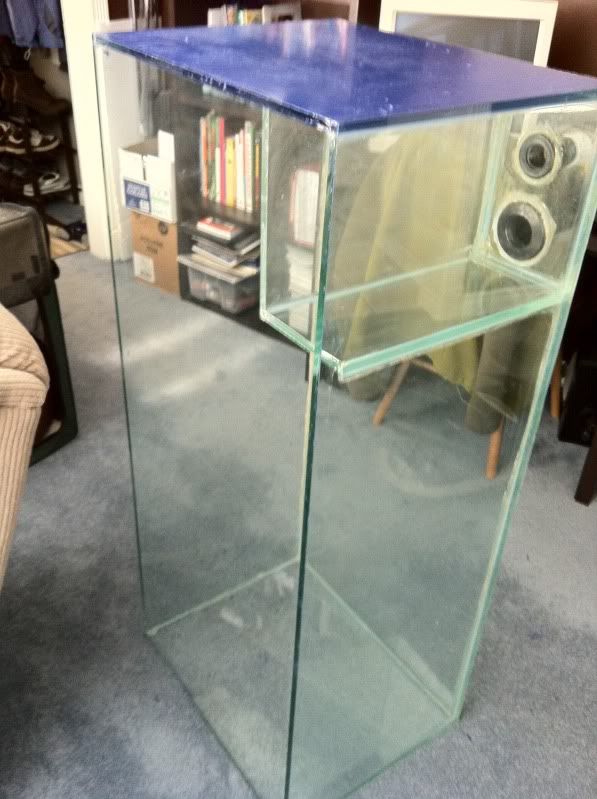
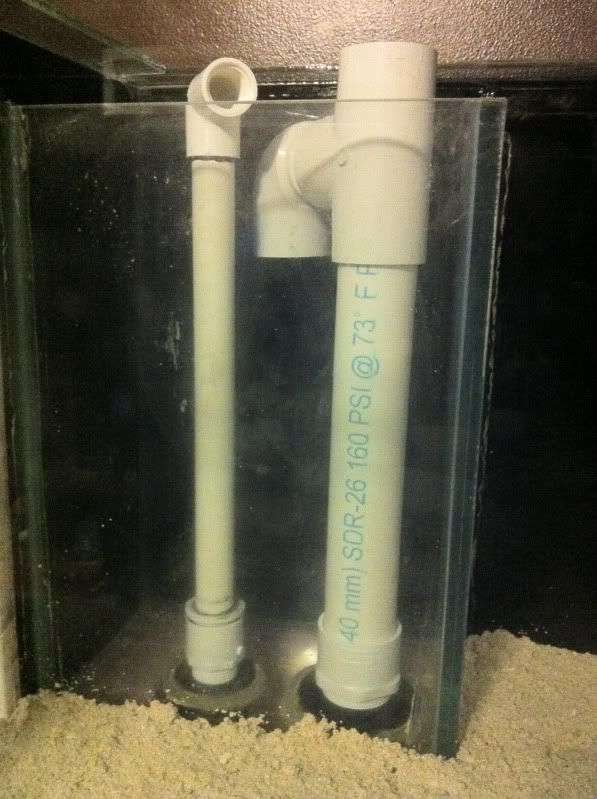
I picked this tank up today in Calgary, I figure it about 80G. The tank is 48.5"L x 22"D x 17"H with a left corner overflow, 1.5" drain and a 1" return. I am still unsure on equipment, I would like to go MH or LED for lighting, tunze 1262 return pump, and I am not sure about dual MP10W ES or MP40W ES. I think for the money spent I will see better results with the 10's but for right now its going to be pieced together slowly.
Here is how it looked after Mike & I got it in the house. 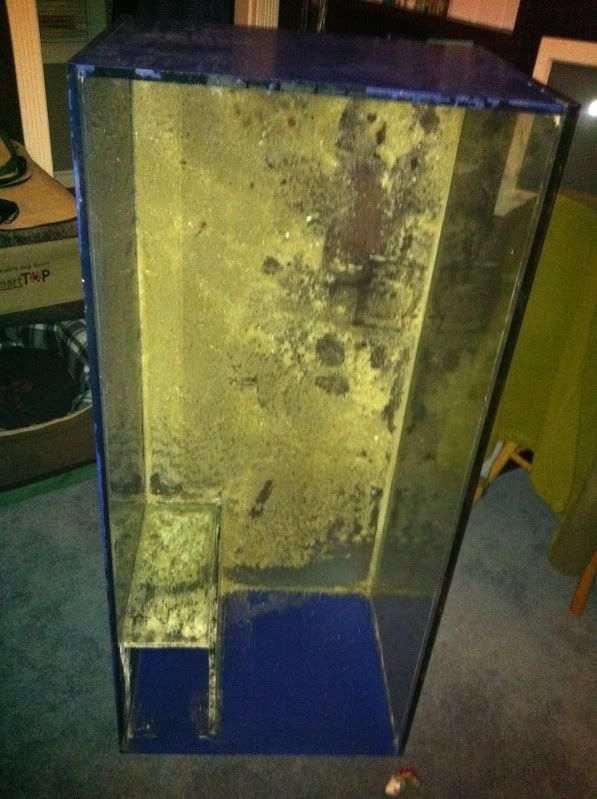 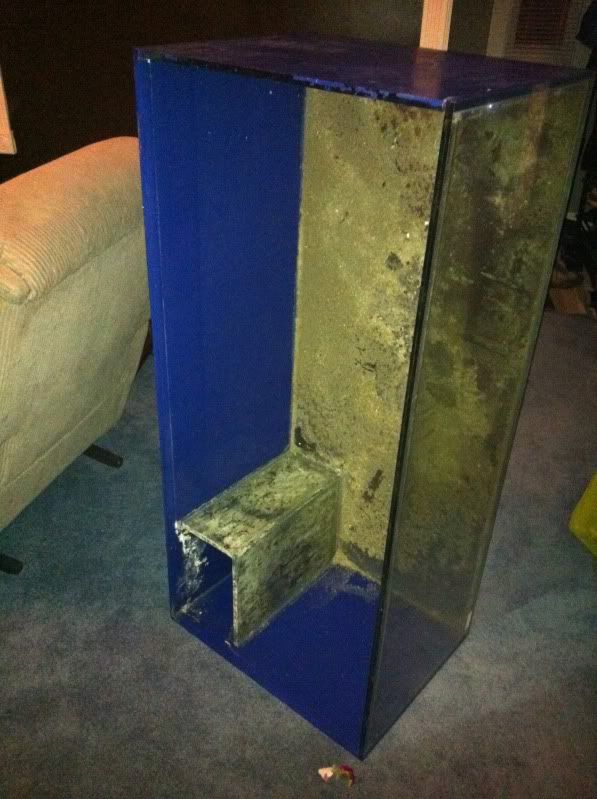 I wasted no time in cleaning this thing up. Step One take off paint on sides. 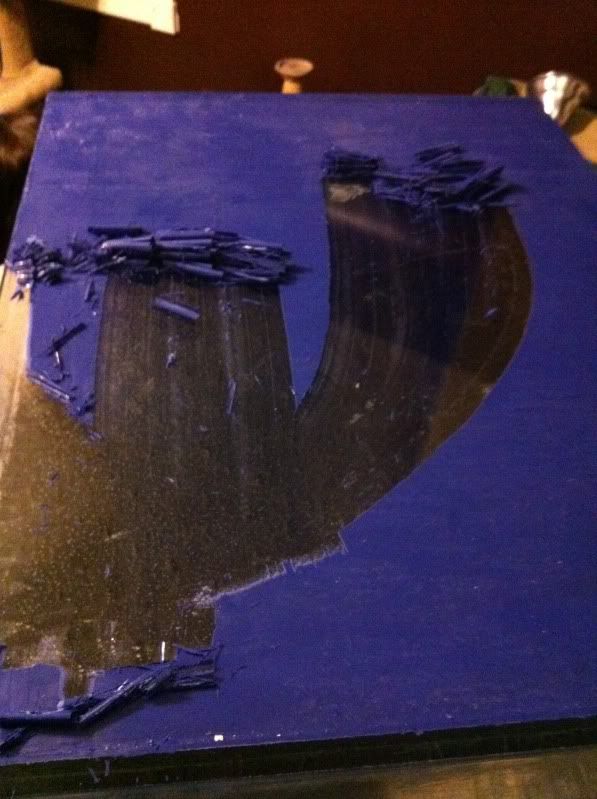 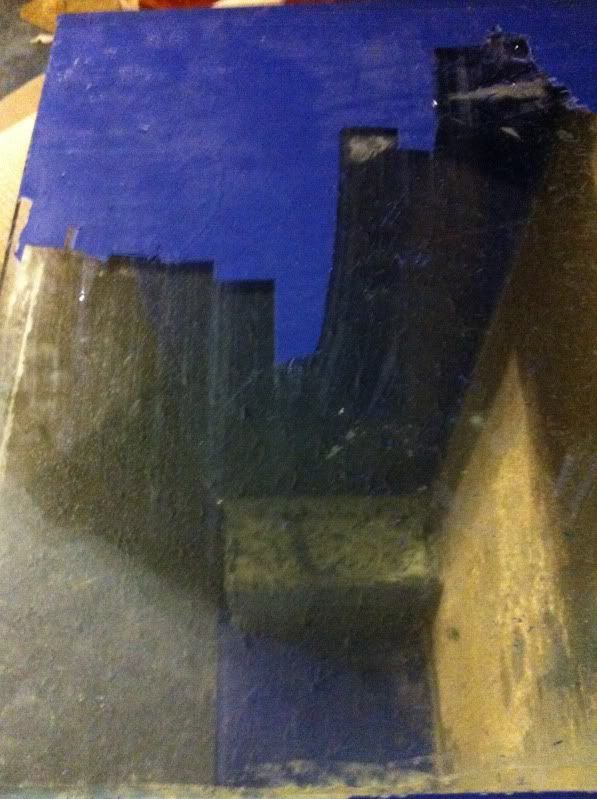 Step Two take off the substrate stuck on the bottom 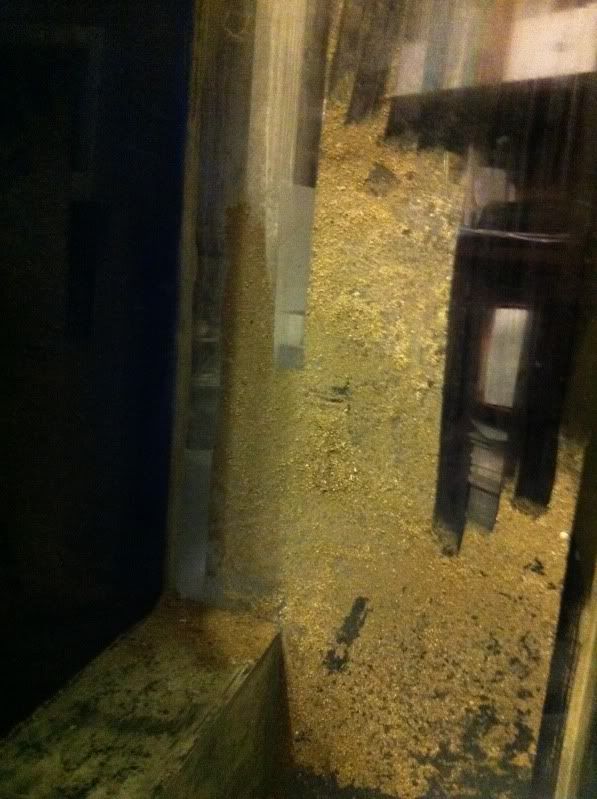 And here is how it looks after a quick wipe down. 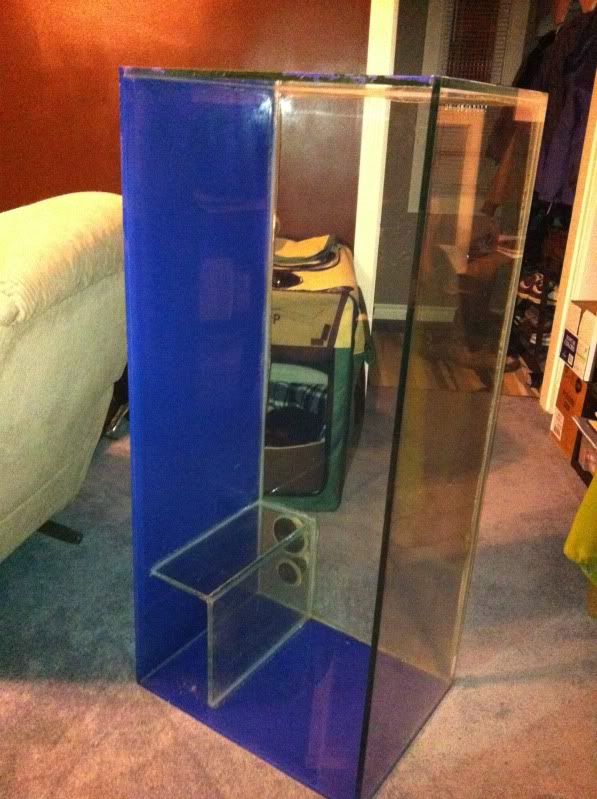
__________________
Ryan 
|
|
#3
03-11-2011, 01:44 PM
|
|||||
|
|||||
|
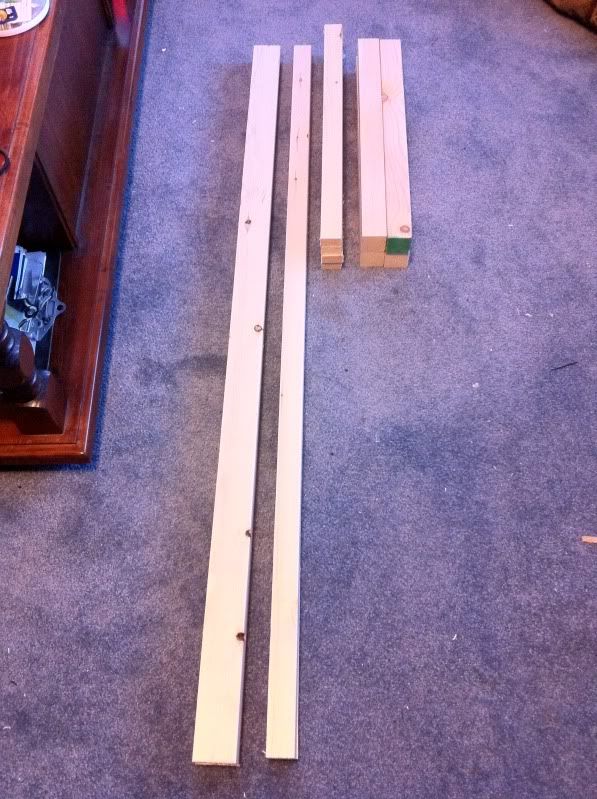
Well after a trip to Home Depot, an agonizing weight at the till because they thought I was lieing how many pieces of lumber there was and the guy in that section on break here is the raw product.
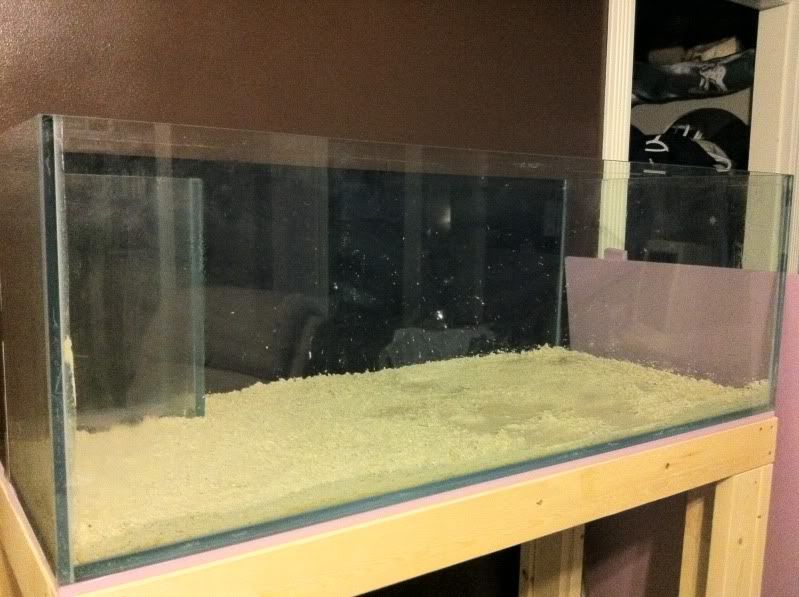
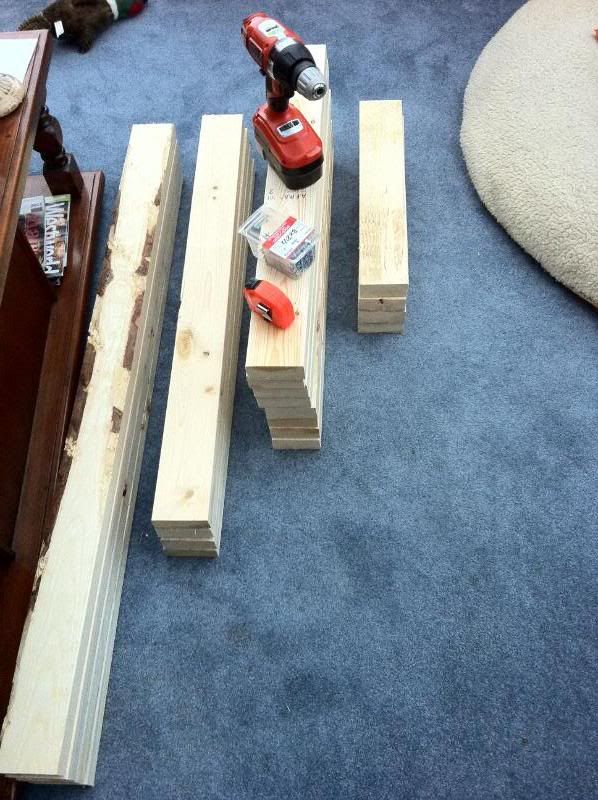 Piecing it together. 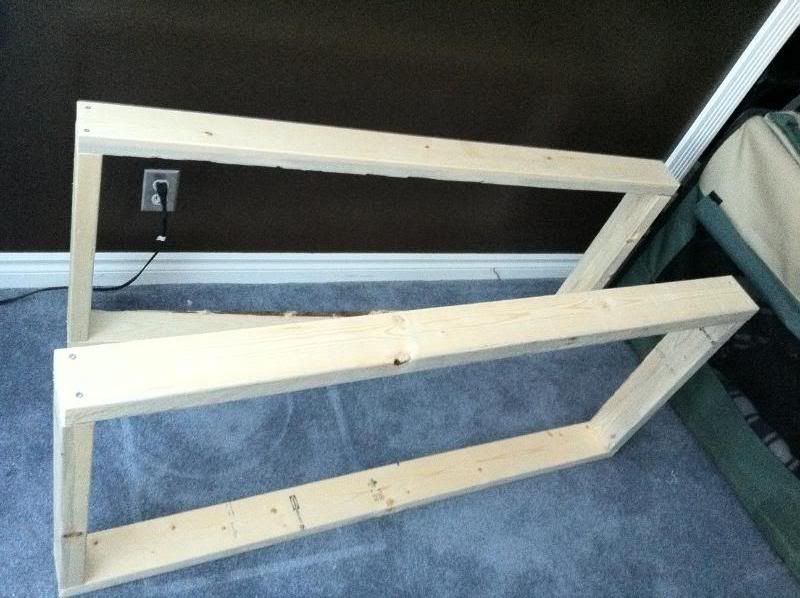  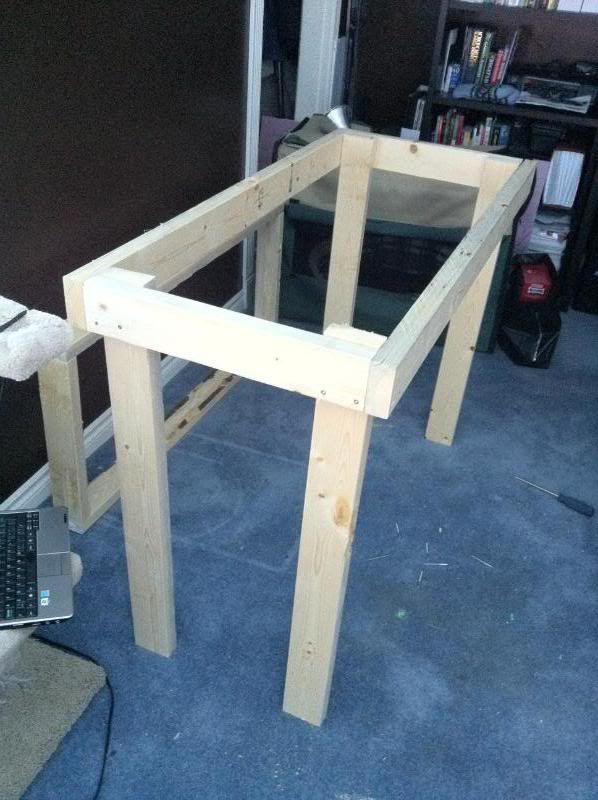 All finished 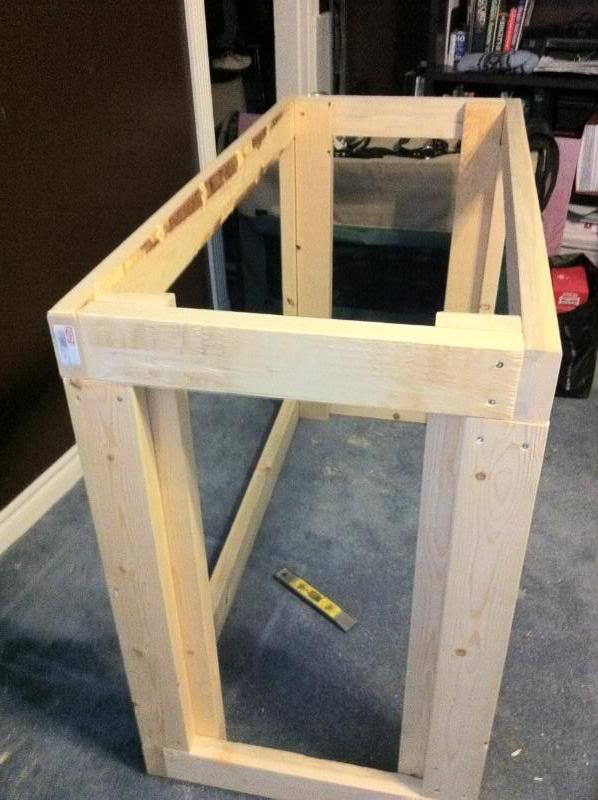 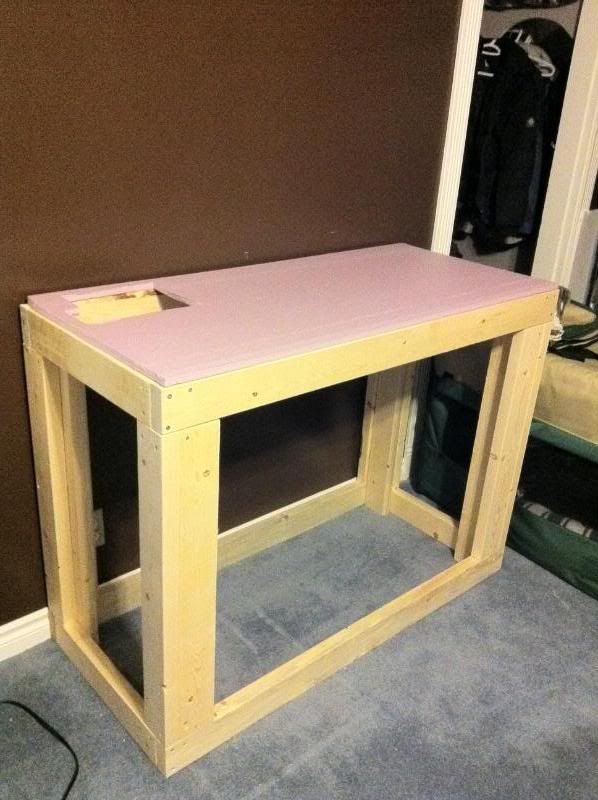 On the stand 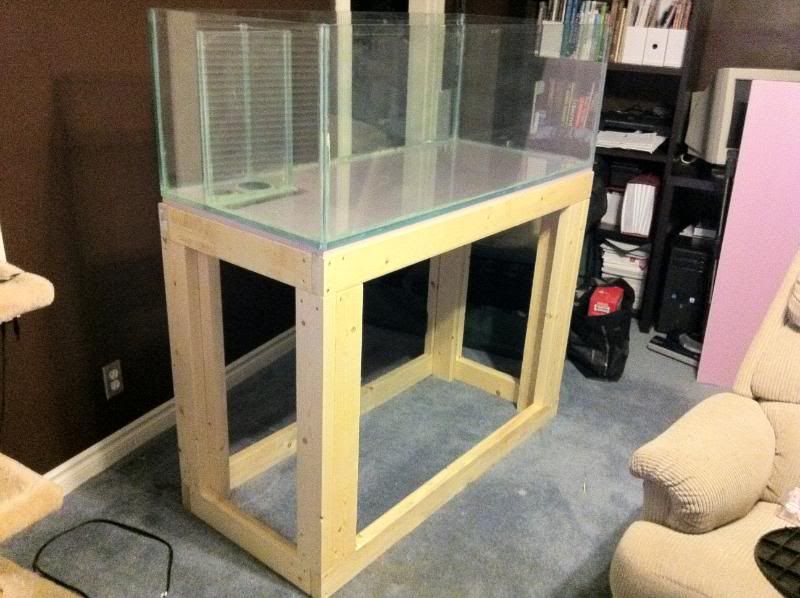 Painting the back 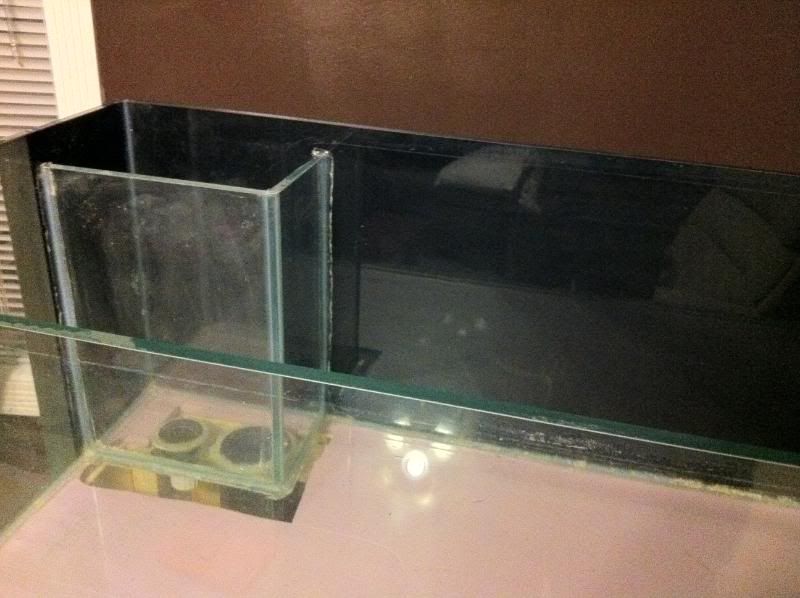 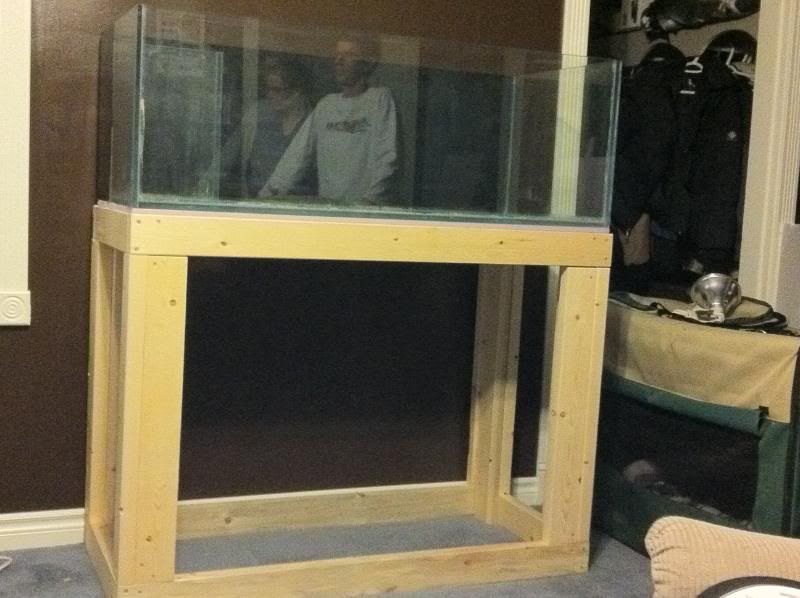
__________________
Ryan
|
|
#5
03-11-2011, 01:46 PM
|
|||||
|
|||||
|
Well not much going on today. Secured the power bar to the stand and..... plugged it in.
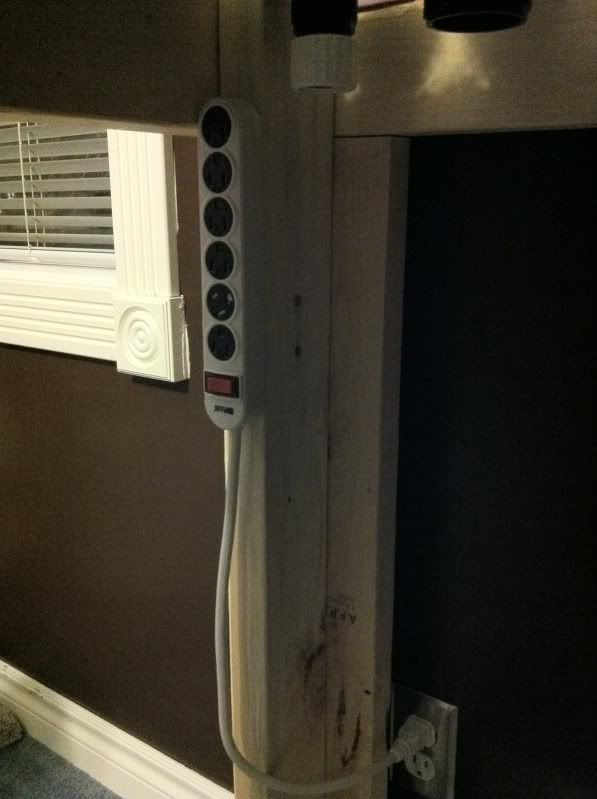 Oh and I ordered glass for the euro-brace. After some consultation from Mike and the guys on canreef I got a pretty good idea on how I am going to do my canopy. BTW anyone got a source on some cheap quiet fans that plug into the wall?
__________________
Ryan
|
|
#6
03-11-2011, 01:47 PM
|
|||||
|
|||||
|
Well I think I got a design for my sump, I think I will go 36" x 18" x 18". Tell me what you think.
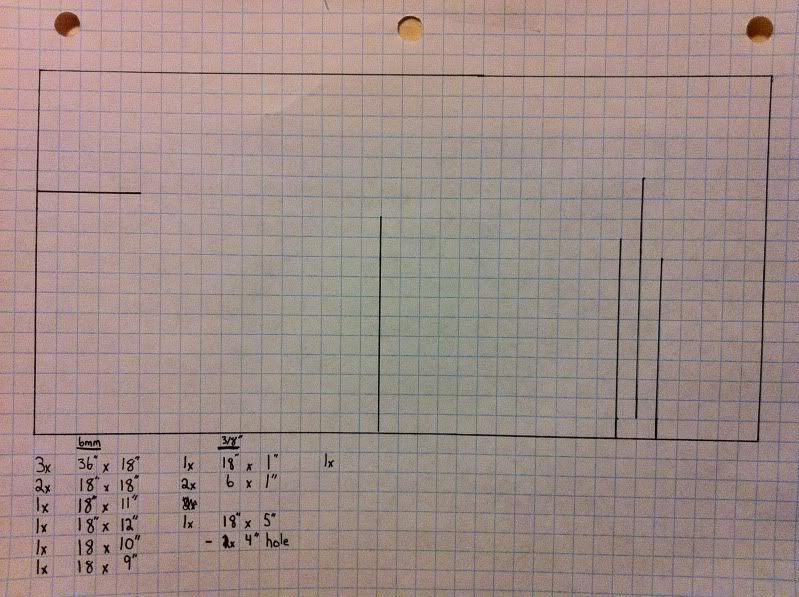 Going from left to right the horizontal line is for a holder for my filter sock. Below is a chamber for my protien skimmer and whatever else I want to put in there (reactors, probes etc.) Next is a frag chamber; this will have a section in the back for mangroves. I am probably going to put in a rack for the mangroves and DIY a tray for substrate. Im still unsure if I want to permanently put in a trough for a DSB for the mangroves. This will mean the frag chamber is 12x12. After that is a set of baffles then the last chamber is a section for the pump and the heaters. BTW each square equals 1".
__________________
Ryan
|
|
#7
03-11-2011, 01:47 PM
|
|||||
|
|||||
|
Another Update!!
Yesterday I got a Quiet One 4000 in next to new condition. I guess it was too big for the previous tank. Thanks again Randy!! Today I spent my lunch hour running around like a chicken with my head cut off looking for plumbing supplies. I think I got all the fittings I need, all thats let is the loc-line so an order from J&L will happen here pretty quick. I also was able to get my glass cut for my euro brace and blocks for the stand to sit on. Big thanks to Scott for grabbing that for me on his way home. So here is everything when I got home. Plumbing 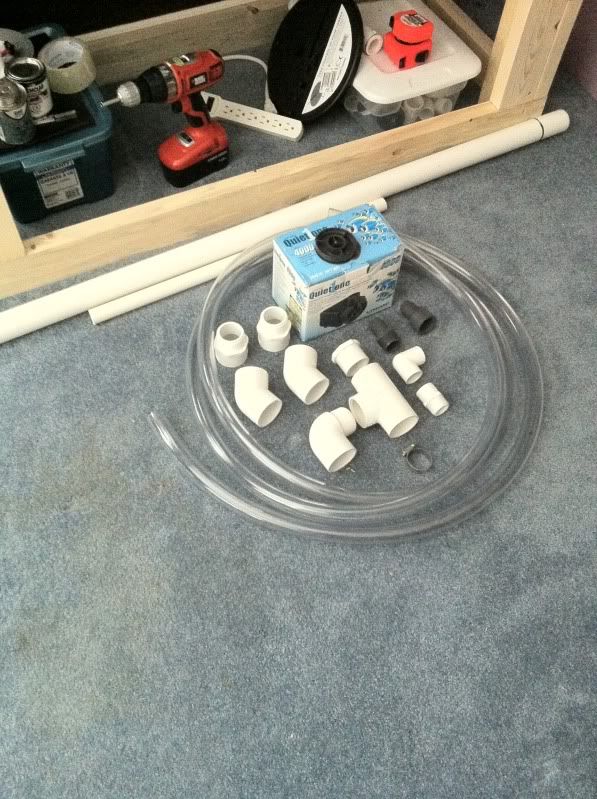 Glass for the Euro Brace 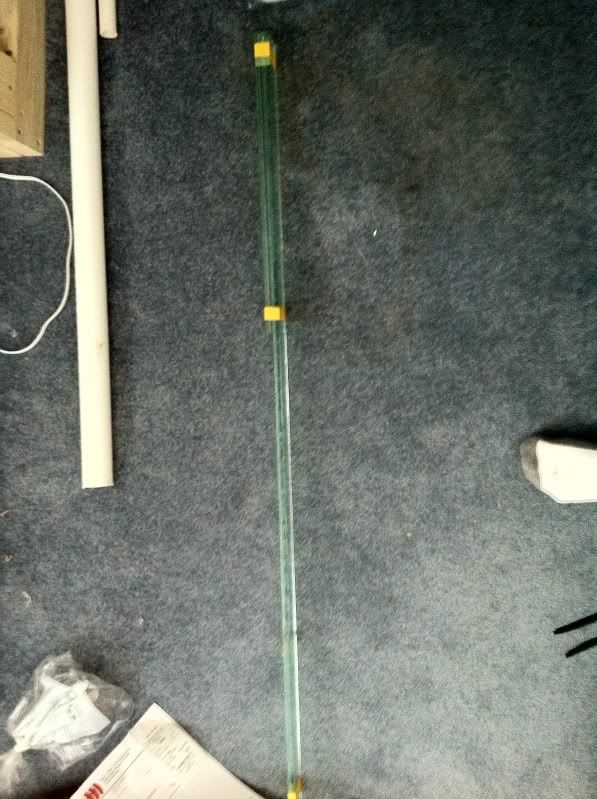 Well apparently I got the glass for the sides too big so I put the glass master to work trimming off a 1/4 inch. 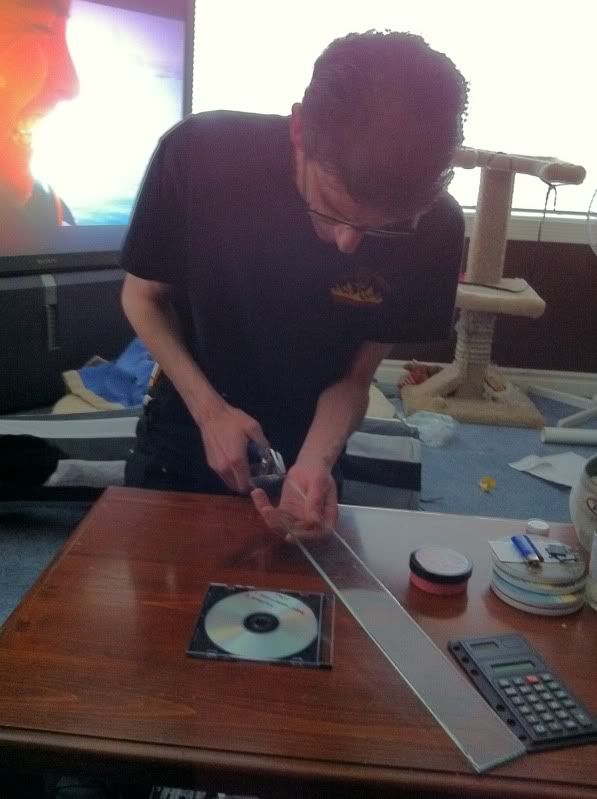 After a trip to TFI for a tube of silicone and a silicone gun, here I am putting down the silicone. 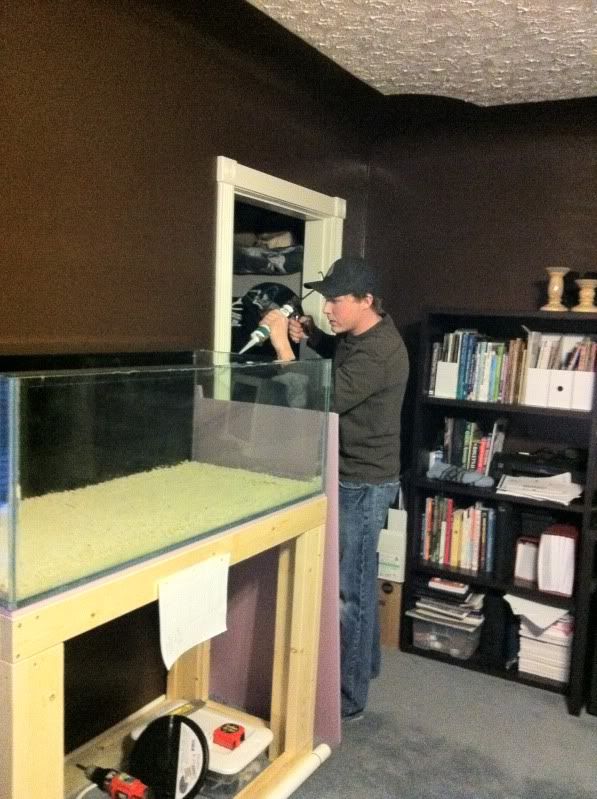 This is what happens when you let the glass Master help you put on the euro brace. 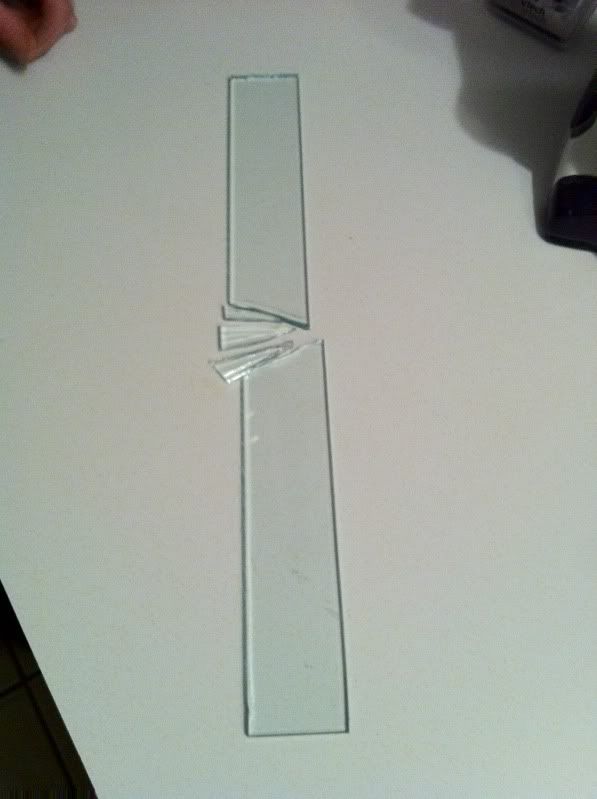 Ofcourse the silicone was on the tank already so he sped off to TFI to get another brace cut and get the blocks for the stand cut. 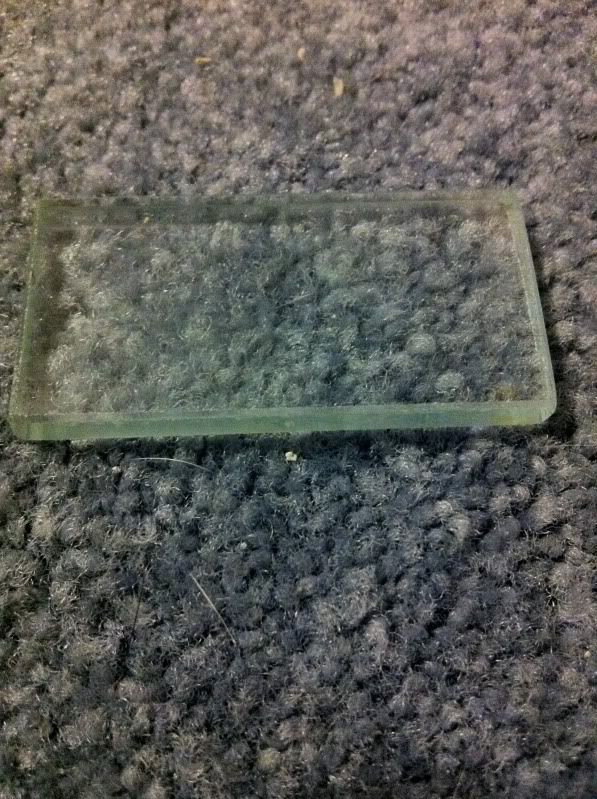 Add 2 beads of silicone 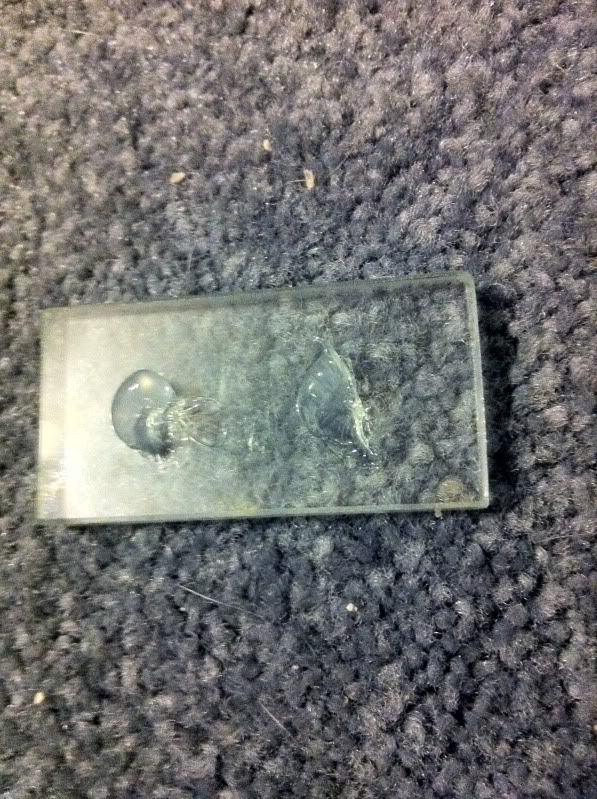 Press onto Euro brace and you have a block that will keep my canopy frame off the bracing and water so it wont get wet. 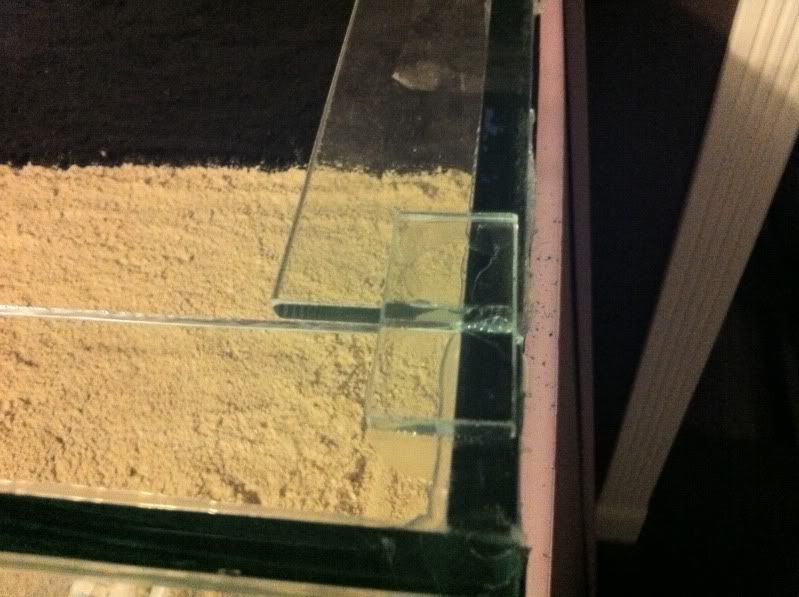 The almost finished product. I am going to trim the excess silicone tomorrow evening. 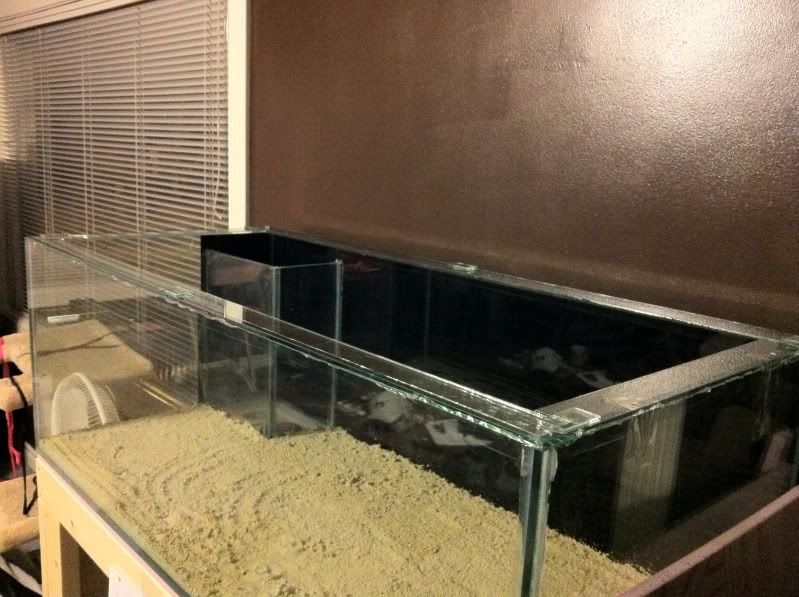 I havent tried the plumbing yet but the night is young 
__________________
Ryan
|
|
#9
03-13-2011, 05:20 PM
|
|||||
|
|||||
|
Alright well another bunch of updates but where to start?
I got the overflow grate installed and they turned out alright. Im happy with them but I found my 1st mistake. I build the return line to clear the glass part of the overflow without taking into consideration the overflow grate. Ofcourse its glued already so I had to build a new one. DOH!  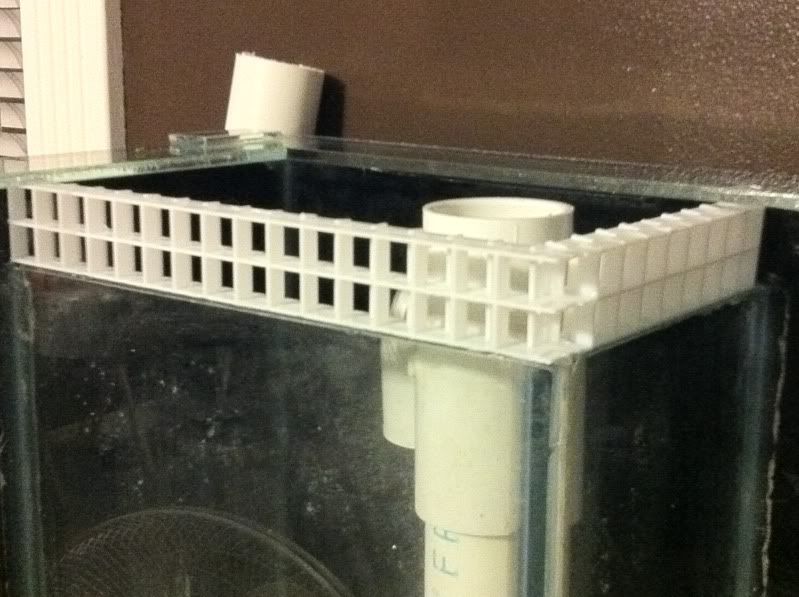 Next I found a take I can use as a sump. So yesterday I went out and got all the glass I needed to make the baffles. Unfortunatly I forgot to take a picture of the tank before I ripped the bracing off. 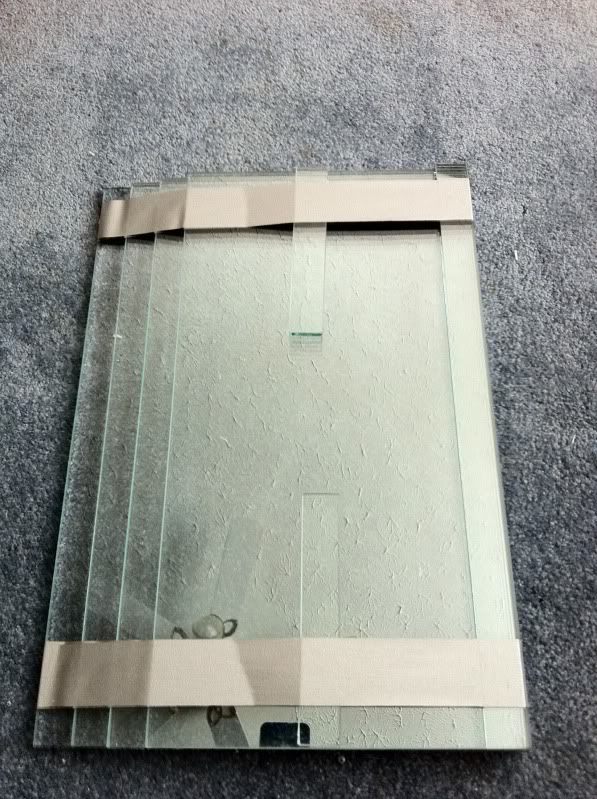 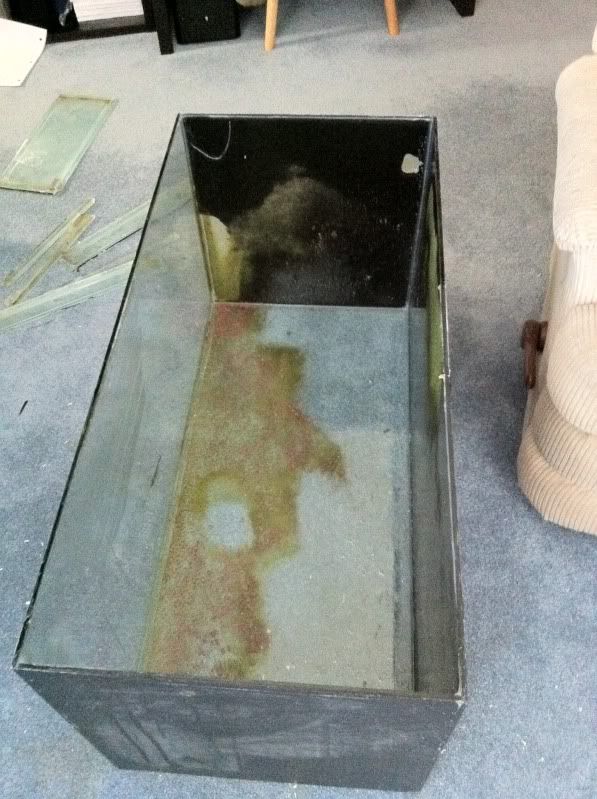 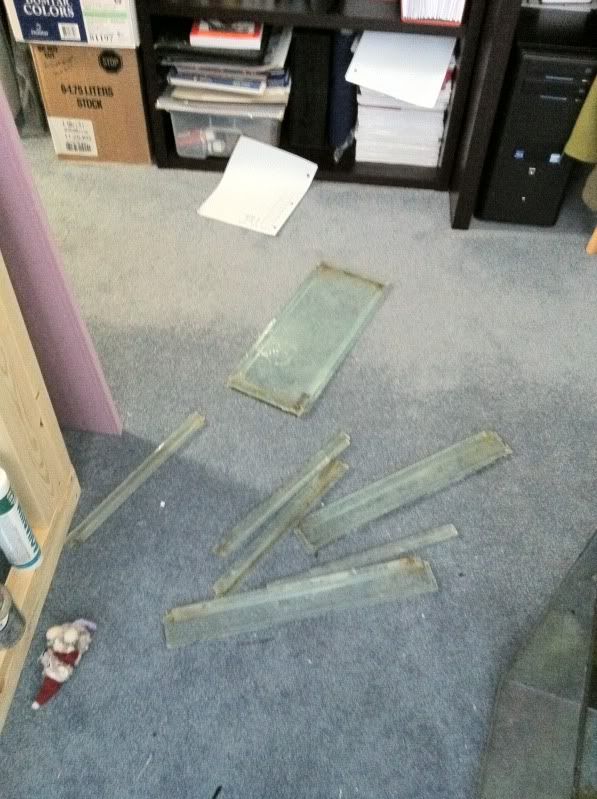 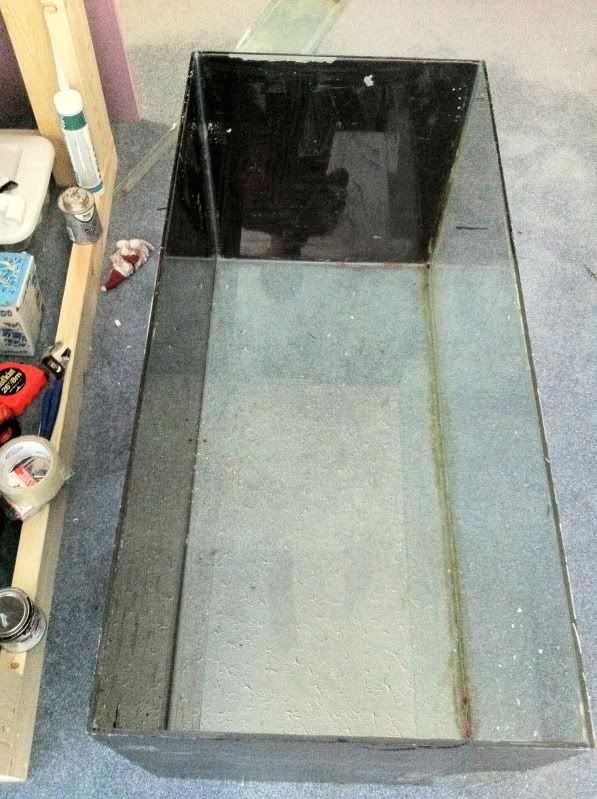 Now that the tank is all cleaned up its time to put in the glass. This will be the shelf my sock holder will sit on. 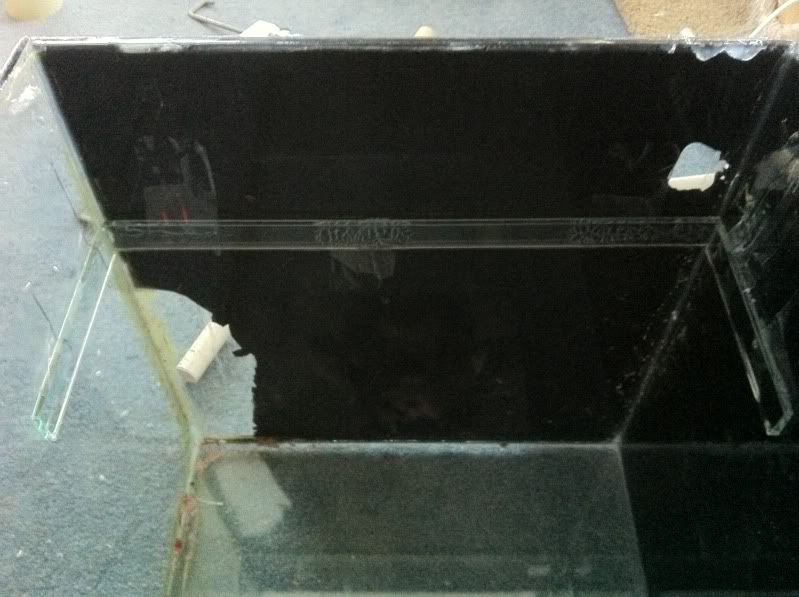 Wall for the frag section and the beginning of the baffles  The completed Sump  Now to cut the hole in the shelf for the filter sock 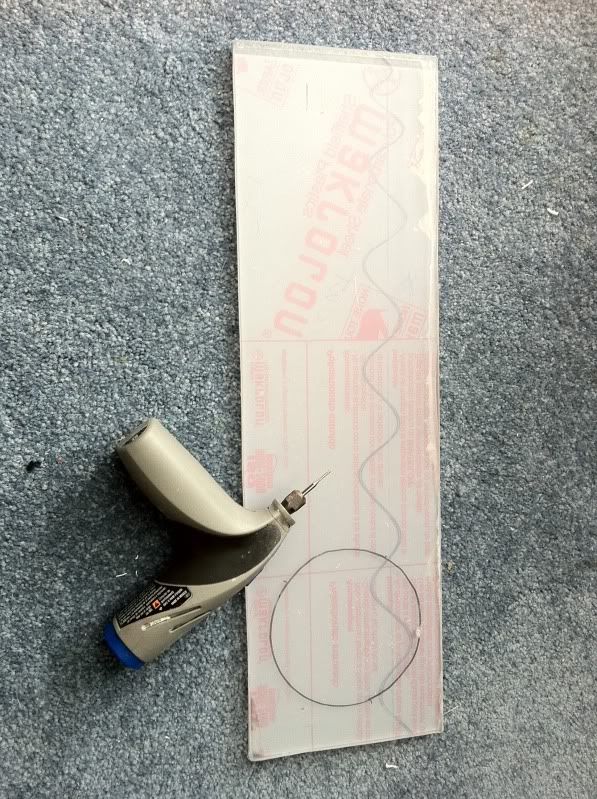
__________________
Ryan
|
|
#10
03-13-2011, 05:25 PM
|
|||||
|
|||||
|
I also got the lumber for the canopy.
 I think I built it a little tall. The Its only 18" high but I think I should have gone 14-16 high.  Next weekend I want to skirt in the stand and canopy with some nicer wood. I plan on staining it dark to match the furniture. Hopfully lastlight will chime in here on this one. I want to use his idea for the stand doors so they slide open. I would like to do the same with the canopy doors as well. What did you use to do this?
__________________
Ryan
|


 Linear Mode

