
|
|
|
#3
 03-11-2011, 01:44 PM
|
|||||
|
|||||
|
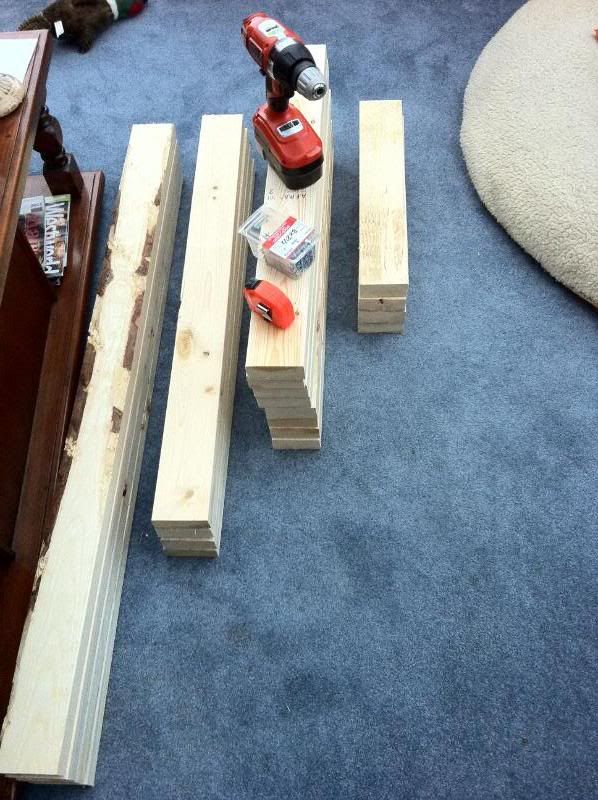
Well after a trip to Home Depot, an agonizing weight at the till because they thought I was lieing how many pieces of lumber there was and the guy in that section on break here is the raw product.
 Piecing it together. 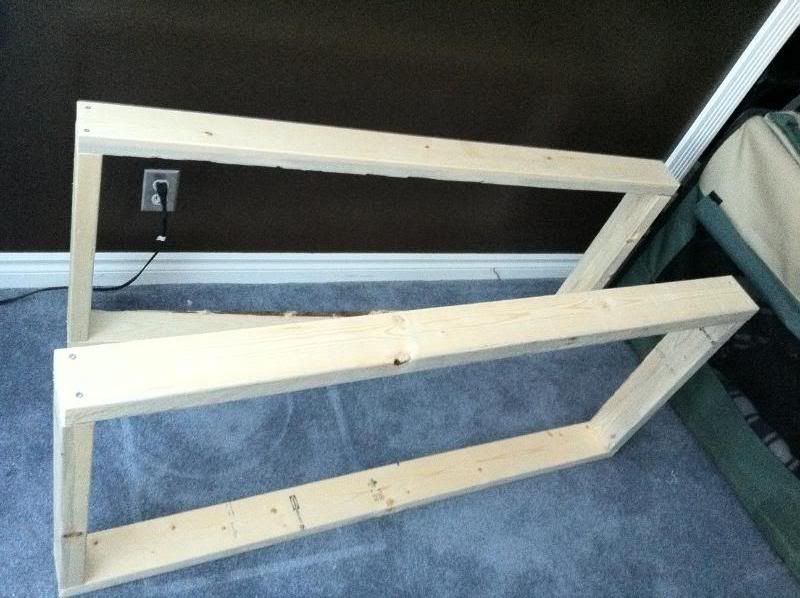  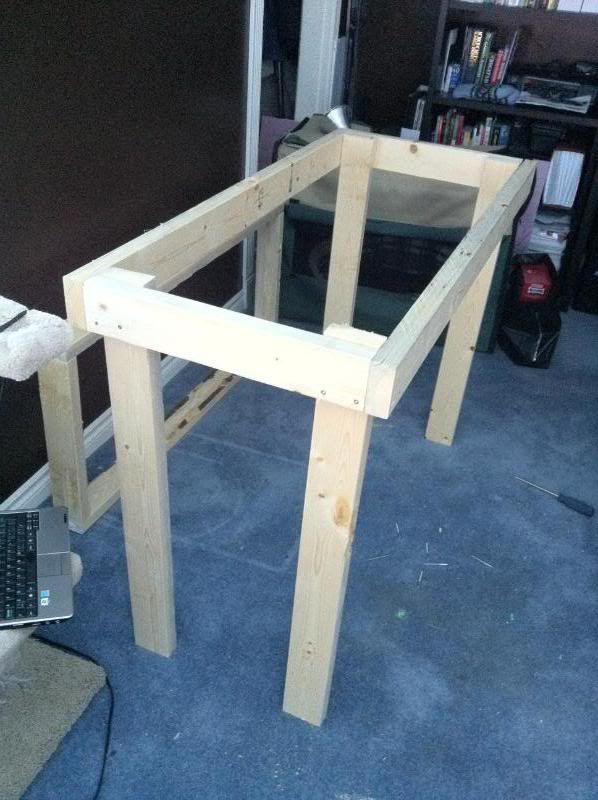 All finished 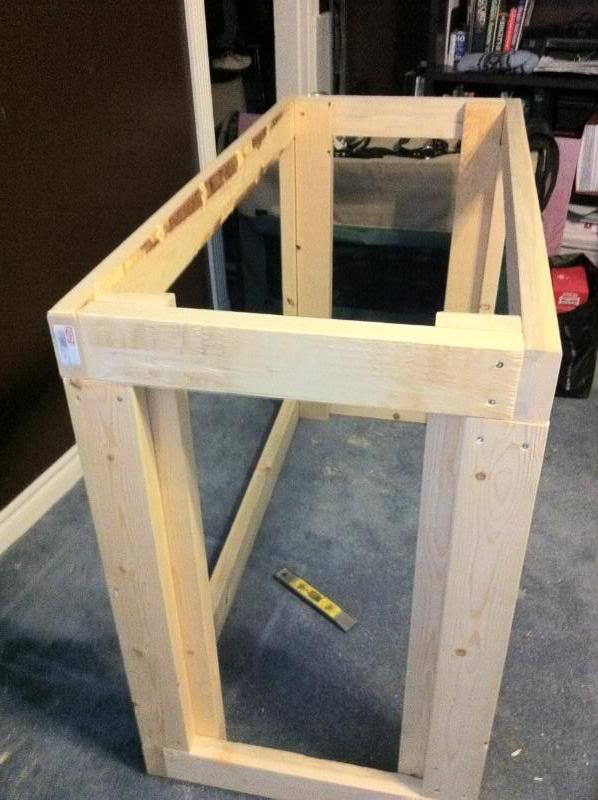 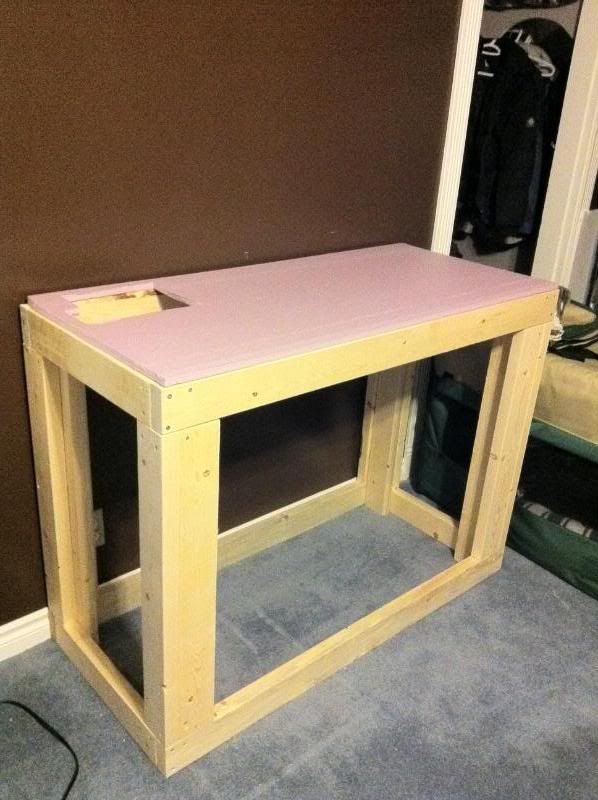 On the stand 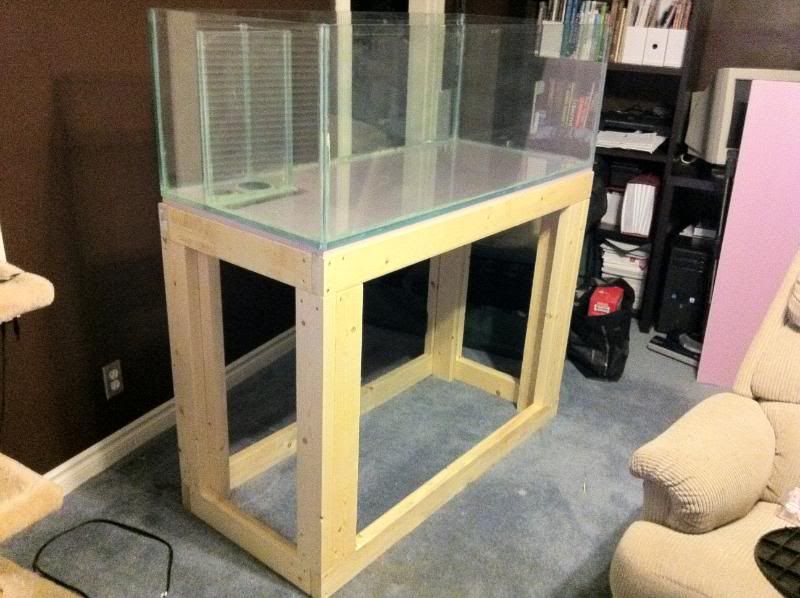 Painting the back 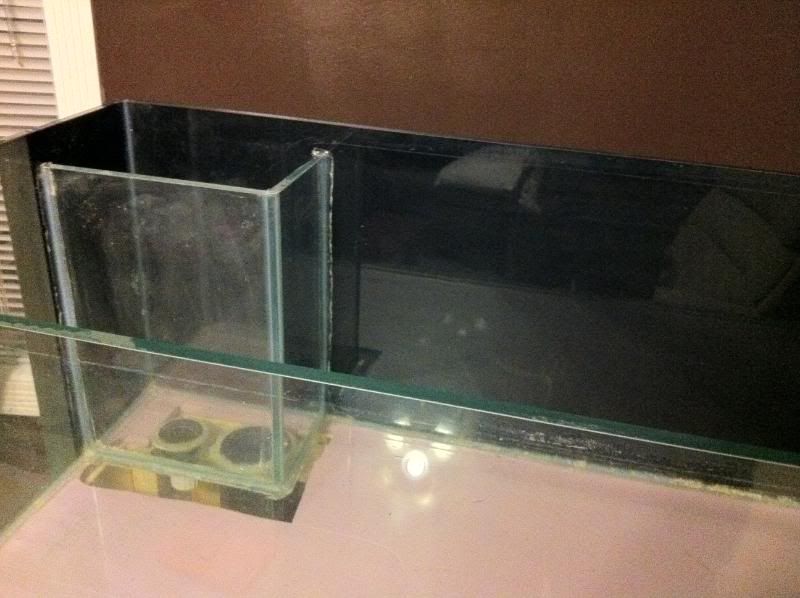 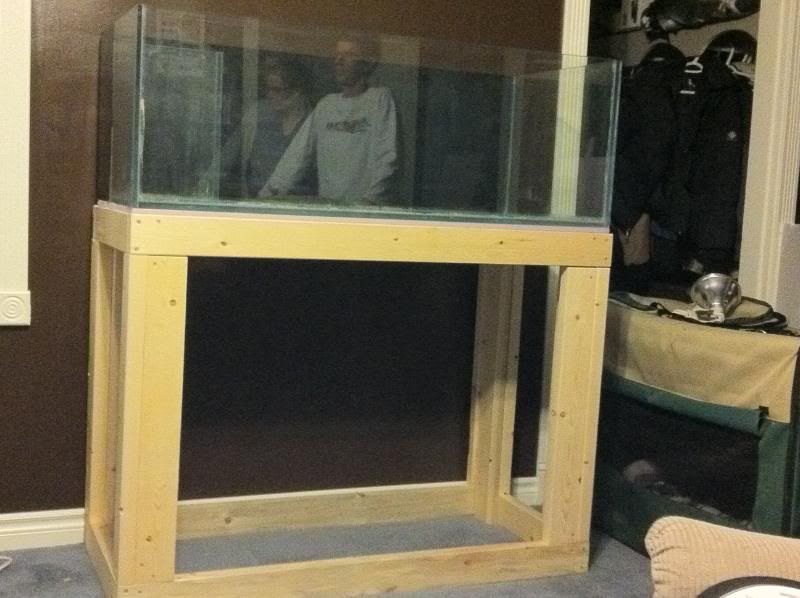
__________________
Ryan 
|


 Threaded Mode