
 |
|
#1
|
|||||
|
|||||
|
Hello Everyone!
After a bunch of planning and research, I have finally began a build I have had in mind for a while now. I've always been a fan of tanks that are located in main areas of a home, becoming the center of attention while having drinks and hanging out. I purchased the townhouse I am currently living in just over a year ago in beautiful Calgary, Alberta! It is my first home purchase and has been a lot of fun over the past year. I first got into the salt-game in 2011 with a 29-gallon tank. This was quickly upgraded to a 125-gallon reef, which was a real learning experience for me. A little over a year after the 125 had been running, I decided to make a few life changes and part of this process included my reef. I sold everything and moved, focusing my time on climbing - ice, rock, and alpine in the beautiful Canadian Rockies!  Luckily my job includes the operation, maintenance, and design of large commercial filtration systems. This would keep me entertained until the reef bug bit again . . . Fast-forward a couple years. Last Christmas, I decided to purchase a small, 10-gallon AIO tank for my girlfriends apartment. I would maintain it, she could enjoy it. It started very simple. Annnd of course that didn’t last long. She moved in with me a couple months later and with her came the tank. The first vision of the “Oceanfront Bar” came to life! 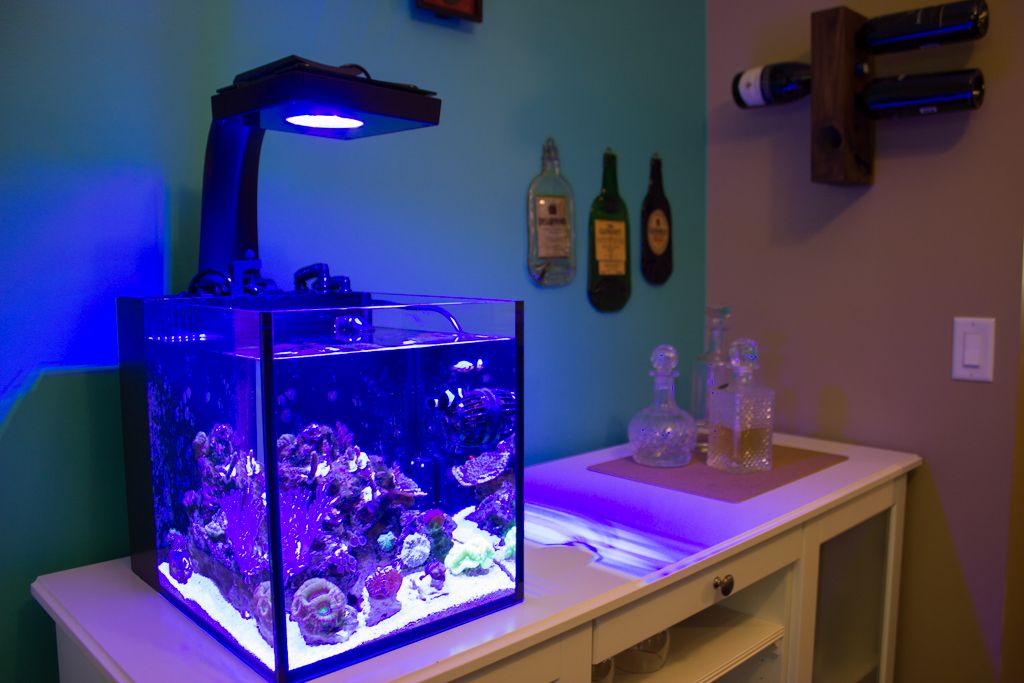 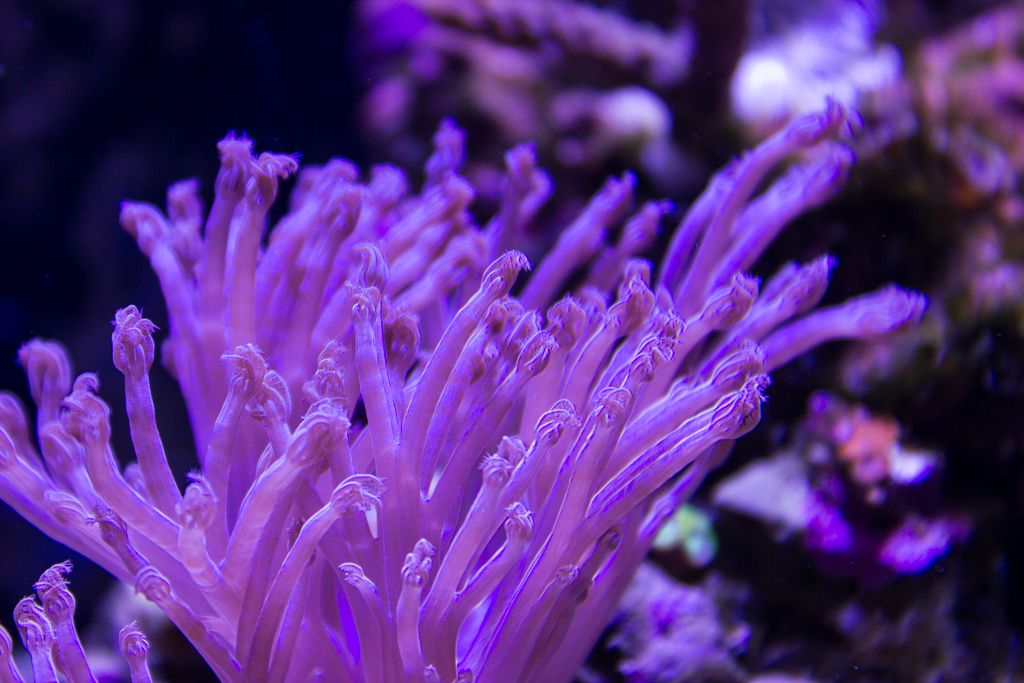 I have been enjoying the challenges of maintaining a nano reef! I swear I spend more time on maintenance now then I used to with my automated 125! Which brings me to one of the major reasons for this upgrade – Stability. I enjoy the nano game and plan on sticking with it. But 10 gallons is SMALL. I’m looking for Small. If that makes any sense. I decided to go with a custom built tank that I could fit to the dimensions of the bar/stand that currently houses the 10-gallon. This stand was actually purchased from IKEA. It fits the space perfectly and the price was right. The doors are both soft-closing which is a nice feature. I did frost the glass myself using a spray on the backside, which actually worked very well. Time will tell how it holds up. 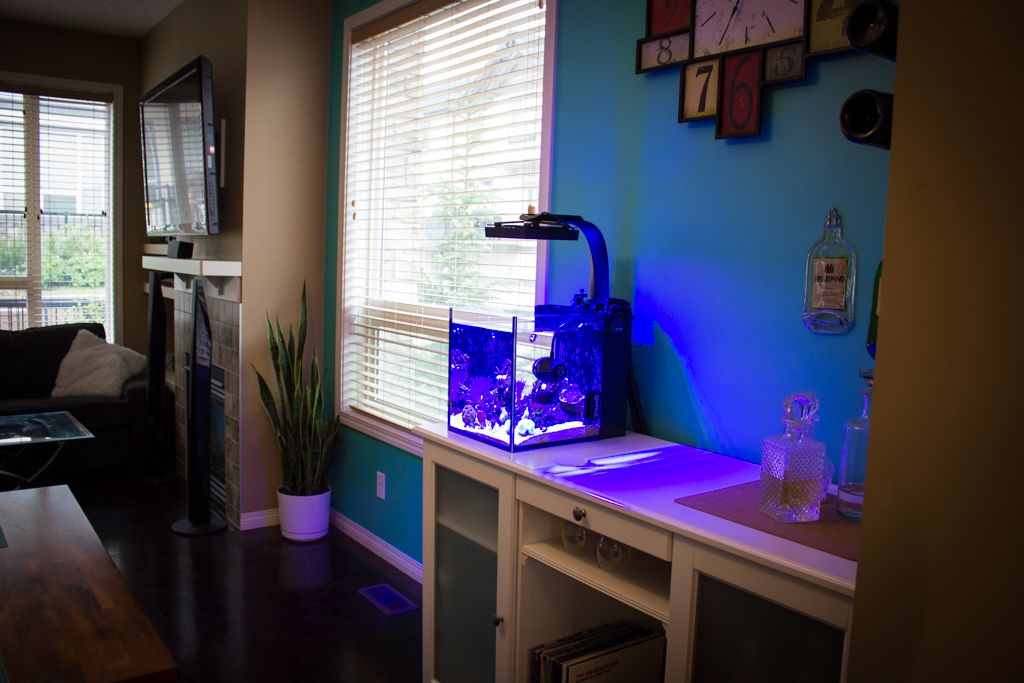 Concept Aquariums here in Calgary are building the display and sump for me. I have worked with them in the past and they are great at what they do along with having very reasonable prices. DISPLAY • 24” L x 18.5” W x 18” H - 35ish Gallons • Starphire on the 3 viewable sides with a starphire, one-piece eurobrace • External coast-to-coast overflow utilizing a bean animal system • Black backing (not pictured) 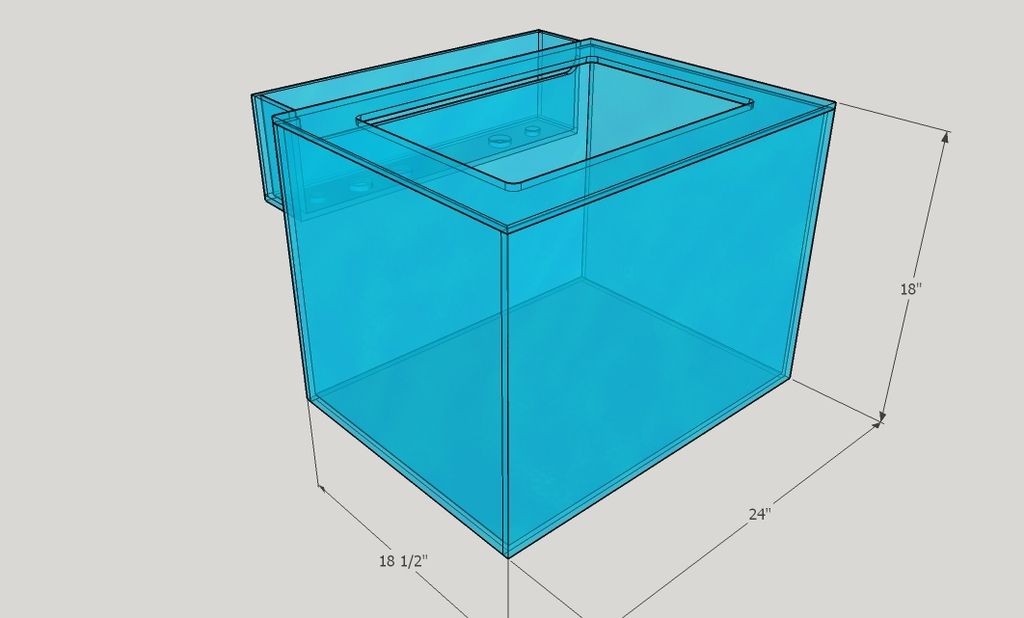 SUMP • 15.5” L x 17” W x 17” H • 4” Filter sock • Skimmer and return compartment • Refugium fed from the return pump 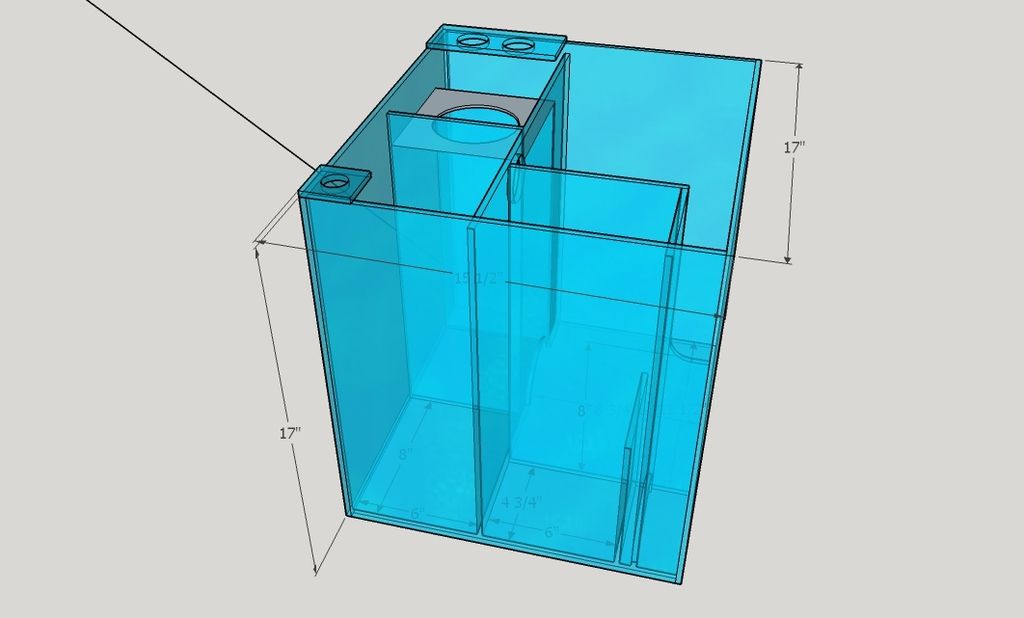 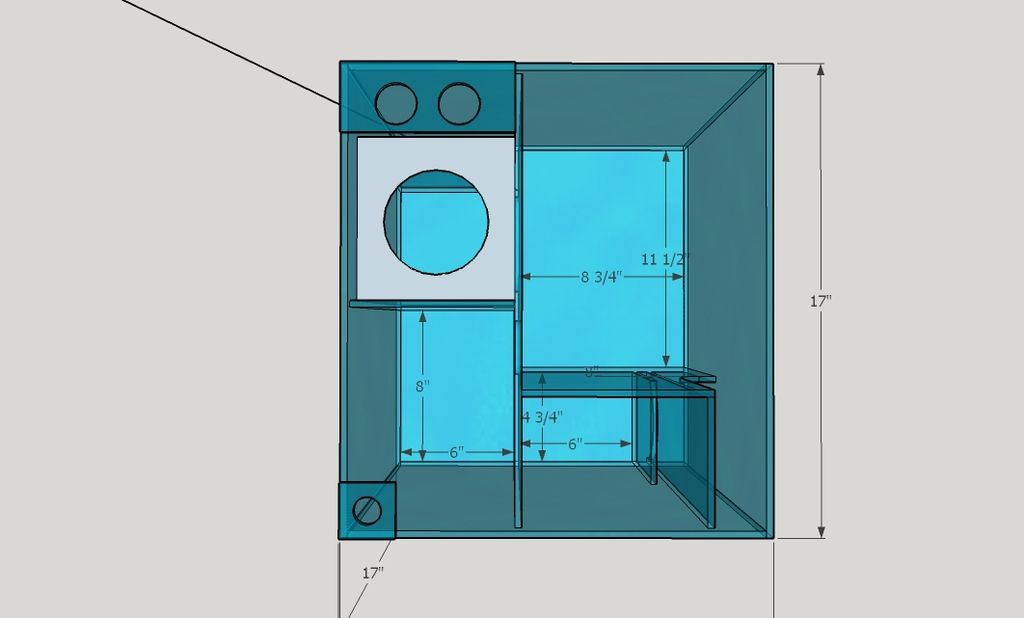 |
|
#2
|
|||||
|
|||||
|
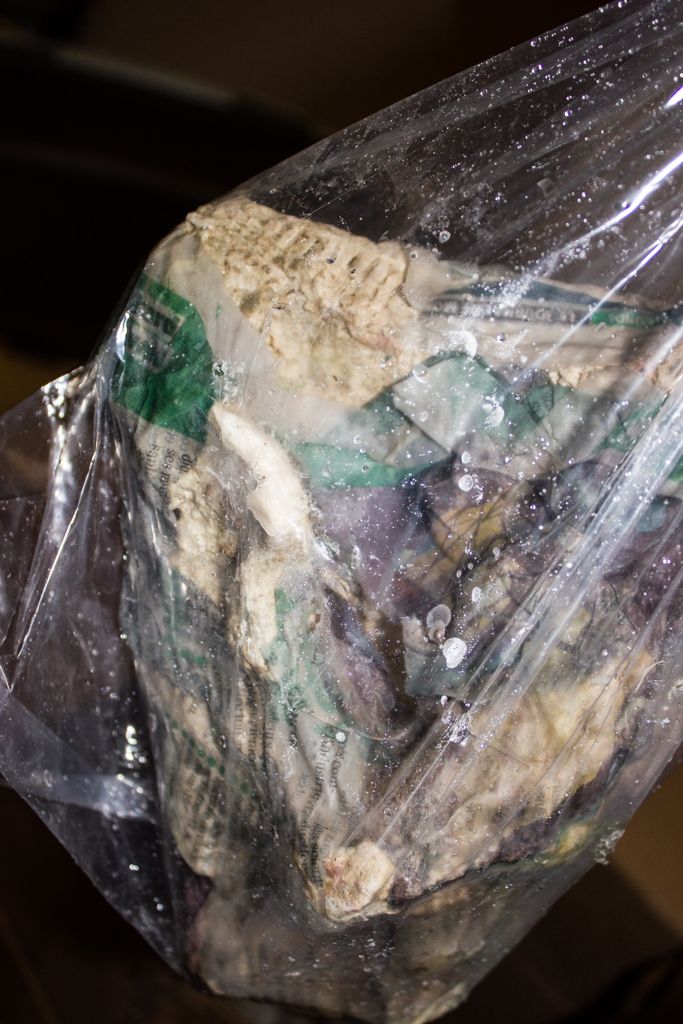
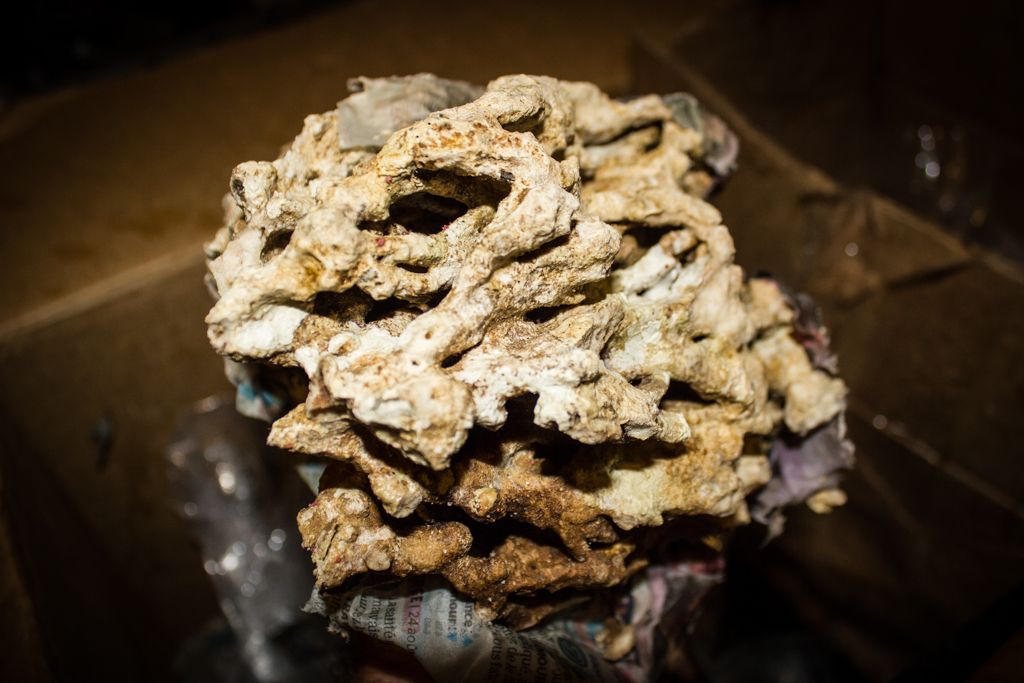
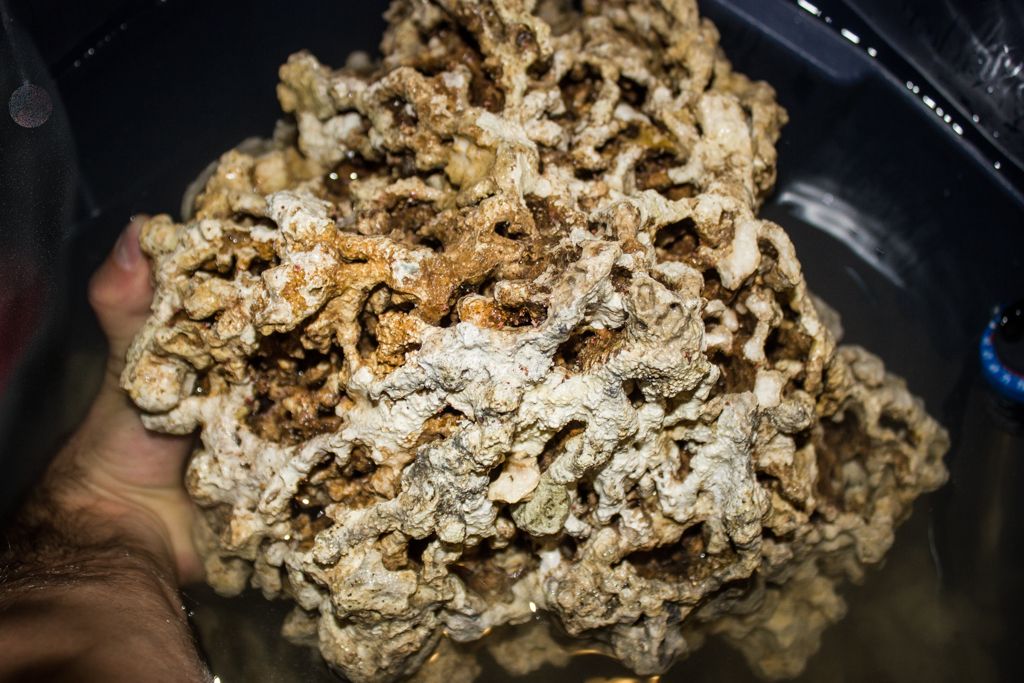
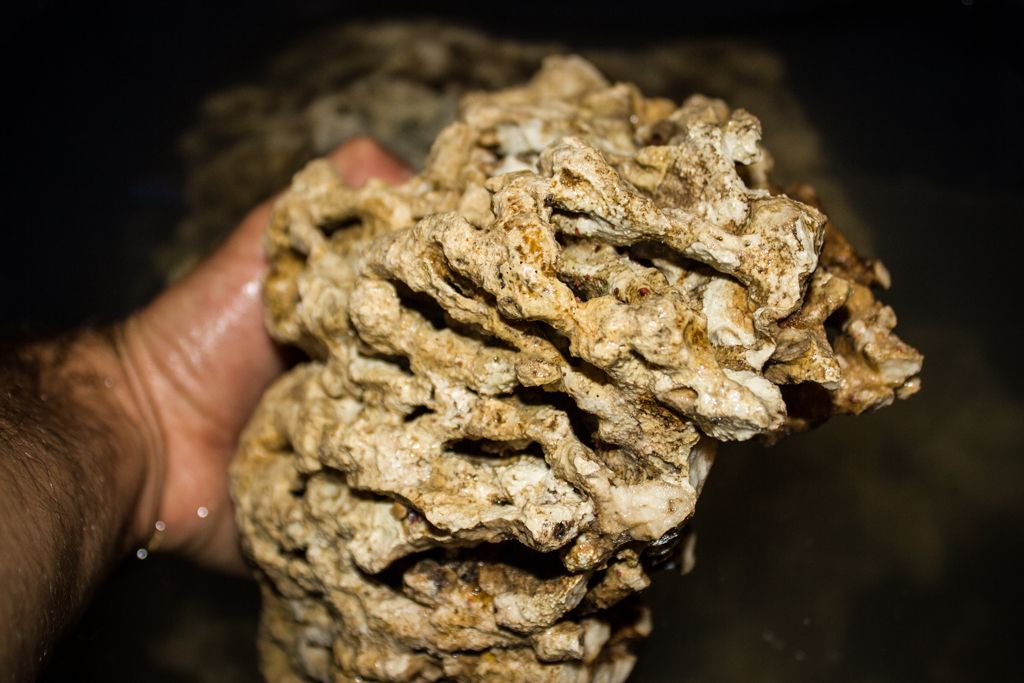
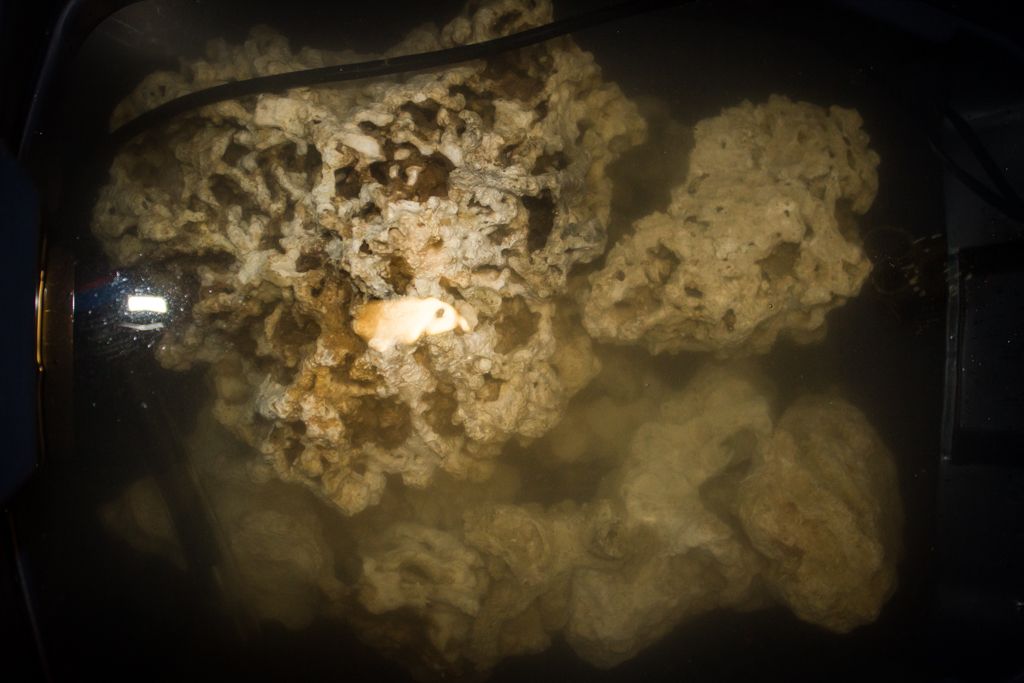
After a bunch of back and fourth I decided to go with Walt Smith Premium Fiji Pukani. I ordered it from ReefSupplies.ca and am very happy with it! There are some seriously awesome pieces in the mix and it came for a great price. I ended up getting 40 lbs and I think I will have a bit left over. I had a bin mixed up and ready for it to hang out in until the tank is ready for it. Check it out!
     |
|
#3
|
|||||
|
|||||
|
While I was waiting for the tank, I spent a bit of time reinforcing my IKEA stand. I secured a piece of 1/2" plywood across the back, using screws and wood glue. I also added four pieces of 2x4 on the bottom of the stand to spread out the weight. Here are a couple pics of the work:
Before: 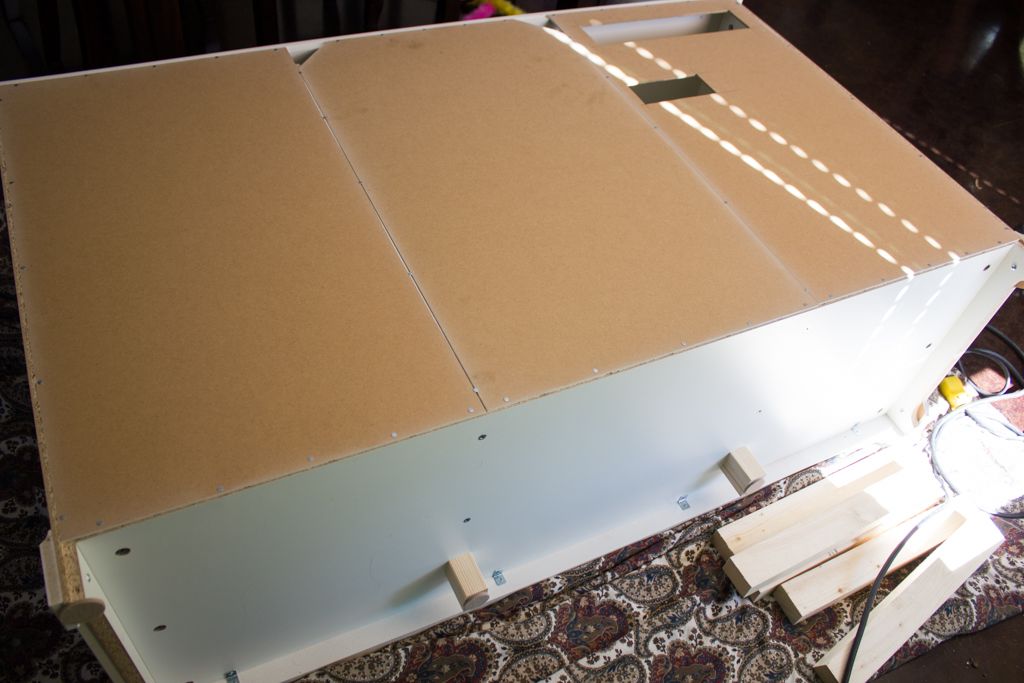 After: 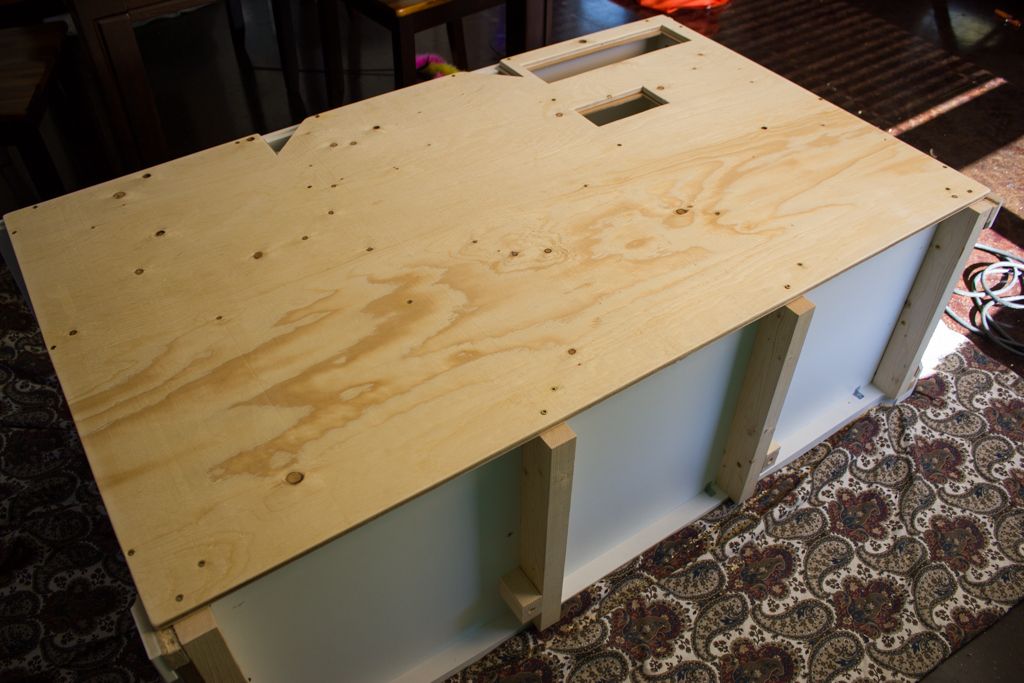 I ended up adding another hole on viewers left of that photo into the back of the 2nd cabinet. This will allow for the reactor plumbing. The back was painted white with Kilz Primer before being put back into place. Well, after what felt like a lifetime, I finally picked up the tank, sump, and protein skimmer! Pics pics pics! 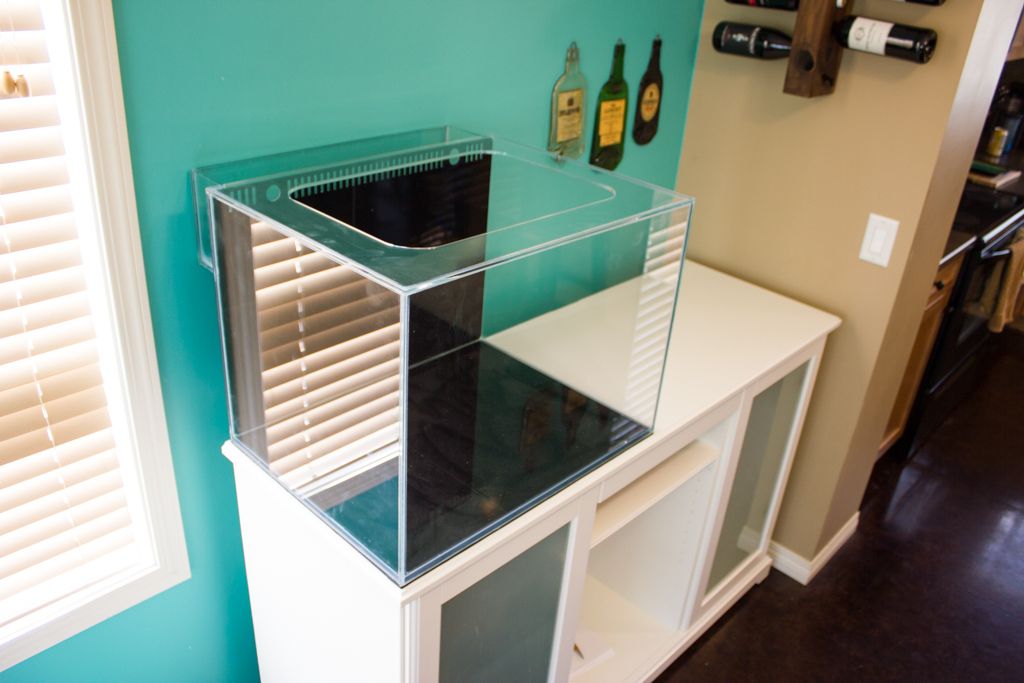 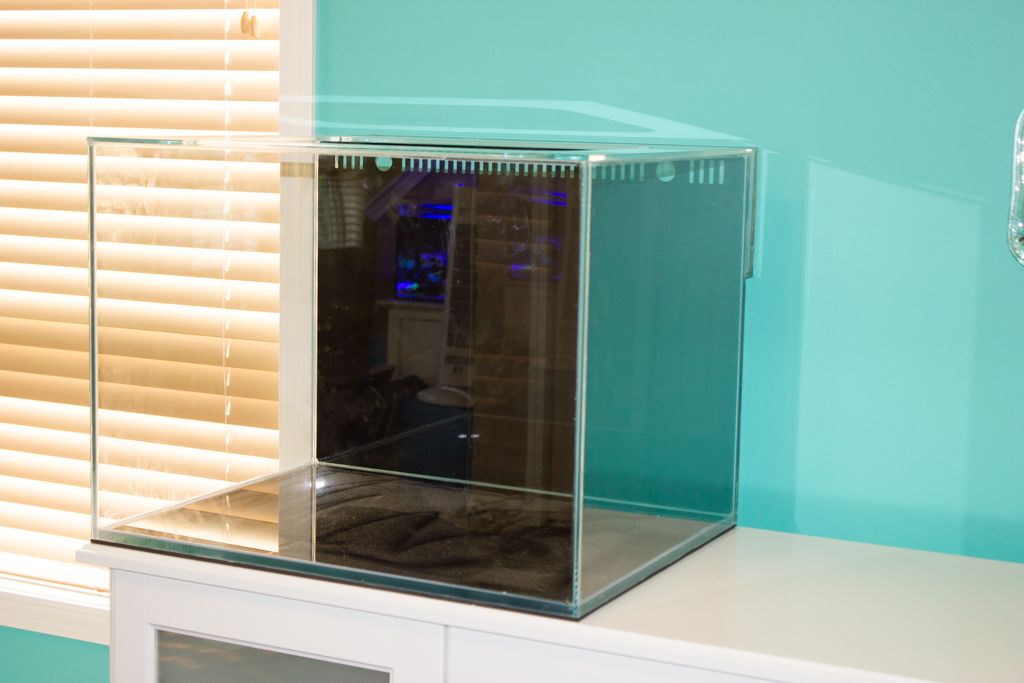 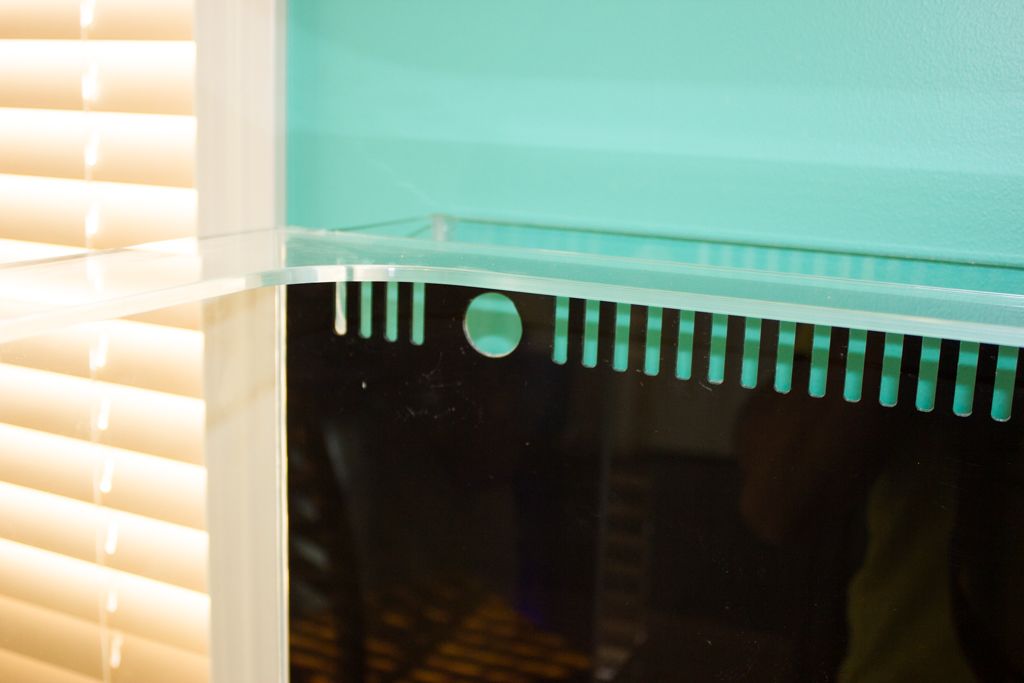 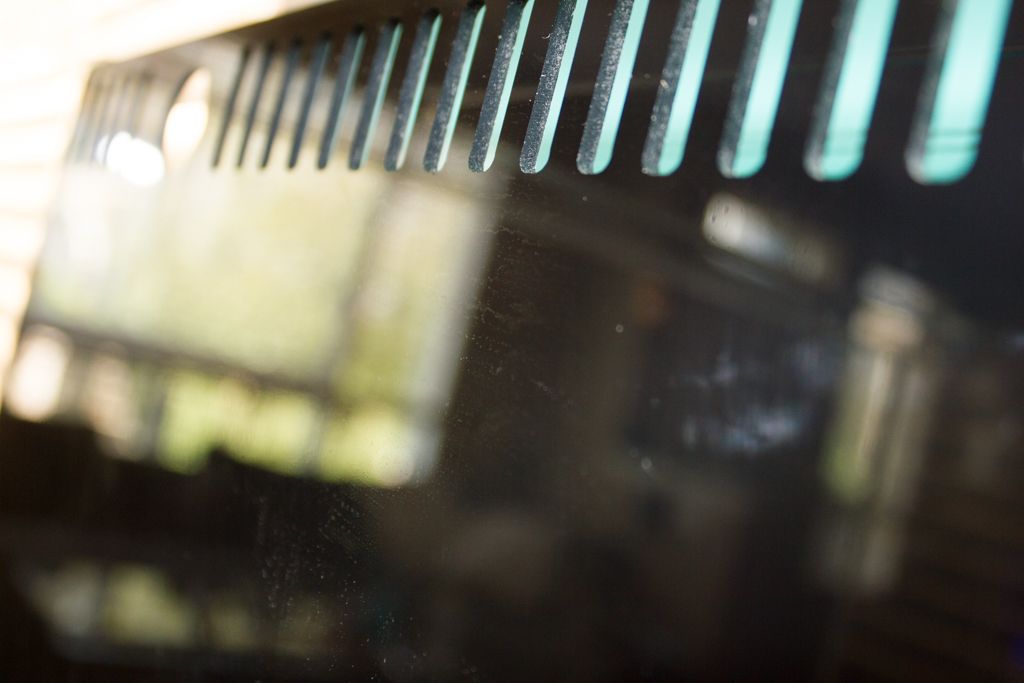 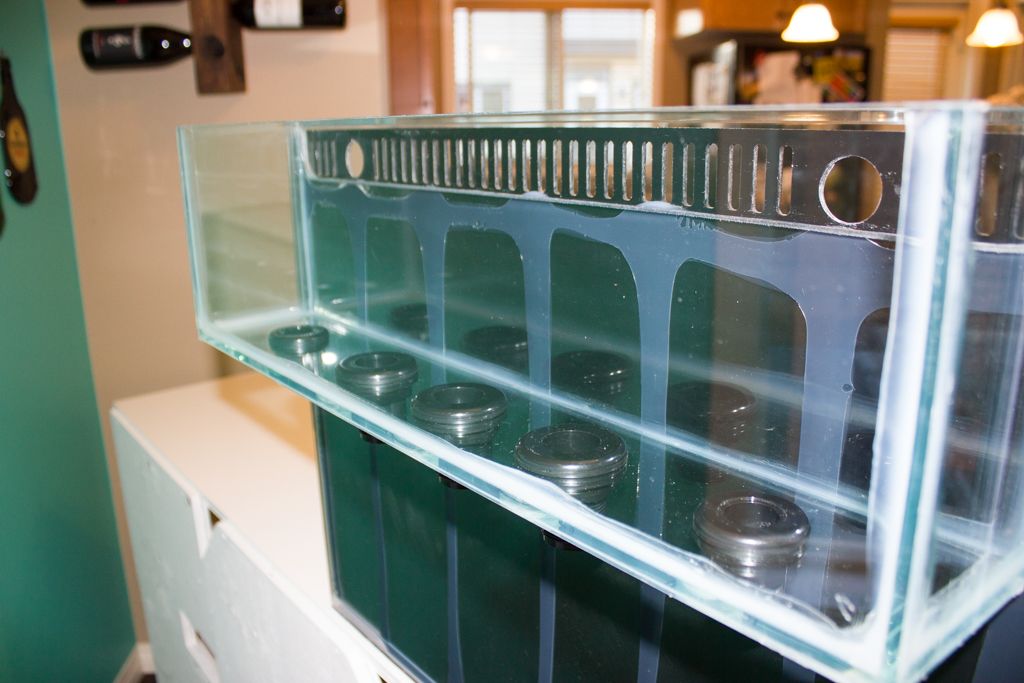 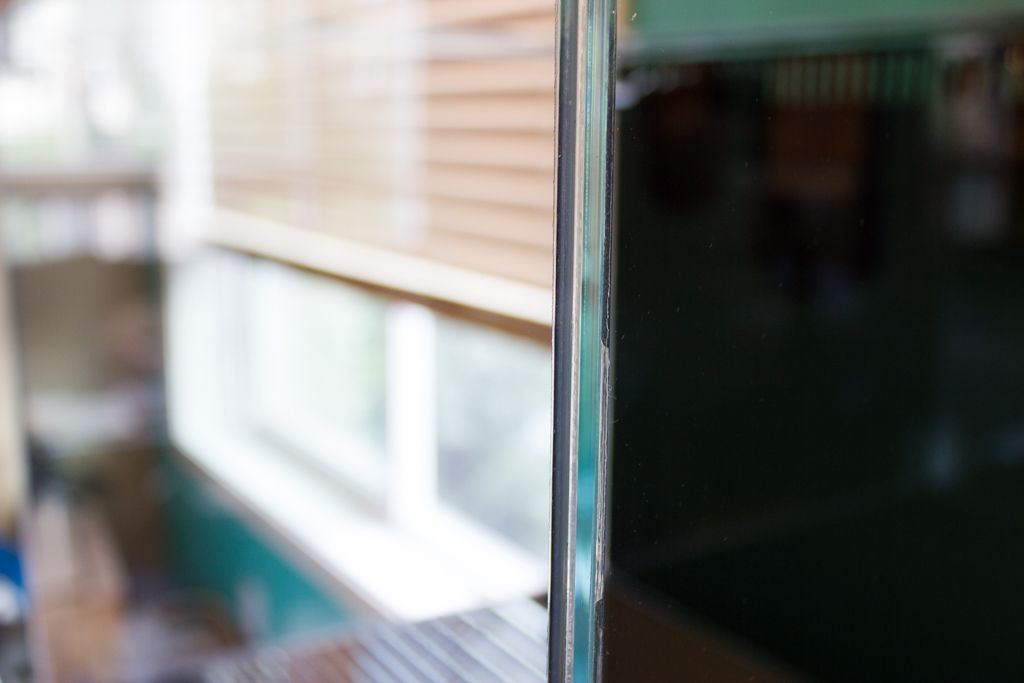 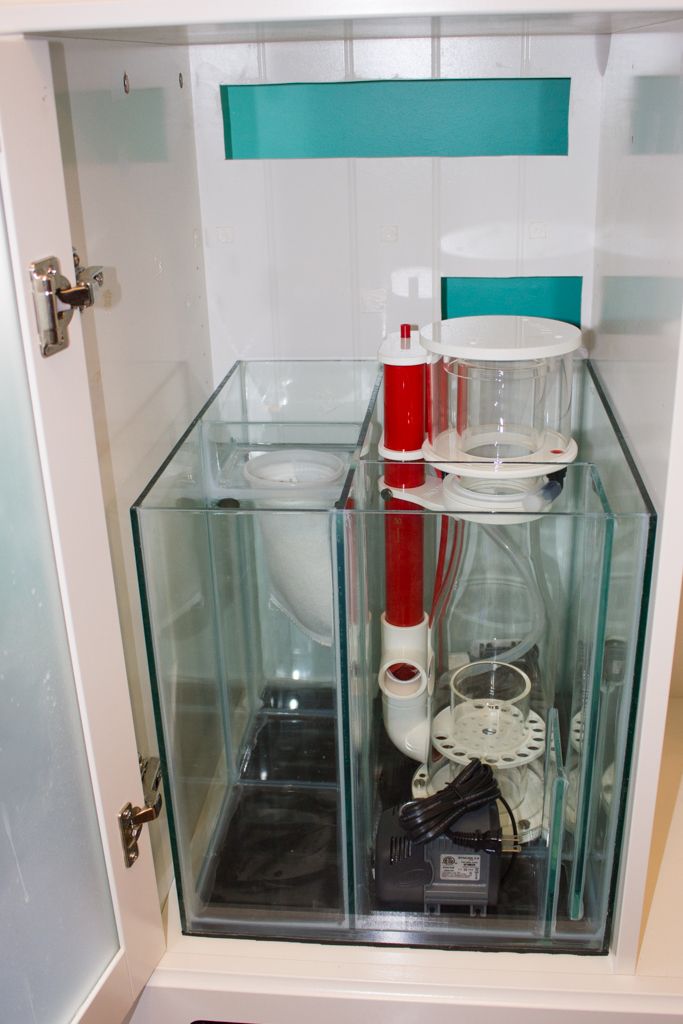 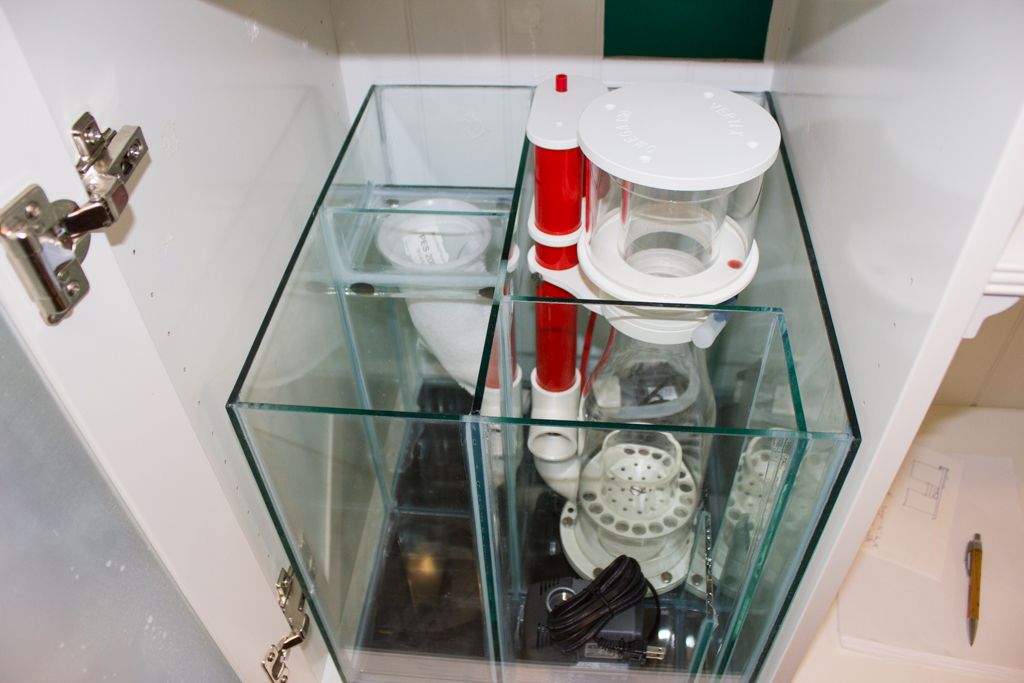 I am very happy with how everything is turning out! The one-piece euro brace looks as good as I was hoping. I ordered a couple of the self-leveling mats from Innovative Marine to place on the bottom of the tank and sump. I cut them to fit and they look great! You should be able to spot them in the photos. |
|
#4
|
|||||
|
|||||
|
Alright time for a plumbing update. Lets start with my bean animal overflow and returns. I wanted everything along the back of the tank to be black, drain pipes into the cabinet to be red, and the returns to be white. To accomplish this I ordered colored pvc from BRS. I looked around for a local supplier but had a really hard time finding anything. Maybe only the reefing community cares about stylish plumbing. As for black fittings, that was another story. I decided to go with krylon fusion for plastic paint and use white fittings. I sanded each fitting well before applying the paint. I also had to make a few modifications to some of the fittings in order to keep them from being visible when viewing the tank. This, and of course tapping the 1/4" threads into the top of the open channel cap. I used low profile strainers on each of the drains as well. Check it out!
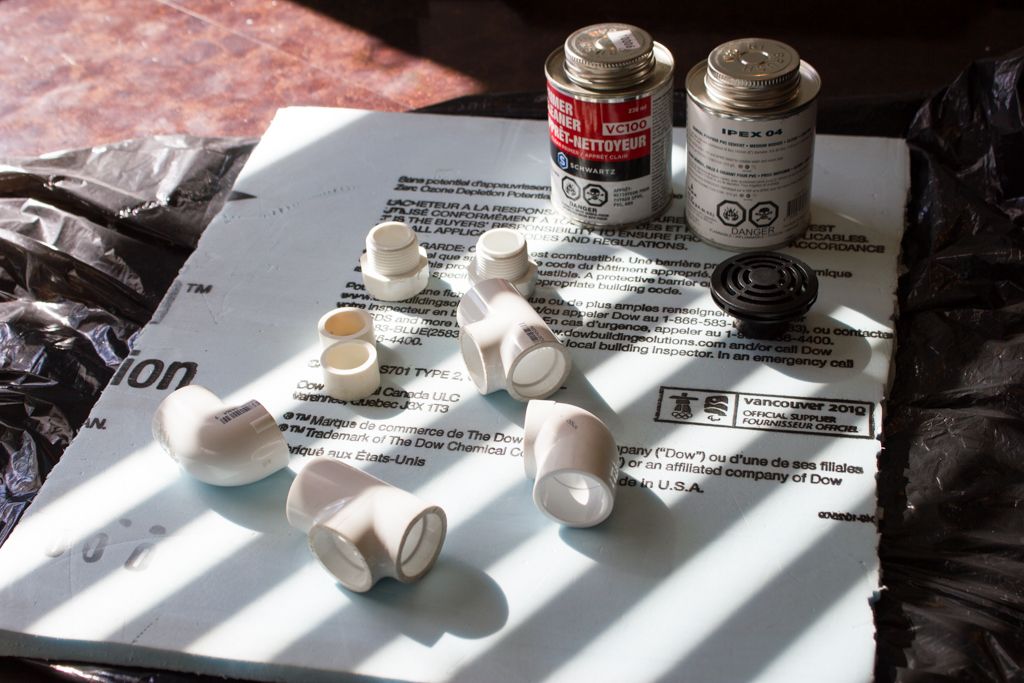 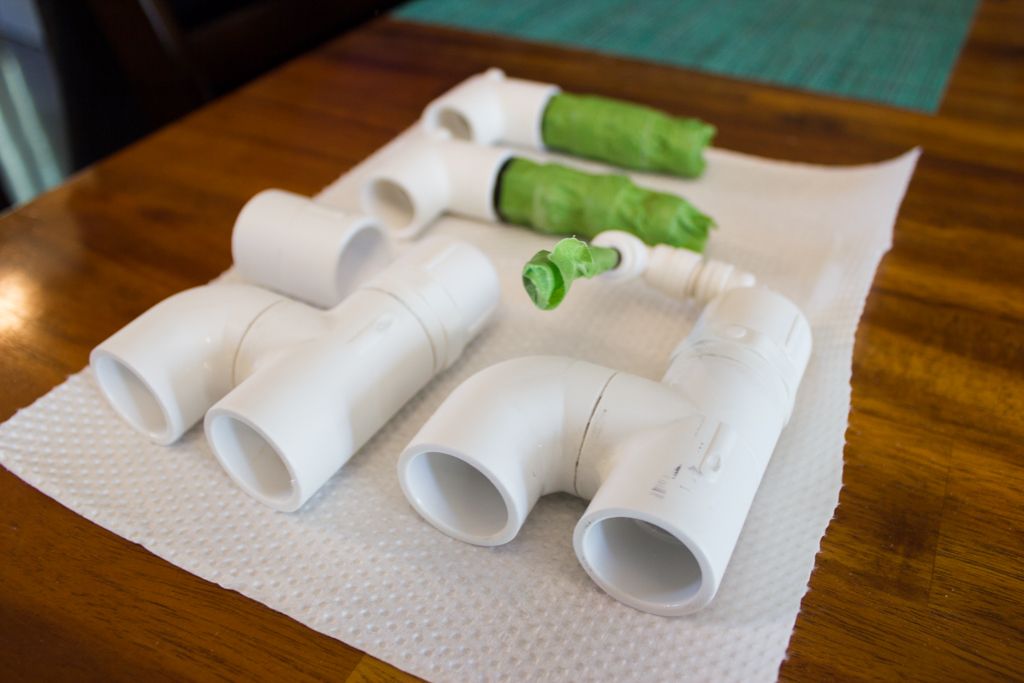 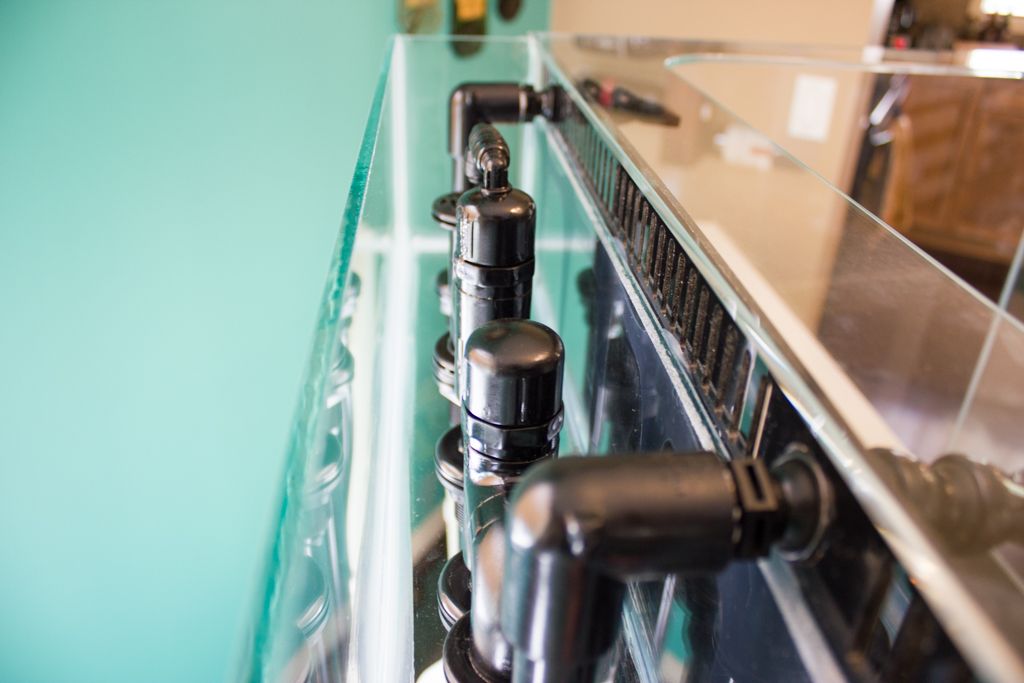 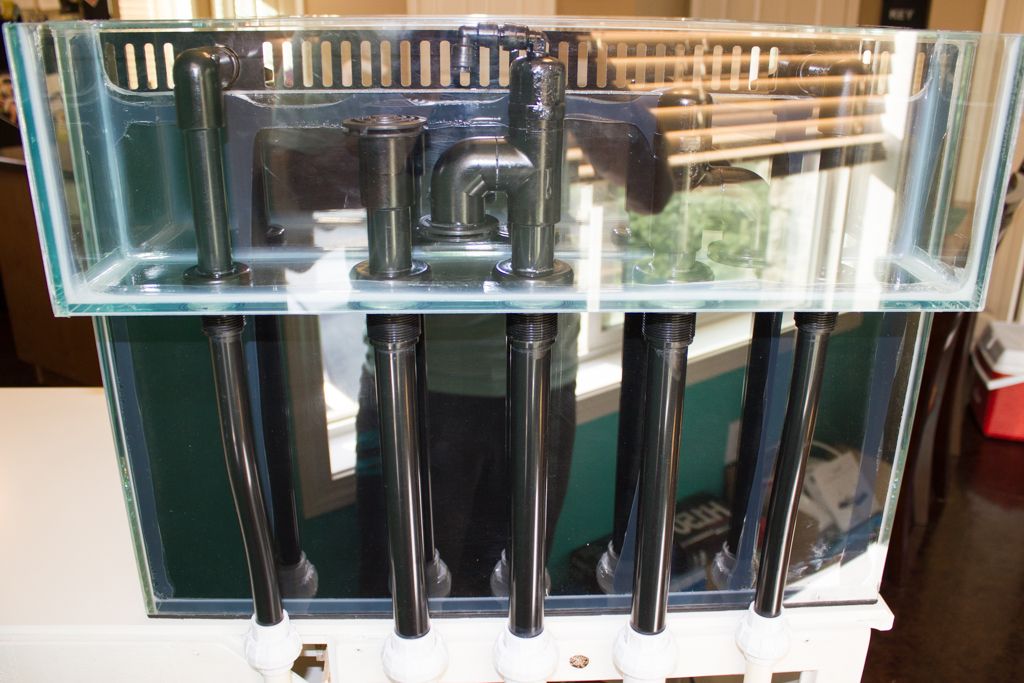 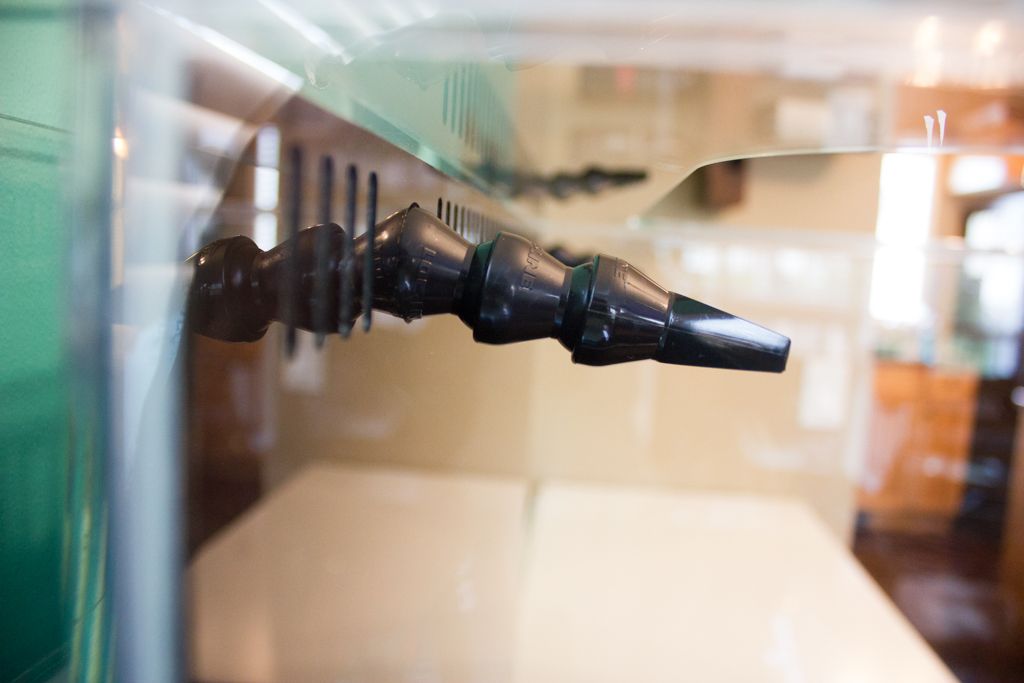 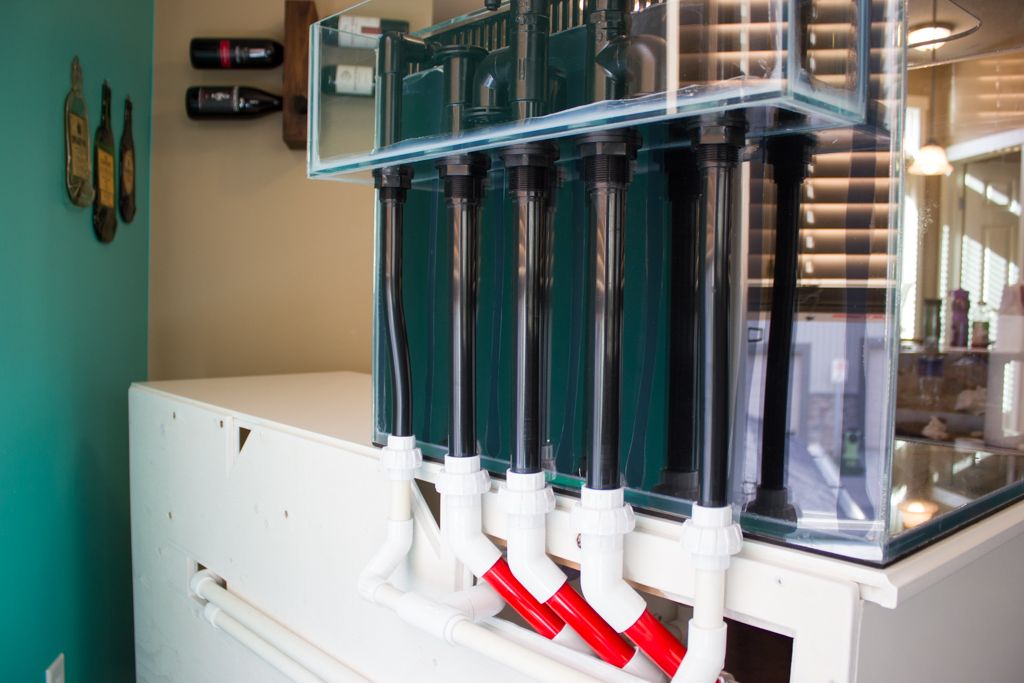 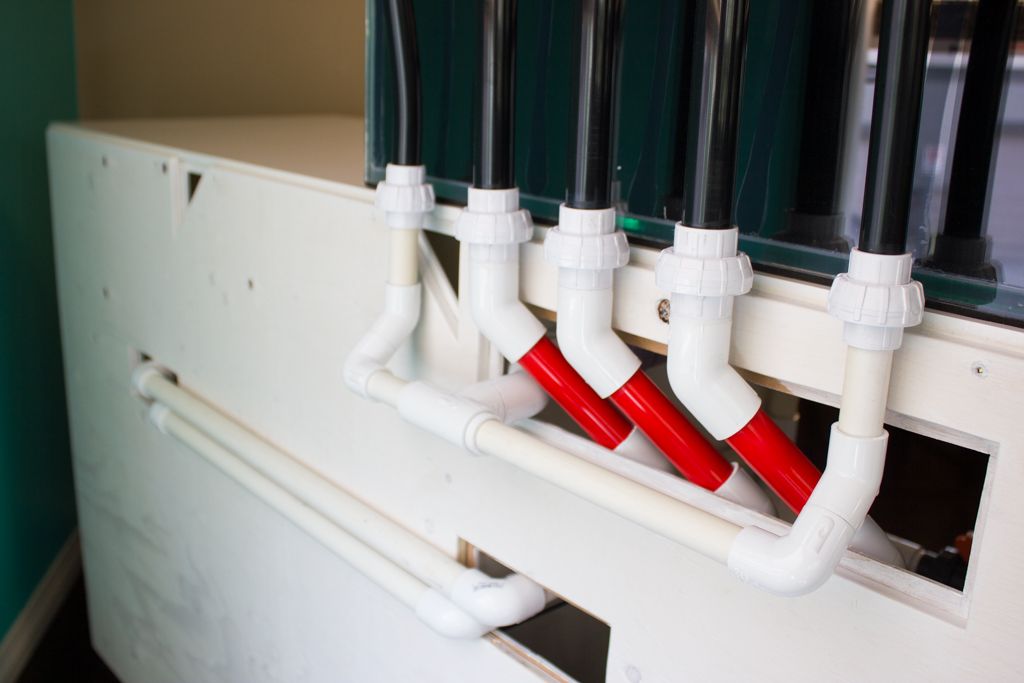 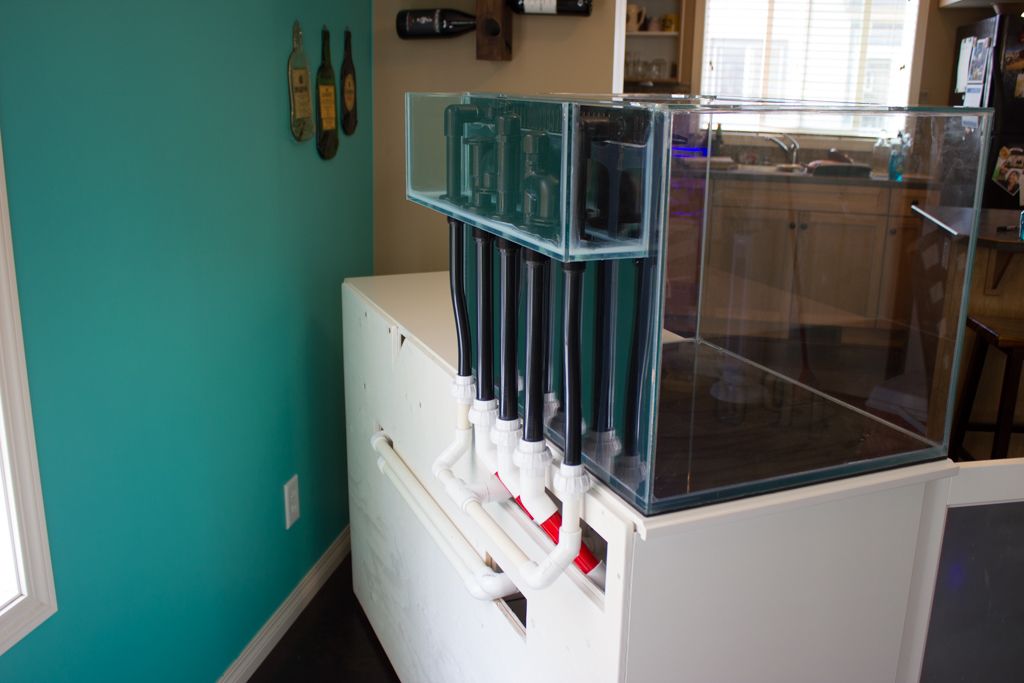 You'll notice the two lines running to the cabinet opposite the sump. They are feeding my reactor. I had originally planned to keep the reactor in the same cabinet as the sump, but due to size constraints, it was banished to the far cabinet. I do have exciting plans for that side of things in the future! |
|
#5
|
|||||
|
|||||
|
|
|
#6
|
|||||
|
|||||
|
It's wet!
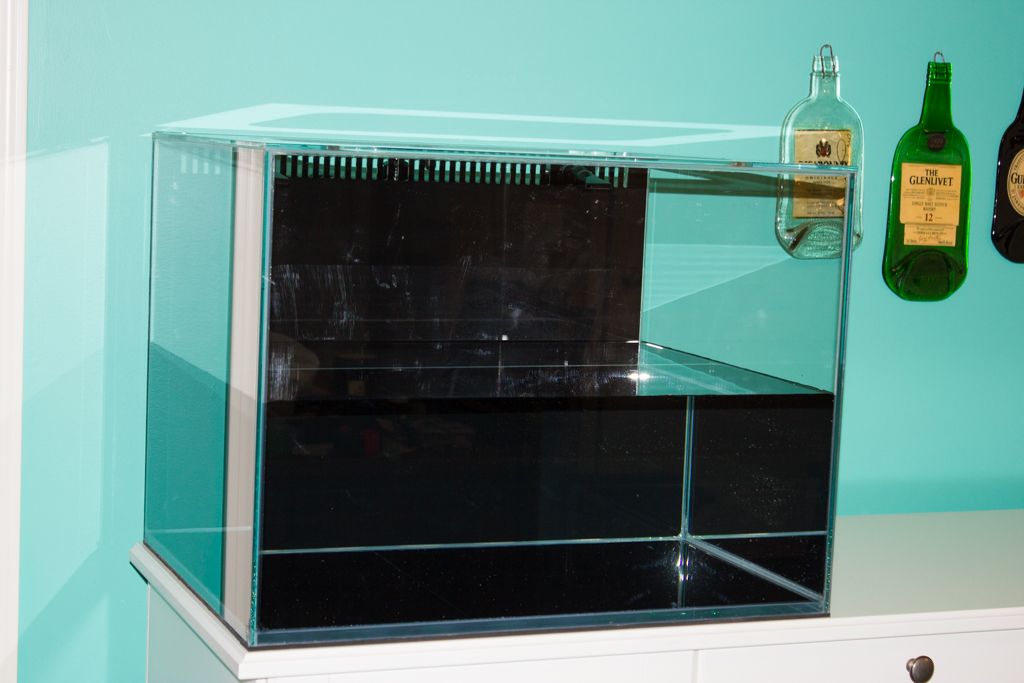 Time to finally get my rocks up into the tank! While researching aquascaping ideas, I came across one photo that I thought would fit my tank perfectly. I couldn't get the image out of my head so I decided to try and mimic it as best I could. Inspiration: 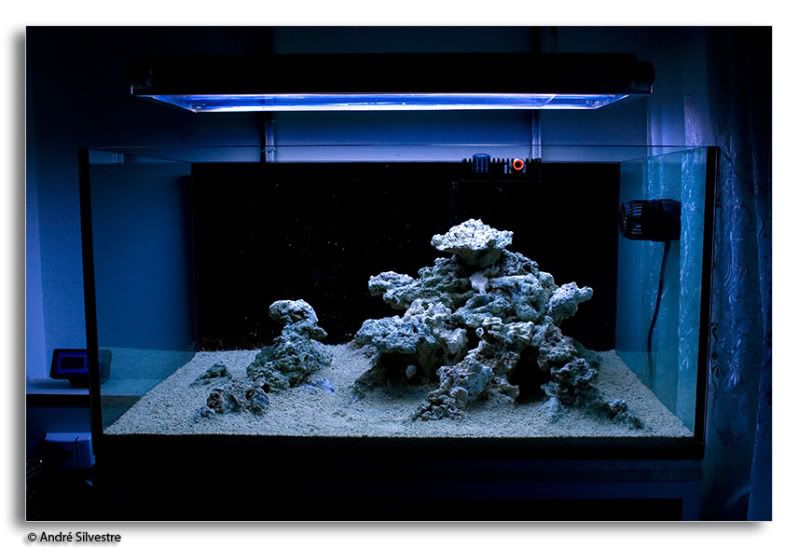 Off to work! I used a hammer drill bit in a standard cordless drill to create holes where I needed them in the rock. Following that I inserted 3/8" acrylic rod into the holes. Some of the rock was epoxied, but a large amount was not. This way, if needed, I can easily lift a rock out of the tank off the acrylic rod. 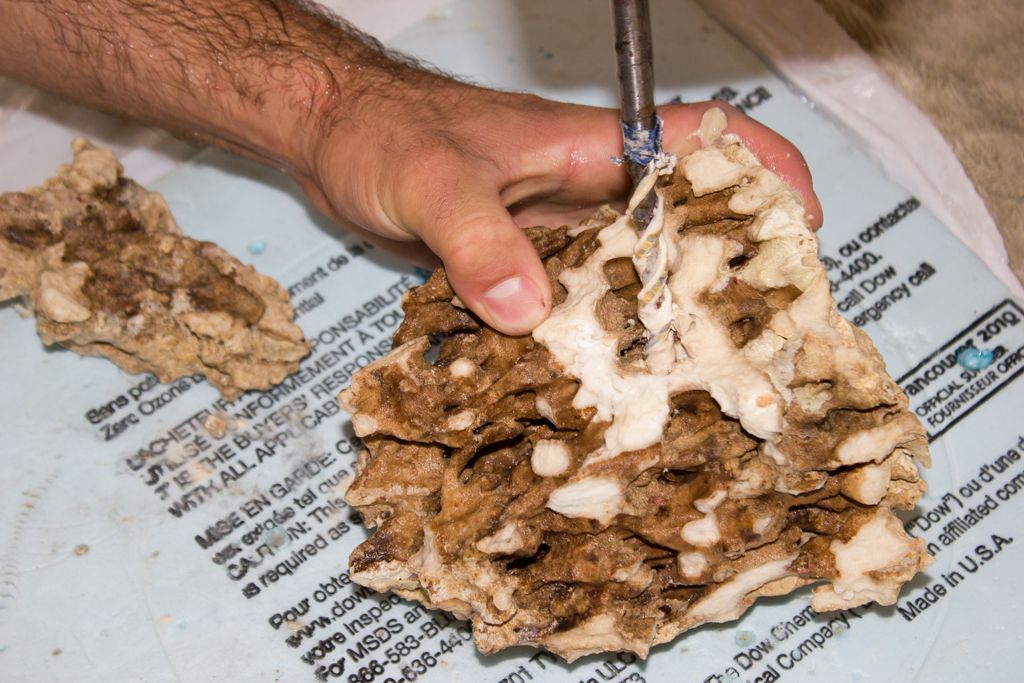 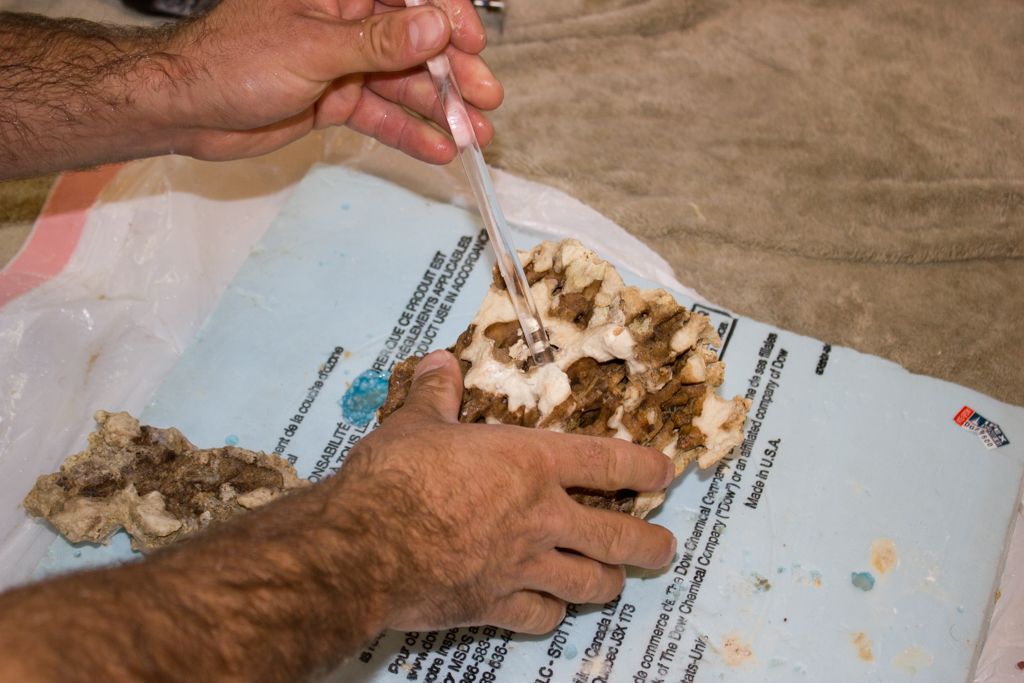 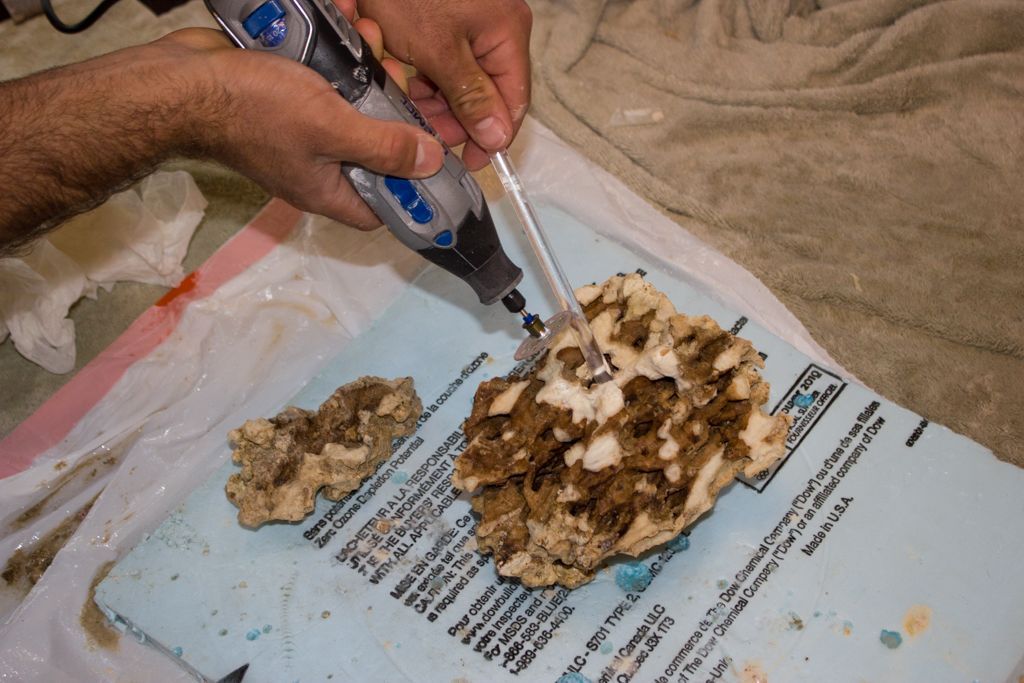 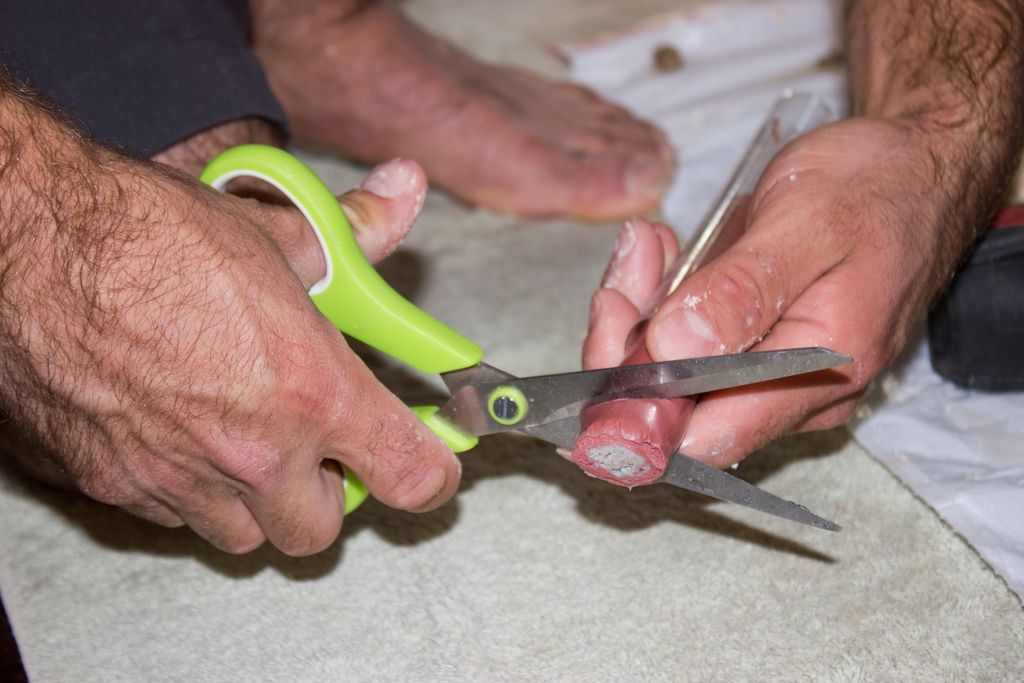 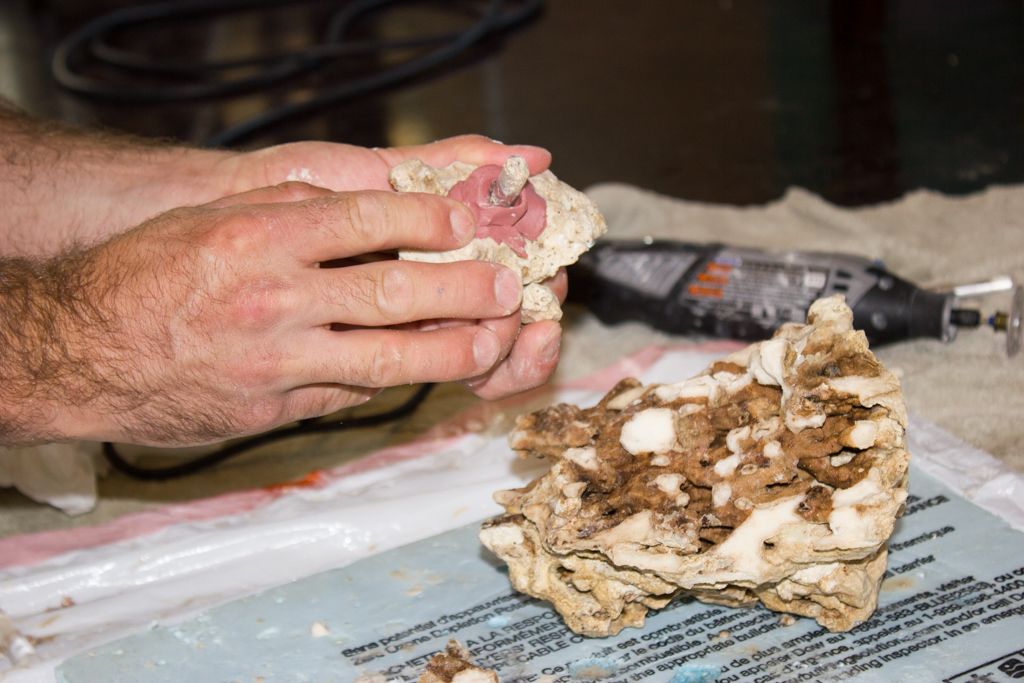 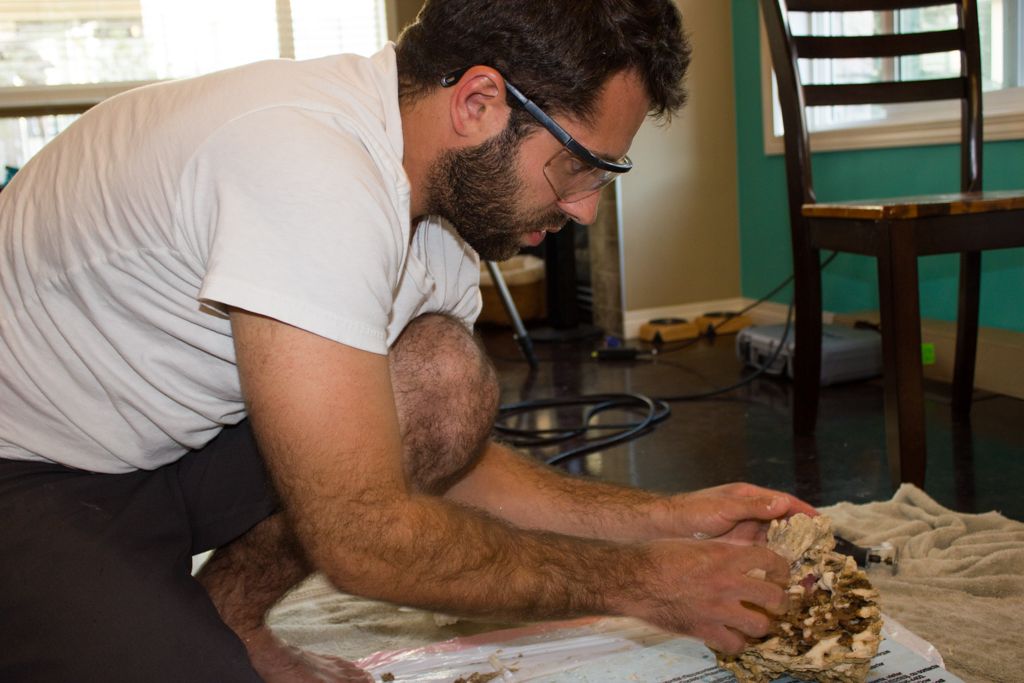 |
|
#7
|
|||||
|
|||||
|
|
|
#8
|
|||||
|
|||||
|
|
|
#9
|
|||||
|
|||||
|
Looks great! Can't wait to see how this one turns out!
Make sure there's enough room between your rocks and glass for your algae magnet. One on the right looks like it could be too close. |
|
#10
|
|||||
|
|||||
|
|
 |
| Tags |
| 35 gallon reef, cerebra reef, nano radion, nate's oceanfront bar, vertex reef |
|
|