 |
|
#81
|
|||||
|
|||||
|
Coming along nicely! The new tank and placement looks awesome. Are you planning on extending the rock wall that is going to cover the side pane with the overflow a little bit around the corner and onto the back pane and then have it trail off into your main scape? or will you just be placing it on the one side pane? I really like the idea of going a round the corner a little bit and trailing down on an angle with the piece getting gradually larger or sticking out from the wall more as it comes down. If that makes any sense at all.
Either way I'm looking forward to seeing how it turns out. |
|
#82
|
|||||
|
|||||
|
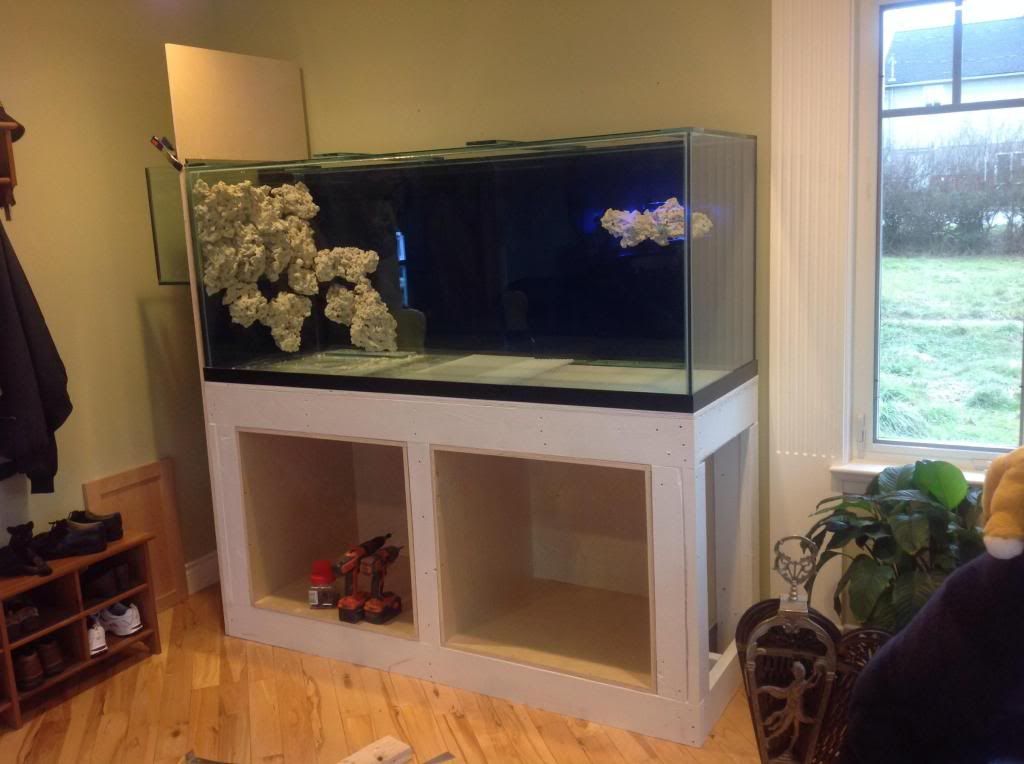
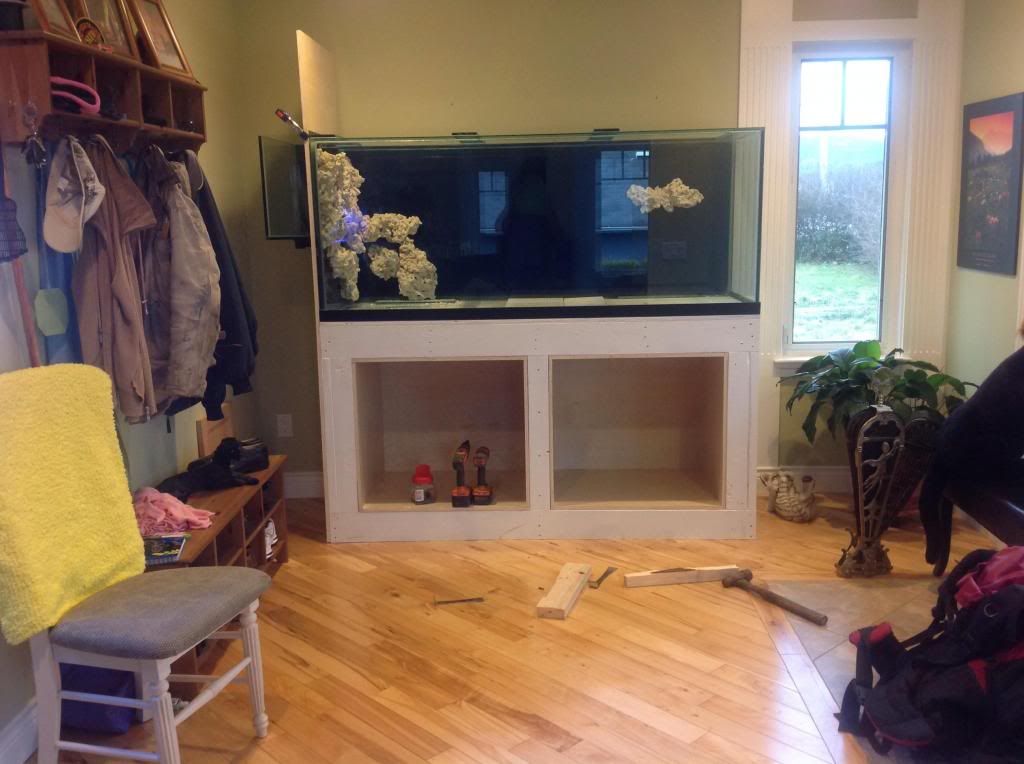
Well, I think this tank may be in the "One of the longest builds ever" books, lol. I finally got the rare combination of tools, time, materials and gumption for another step. I finally built the cube inserts for the stand and one of the gable ends for the overflow side. I just realized too I never did post any pics of the cut dry rock in place so you can see now what I did. I plan on building an arch off of a pillar to the rock on the right side of the tank that looks like it's sitting up in the middle of nowhere. Anyway, without further ado...
  |
|
#83
|
||||
|
||||
|
looking real good . i had no idea you could cut dry rock like that . Wicked.
Guessing your sump will be in the basement ?
__________________
Reeferfulton 110 gallon semi cube build |
|
#84
|
|||||
|
|||||
|
Ya, I have a 150 gal down there now where my 77 and 20 go into now. I'll get this guy running, move the stock from the 77 into it, then shut down my 77.
|
|
#85
|
||||
|
||||
|
just read through your build . .You have put alot ! of work into this tank so far . impressed . cant wait to see it running .
__________________
Reeferfulton 110 gallon semi cube build |
|
#86
|
|||||
|
|||||
|
Cool rock work! I think Kien should give your journal a cool name too!
__________________
ATI 48" 3x75W LED with 8x54W T5, 2xTunze 6105, 2 x Maxspect Gyre XF150, Bubble King Mini 200 ( soon to be replaced by a Bubble King SM 200), Eheim 1262, Via Aqua 300 watt Titanium heater, JBJ ATO, Apex Controller |
|
#87
|
|||||
|
|||||
|
Ooooo, a cool tank journal name! Kein would have to do it, cause I certainly don't have the imagination for it, lol.
Thanks, man. And neither can I, neither can I. And my wife too, lol. She's getting tired of staring at an empty tank for almost 2 years haha. |
|
#88
|
|||||
|
|||||
|
I love that floating rock that's a great idea looks slick .How did you mount it on the back glass ?
|
|
#89
|
|||||
|
|||||
|
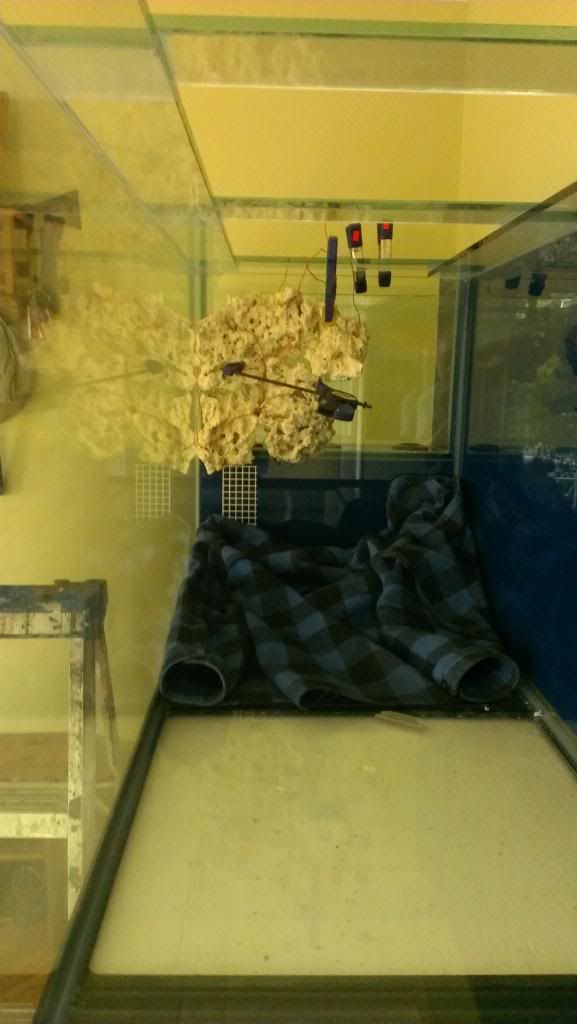
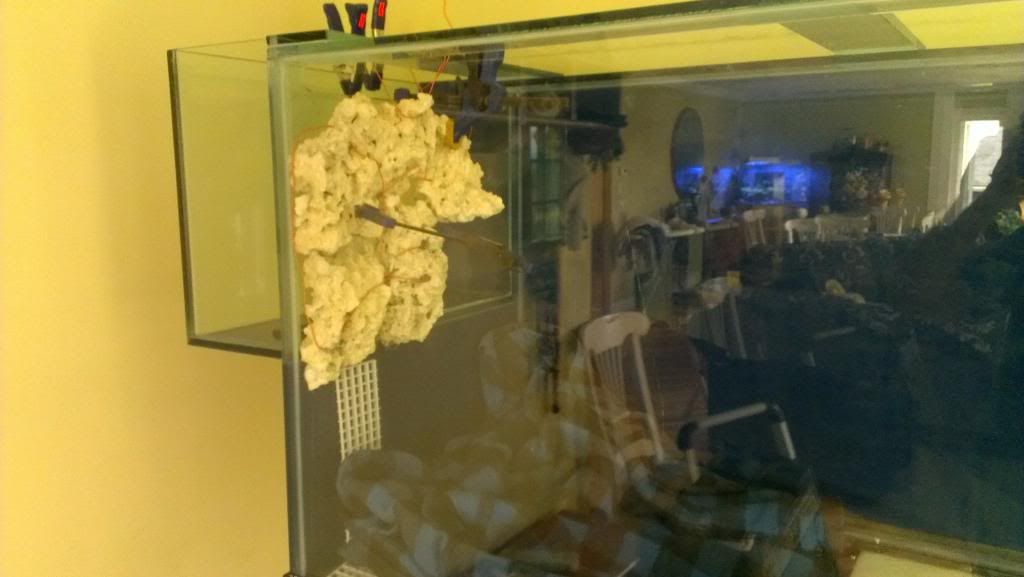
I just used the GE SCS1200 silicone. On the previous page I showed how i cut all my rock so it was flat on the back so sticking it on there was pretty easy. I had to do only a couple pieces at a time and let it set then do another couple pieces. I held them in place overnight with clamps and wire strung over the eurobracing or with plywood shimmed up underneath them. I also put one of my big work shirts underneath them in case they fell before it was all set up.
I thought I had more pics but here's a couple when I started it:   |
|
#90
|
||||
|
||||
|
wicked ..
i love the coat in there just in case it fell while you slept lol . good call
__________________
Reeferfulton 110 gallon semi cube build |