![]() |
|
#1
|
|||||
|
|||||
![]() So for all of you guys out there that just cant resist seeing what the rock wall is turning out like, here is a little sneak peak!!
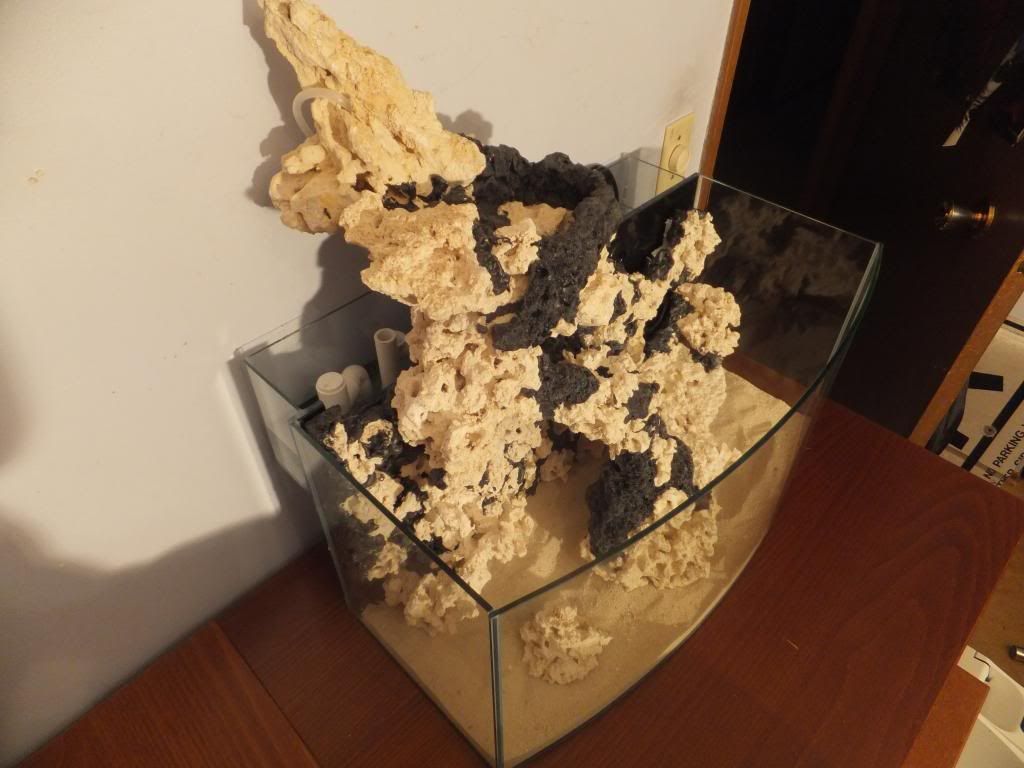
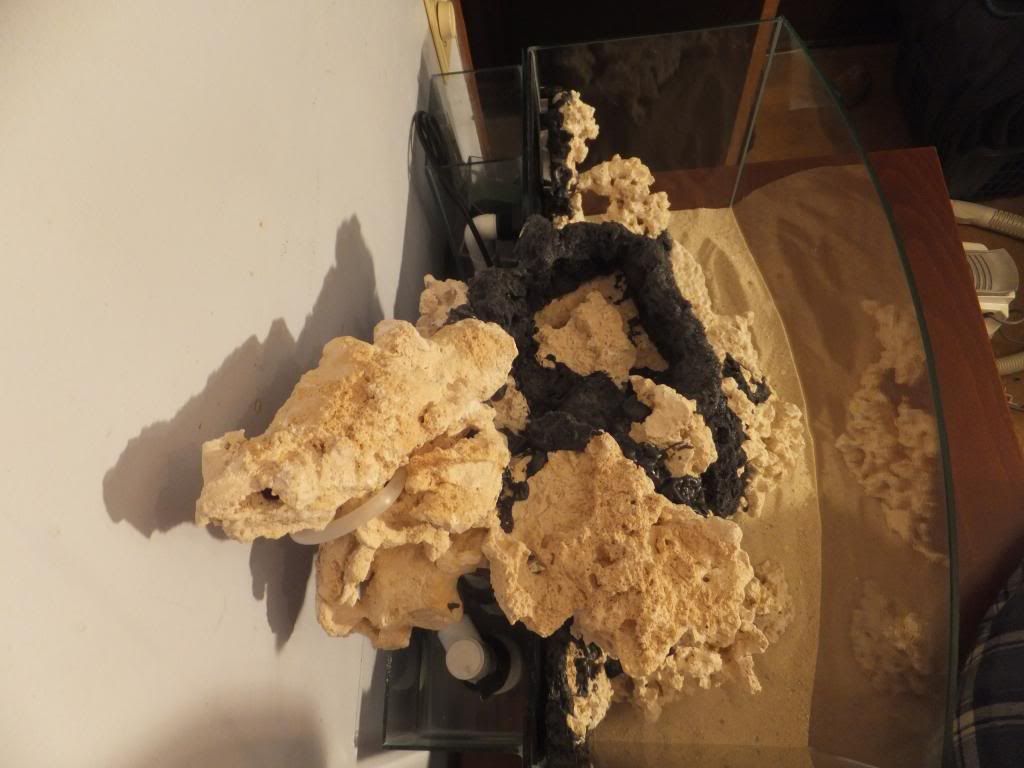
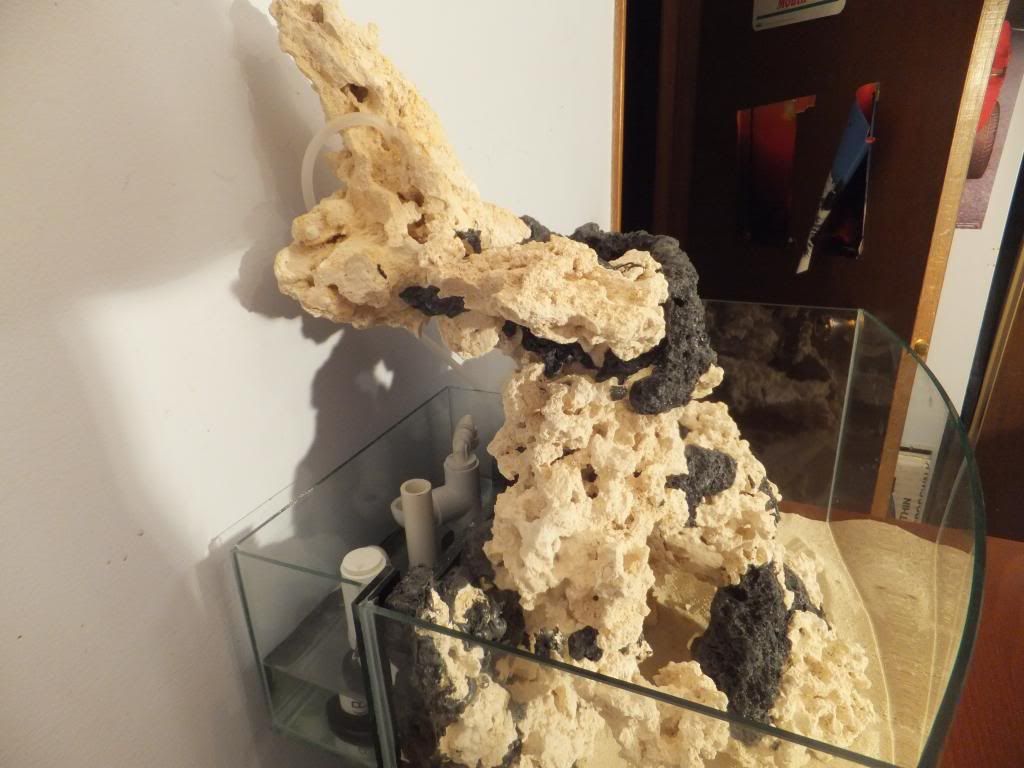
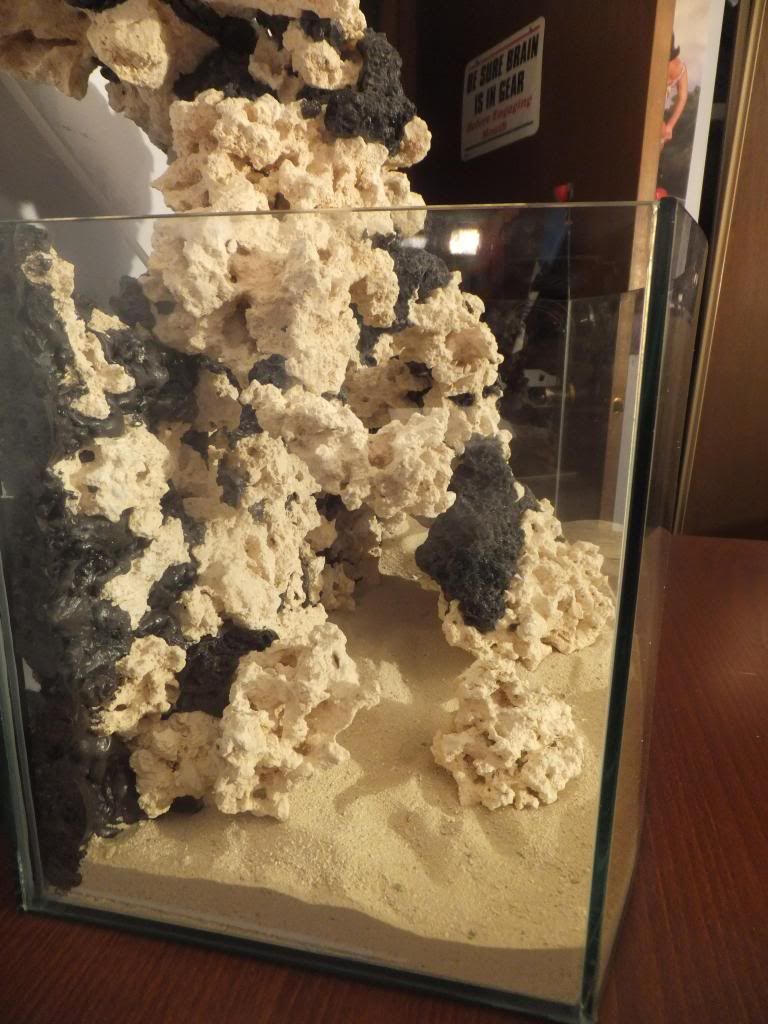
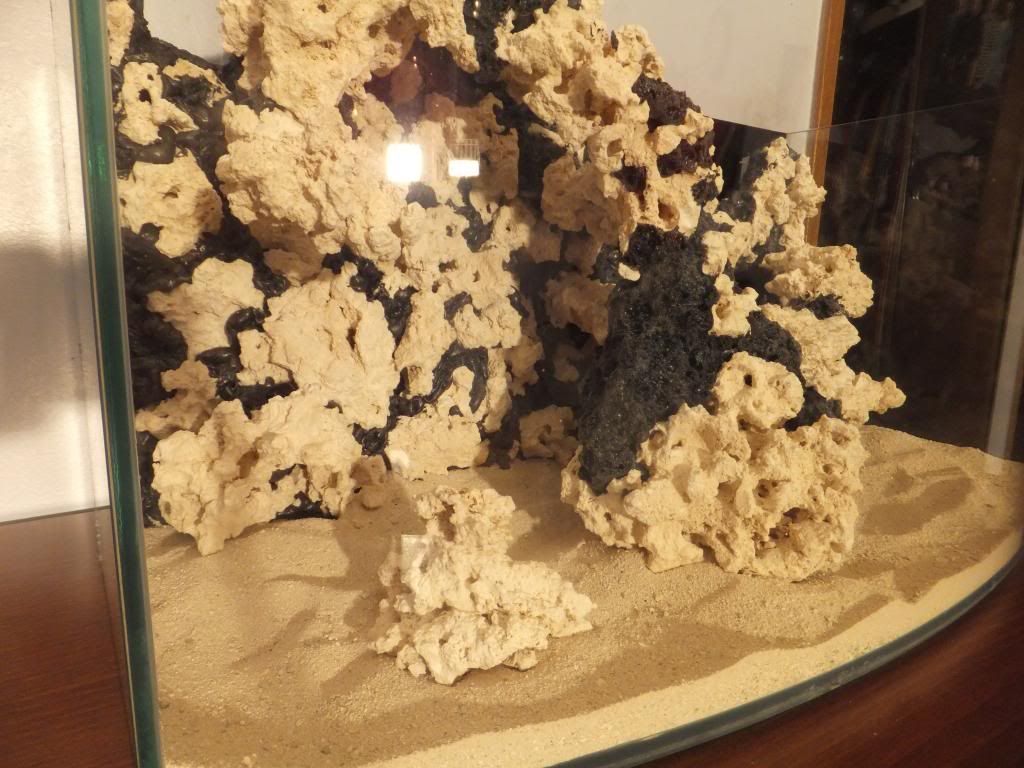
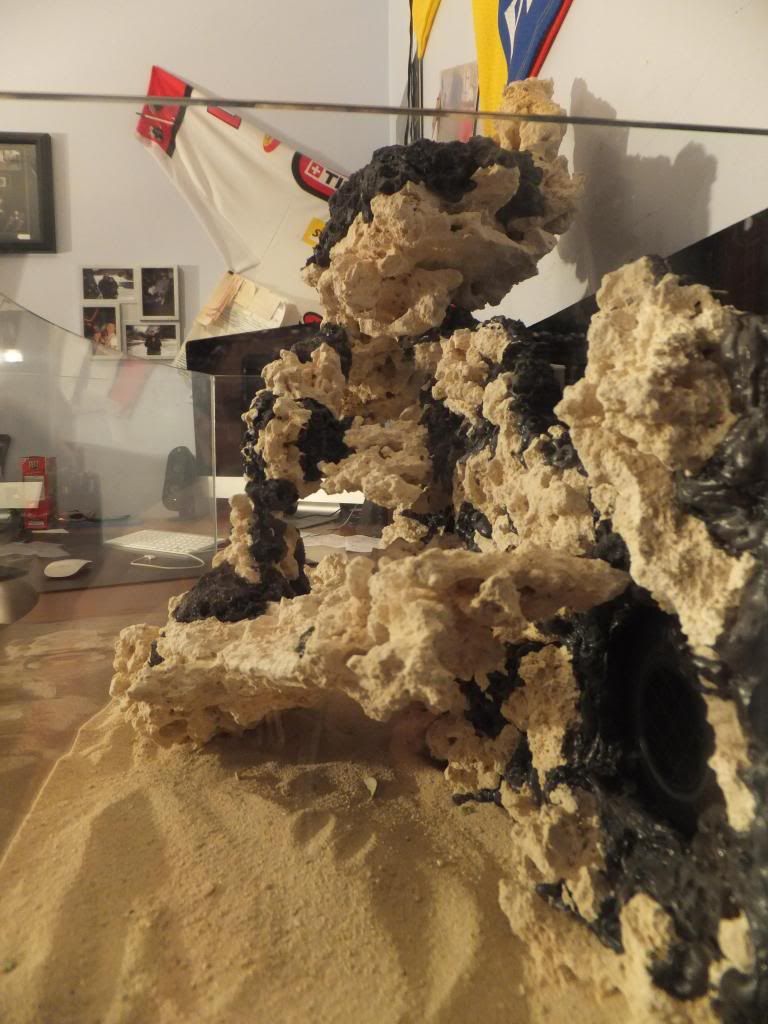
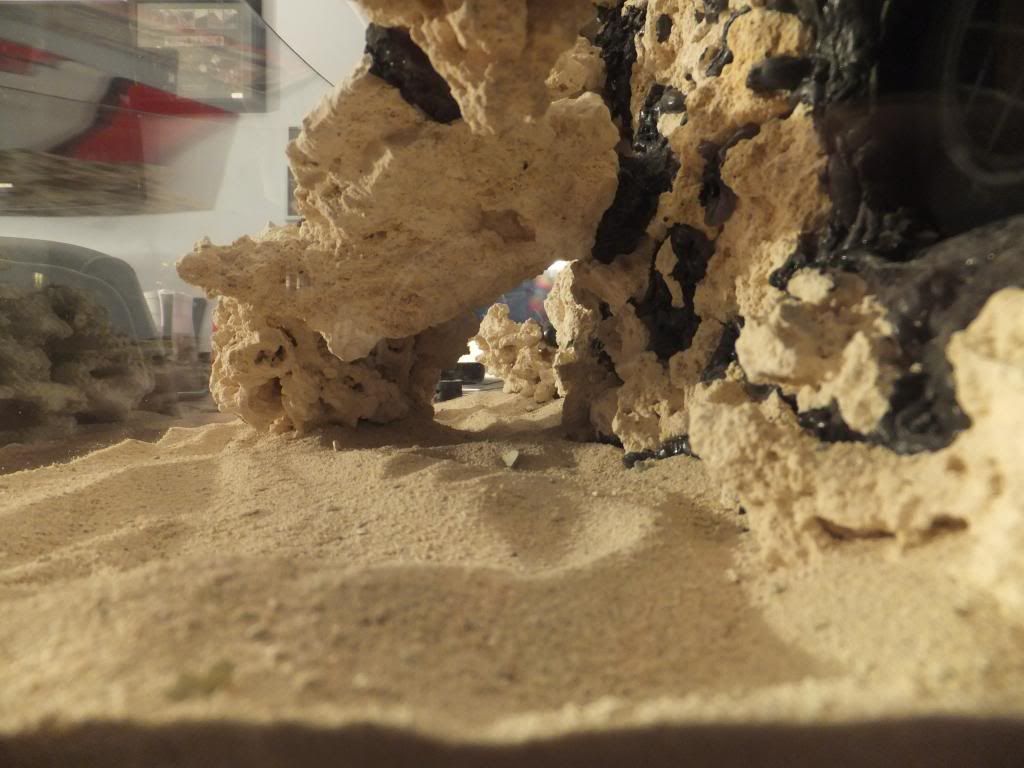
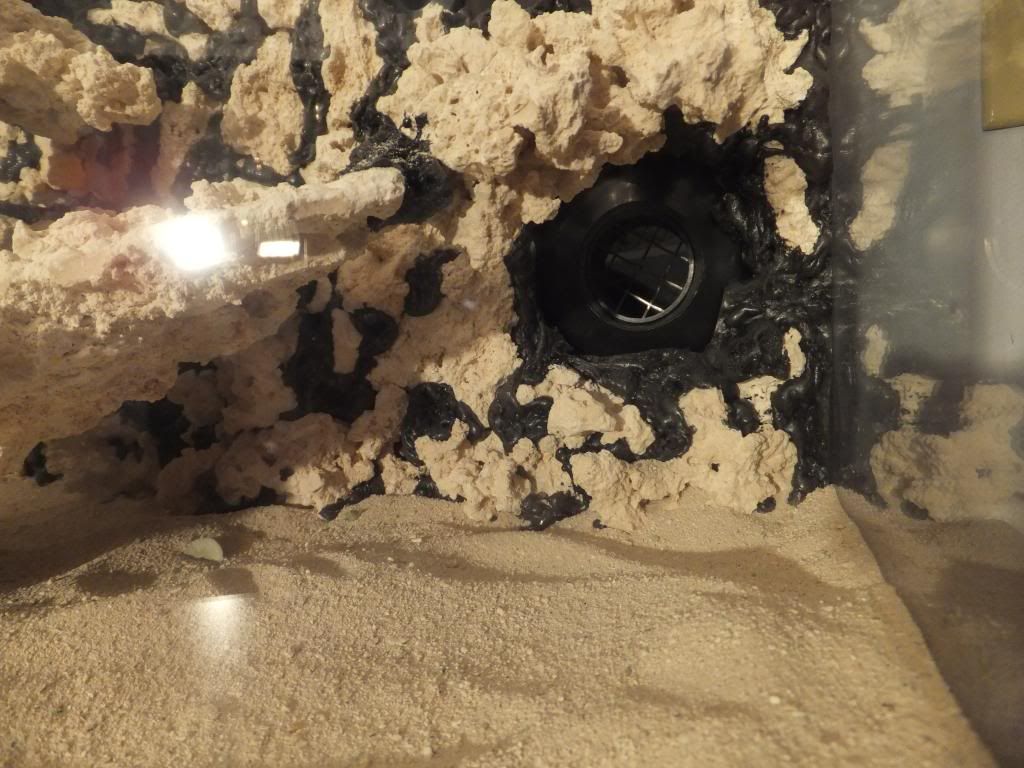
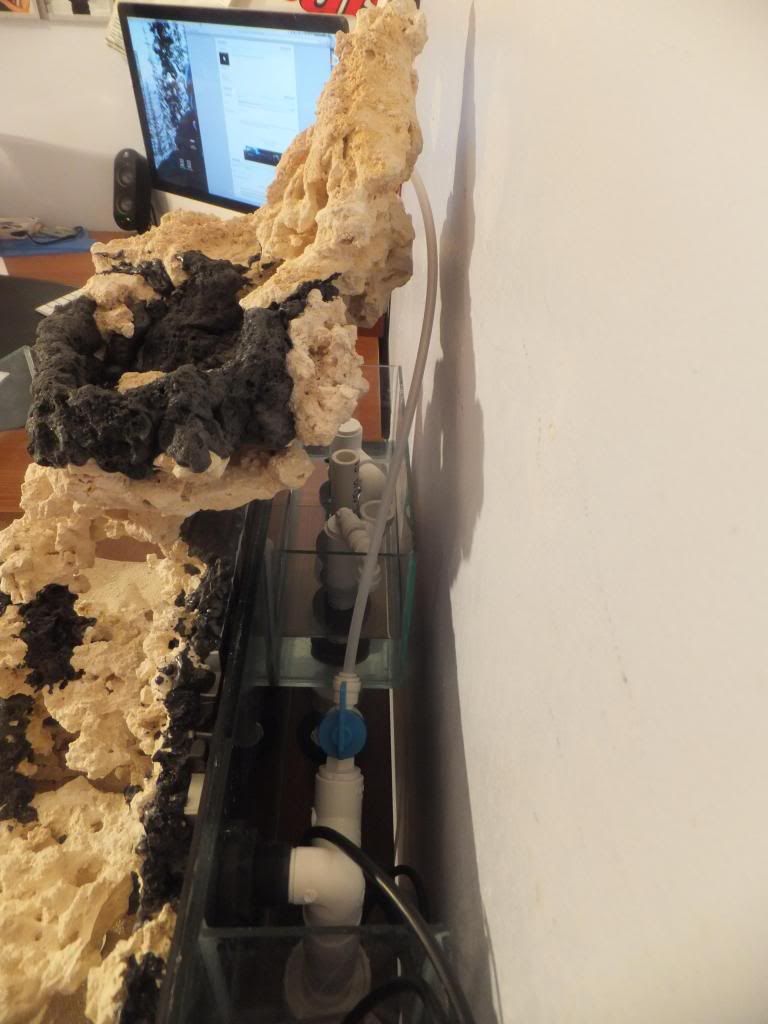
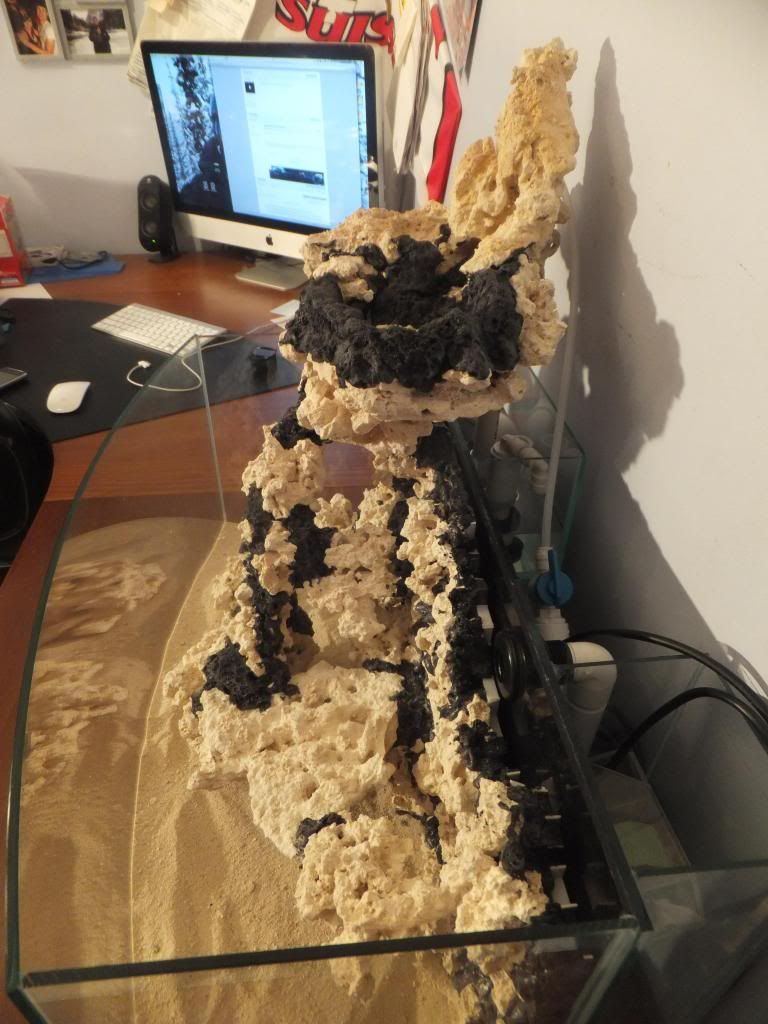
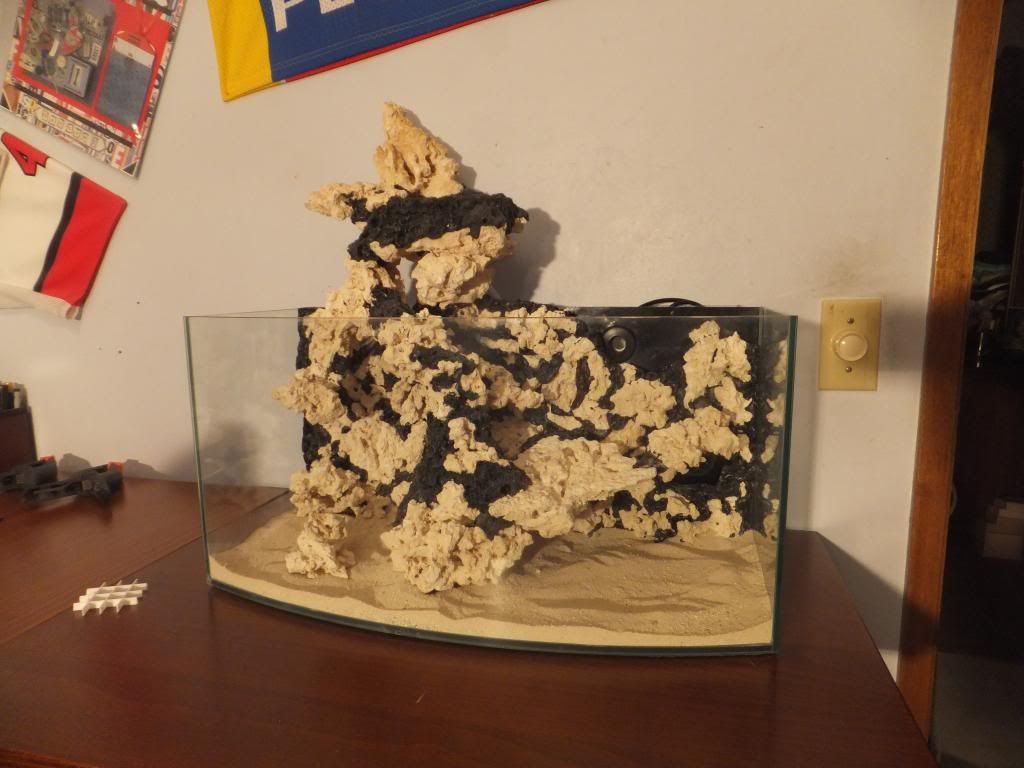
![]() ![]() ![]() ![]() ![]() ![]() ![]() ![]() ![]() ![]() ![]() ![]() okay so i took more then a few haha but i should be getting epoxy and sand on it in the next week and then ill let it sit in a bucket of saltwater for a week or so to make sure that all the dust is off the rock and that the epoxy did its job, then its on the Light and water!!! |
#2
|
|||||
|
|||||
![]() Alright so here is the finished product, in its final resting place
![]() ![]() ![]() ![]() ![]() ![]() ![]() So now that that project is knocked off the list I have a few things left to go before splash down can commence!! I still have to build an acrylic shield that will house my 90 degree cords for everything to get plugged into, and will also fully encapsulate the rest of my electronics so they don't end up with water damage from being in the sump cabinet, and then i need to pick up, a two little fishies phosban reactor to run GFO and carbon and then i need to pick up a 150w heater and last but certainly not least i need to pick up a tunze 1073.050 silence pump to feed the reactor, the return to the tank, the refugium and the water fall Then i can start to cycle the tank as i build the LED's to light it all up!! |
#3
|
|||||
|
|||||
![]() Hey guys, i hope you all had a great christmas!! I got some more stuff done over the holidays. were getting close to getting saltwater into it now!! I drained all the fresh water out of the tank and the sump, I also plumed a Phosban 150 Reactor into my return line and cleaned up the extra wireing on the back side of my tank! Enjoy!!
![]() ![]() ![]() |
#4
|
|||||
|
|||||
![]() Hey everyone, so as promised I'm back with pictures for you guys. I spend the last 24 hours cutting and reworking my rock wall and when i finally stood back and looked at my new creation this is what I saw. Ill take you though everything from start to finish.
So i used: A Hammer A Chisel A Hack-saw with a masonry blade A Can of "Touch n' Foam" Landscape from Lowe's and a lot of time haha This is where i started with the old wall that you've all seen before ![]() ![]() Then came the destruction of the wall, i cut off the upper rock that was out of the water and the moved it over to determine where i wanted it to sit ![]() Once i figured that out i had to cut some off the back of the rock so that it sat flush with my wall - thats where the hack saw came into play ![]() After a few hours of cutting dow the rock i was finally ready to start putting it back into place, but I knew that i wasn't happy with the size of the pond so out came the chisel and hammer and away i went until i had chunked out a very substantial portion of the work i had previously done ![]() Then out came the foam and it was time to start rebuilding... This is the new pond ![]() ![]() This what i ended up doing to the rock that was in the middle of the tank - I hammer out quite a bit of it and moved it around until i found a place for it ![]() I added a leg to the ledge just for looks ![]() And finally this is the new scape from the front ![]() |
#5
|
|||||
|
|||||
![]() Alright so now that I have something to update you on Ill update you haha I came home from work last night and found a lovely big brown box at my front door! It had all kinds of goodies in it
![]() |
#6
|
|||||
|
|||||
![]() So I got the RO/DI system done and installed and its now making some sweet pure water!
![]() ![]() ![]() On the way in... ![]() On the way out… ![]() ![]() |
#7
|
|||||
|
|||||
![]() Now that that is out of the way I turned my attention to protecting all the electronics inside my sump cabinet. I started out by rearranging the panel a little bit then planning out the back plate.
![]() ![]() ![]() |
![]() |
Tags |
bowfront, custom, exposed rock, tunze, wavebox |
|
|