
|
|
|
#51
 11-20-2013, 02:17 AM
|
|||||
|
|||||
|
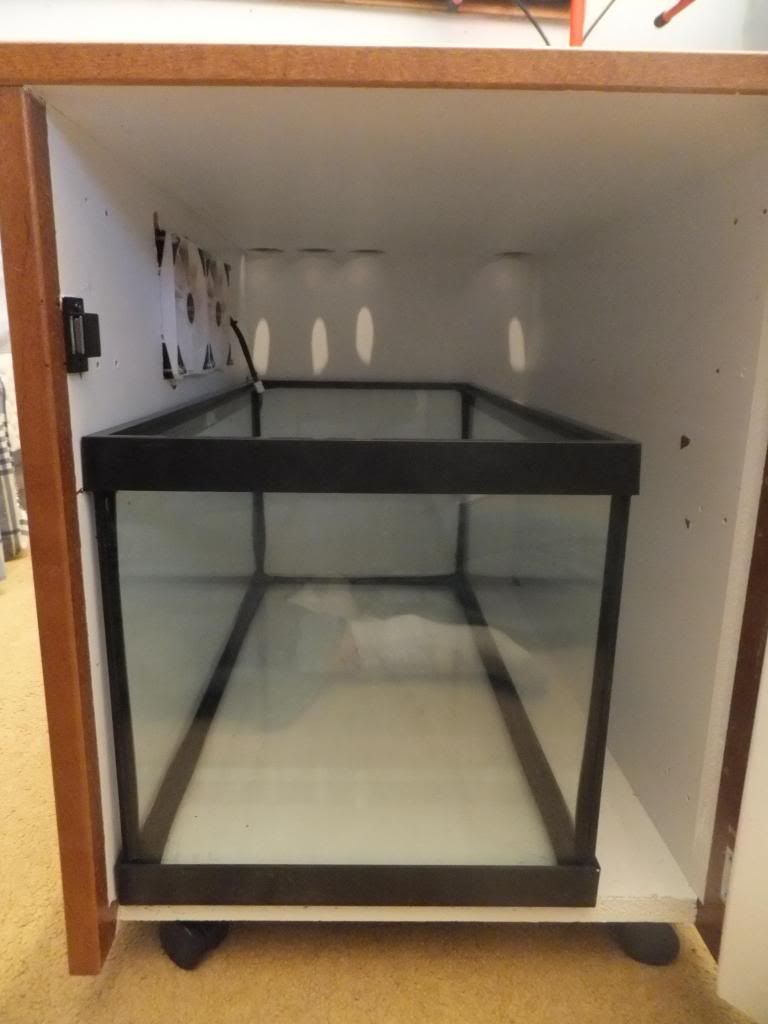
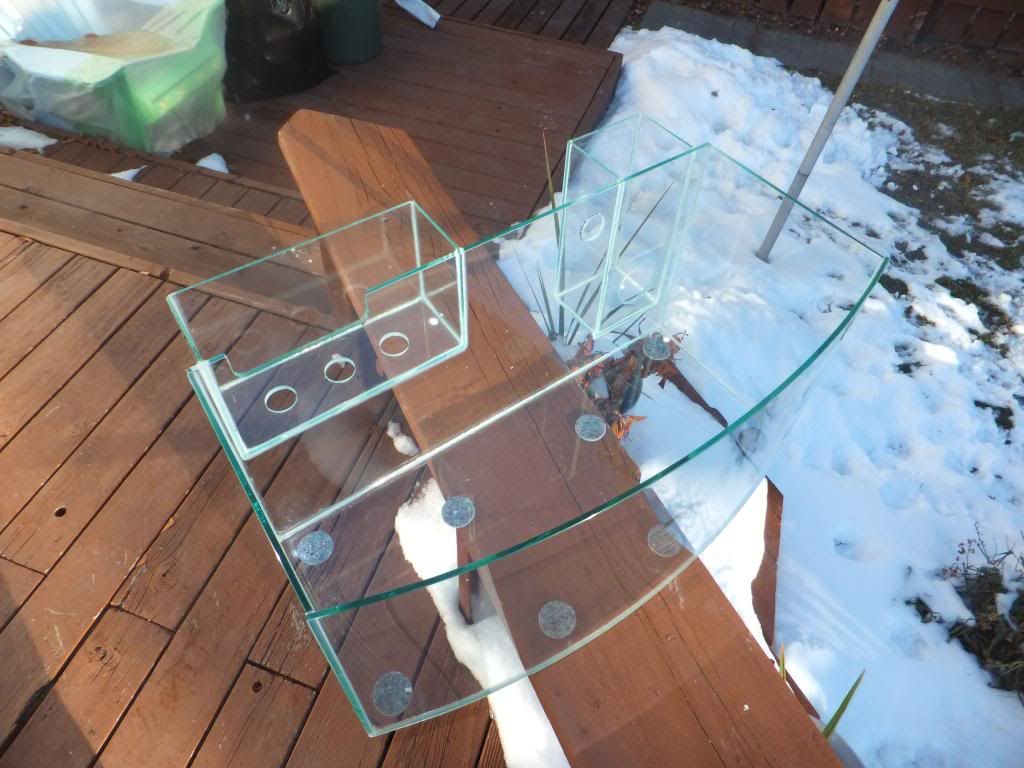
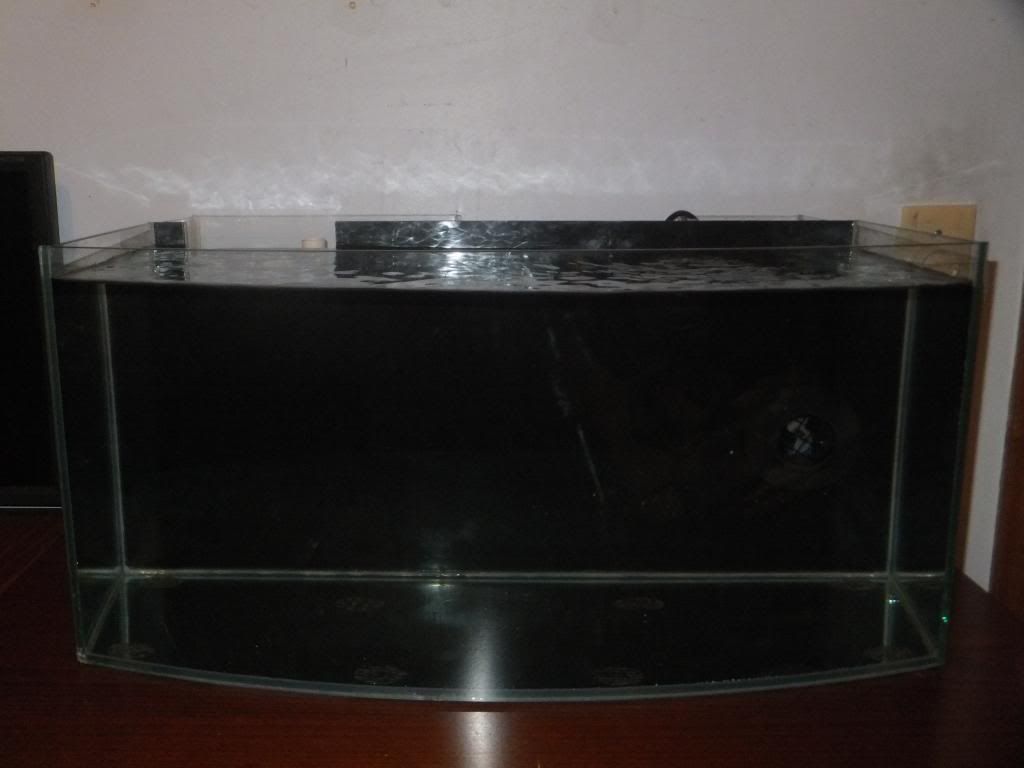
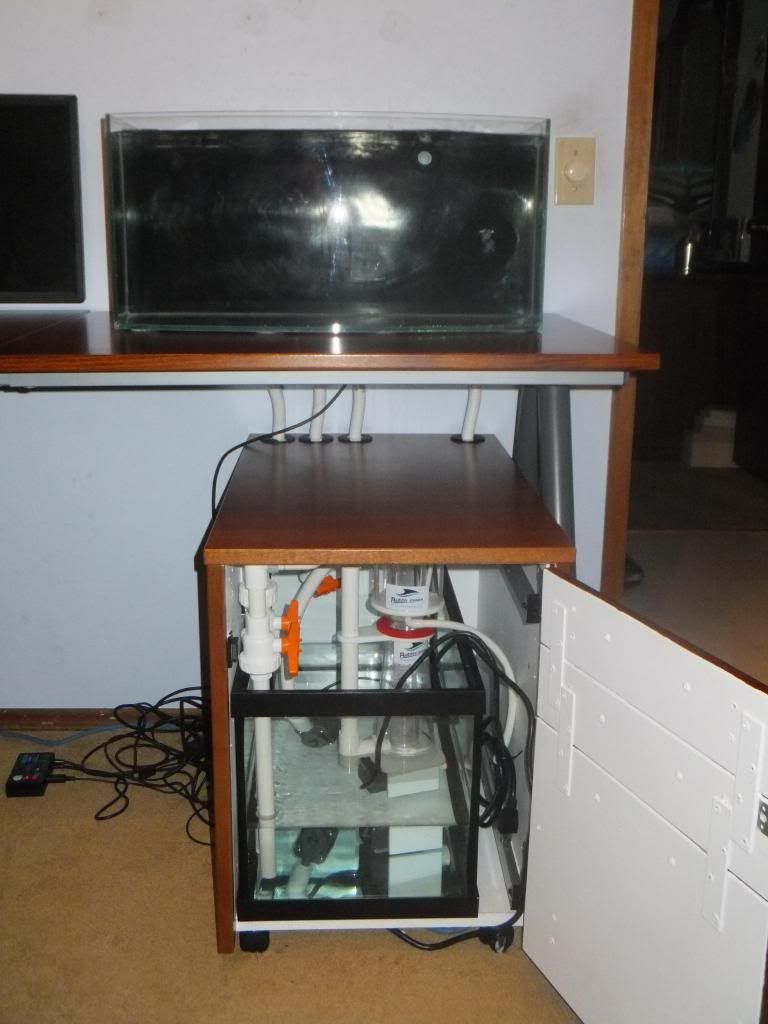
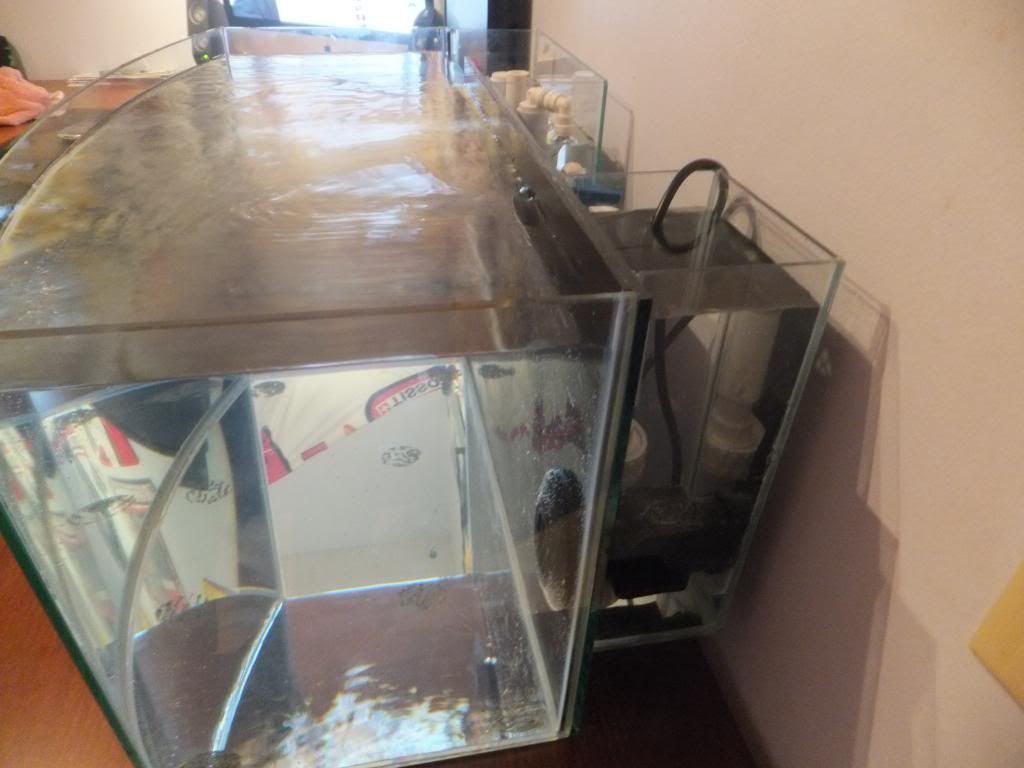
The stand is all dry now and i think its time to introduce the tank behind the tank the reason why ill be able to keep the display tank so clean and unhindered with equipment and clutter
MY SUMP!!
its a standard 15g tank that when all is said and done will hold an aditional 7 gallons bringing my total to 20g 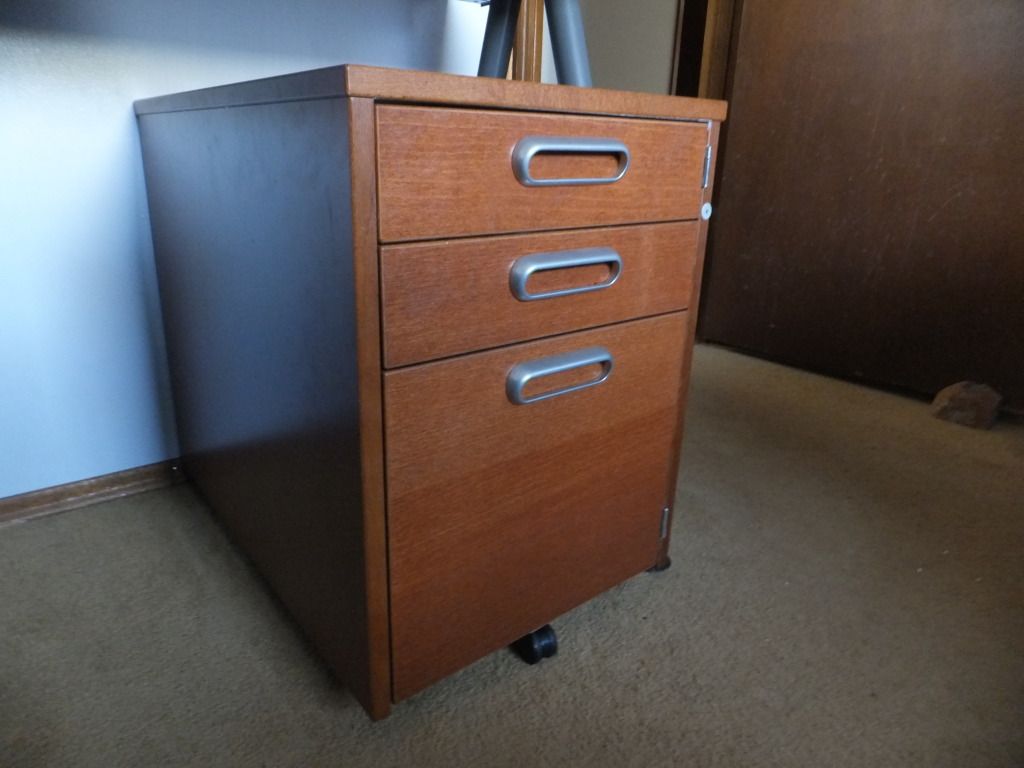 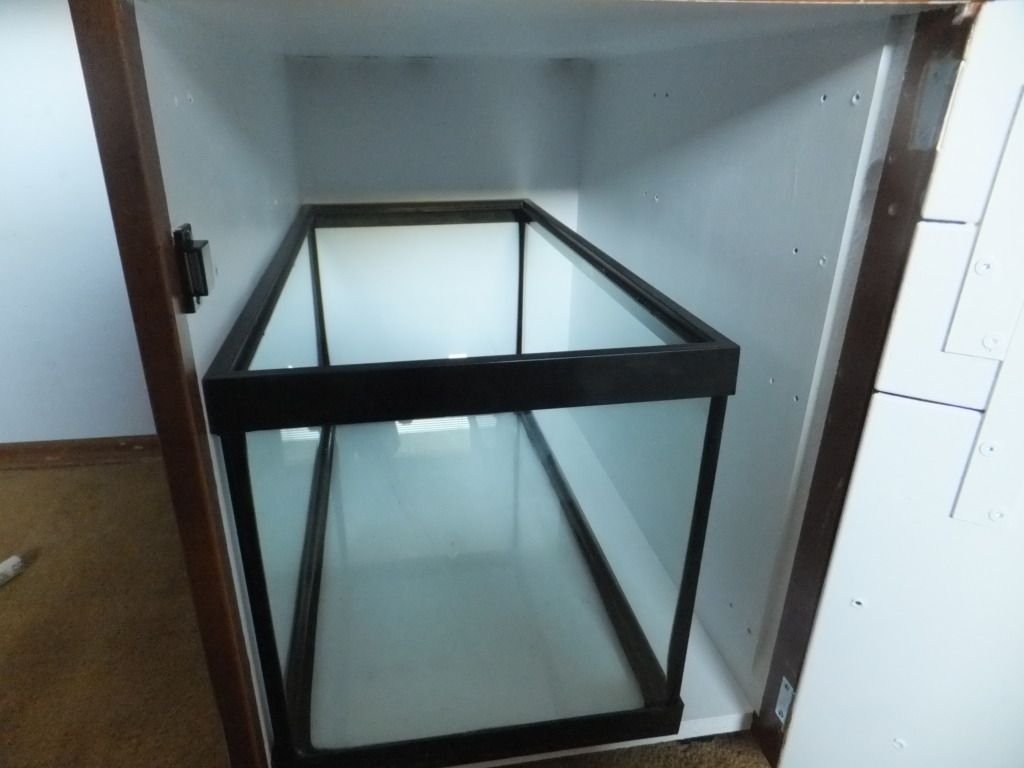 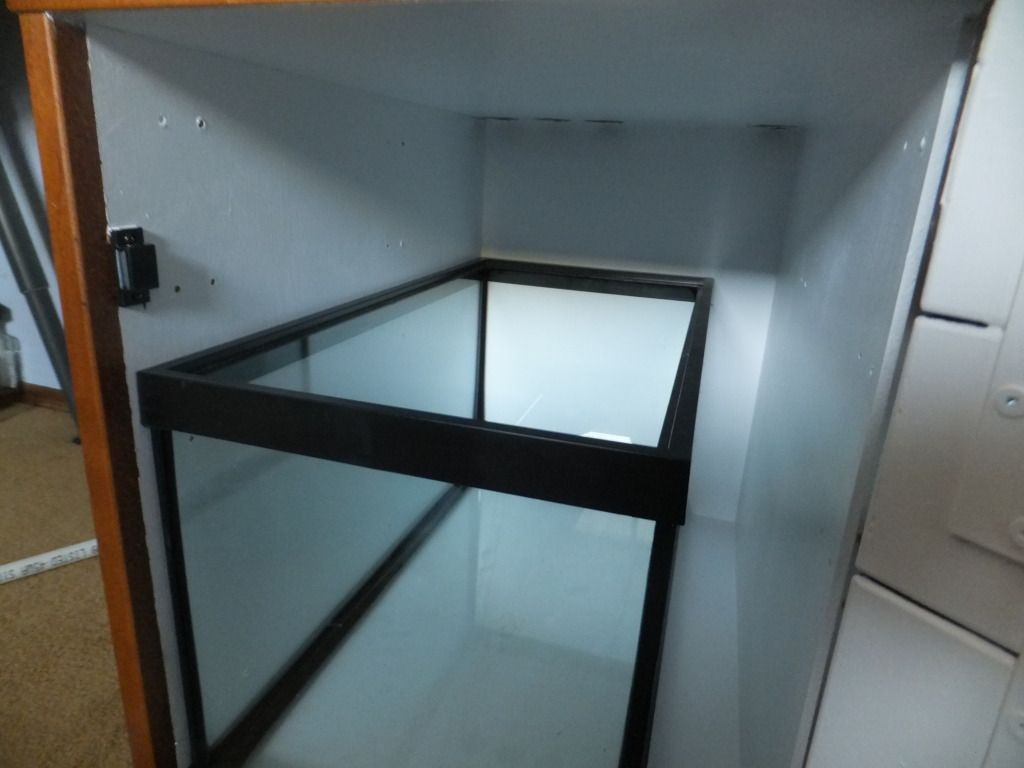 
|
|
#52
11-20-2013, 02:19 AM
|
|||||
|
|||||
|
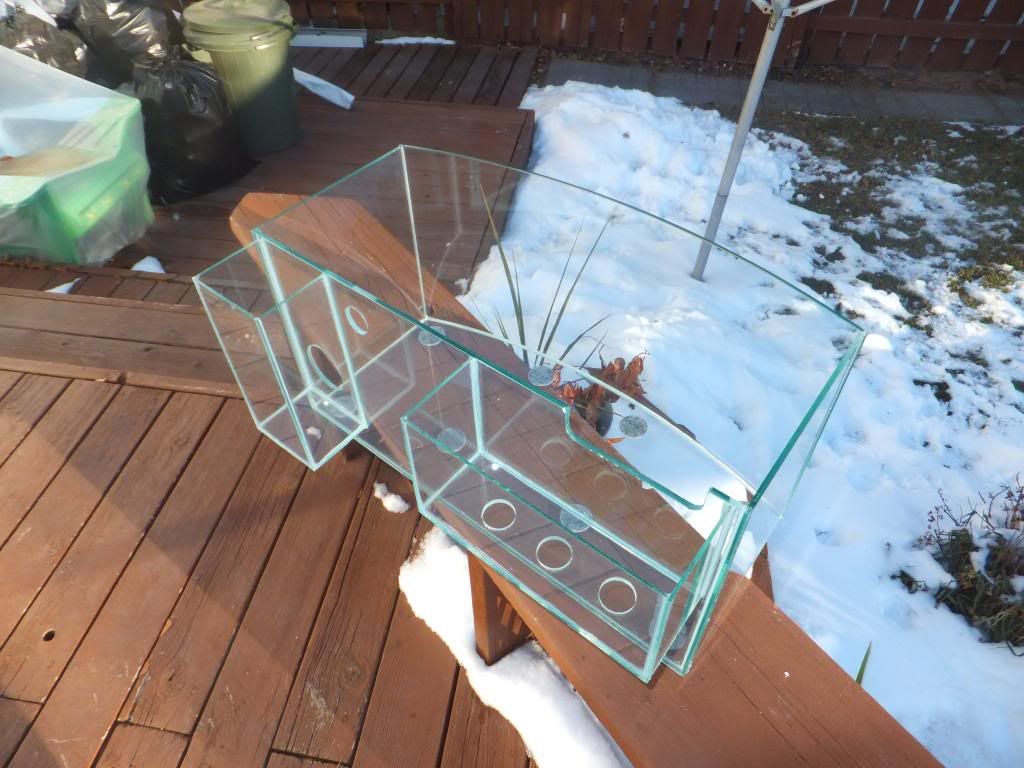
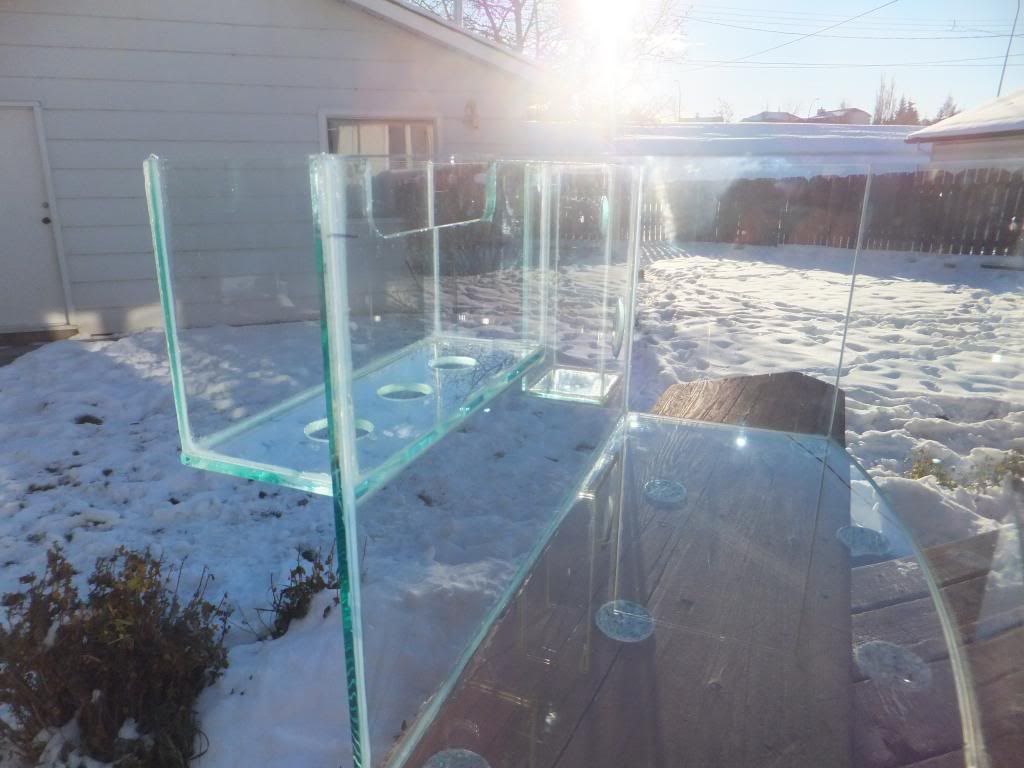
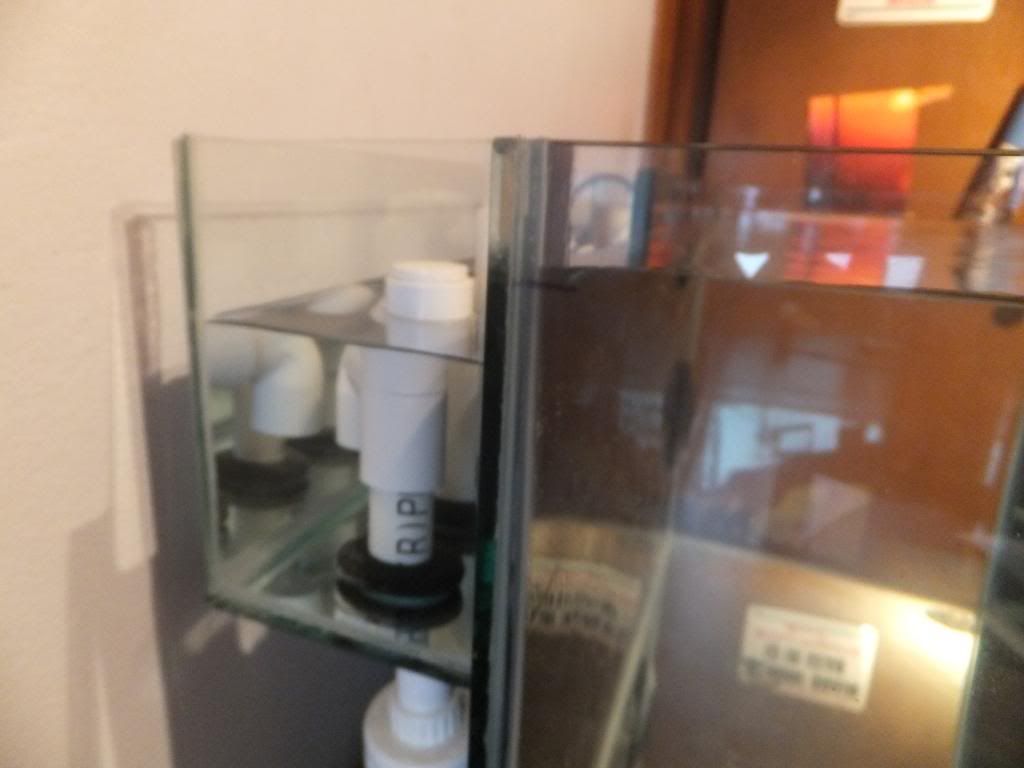
So earlier on i broke the back of my tank when i ran all of the plumbing in hard line with zero room to move
yes I'm a dumby somedays
but i got that all sorted out and this what i used 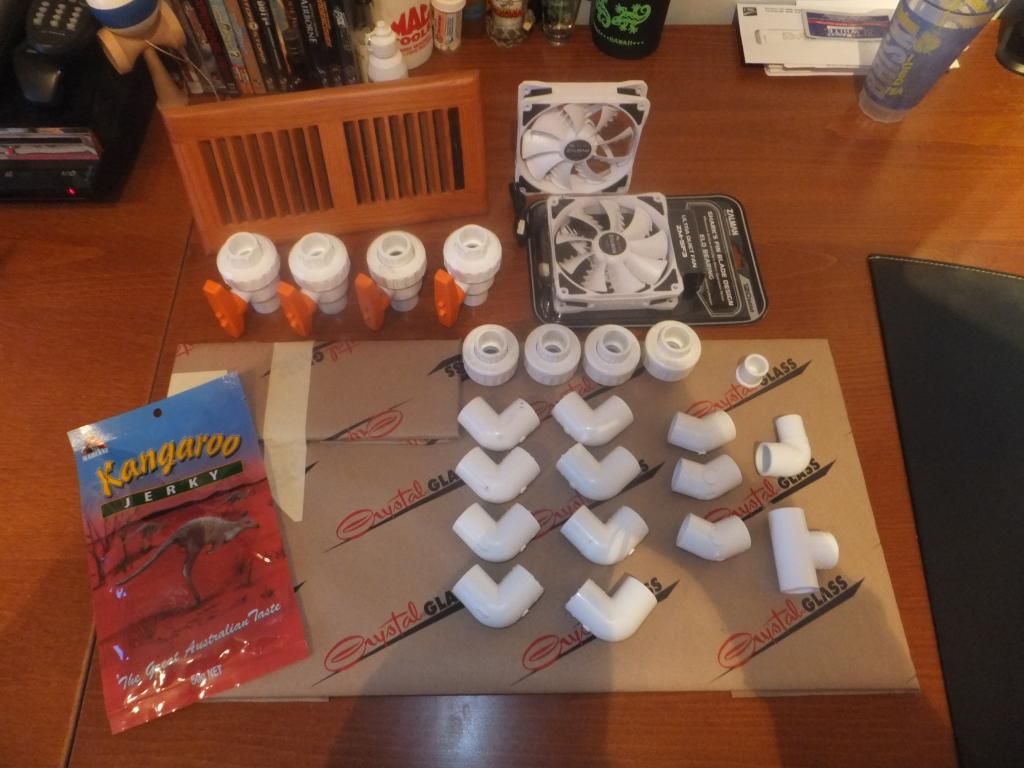
|
|
#53
11-20-2013, 02:20 AM
|
|||||
|
|||||
|
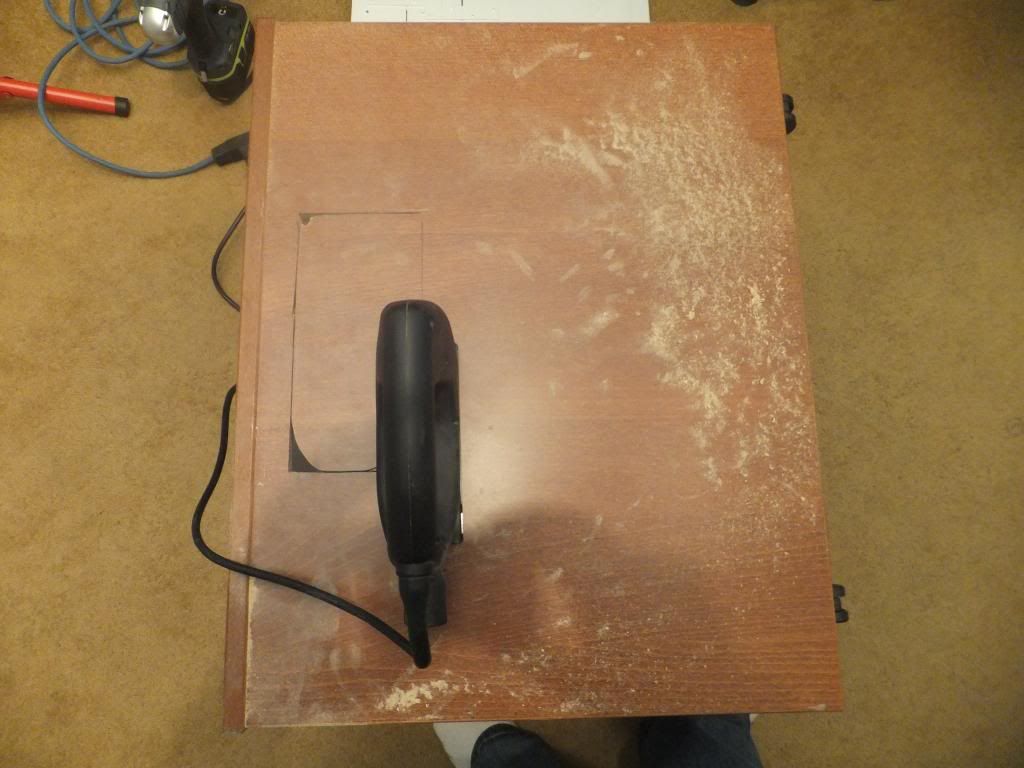
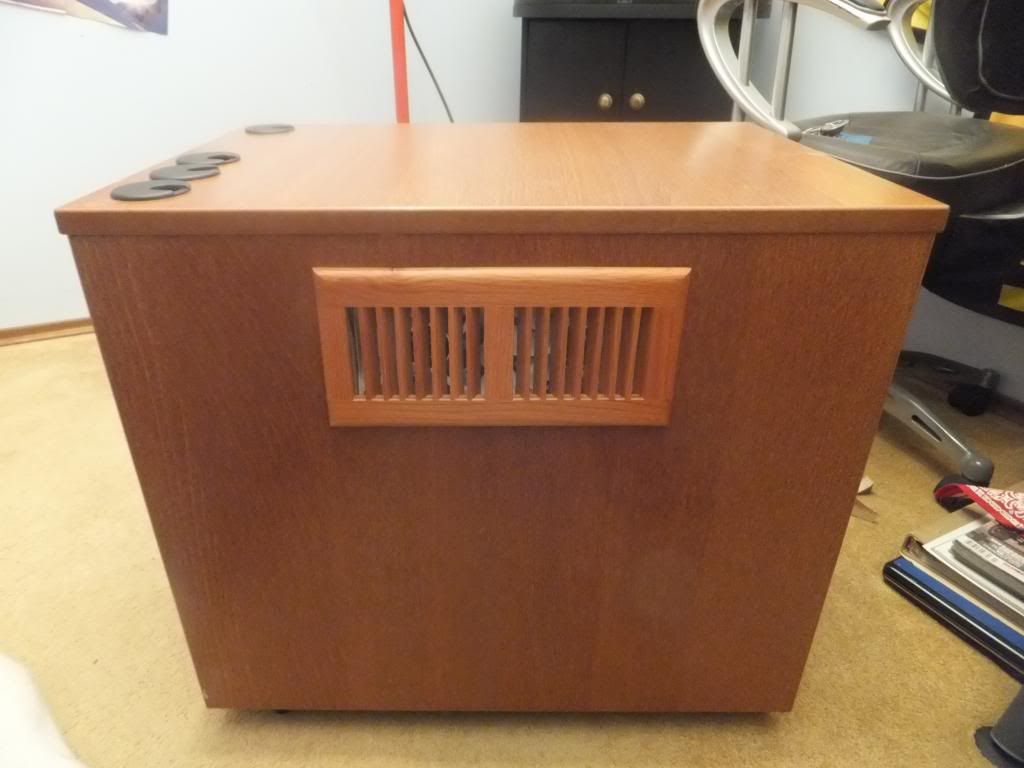
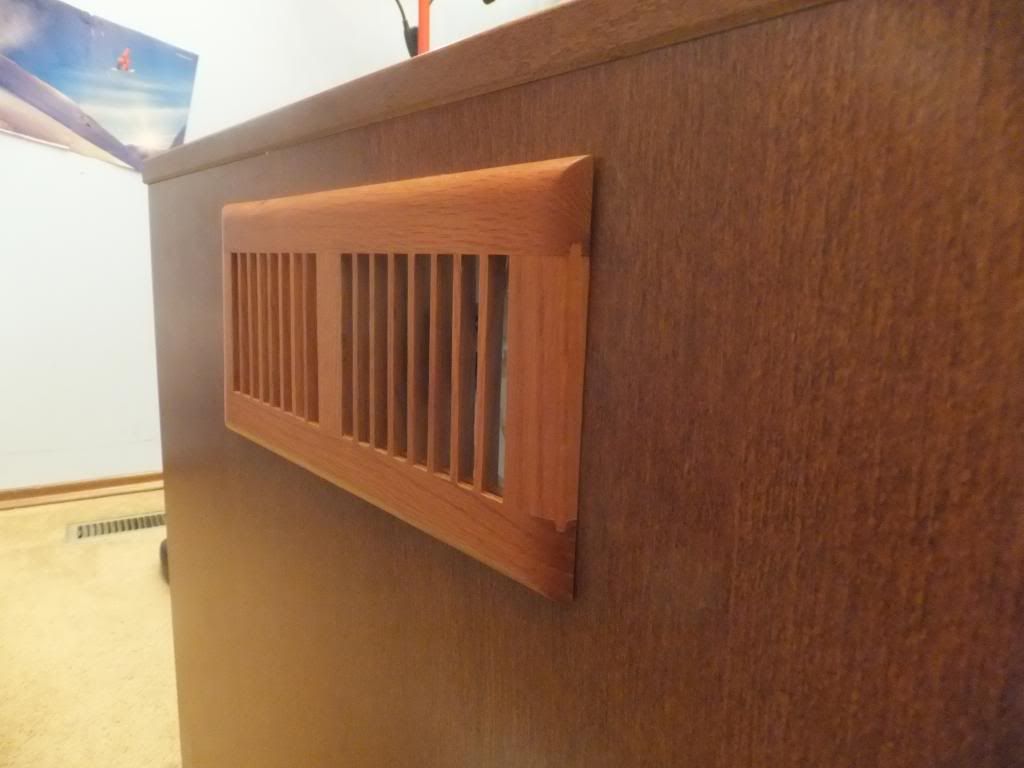
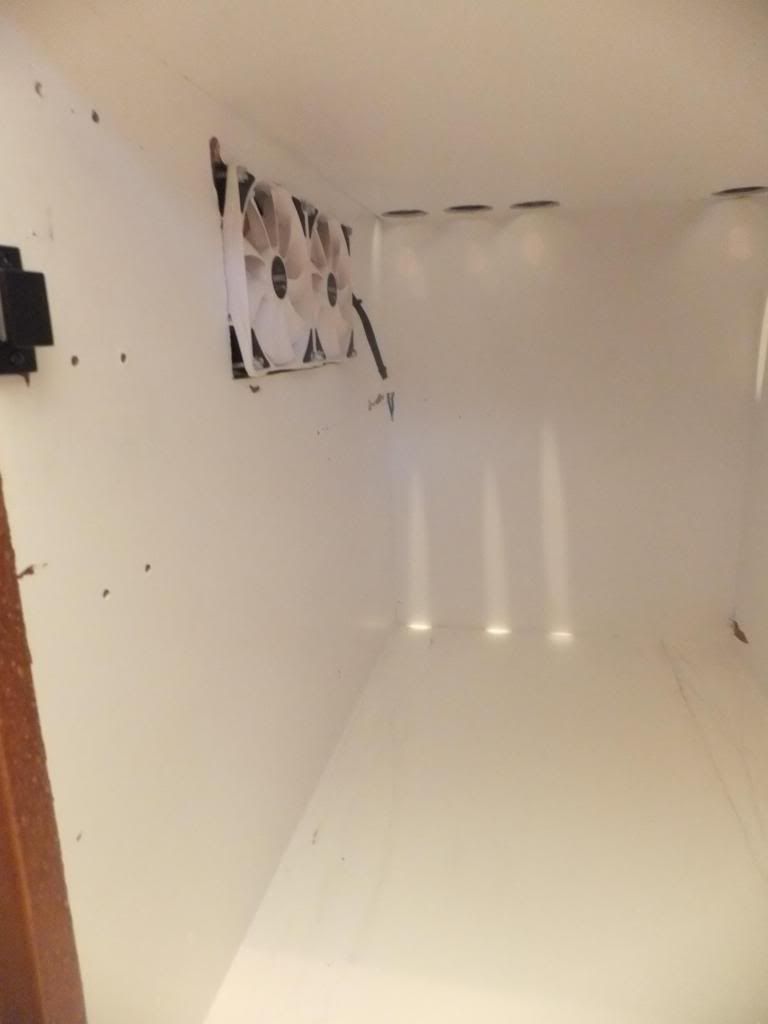
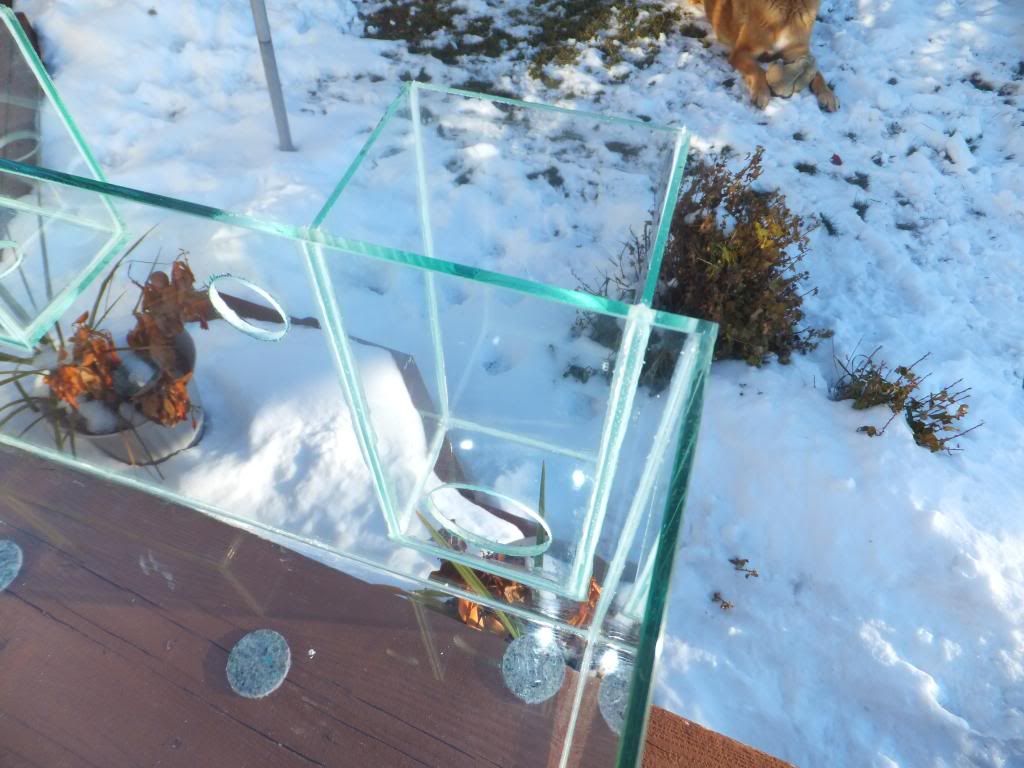
Next i was off to get the overflow and glass fixed and the fans all wired up and put into the sump stand
  Then i got to putting the whole thing together and i was trying to match the seams to the tank, very minimalistic, and considering its not going to have much volume in the overflow i think ill do just fine   Now do you guys remember the fans and the heater vent that i had on the desk in the previous picture? well this is what I plan on doing with those. (A big thanks to Enigma for the idea on the heater vent!) 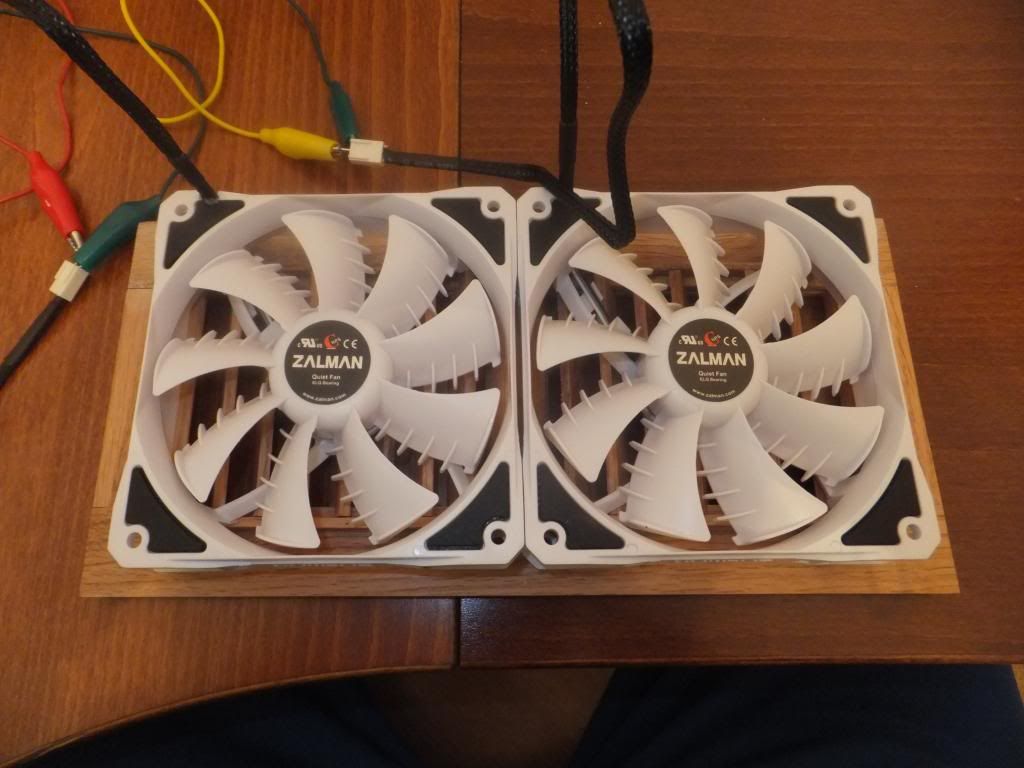 Then i wired them up rather crudely to a USB to make sure everything worked and was blowing the right way 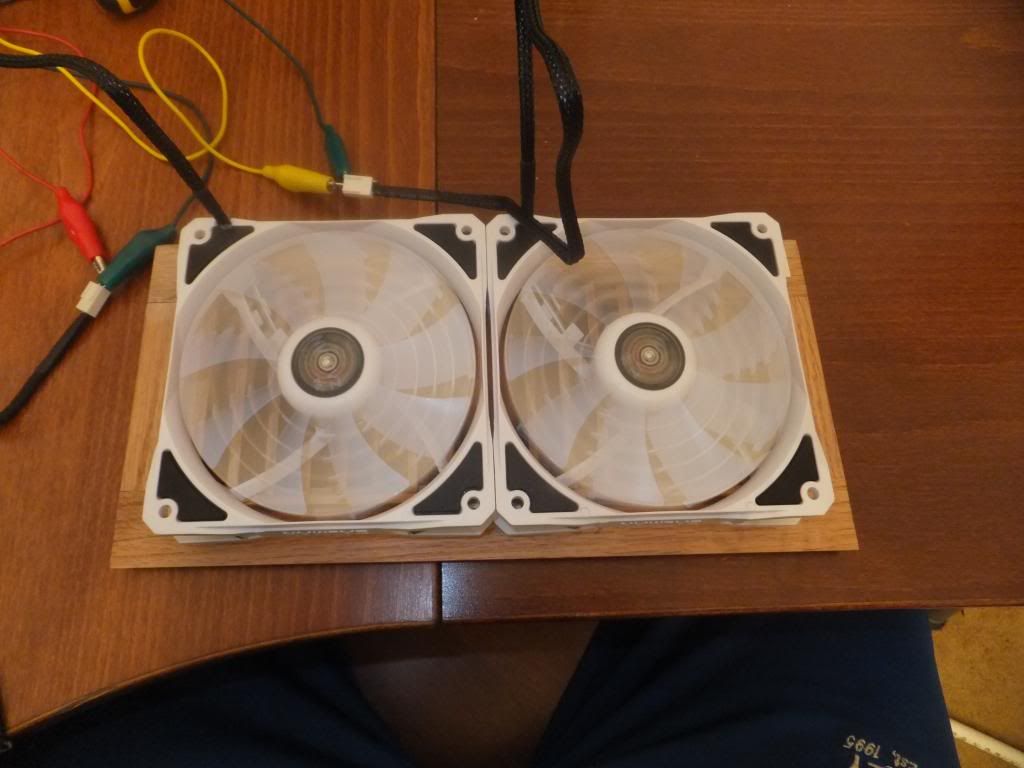 Then i got them all secured and wire tucked away, now they are ready for the transplant into the sump cabinet 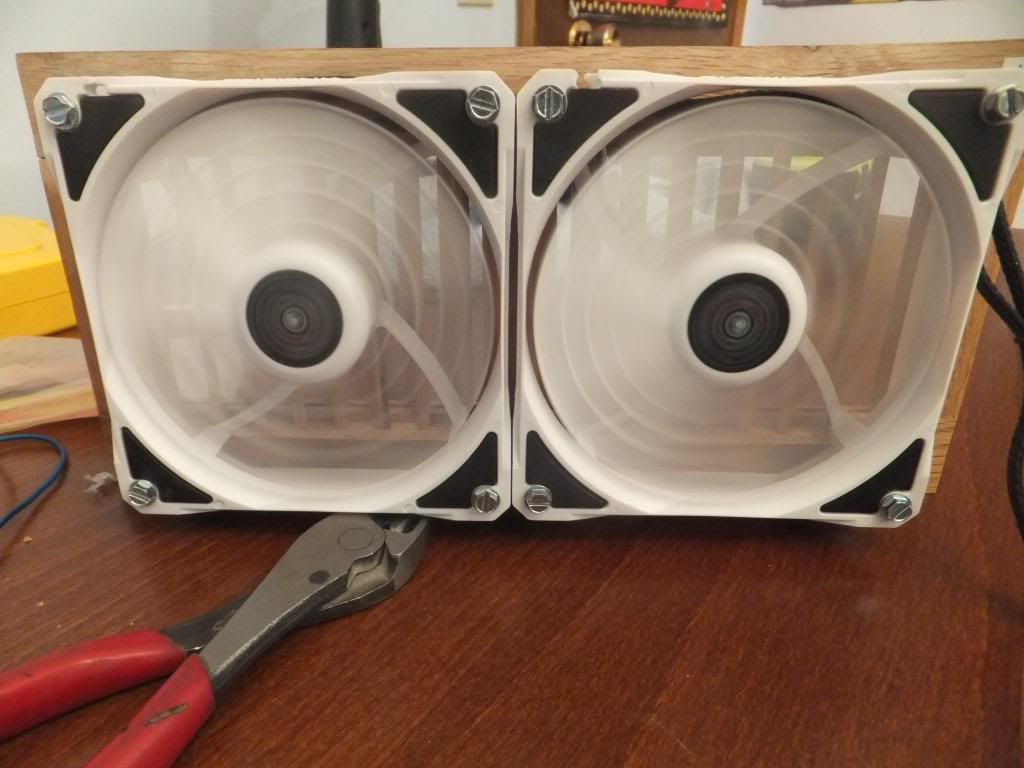 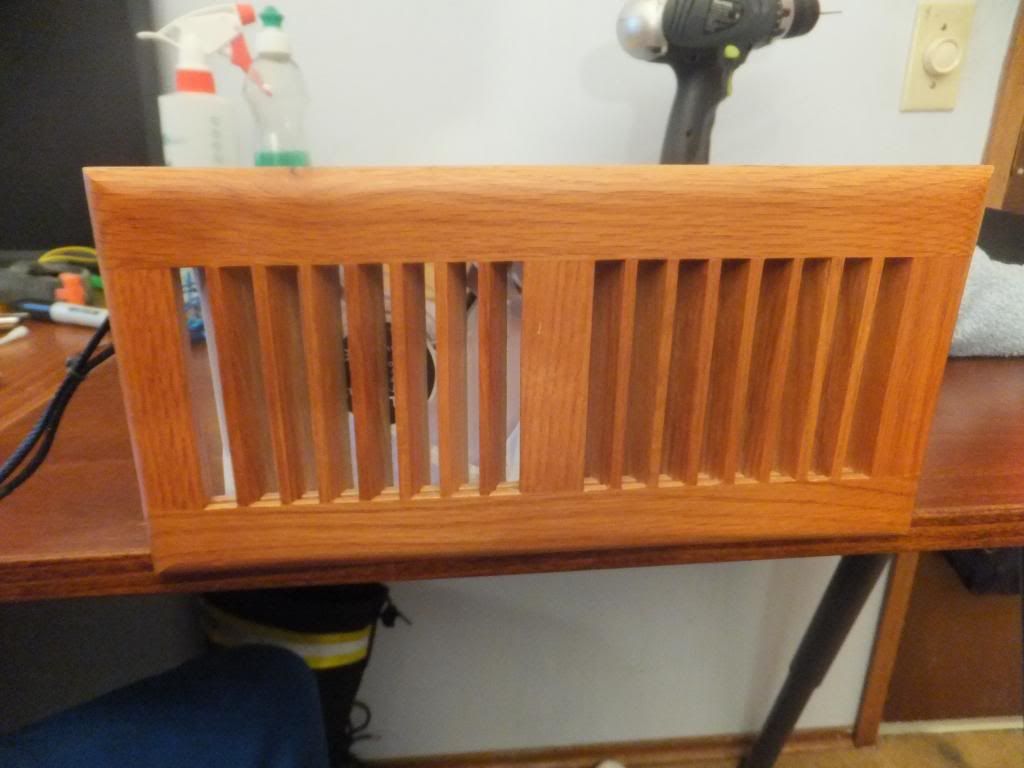
|
|
#54
11-20-2013, 02:21 AM
|
|||||
|
|||||
|
|
#55
11-20-2013, 02:22 AM
|
|||||
|
|||||
|
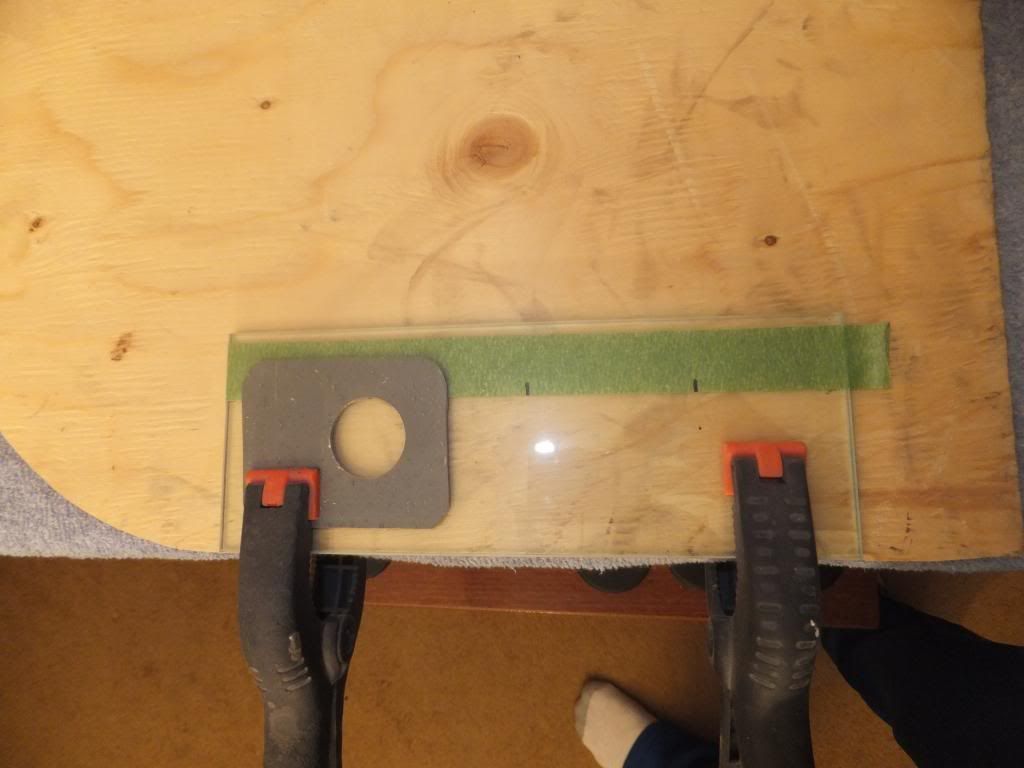
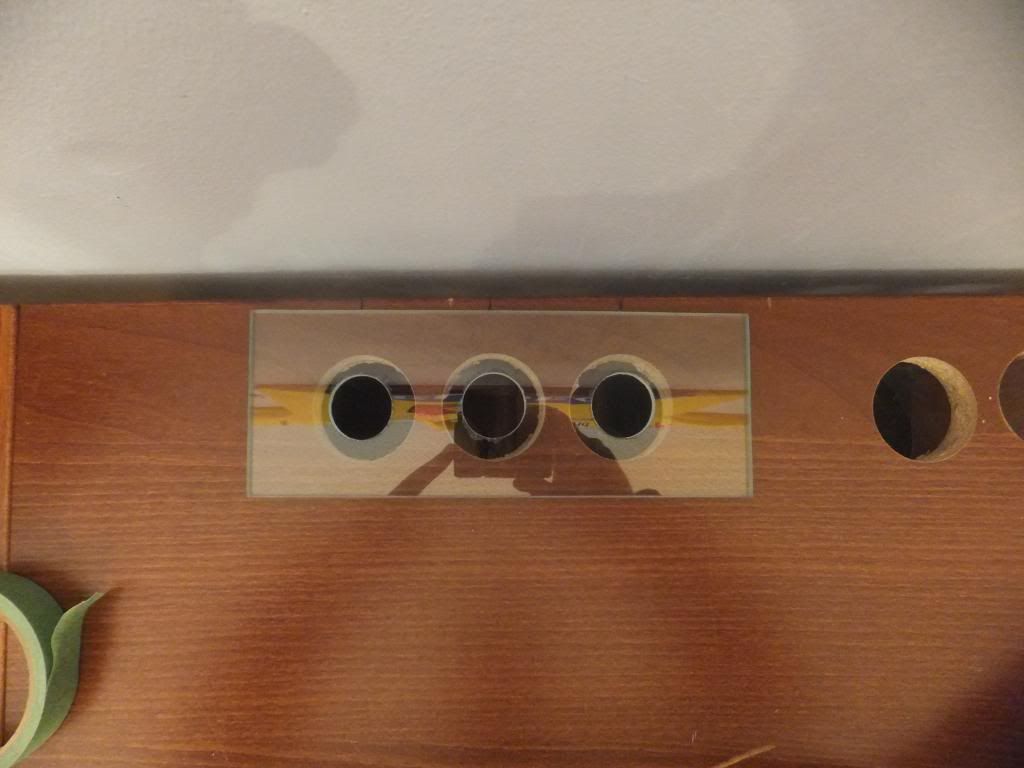
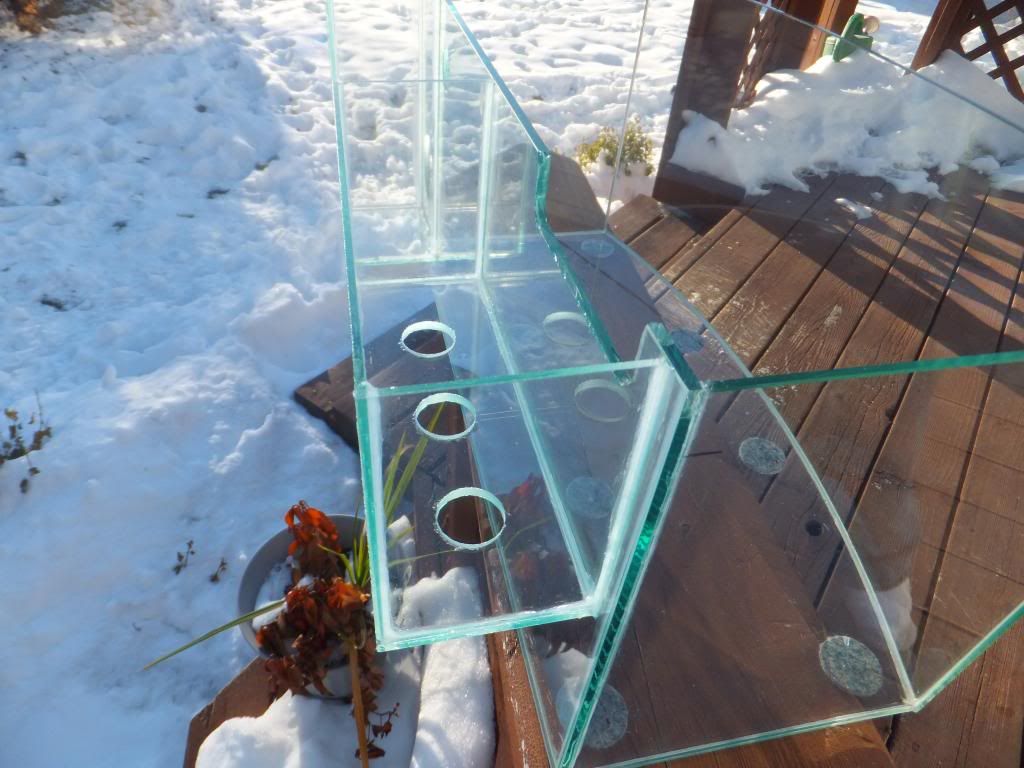
Then i got started on the glass that needs to be drilled and cut for an overflow and wave box, then the plumbing!
The hole for the wave box 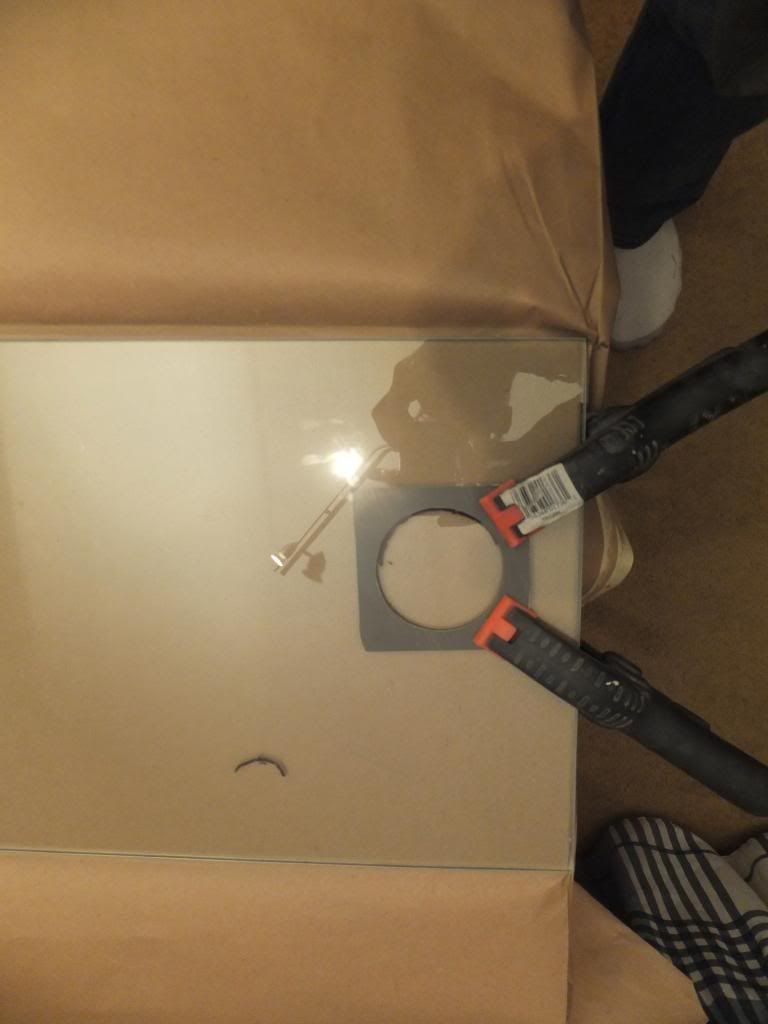 Next is my return line 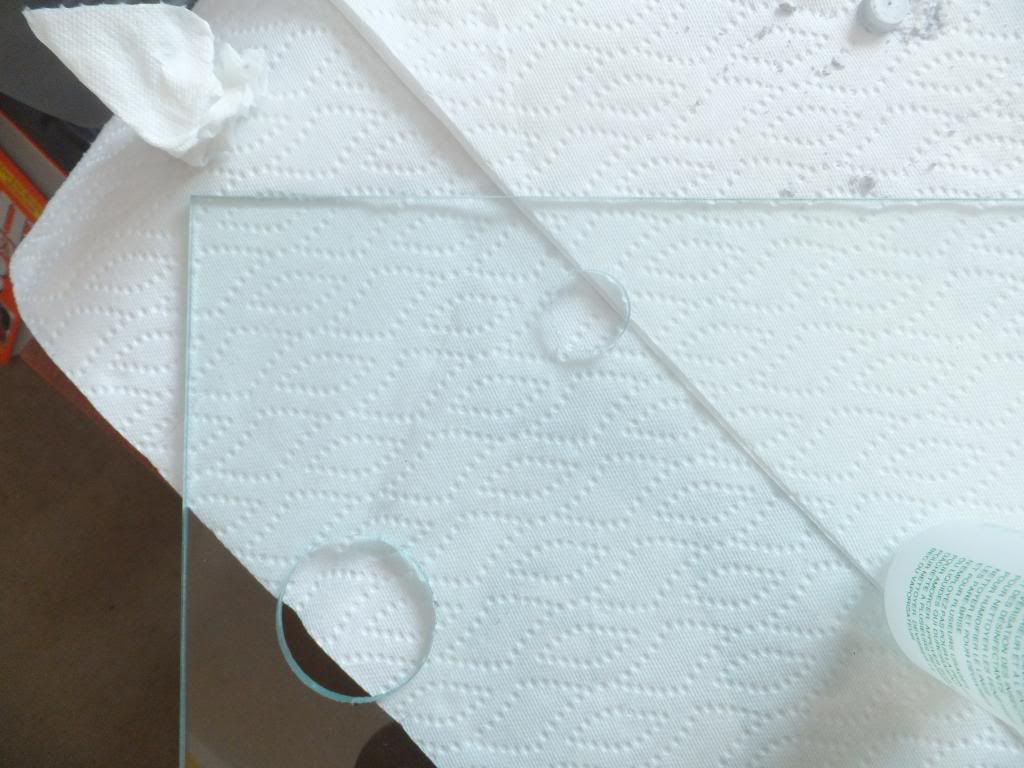 Then the overflow, untill i realized that i needed a new dremel bit to cut the glass 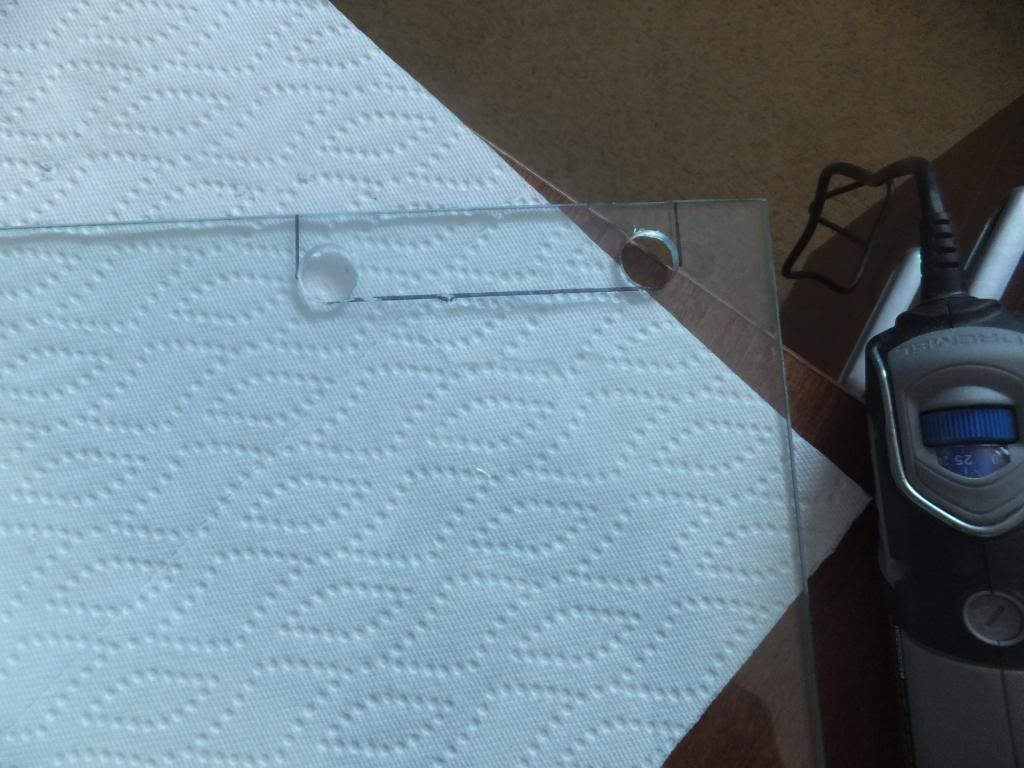 soooooo then i moved on to the plumbing! 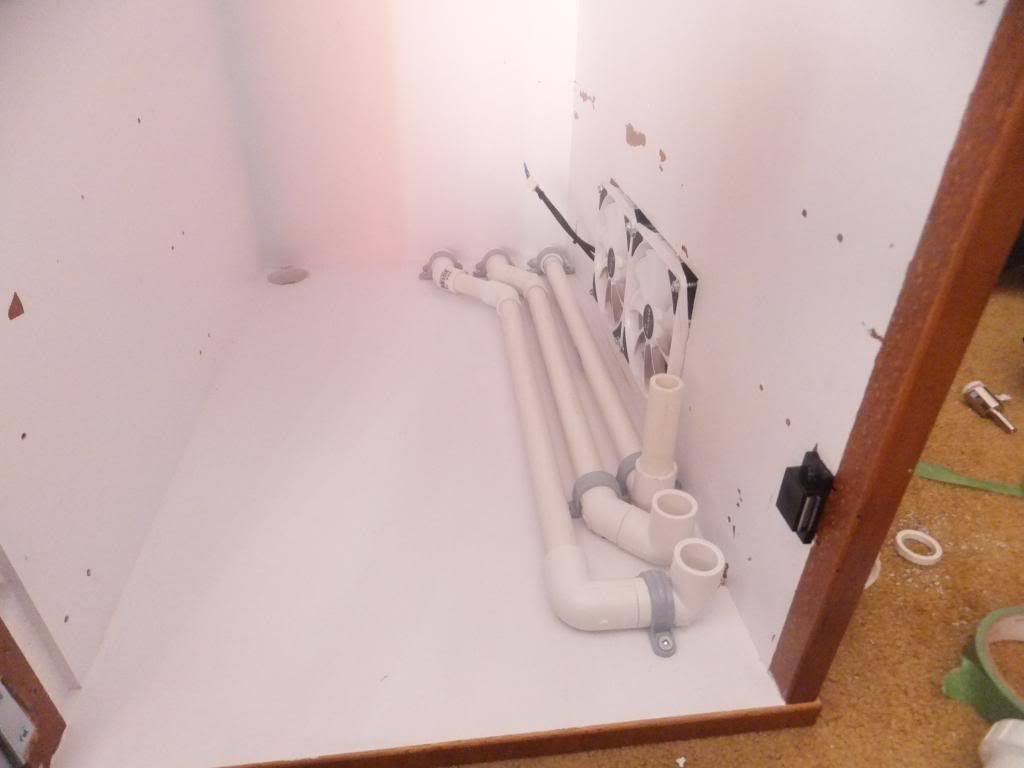 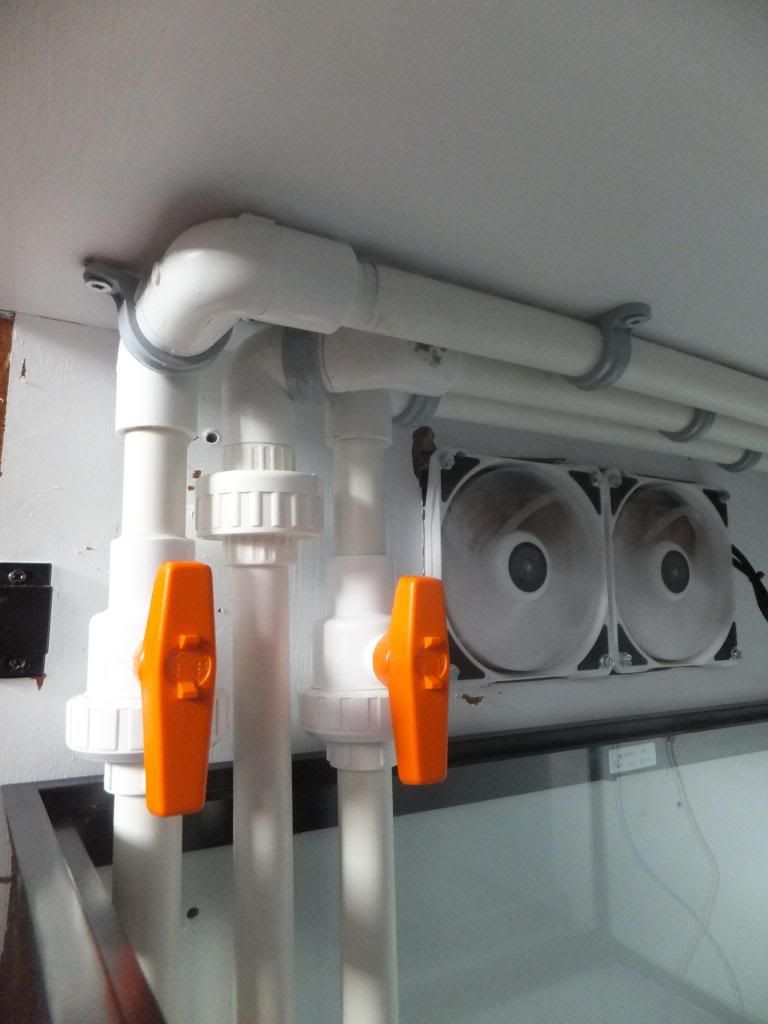 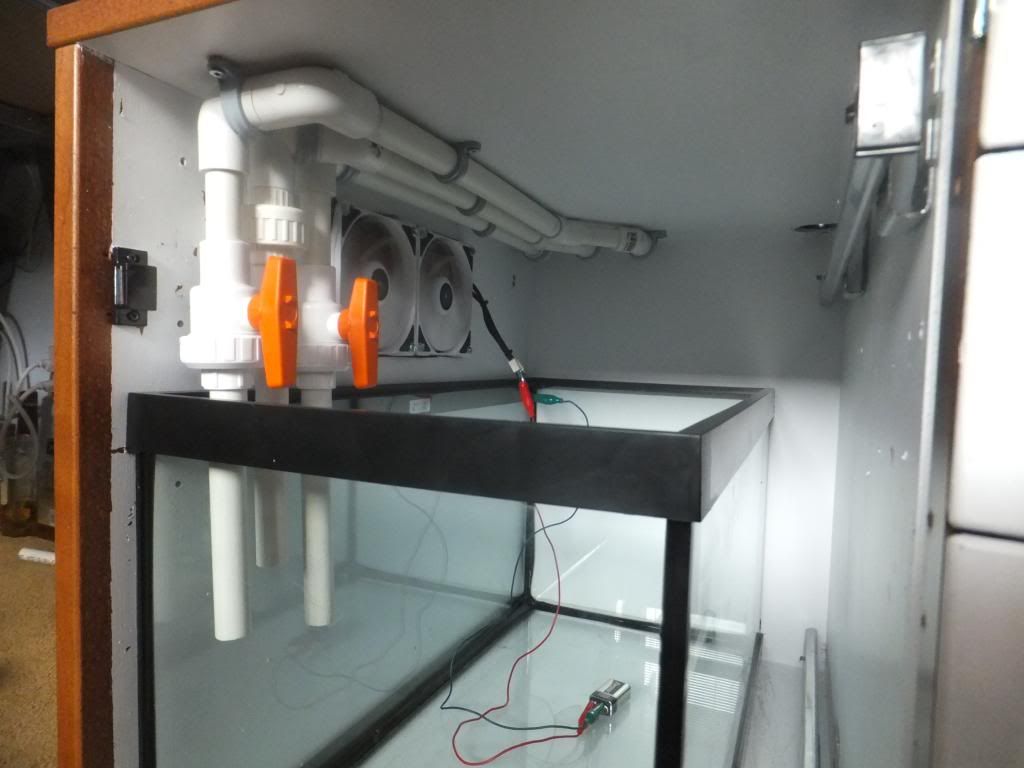 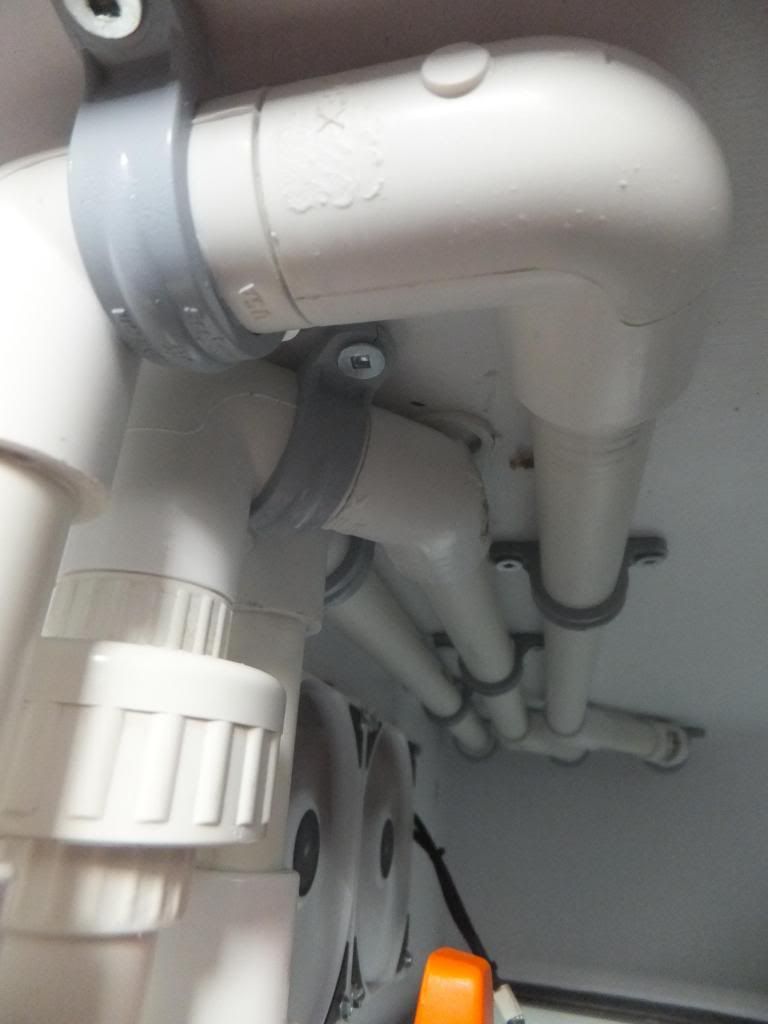
|
|
#56
11-20-2013, 02:23 AM
|
|||||
|
|||||
|
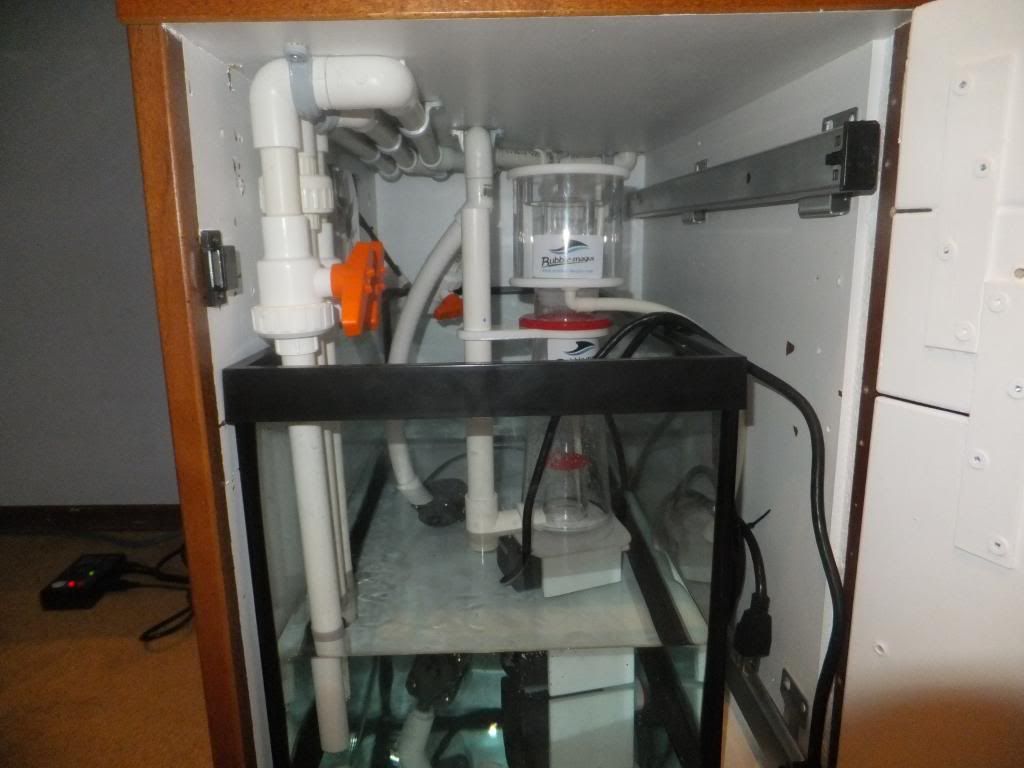
Hey guys, heres an update on the tank! ITS ACTUALLY A TANK NOW!!!
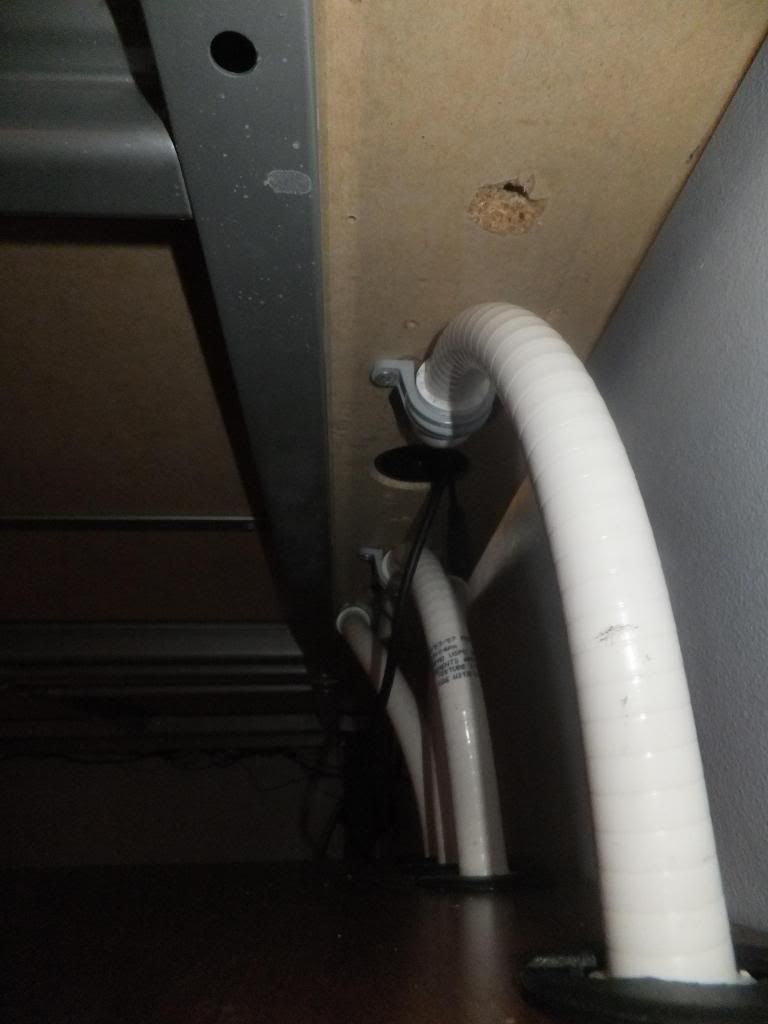
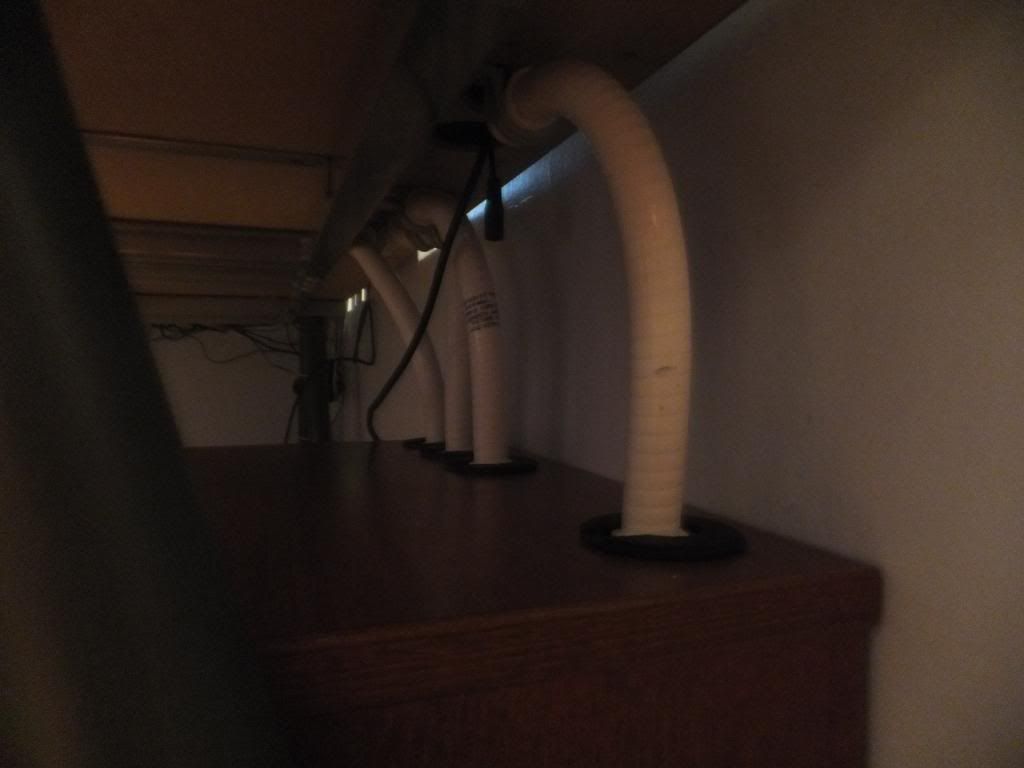
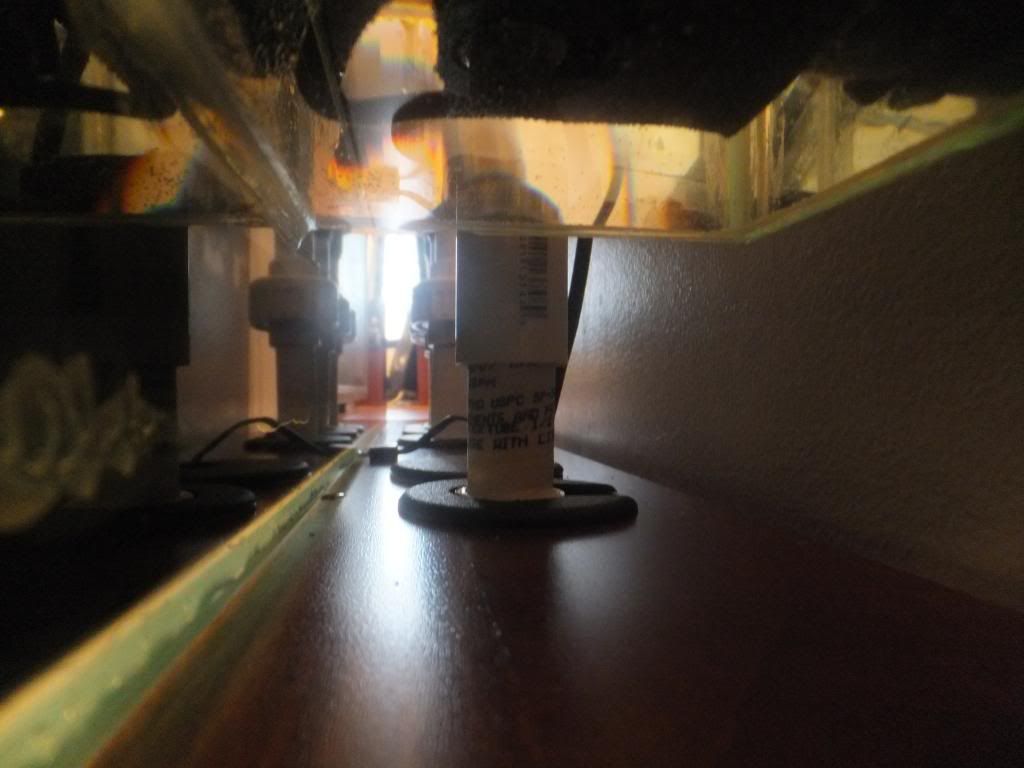
i spend the last day cutting and setting and being stupidly anal about the silicone but its all done now! i just have to clean it up a bit and then its ready for the last stages of plumbing and then water!! 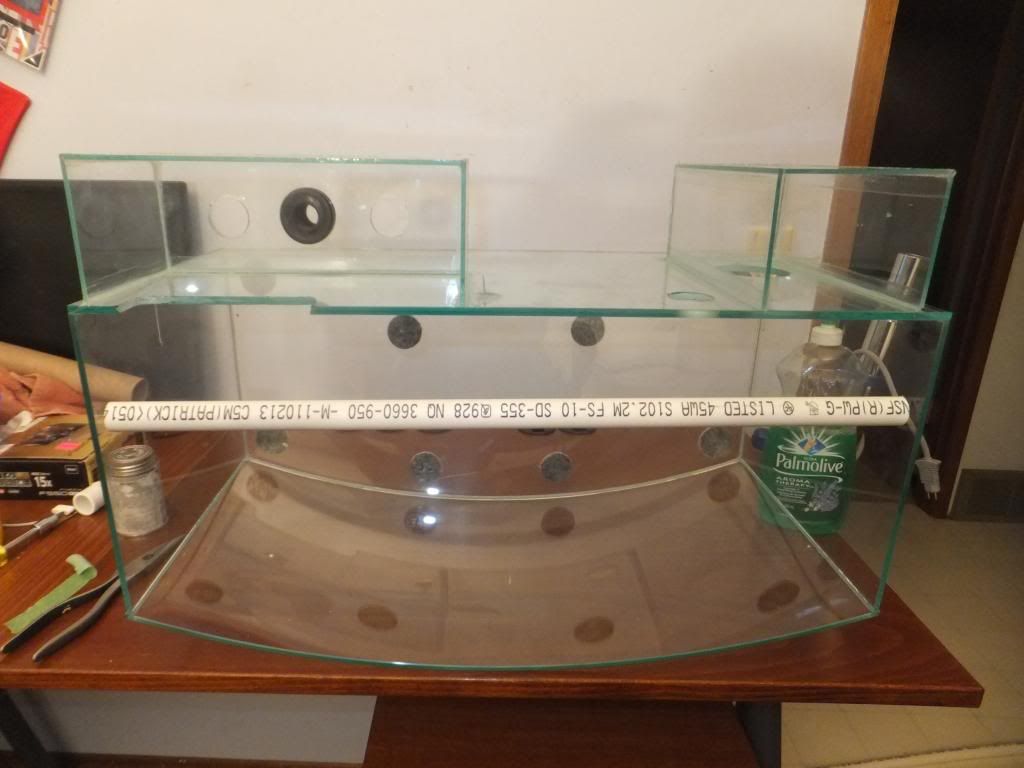  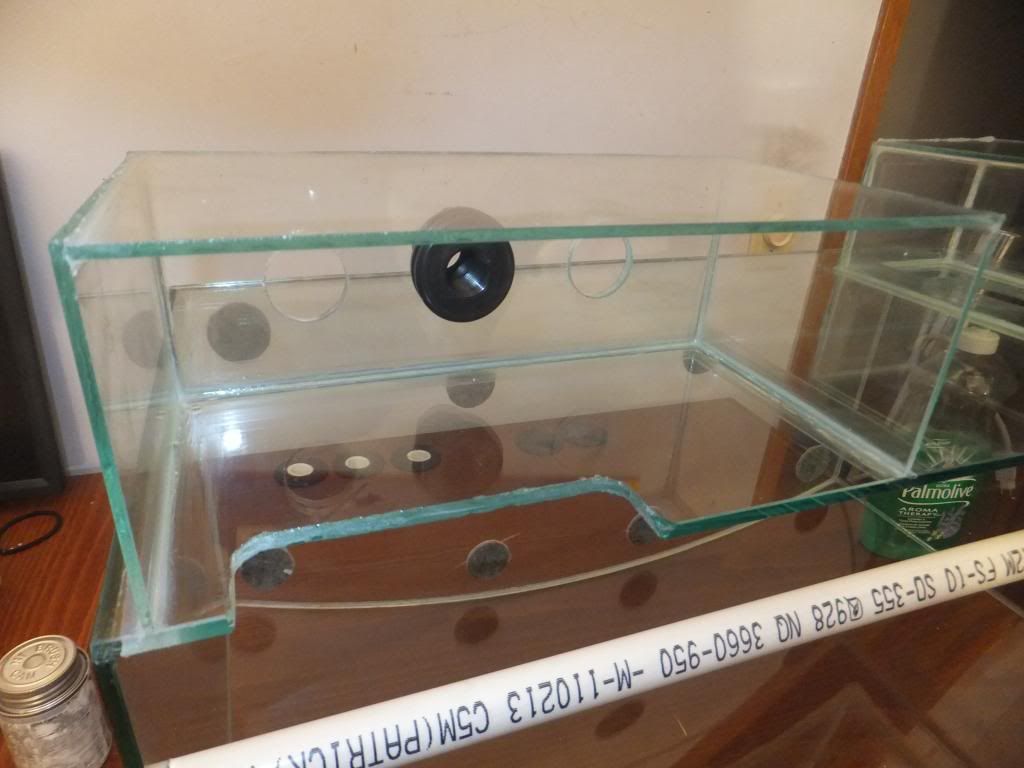 I also got my sump plumbed to the bottom of the desk, i used flex line to make sure that if anything shifted it would have the room to move and not break things and stress stuff. I also plan on putting in hard wood in the house in the next 4 months so im not sure if that will effect it in anyway but i thought i would be safe rather then sorry 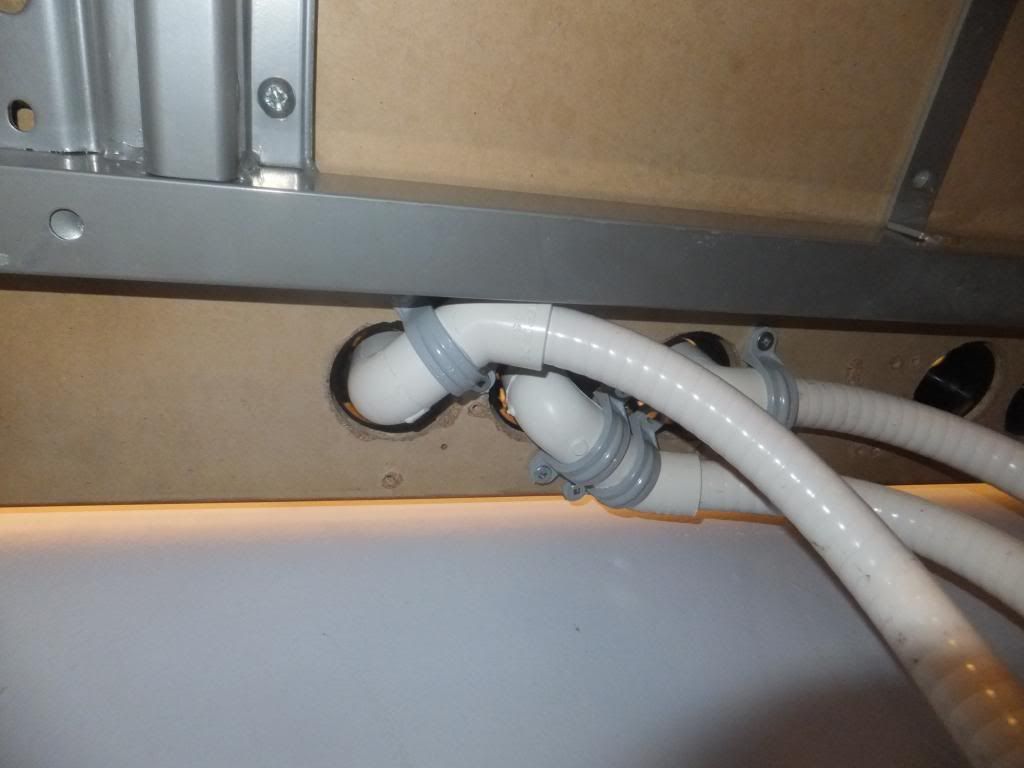  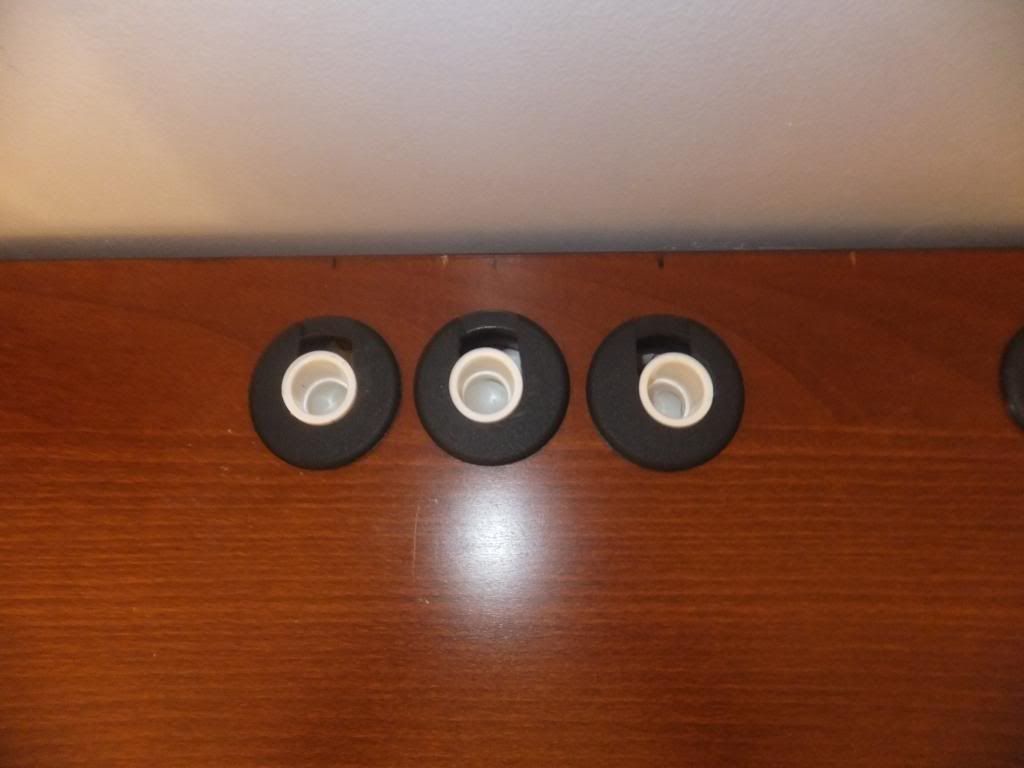
|
|
#57
11-20-2013, 02:24 AM
|
|||||
|
|||||
|
This morning presented itself with a perfect oppertunity to get outside and not freeze! so here is the final product in all its tanky glory!
     And here is my shop foreman! 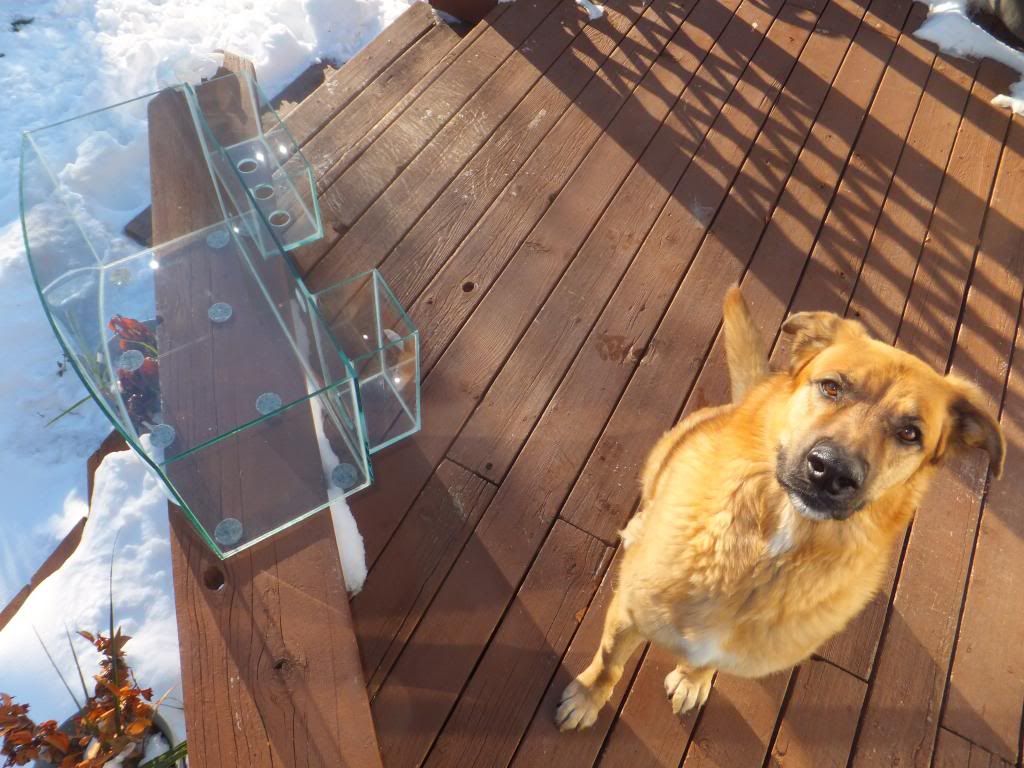
|
|
#58
11-20-2013, 02:24 AM
|
|||||
|
|||||
|
I finally was able to the the finishing touches on the plumbing and got the tank fully setup and wet today!!! I still have the baffle the sump and get to Edmonton to pick up my new Apex, then get it installed and setup, then its on to the foam and rock wall!!!!!
|
|
#59
11-20-2013, 02:25 AM
|
|||||
|
|||||
|
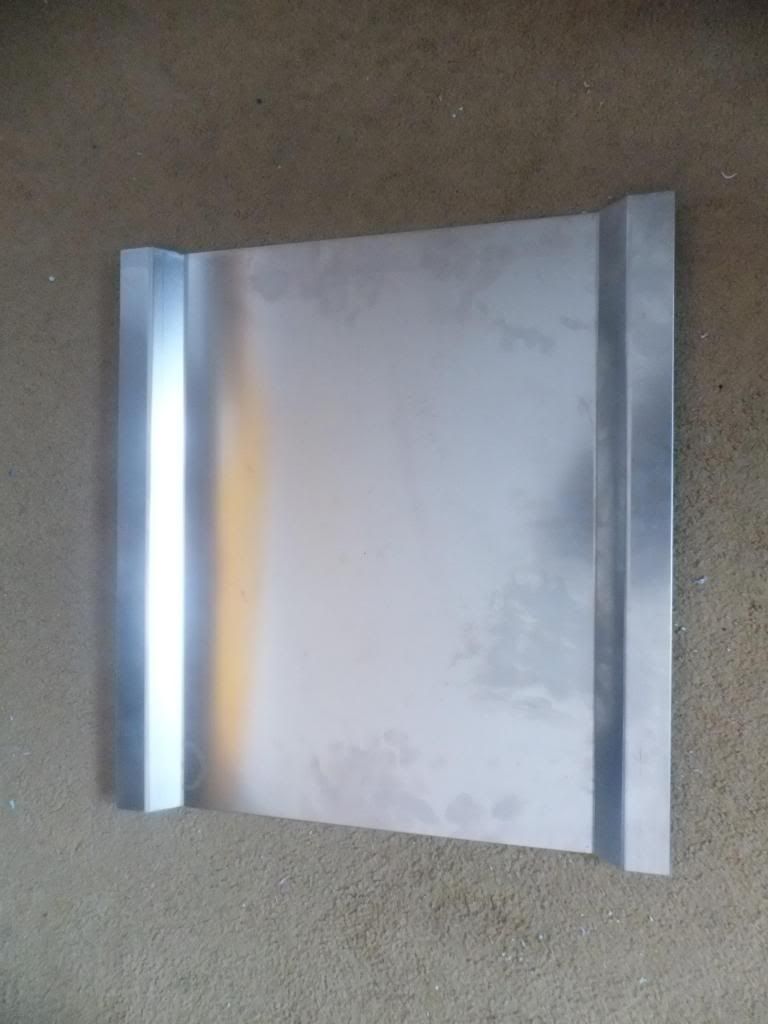
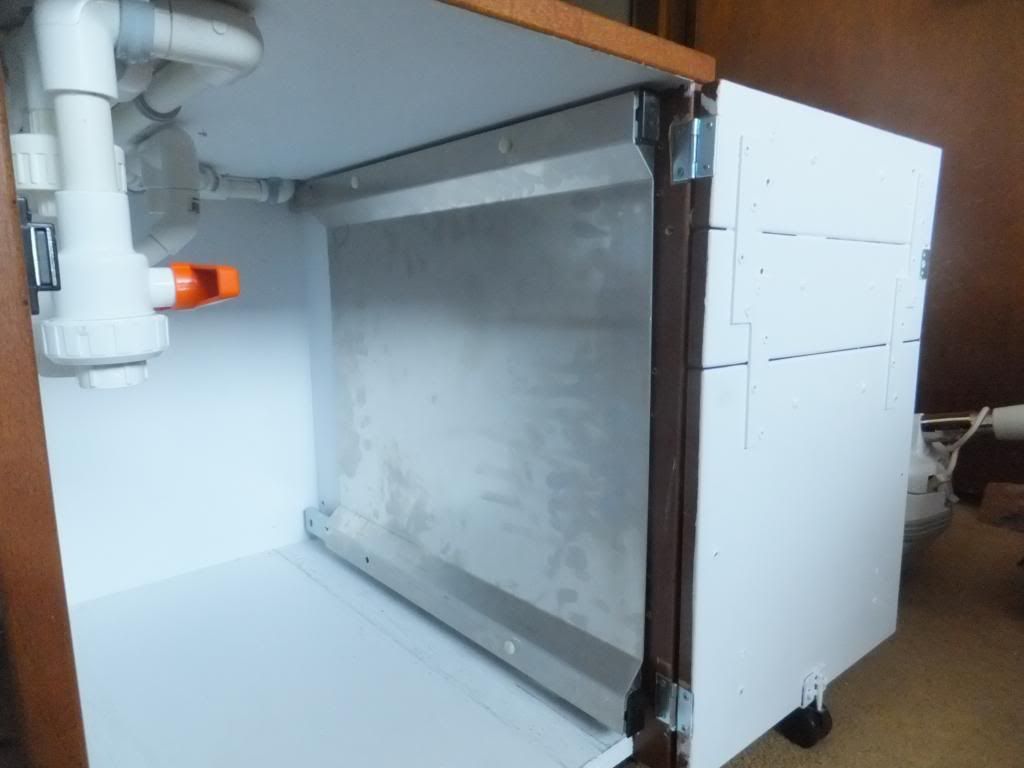
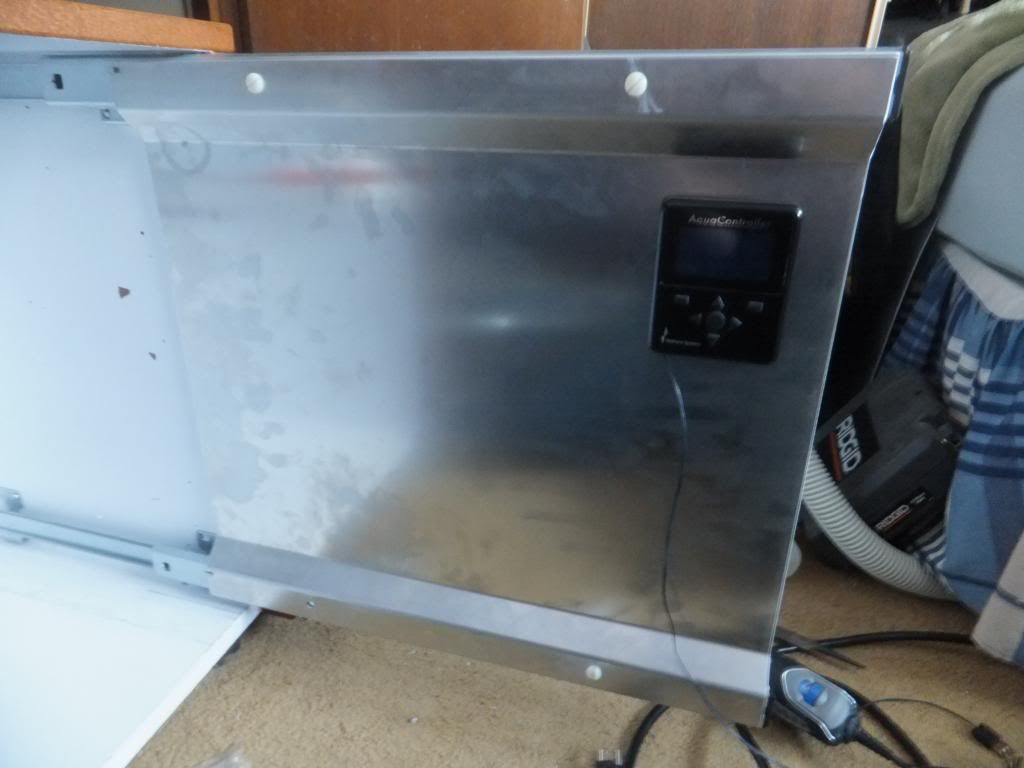
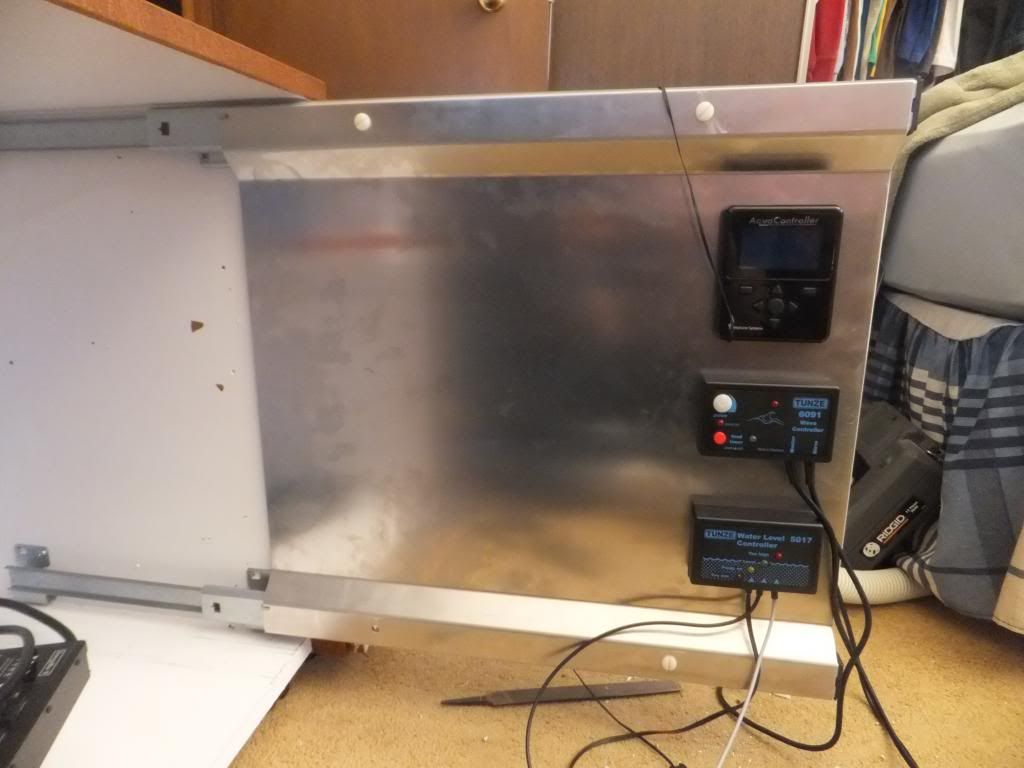
Hey everyone so here is an update for you! I went and picked up some aluminum today to make a mount for all my controllers and switches, I modified the tracks that the original drawers for the filing cabinet were on to make a sliding pannel that will pull out of the cabinet to let me have access to everything on the panel, its not done yet. I still have to mout the last apex box and the netgear wnce2001 i just ordered to get it all online and then run all the wires and plug it all in but so far its looking good everything fits snug as a bug, and when its slid in i miss the return line by only a fraction of an inch haha weeeeoooo for measuring haha
      But thats all for tonight folks, I have to run. I have a date with my gorgeous girlfriend!!
|
|
#60
11-20-2013, 02:26 AM
|
|||||
|
|||||
|
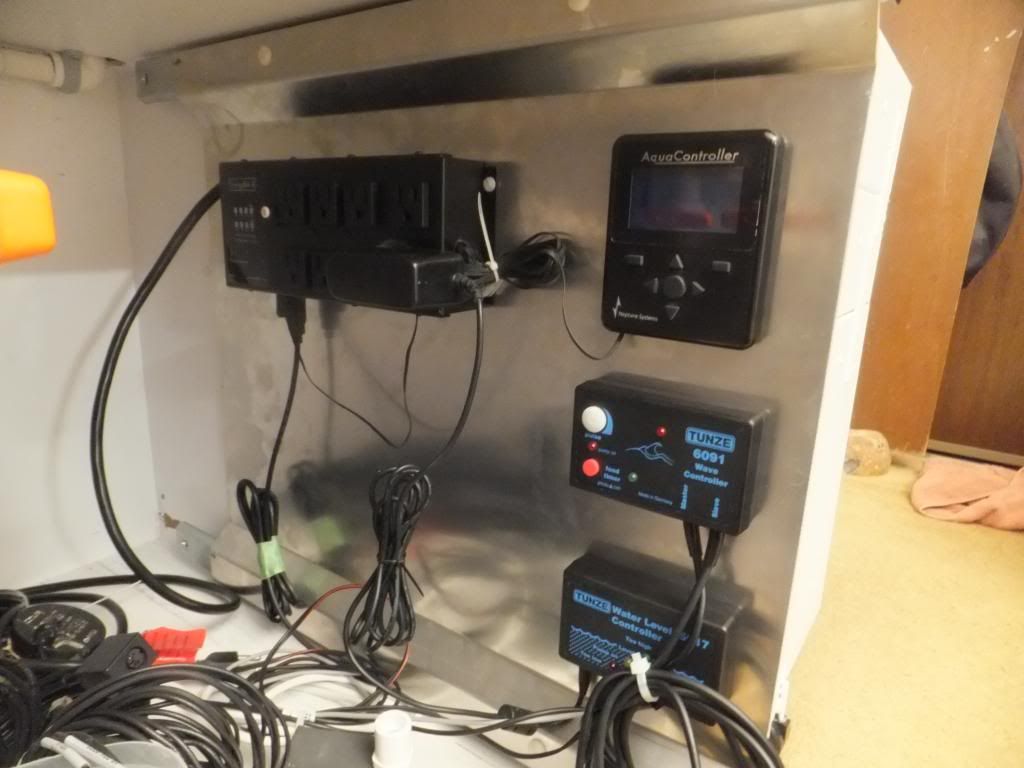
So i got a bunch of stuff done last night, and there is a lot more to come today and the next day. I got the rest of my electronics mounted and ready to be wired up, my apex is online now and waiting to be programmed
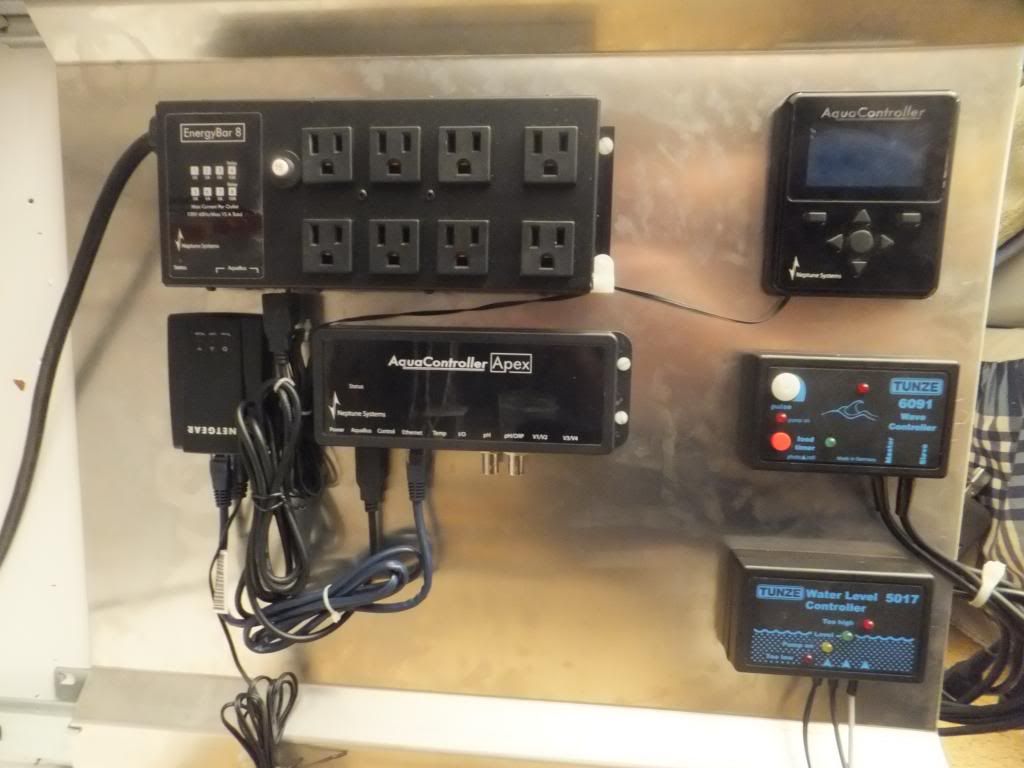 I also got my probes plumbed into my return line on the downside that will feed my fuge, i also finished that line as well too. believe it or not getting them to fit took me close to an hour and a half!! 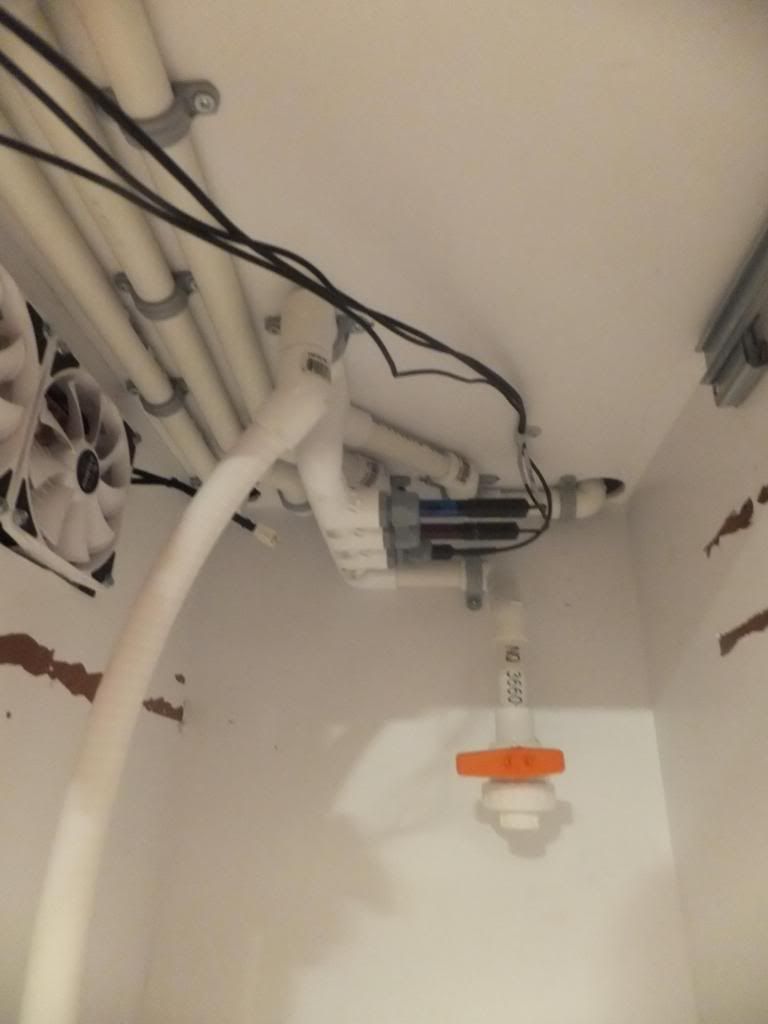 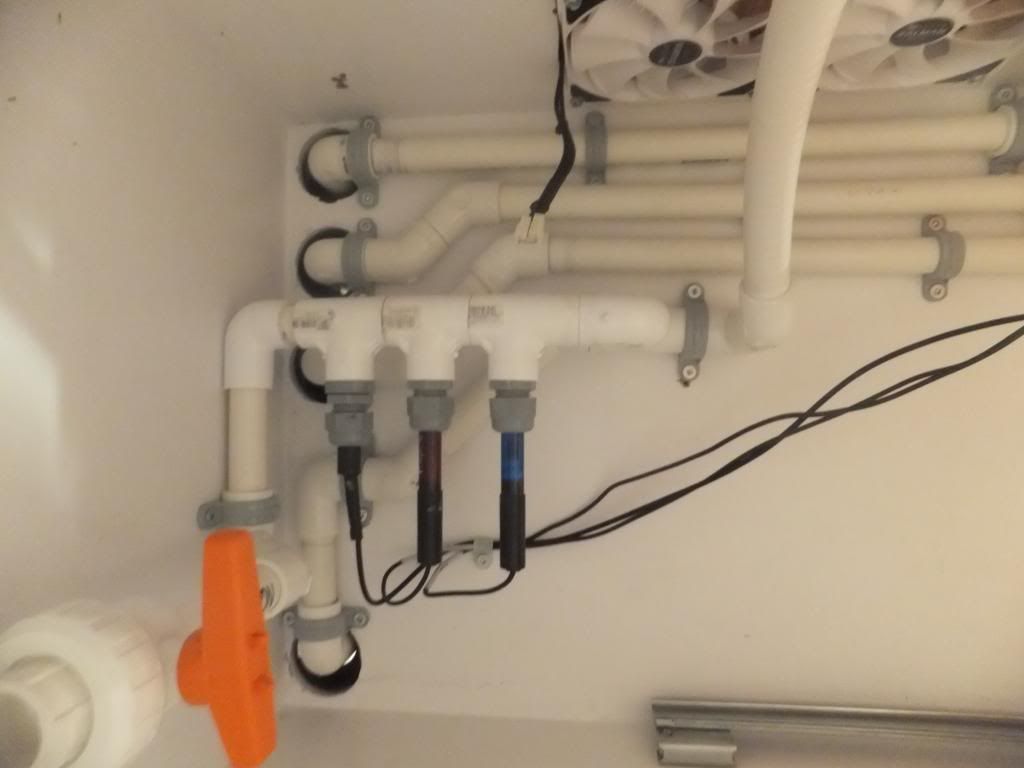 today ill be finishing the baffling in the sump and then wiring the cabinet with a GFCI plug to run everything!!
|
 |
| Tags |
| bowfront, custom, exposed rock, tunze, wavebox |
|
|


 Linear Mode

