![]() |
|
#1
|
||||
|
||||
![]() Just a quick update to show that I am still working on this.
Glass just came in a week ago, so I am getting anxious to get it in the house. I finished dry walling with Brett, then had a guy in to mud and tape. I threw three coats of Kilz Premium on before starting on the counter/frag stand. After that is built and both stands are painted, it'll be finally time to get the tanks built. While I wait to add water, I will have time to finish the viewing wall and plumb everything together. Here are some pics from the last couple of weeks:
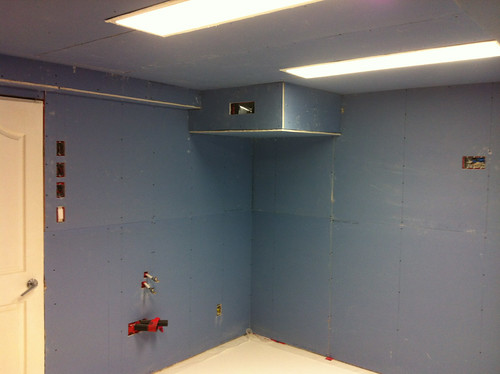
 ![]() IMG_2956 by gschaus, on Flickr ![]() IMG_2955 by gschaus, on Flickr ![]() IMG_2954 by gschaus, on Flickr ![]() 
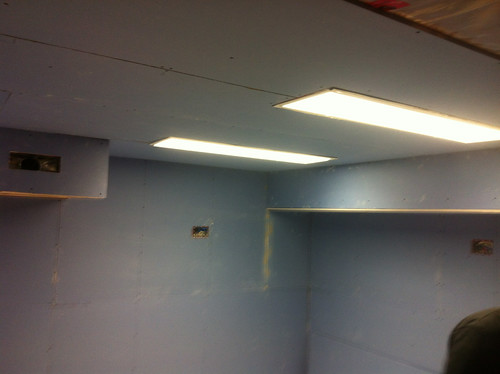
IMG_2952 by gschaus, on Flickr ![]() 
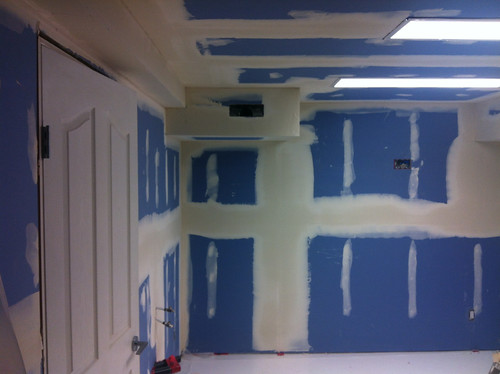
IMG_2968 by gschaus, on Flickr ![]() 
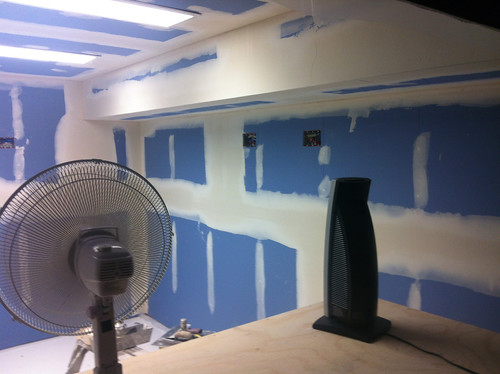
IMG_2969 by gschaus, on Flickr ![]() 
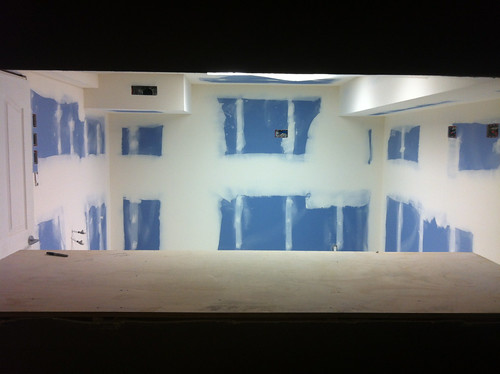
IMG_2972 by gschaus, on Flickr ![]() 
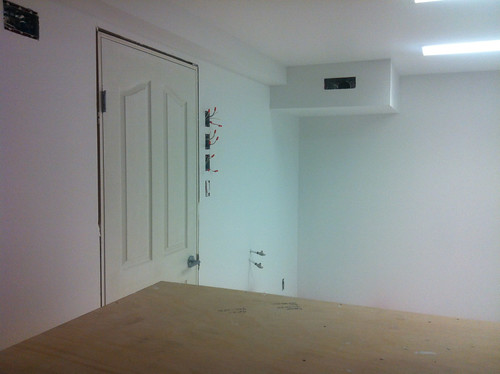
IMG_2978 by gschaus, on Flickr ![]() 
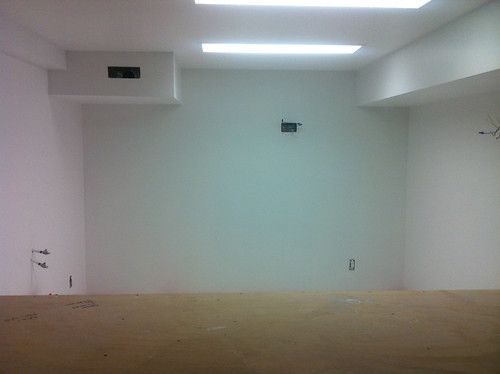
IMG_2979 by gschaus, on Flickr ![]() 
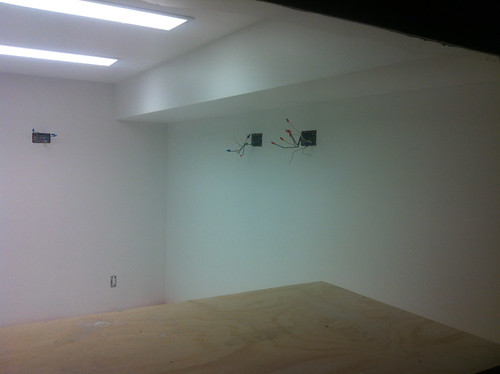
IMG_2980 by gschaus, on Flickr
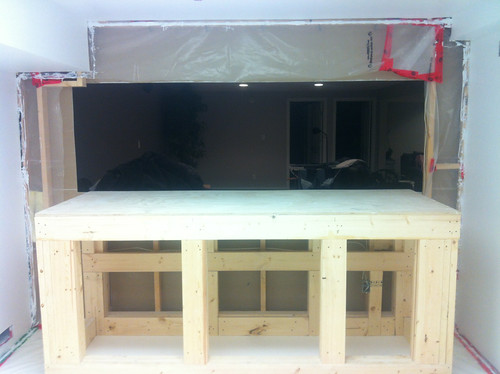
 ![]() IMG_2982 by gschaus, on Flickr ![]() IMG_2989 by gschaus, on Flickr |
#2
|
|||||
|
|||||
![]() That's a lot of work! So, where's the water?
![]() Fyi, the top drywall piece is supposed to be installed first. It would have been easier. ![]() |
#3
|
||||
|
||||
![]() Piece by piece, this build is coming together.
This past week has been pretty productive. I went and watched my glass get cut for the new starfire front and the frag tank. I got a 143"x48" piece of 19mm starfire and had enough to build all but the back pane of the frag tank. Inspired by that, I came straight home and finished off the back stand/counter top. That only took a day, thankfully and my lovely girlfriend hit them with 3 coats of Kilz Premium while my brother, dad and I scraped silicone from the old glass. We took Brett's 404 apart months ago and moved it to my place, but as always, I left the cleaning until the last minute. Cleaning the silicone off was a PITA. I will not ever do that again. To those of you that haven't tried, and don't learn well from others mistakes, I strongly suggest using Methyl Hydrate to help soften the silicone once the majority has been scraped off. I also suggest roping everyone in that owes you even the slightest favor. Without the help of my family, I would have been up all night. Instead I was up until 2AM and again at 6AM to get done for the build at 8AM. Long story short.... Buy new glass. The hard work of everyone paid off. Here is how things look presently: ![]() ![]() ![]() ![]() ![]() ![]() ![]() ![]() ![]() ![]() ![]() ![]() ![]() And somewhere amid the chaos of the stand build, glass clean and tank build, Christine and I drove to Wetaskawin and picked out our new puppy! ![]() *Normally when I 'Preview Post' I am able to view my photos. I can't this time. I hope it works.... as the first post on this thread says "This is my first aquarium build and my first thread". Still learning both. Last edited by kien; 08-26-2013 at 05:08 AM. |
#4
|
|||||
|
|||||
![]() Pics arnt workin. But glad you are making some progress!
__________________
![]() They call it addiction for a reason... |
#5
|
|||||
|
|||||
![]() Quote:
I've never used flickr's BBCode so I don't know much about it, but maybe stick to using the image link in flickr (by copying it) and pasting it into the image code icon to embed images like you did previously. |
![]() |
Tags |
diy, newbie, tank build |
|
|