
 |
|
#71
|
||||
|
||||
|
Hey Dom.. Are your pumps making the same noise that mine are? We have all been sleeping with fans to dull the noise out. It is that loud.. Also what settings do you have them on for the waves.. I don't know if it is just the shape of my tank, but I'm not getting any waves at all..
And Yayy for no busted out tank in the garage.. |
|
#72
|
||||
|
||||
|
....but it is still only in the garage..I was all excited for nothin.
|
|
#73
|
|||||
|
|||||
|
Quote:
 I've been playing around with them a bit and I get really good waves on W1 and the wave duration knob turned to about setting 4-6. You might have to play with yours. But be careful! These little pumps are strong. Won't take much to cause a tsunami in your tank, lol. Keep the strength setting at S3. Haha, It's coming, it's coming. I'll be bringing it in the house this weekend. But I still have a bunch of work to do on it before it gets salty. I want to build a foam rock wall to cover about 75% of the left side where the overflow is and create a 1/2 pillar kind of thing about 2/3 of the way down the back. I'll also be painting the back glass, drilling the drains, plumbing to the sump. Still haven't decided if it's cheaper to drive over to J&L and grab my sand and some dry rock for the rock wall or have them ship everything over. |
|
#74
|
|||||
|
|||||
|
Well, the tank is still full of water, even with all the waves
 Got the back of the tank painted last night and this morning. Man it takes a lot of paint to cover 6' of tank, lol. I'm still waiting on a 1 3/4" hole bit for my 1" bulkhead so until that gets drilled the tank is staying where it is. Hopefully see it this week. Heading out on a 3 day backpacking trip to Della Falls next weekend so not much will happen now on it until Aug  Picking up the wife on Wed from Van (she went and visited family and friends in Canmore) so I get to pick up all my sand and dryrock from J&L for my rock wall. Slowly seeing progress. Last edited by daplatapus; 07-20-2013 at 04:17 PM. |
|
#75
|
|||||
|
|||||
|
Quote:
Dom, glad to hear your water test is going well! don't keep us waiting too long with the updates! While you're in Van be sure to say hi to my buddy, Rich at R and L! He always have new reef treats!
__________________
ATI 48" 3x75W LED with 8x54W T5, 2xTunze 6105, 2 x Maxspect Gyre XF150, Bubble King Mini 200 ( soon to be replaced by a Bubble King SM 200), Eheim 1262, Via Aqua 300 watt Titanium heater, JBJ ATO, Apex Controller |
|
#76
|
|||||
|
|||||
|
Well I did tell him I'm headed over but he said he has to work and all that, yada, yada, yada. Hmmmm, now that I think of it, maybe when he's not home is the best time to pop in there, lol.
|
|
#77
|
|||||
|
|||||
|
A bit of progress. Got the tank water test finished, just emptied it on Friday. With all the evap the level went down about 6" and the wave in there was quite large. There's no doubt in my mind now as to the strength of the new eurobrace. Drained it out, cleaned it up a bit and got the back and 1 side painted and drilled my overflow holes.
I also went into Van a couple weeks ago and got my sand and a box of Marco rock to build my side rock wall and hopefully a half pillar that will go up against the glass on the back to kind of split the back of the tank in 1/3 - 2/3. I'll be cutting the rock with my 12" DeWalt wet saw so it'll all be nice and flat against the glass. I'm debating wether I should build it on eggcrate like I've seen people do or silicone it directly to the back wall.... Any thoughts? |
|
#78
|
|||||
|
|||||
|
|
|
#79
|
|||||
|
|||||
|
|
|
#80
|
|||||
|
|||||
|
Well, finally got to breaking out the wet saw last night. I want to create a bit of a rock wall on the left side so you can't see into the overflow box on the left side. But I'd like it to take as little room as possible. So I cut some Marco rock in half and I'll be mounting them somehow to the side panel. Right now I'm thinking I'll be siliconing them right to the glass. The only draw back is trying to remove them if need be in the future. But it seems like everything I've seen with builds that are using eggcrate to build their walls, they silicone that to the rock wall anyway, so no real difference.
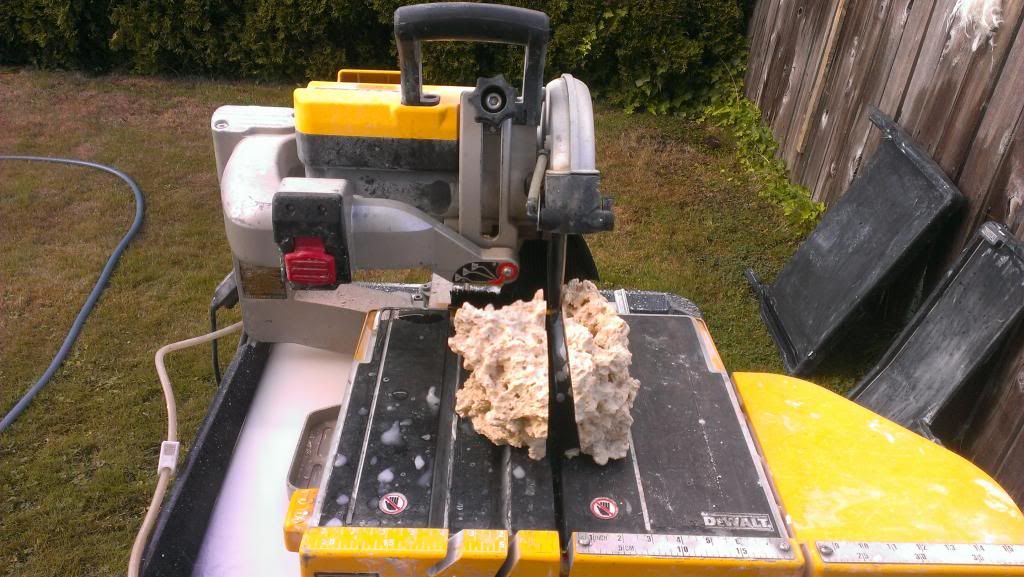 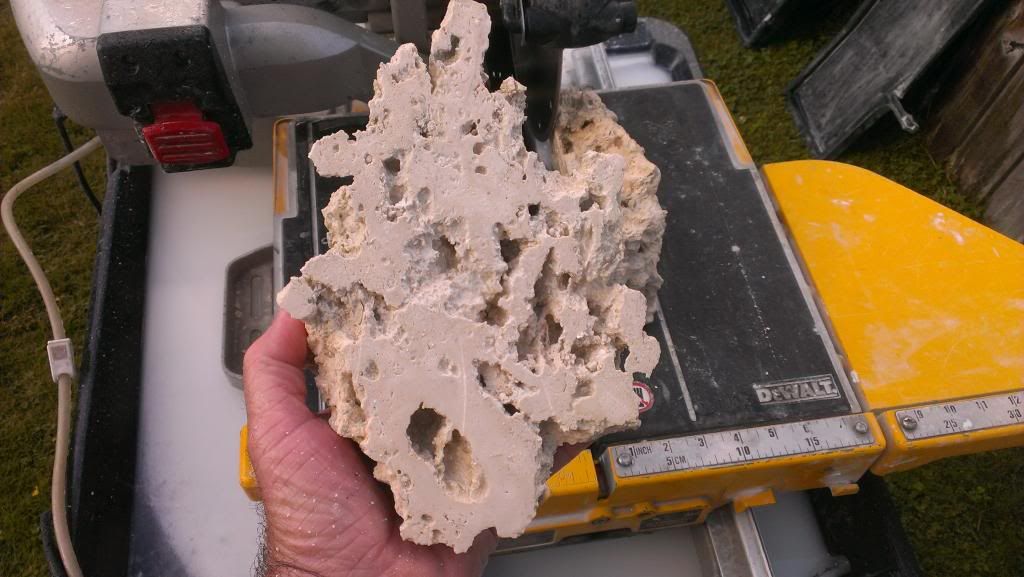 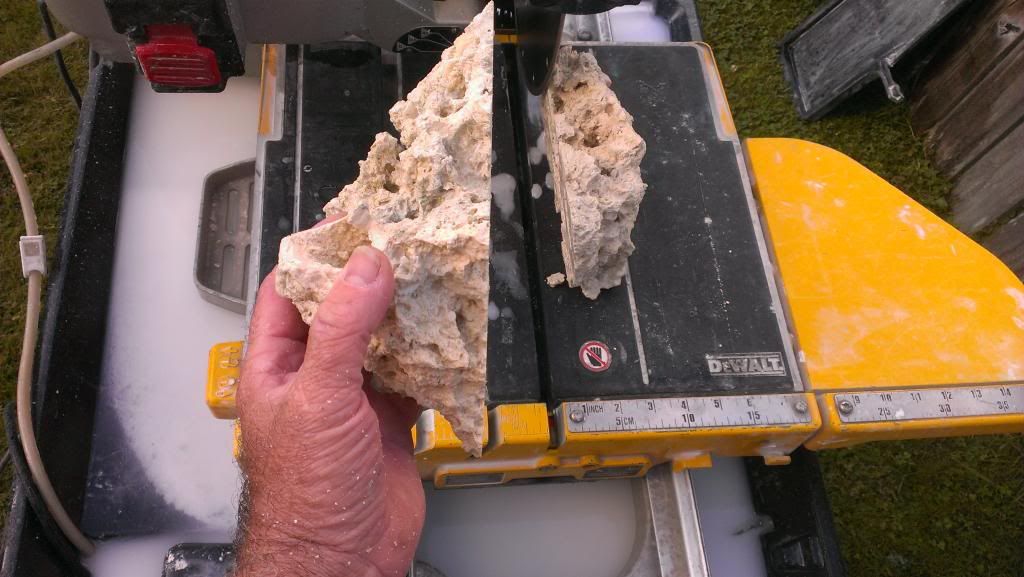  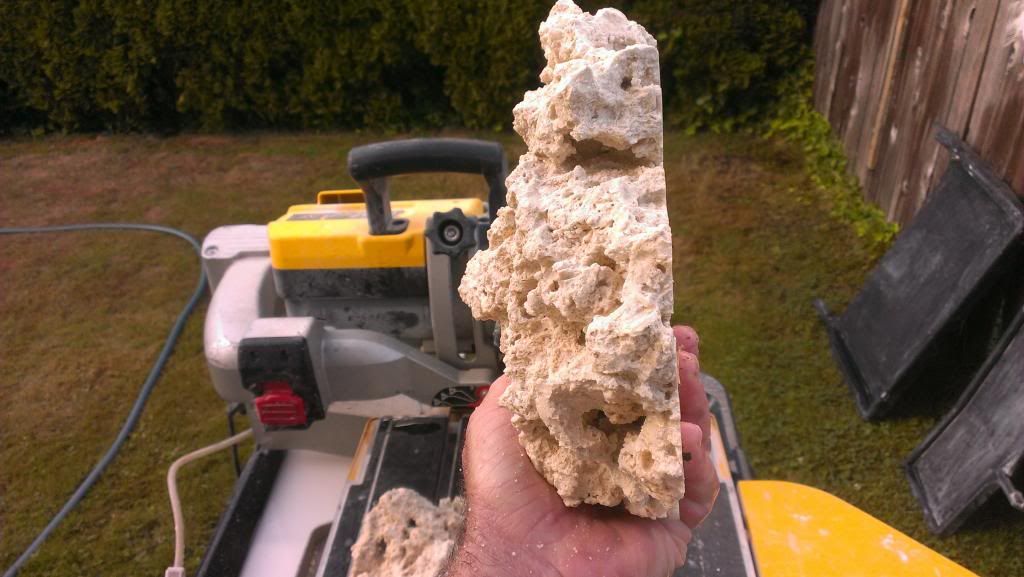 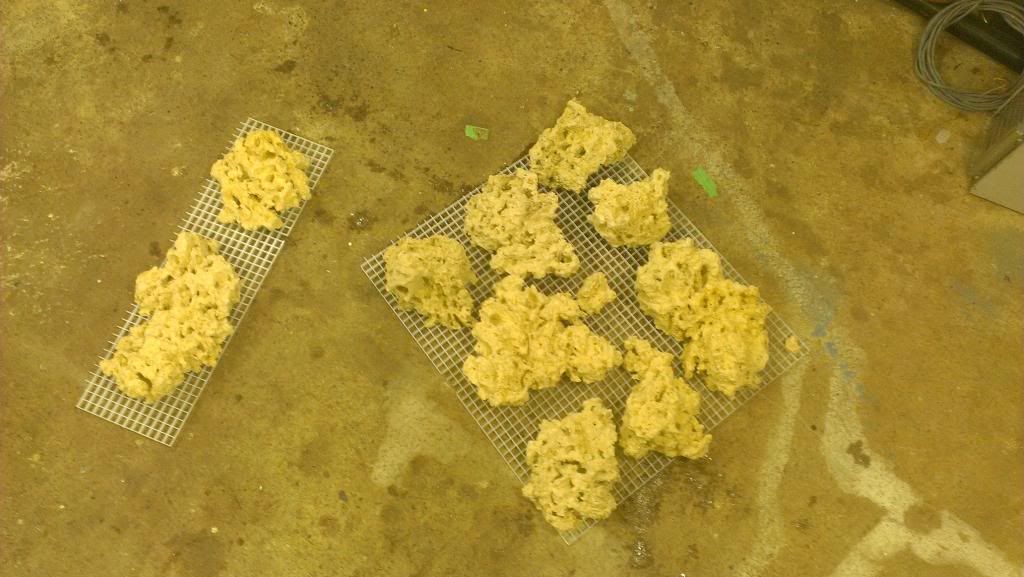 I've probably got a couple pieces too many for the 24" X 29" wall I want to do, but I was debating creating a similar style rock pillar on the right 1/3 of the tank against the back wall with a couple protruding shelves. But I want to see how this turns out before I cut the remaining pieces I have. I also have some pre-finished birch plywood on the way to build some of my cabinet components. I've decided not to put doors on the bottom cabinet inside the stand (where you see the 2 squares). Because the stand is fairly deep, I'm worried things will get shoved in there, never to be seen again, or the space wasted. So I'll be building 2 boxes out of this pre-finished plywood, then slipping them into those 2 squares. Then using Blum cabinet hardware, I'll be making 2 deep drawers per box and have drawers there instead of doors. That way we can make use of the entire storage capacity there for whatever. The space on the left of the stand is still going to have a full height cabinet to hide the overflow, WP & MP controllers, LED controller and tools for the tank. And a 16" high canopy is going to be sitting on top of the tank to mount my LED rails and prevent light spillage and hopefully contain any wrasses that go in there. |