
|
|
|
#81
 03-04-2013, 05:42 PM
|
|||||
|
|||||
|
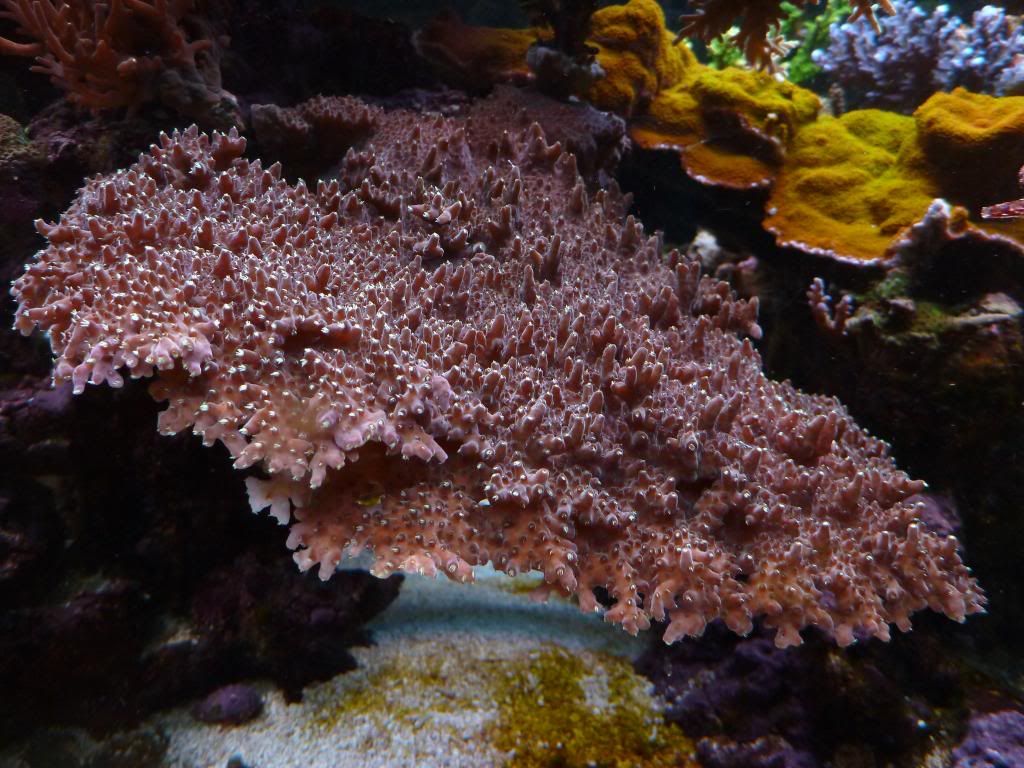
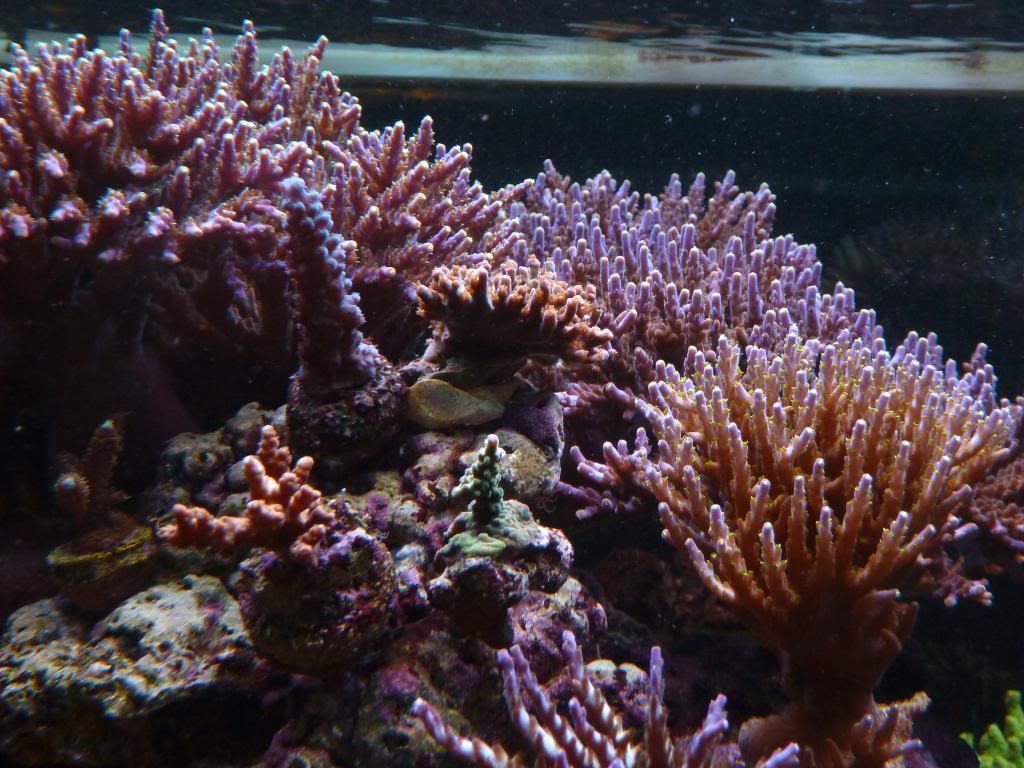
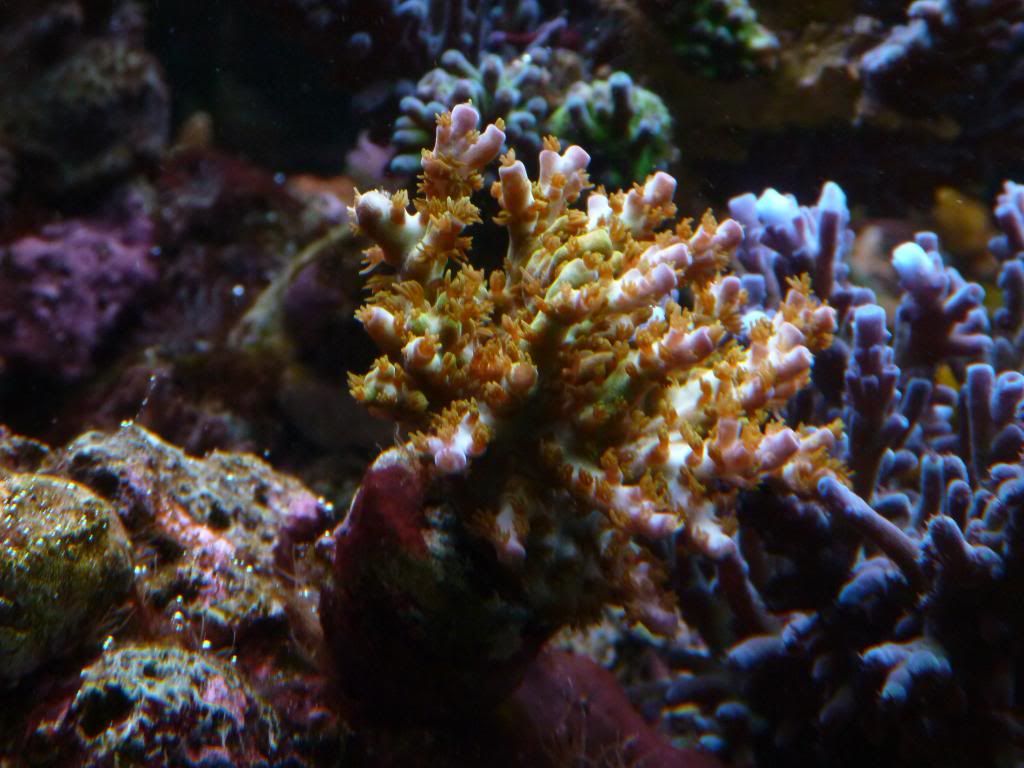
Here is one of my favorite pieces that I lost when I had my pseudo-crash last April.
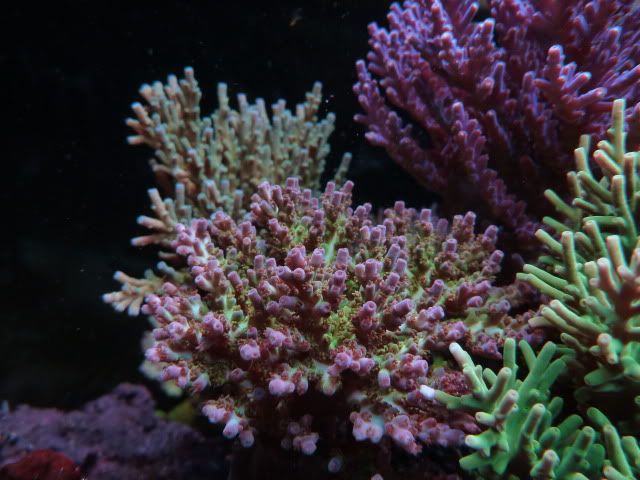 A good friend of mine was kind enough to give me a frag of it back and it's slowly starting to come around after a rough start back in the tank. 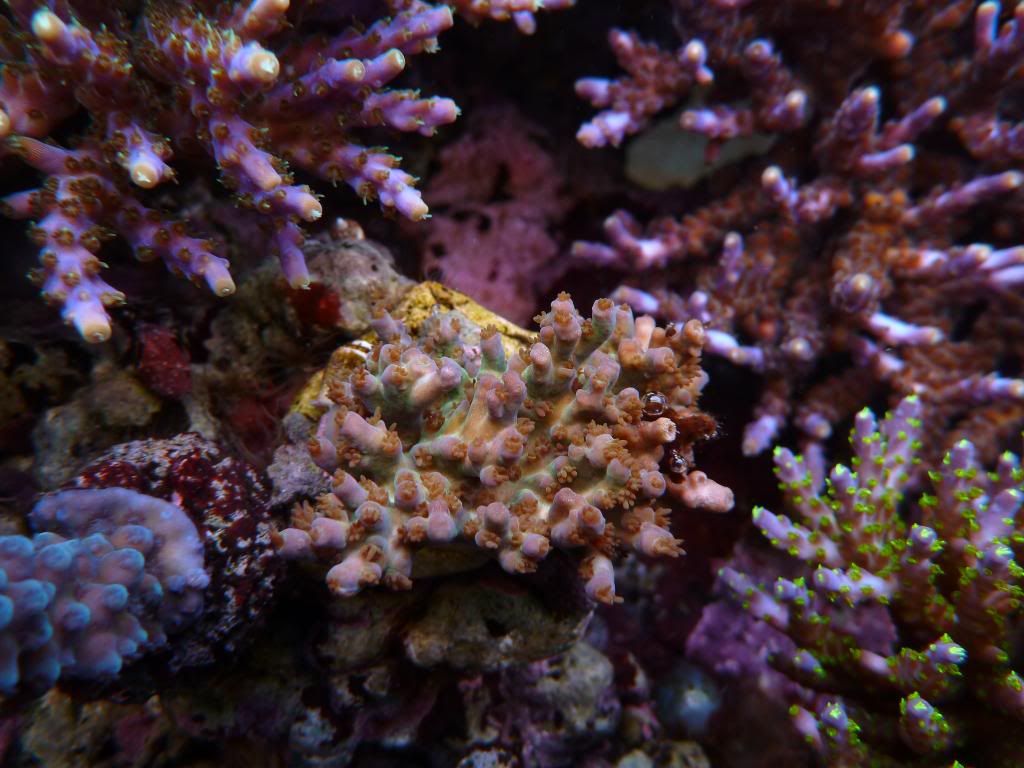 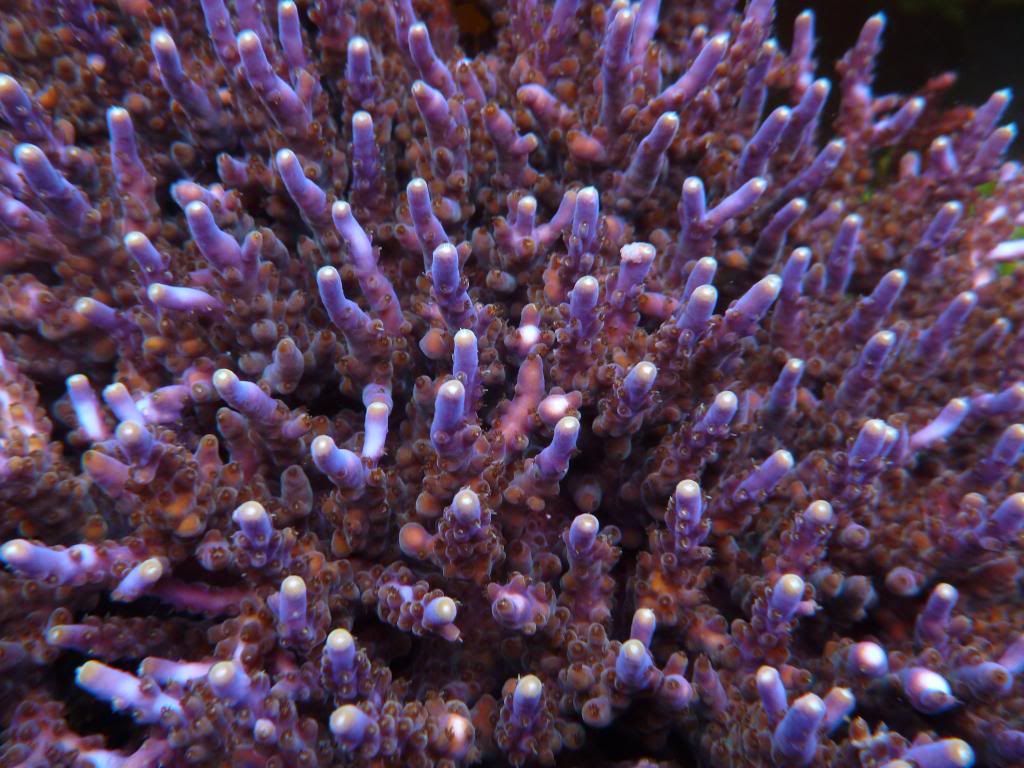 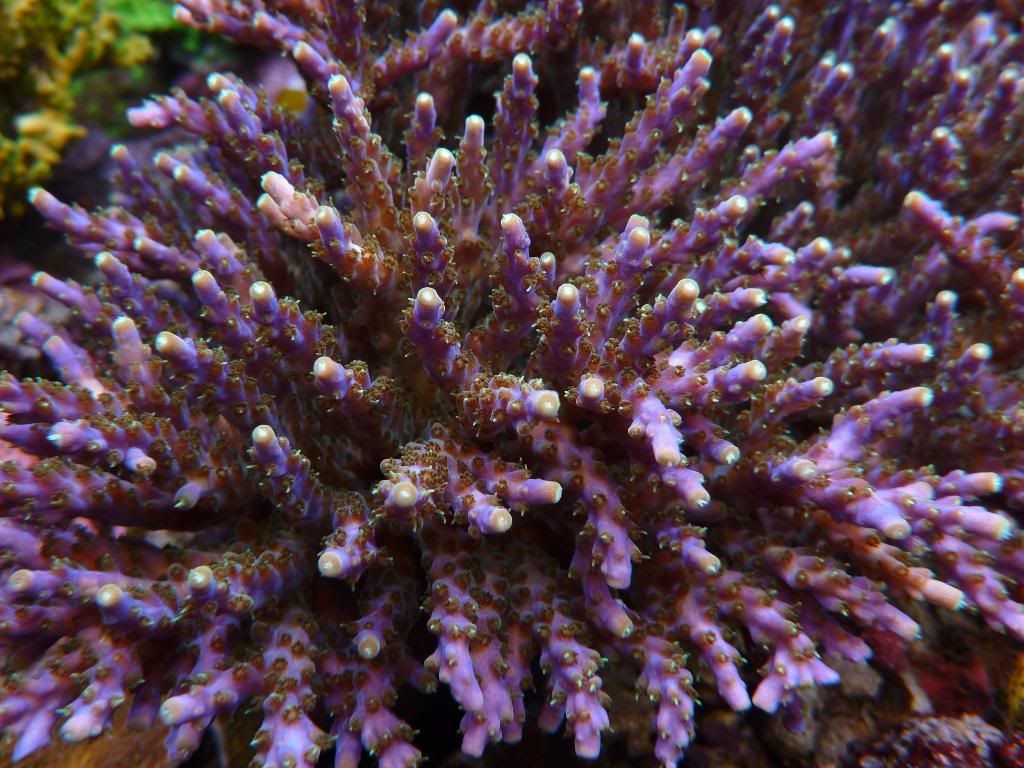 ORA Red Planet 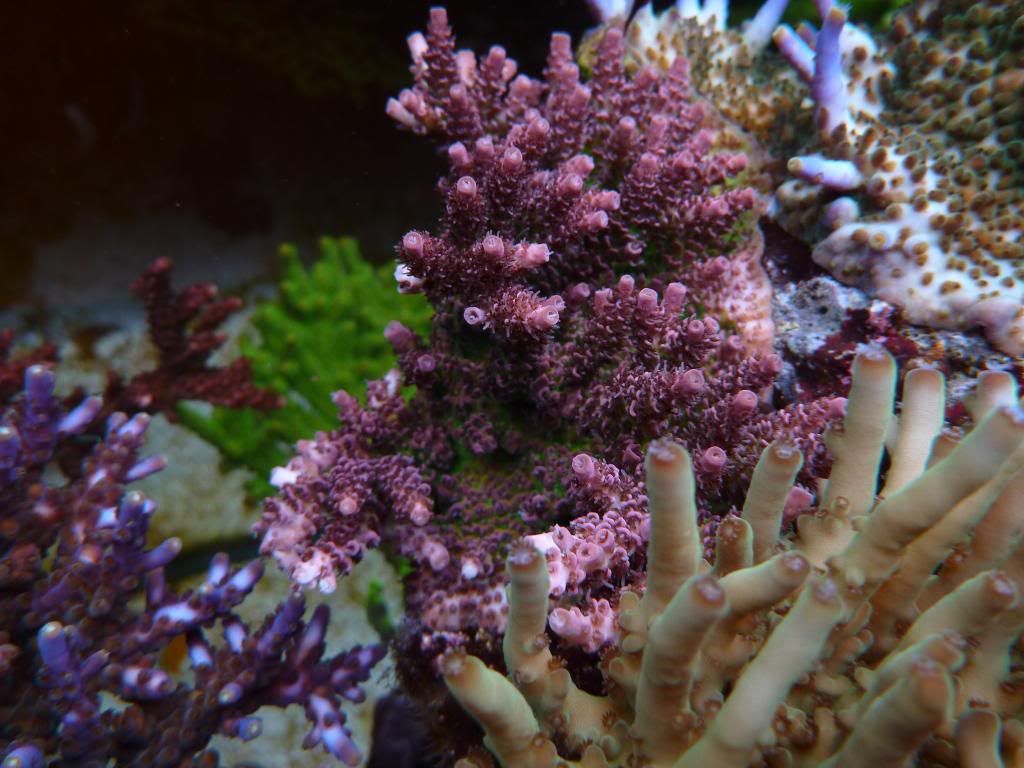 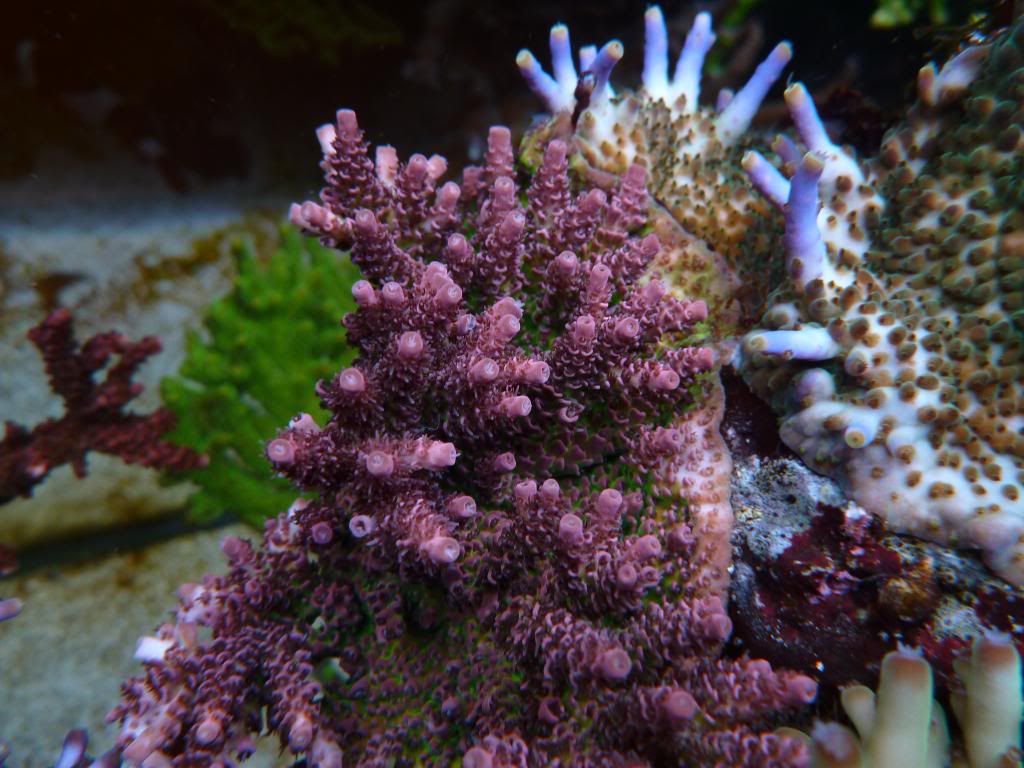 A. granulosa  Snappy's purple valida. Started out with 1 frag and now I have 6+ colonies spread randomly throughout the tank.  Rainbow Monti again 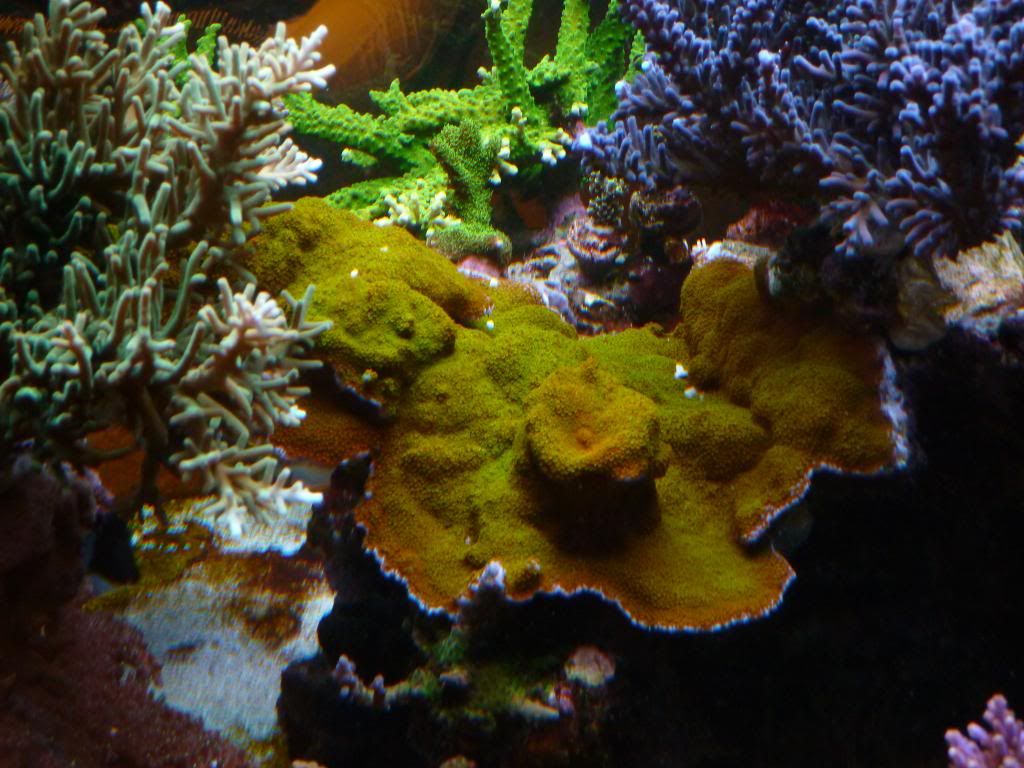 Backside of Cali tort colony 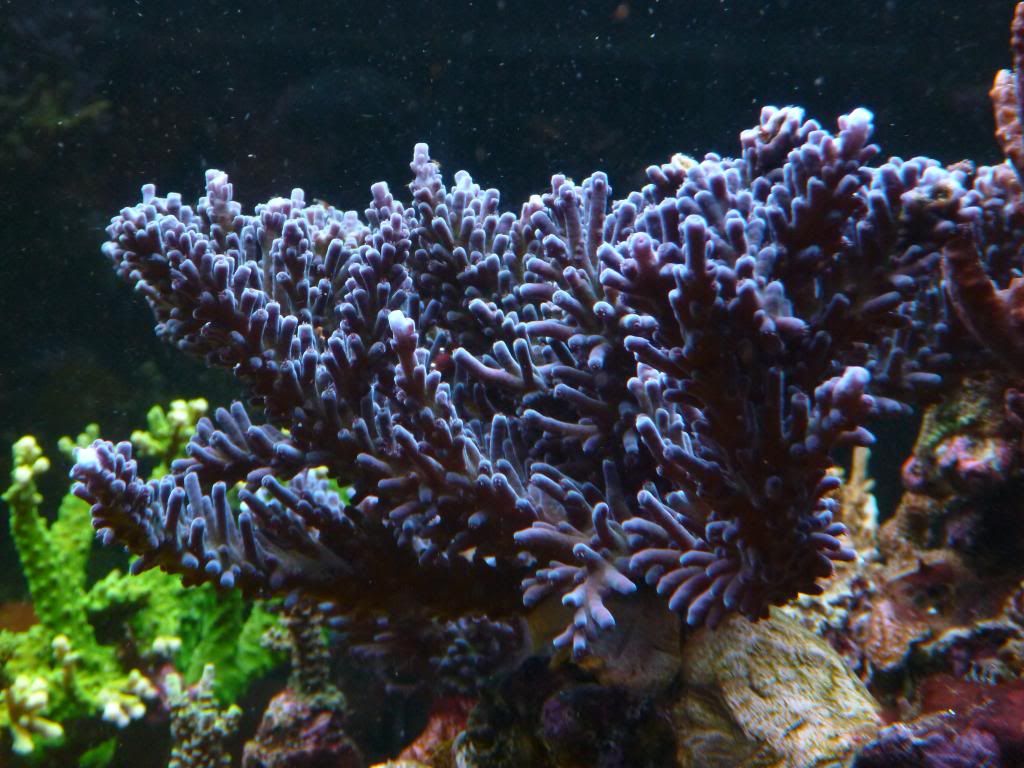
__________________
Do or do not....there is no try. 
|
|
#83
03-04-2013, 05:53 PM
|
|||||
|
|||||
|
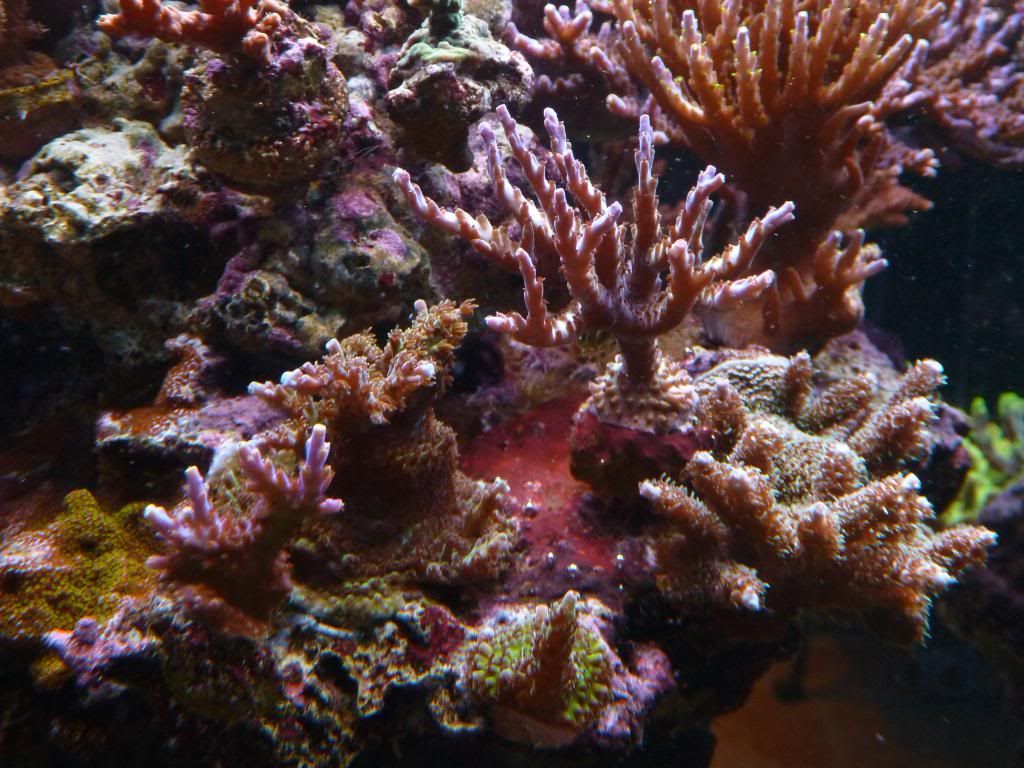
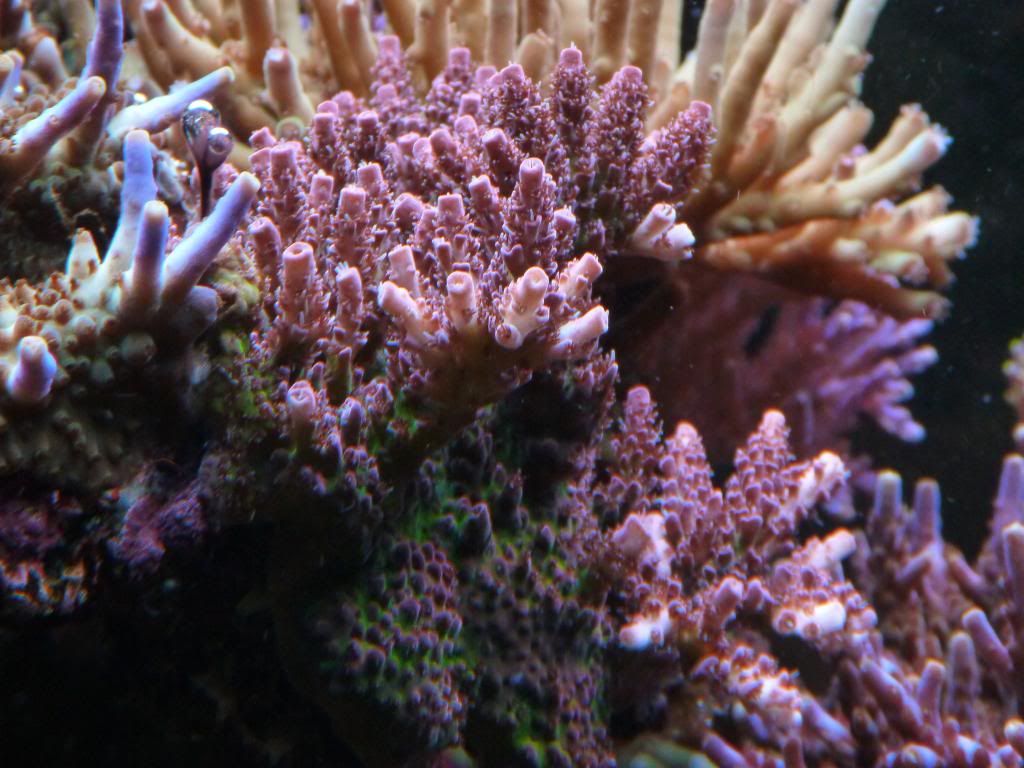
And here is why I've come to hate mushrooms
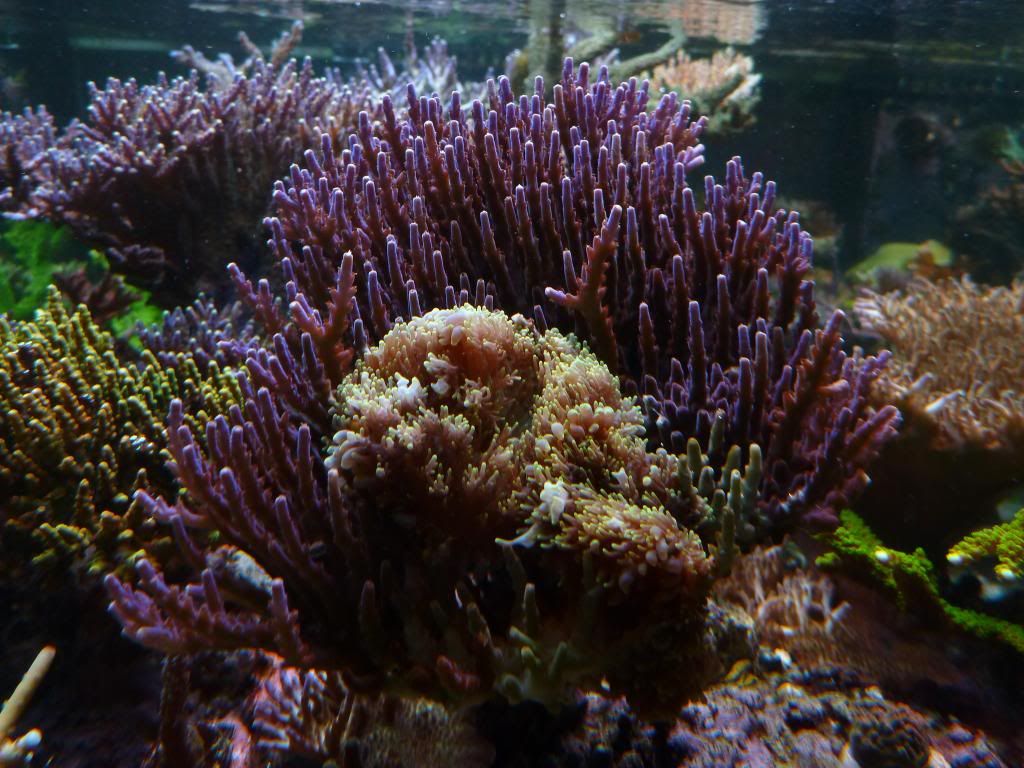  They seem to just gravitate and move toward SPS. The one on that colony of Snappy's purple valida started out at the base and crawled up to the center of the colony before splitting into 2 lovely mushrooms. I'll eventually have to frag the colony into tiny pieces to get them out of there. Don't know what I'm going to do with that granulosa/loripes frag as the frag plug is thorougly stuck in the live rock.
__________________
Do or do not....there is no try.
|
|
#84
03-04-2013, 06:16 PM
|
|||||
|
|||||
|
Quote:
FAL just stands for Frag-a-lot. I've got most of my nice pieces from Burc over the years. Some come in looking pretty hot but most require some serious TLC after they are forced to endure Fedex shipping from TO to Regina. Quote:
__________________
Do or do not....there is no try.
|
|
#85
03-04-2013, 06:43 PM
|
|||||
|
|||||
|
I'm glad the frag is doing well wish I could say the same for mine I shoulda just gave you the whole thing...
Glad everything else is coming around too
__________________
Desperately seeking serenity ... 180g custom build http://www.canreef.com/vbulletin/showthread.php?t=81400 50g custom daycare tank... http://www.canreef.com/vbulletin/showthread.php?t=65428
|
|
#86
03-04-2013, 07:47 PM
|
|||||
|
|||||
|
Quote:
Hey Jeff, I wish that was the frag of the crayola plana I got from you. This one is a different frag that I got from Dreef (originally from Seacare) but the crayola I got from you is doing quite well. Did you end up losing the colony?
__________________
Do or do not....there is no try.
|
|
#87
03-04-2013, 07:58 PM
|
|||||
|
|||||
|
Just about I tried to frag it and save it but the base I'd dieing off very strange it like it got cooked I have a small hope for it but I honk the deterioration of the hydnophoria is the cause I had another frag do the same. Most everything else is fine and some are colouring up. As well my aggressive fight against the hair algea issue may have hindered the delicacy of the two
__________________
Desperately seeking serenity ... 180g custom build http://www.canreef.com/vbulletin/showthread.php?t=81400 50g custom daycare tank... http://www.canreef.com/vbulletin/showthread.php?t=65428
|
|
#89
03-05-2013, 03:15 AM
|
|||||
|
|||||
|
Lookin good buddy,i can see big improvements since i last stopped by.I already picked the ones that i need a frag of down the line
 Yeah that FAL mystery milli is HOT..definately going to be one of my favorites.My frag has grown a bit i got from you,new tips are forming.Thank You for cutting it...i wasn't going to ask...but you know me and milli's Yeah that FAL mystery milli is HOT..definately going to be one of my favorites.My frag has grown a bit i got from you,new tips are forming.Thank You for cutting it...i wasn't going to ask...but you know me and milli's 
|
|
#90
03-05-2013, 05:15 PM
|
|||||
|
|||||
|
Quote:
Quote:
__________________
Do or do not....there is no try.
|


 Linear Mode

