 |
|
#1
|
|||||
|
|||||
|
I am hoping to have this array done and ready for mounting by the end of the day
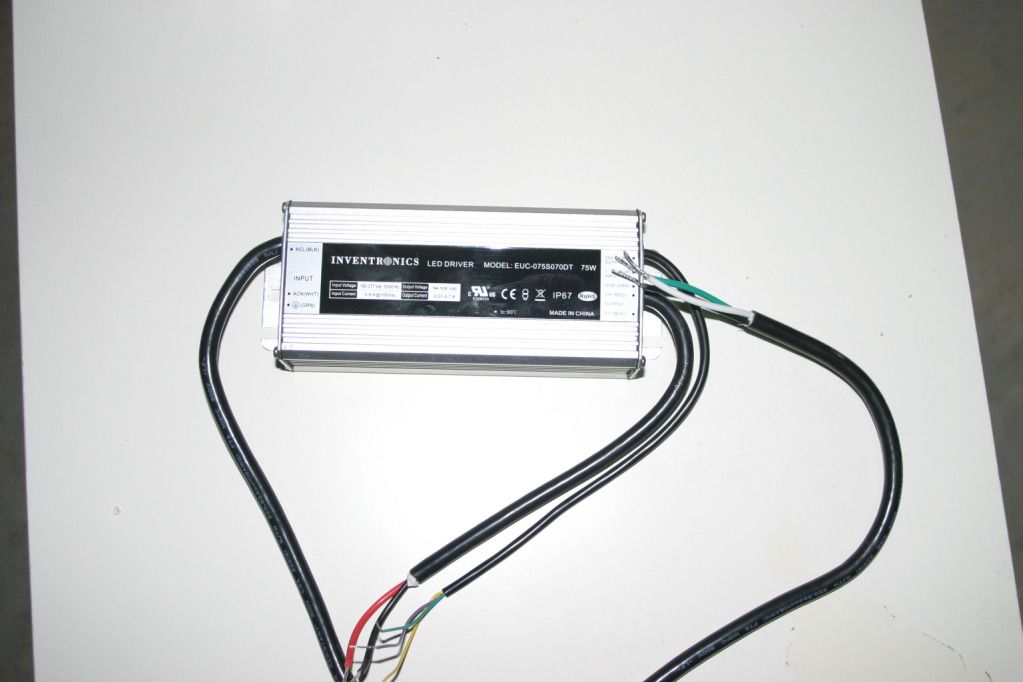
I just received the rest of the parts I been awaiting for.This array will be a separate additiong to what I already have it consists of 2 types of LED parts I have and will be using. Inventronics Model EUC-075S070DT (57w) 10K Ohm 1/2Watt potentiometer 22 AWG wire to use between the driver to the LED 22 AWG wire to use between all LEDs 0.025" diameter solder wire shrink tubes to have clean wire ends Arctic silver thermal adhesive for attaching the LEDs to aluminum Hakko 936 soldering station U Chanel aluminum tube Acrylic sheet used as a splash guard 18 LED true violet 420nm 60 degree angle (max 700ma at 3.6V) 4 LED Turquoise 495nm 60 degree angle (max 700ma at 3.6V) I will be placing prices these are some quick photos as I need to get started and will have more to come (well more interesting photos)       Last edited by eli@fijireefrock.com; 02-08-2012 at 02:54 AM. |
|
#2
|
|||||
|
|||||
|
It took me about 15 minutes to get some solder on 2 end of each LED (-+) and here are few more photos
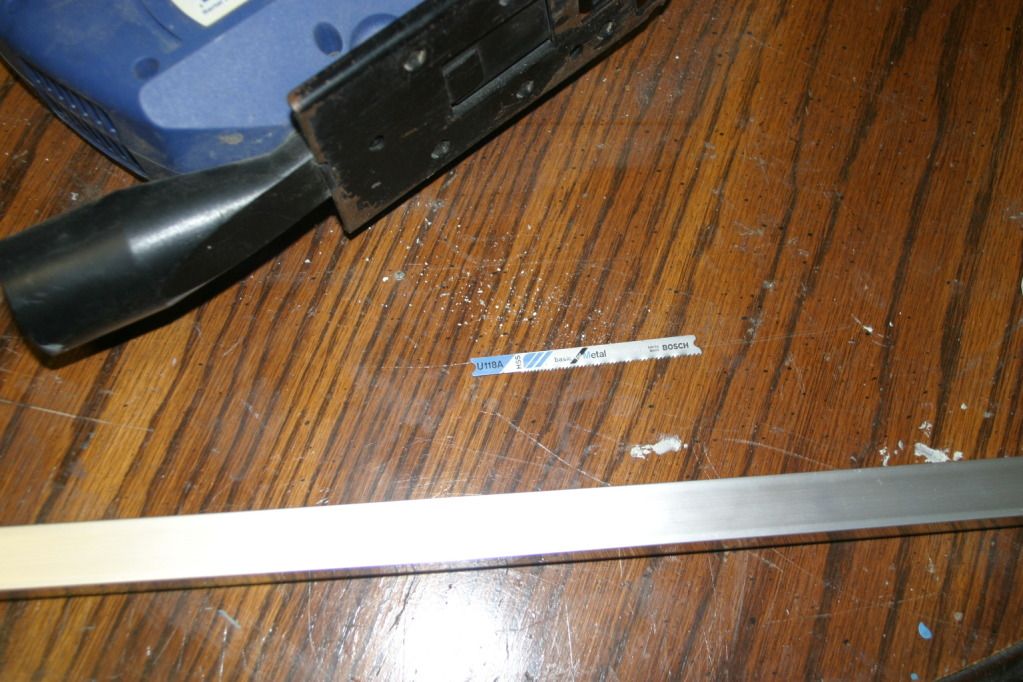
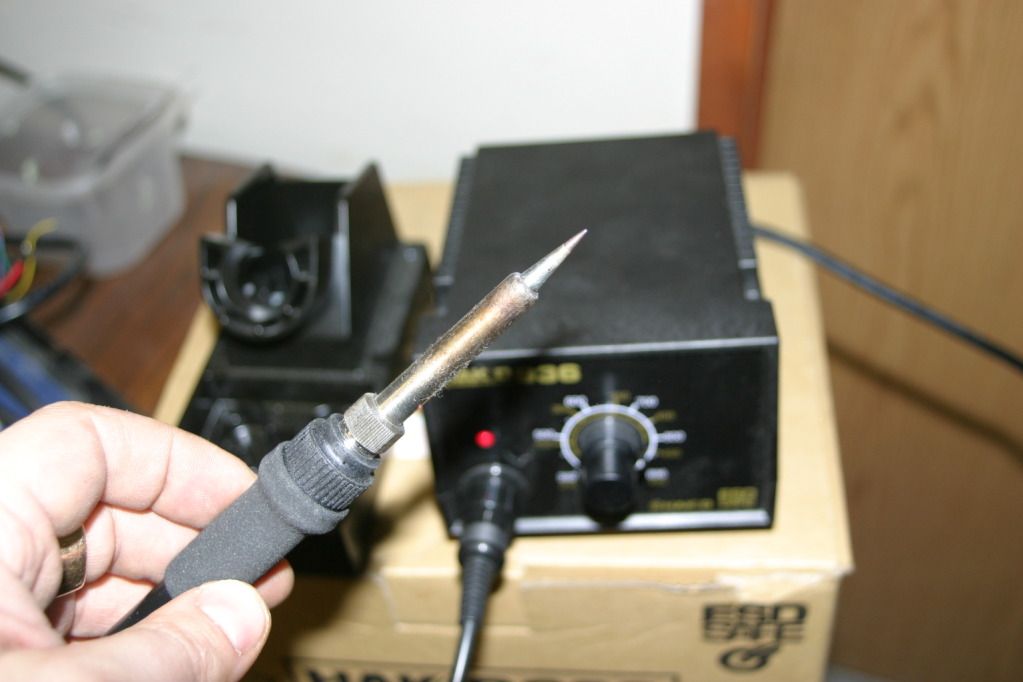
here is sawing the U shaped aluminum using an ultra fine metal blade  Here is the solder station out of the box   Here are all the LED 24 pcs total  This is me (concentrating   Last edited by eli@fijireefrock.com; 02-07-2012 at 02:25 AM. |
|
#3
|
|||||
|
|||||
|
I don't see any flux in the pics, did you use any?
|
|
#4
|
|||||
|
|||||
|
I believe that is a flux induced solder wire that he is using.
Glad I didnt go this way........I HATE soldering.
__________________
Feed the bear goodies, make a new friend, don't feed the bear............... 8' - 165gal Reef DIY LED's Build 2012 Nano Contest Winner Febuary 2013 POTM Winner 300 gal + 60 gal Complete DIY Build |
|
#5
|
|||||
|
|||||
|
Aww, c'mon man, you're a welder. Soldering is nothing more than low temp welding.
__________________
Mike 77g sumpless SW DIY 10 watt multi-chip LED build |
|
#6
|
|||||
|
|||||
|
Quote:
Soldering for me is like being in another world (world of piece all soldering is done I have a visitor so put everything on hold for couple hours.but 1st here is a mix of photos with no labels yet..       |
|
#7
|
|||||
|
|||||
|
I dunno, that wire seems awfully thin for the kind of current that array is going to draw....
Where'd you get the Hakko 936 ? Those have been discontinued for a while now (I have 2 of 'em)
__________________
-Mark 29 Gal Bowfront w/24" LED Lights. DIY HOB Sump (5.4 Gal) MP40. Orange Spotted Watchman Goby, 2 Clownfish and a few hermits. |
|
#8
|
|||||
|
|||||
|
Quote:
http://www.powerstream.com/Wire_Size.htm According to the chart, max current for 28AWG in a chassis wiring application is 1.4 amps or 1400 milliamps. That stuff could be tricky to solder as well. A little too much heat & the insulation will shrink back a ways or even start cooking.
__________________
Mike 77g sumpless SW DIY 10 watt multi-chip LED build |
|
#9
|
|||||
|
|||||
|
I will post few more pictures and info later on tonight as the array was finished yesterday.
The wire I am using is of no hassle and is of correct amperage resistant to what its used for and its a little tricky not to strip it whyle soldering. Unfortunately I need to upgrade to a bigger heat sink as the U Chanel aluminum gets too hot if run the array at full blast witch what I intend to do.So I have to wait a couple days to receive a 1.8" X 36" heatsink from Martin. |
|
#10
|
|||||
|
|||||
|
I run that type of U channel no problem with 3w leds run 2" apart. They are barely warm to the touch, no fans. I mount them so the fins are facing up though I think that would make a difference. I also paint them with a high high flat black paint. My research indicated that a painted heat sink has better heat dissipating properties (emissivity).
I definitely would have went with a larger awg wire.....for the small cost it's a nice piece of mind. Last edited by reefermadness; 02-07-2012 at 03:46 PM. |