
|
|
|
#41
 11-22-2011, 05:34 PM
|
|||||
|
|||||
|
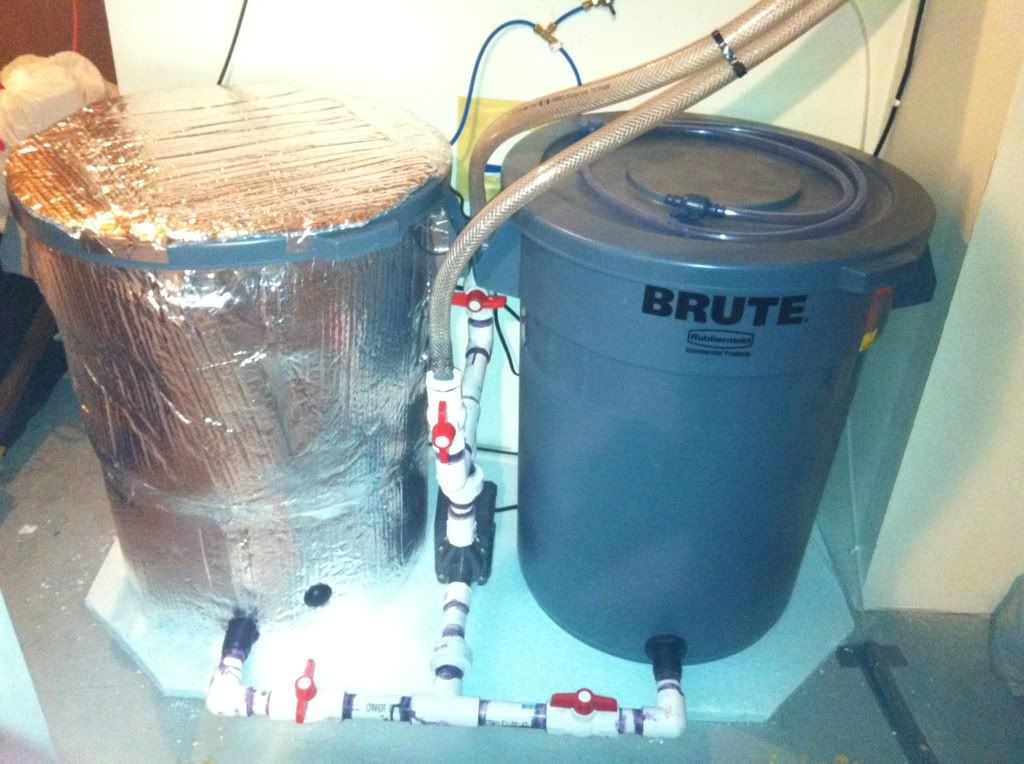
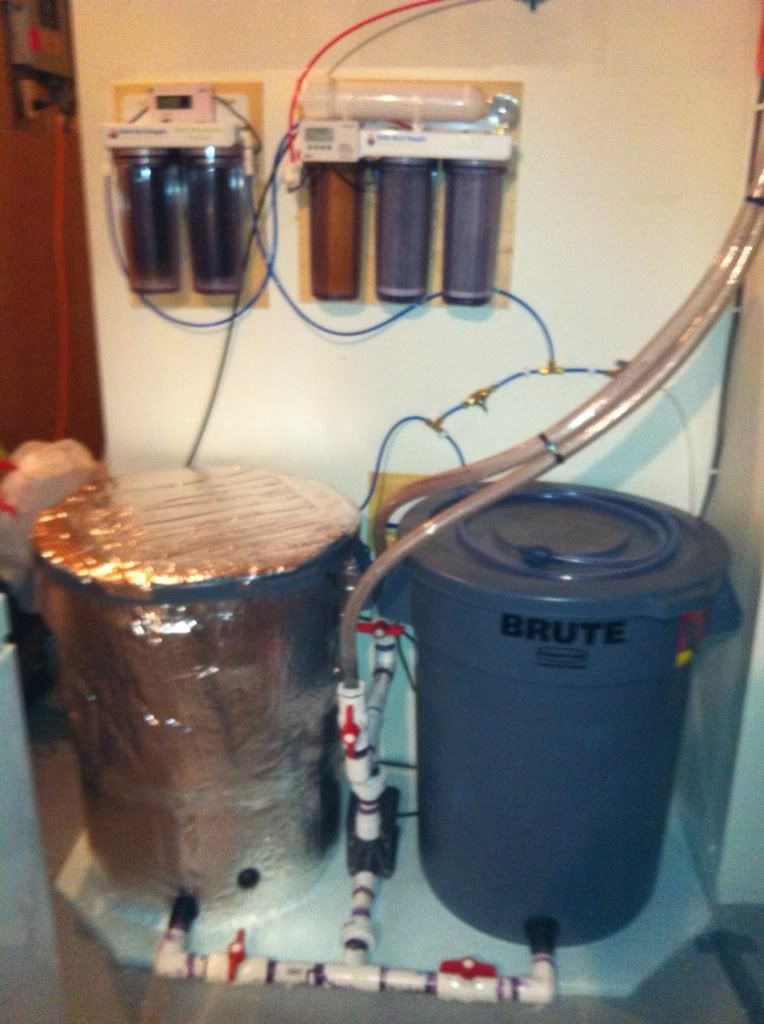
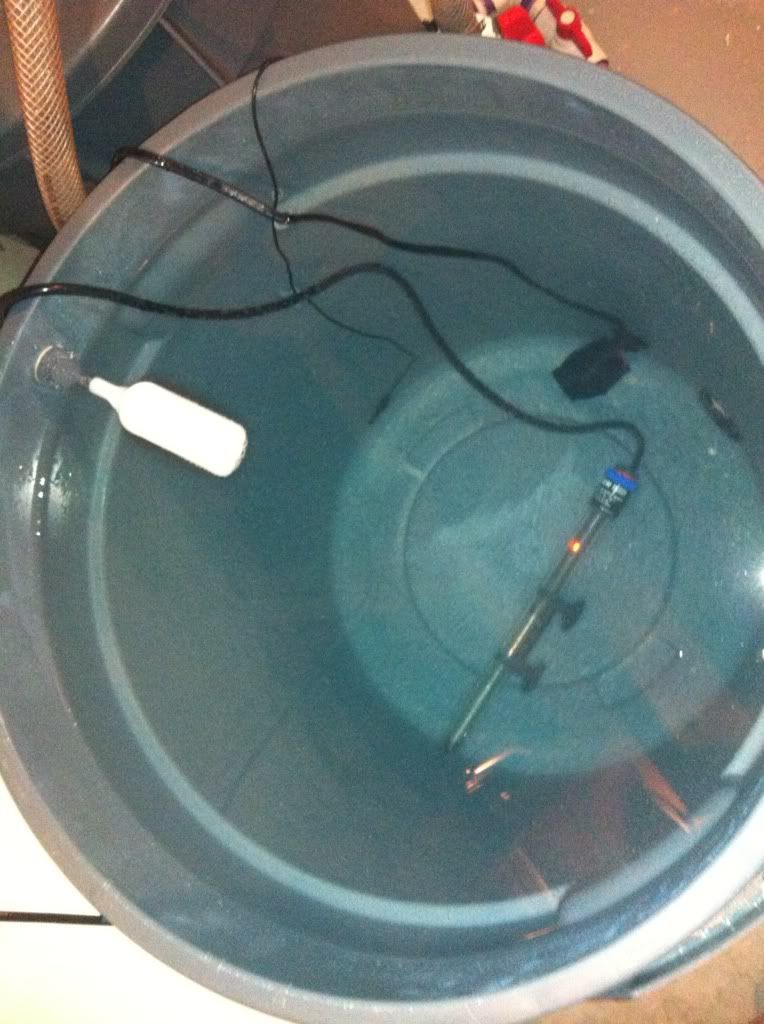
An equipment update here. I ordered a shiny new 6 stage deluxe RODI system from Bulk Reef Supply along with a bunch of filters. My old RO was a Coralife I bought before I really got into the hobby and knew what was going on. I love this new RO! I also learned that my water pressure sits around 80psi which is alot higher than I thought. Deffinitly no need for a booster pump. I also insulated my salt water mix tank as the room gets fairly cool. This should help keep the heater from running constantly in the tank. A new float valve was added from BRS instead of the garbage coralife one which filled with water and refused to float!
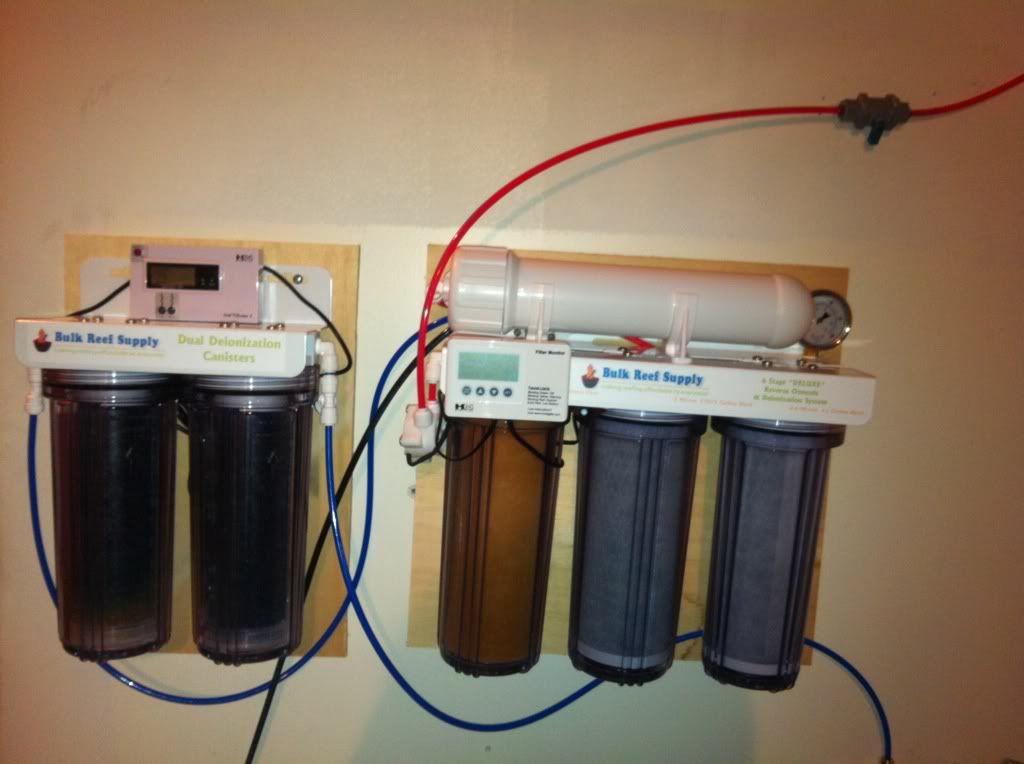    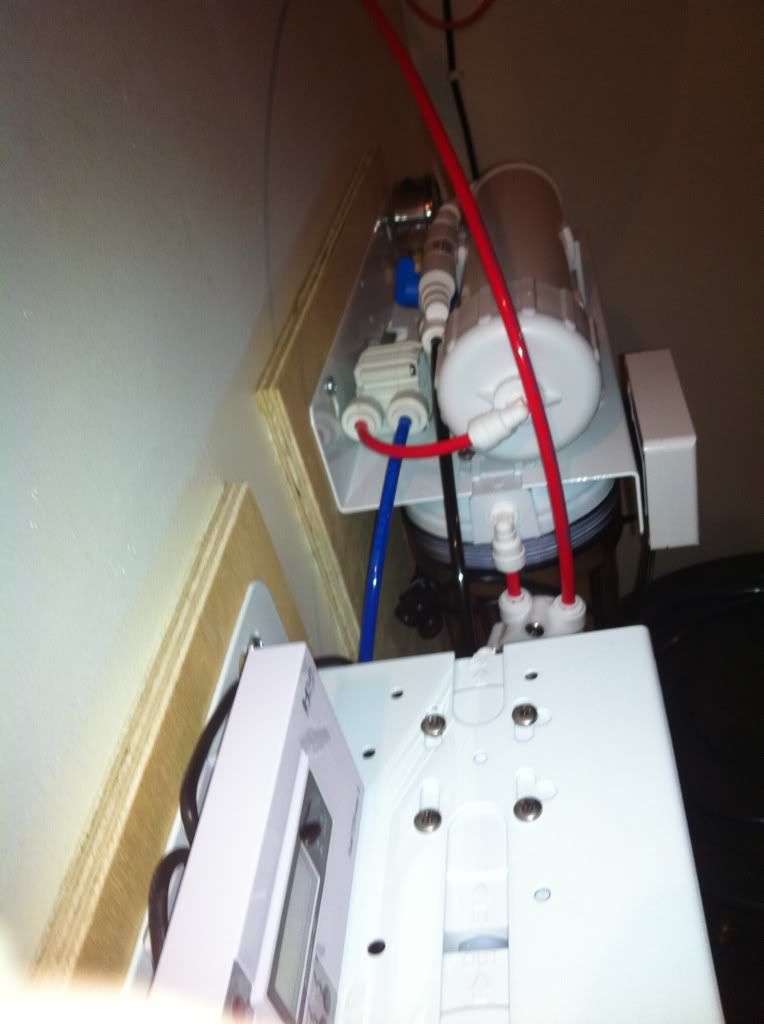 I also received some ROX Carbon from BRS that im fairly excited about. The reviews seem great and im sure it will be better than the Black Diamond Carbon I am currently using. 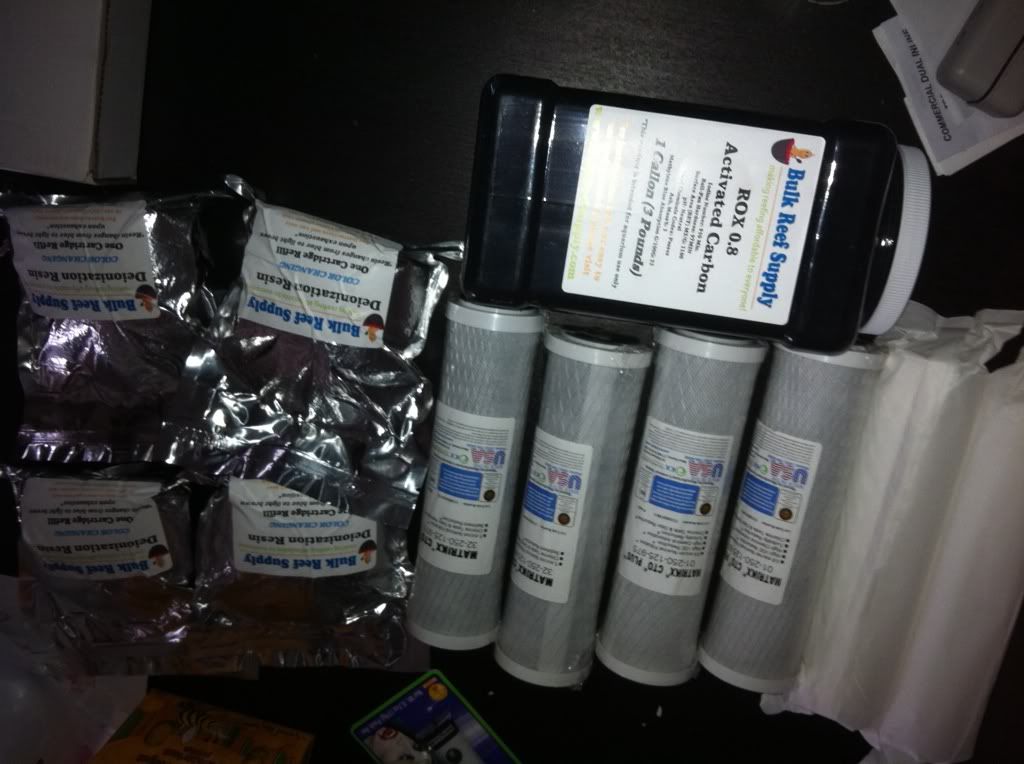 I have switched salt to Royal Nature. The tank was originally set up with H2Ocean salt. I got sick of this salt quickly as it added a terrible residue to my mixing tank and with its high price tag I was not sure it was worth it. I used one bucket of IO which brought my calcium down every time I did a waterchange. I realized I should pick a good salt and stick to it. I was going to try red sea coral pro after reading great reviews. After being recommended to Royal Nature by Dave at Concept, I must say it really seems great so far, along with great reviews. 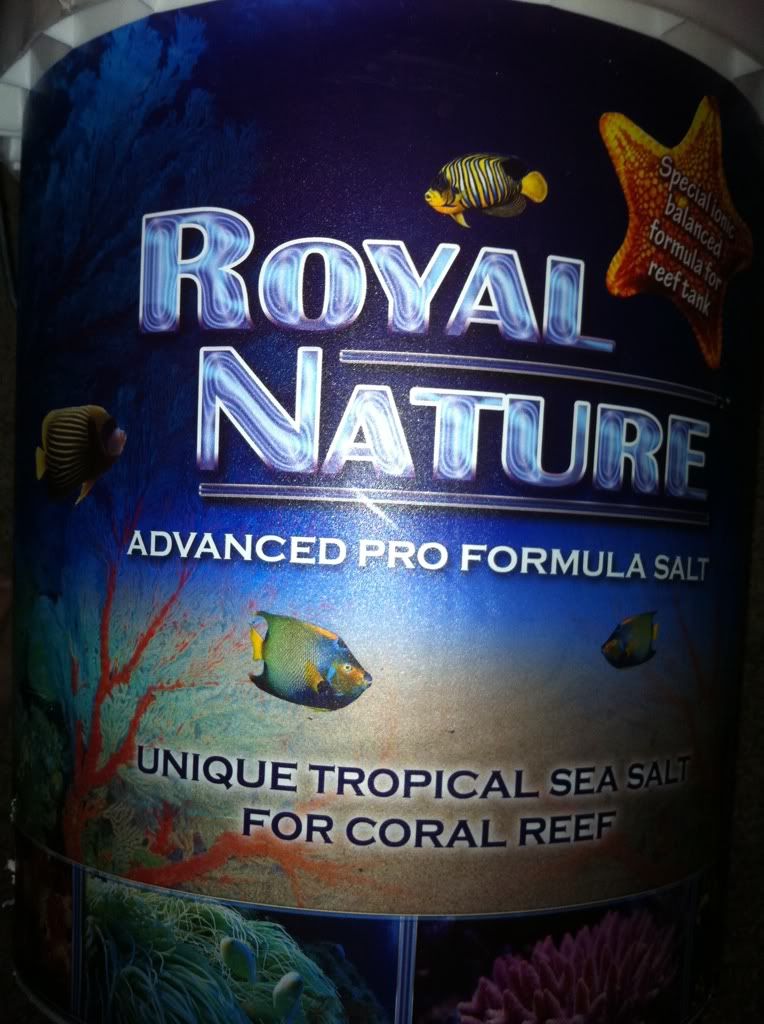 I also decided to add filter socks to the mix on my tank. They will be changed out and washed frequently to help maintain low nutrients. I bought 7" socks from BRS along with a filter sock holder. I had to modify my drains under the tank to accomadate the filter sock. 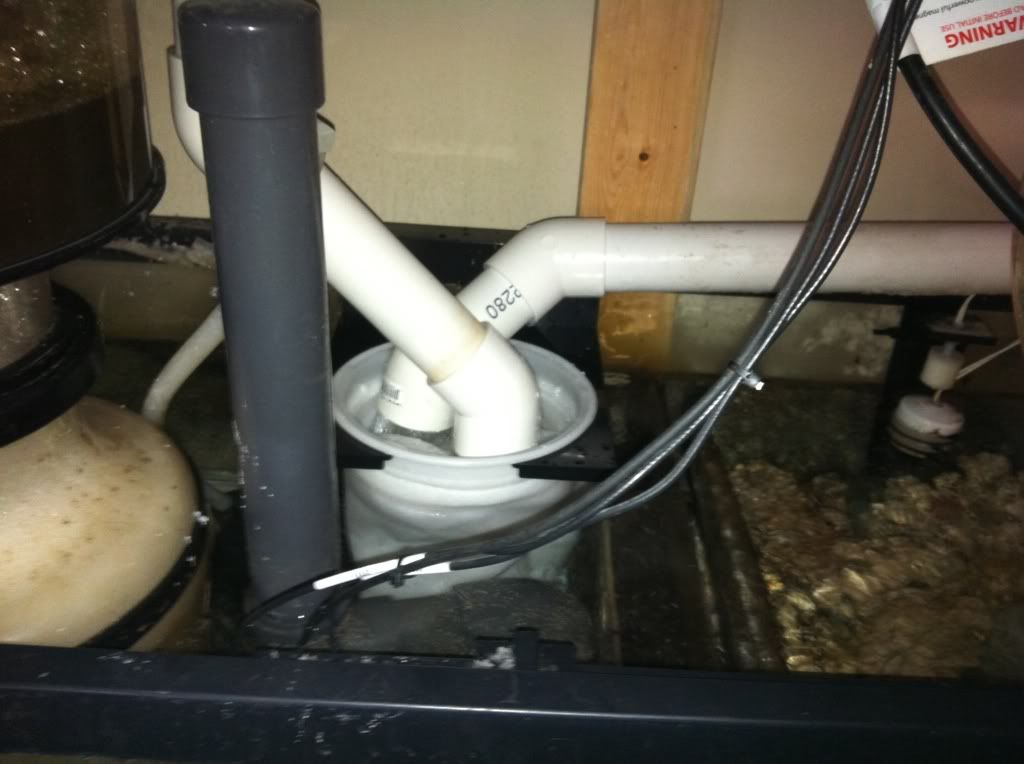 And the last thing I added was another Energy Bar 8 for my Apex. I have had only one heater running on my tank since its start because I had no extra outlets on my apex. I decided with it now being winter I better get a back up heater on the tank. This will also allow me to add my return pump, skimmer, and ATO to the controller, as well as my dosing pumps that I have recently ordered and should be here next week! (super excited) 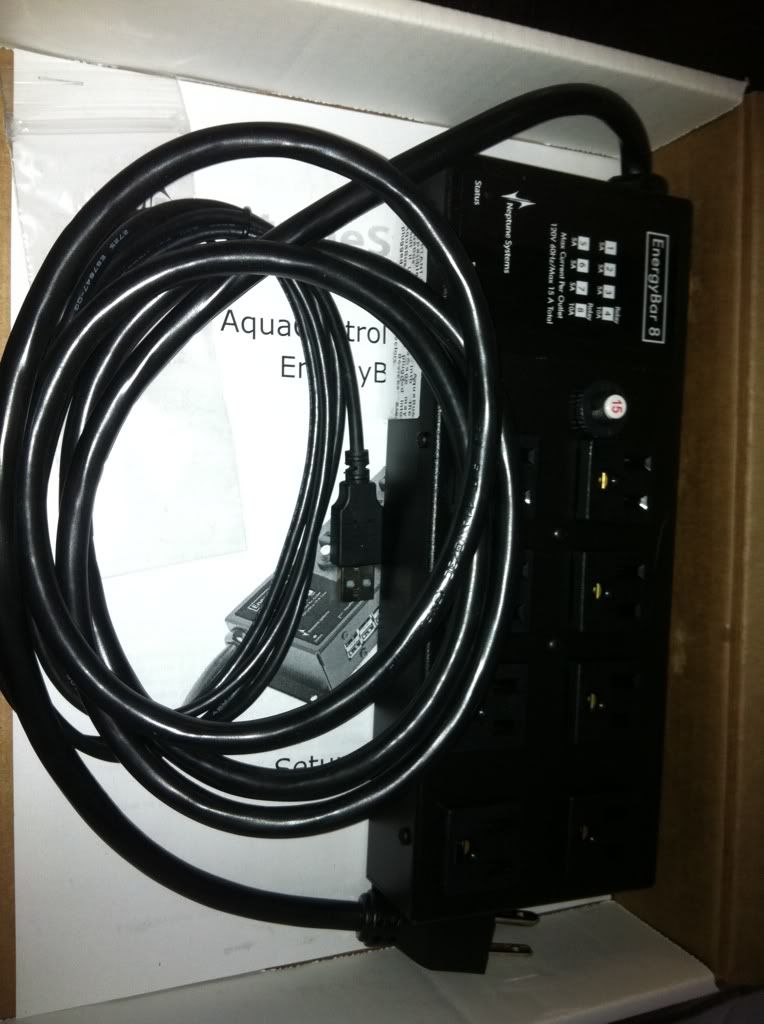 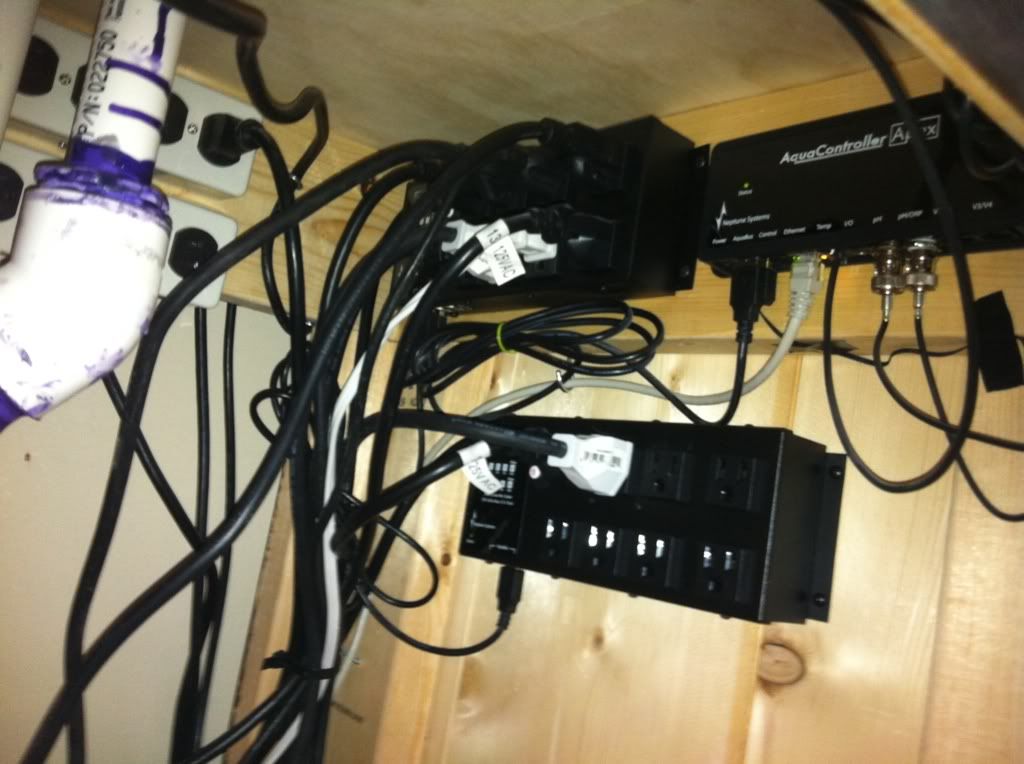 I just thought you should see me sweet calender as well haha 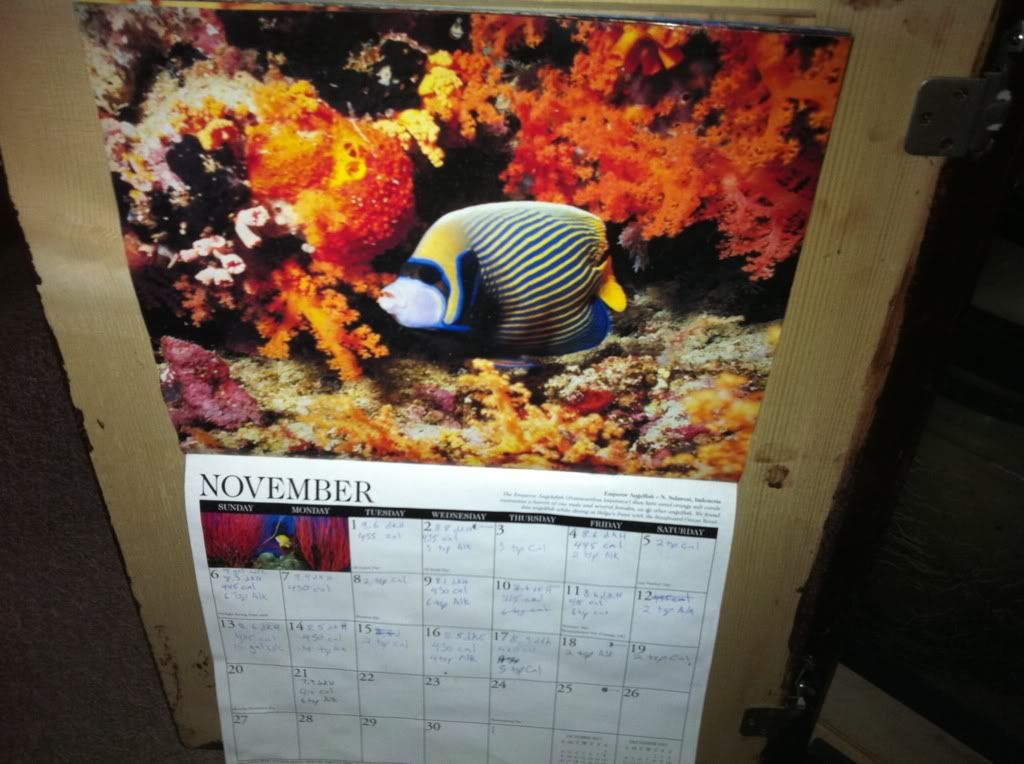 
|
|
#42
11-22-2011, 05:44 PM
|
|||||
|
|||||
|
With pressure like that you should order their water saver kit. You'll waste about half the water and double your output. I was shocked to find my pressure is just shy of 100 psi when I picked up a gauge (needed to know pressure before ordering the kit which requires at least 65 psi).
|
|
#43
11-22-2011, 10:43 PM
|
|||||
|
|||||
|
dats a fine looking water station you got there......I have the same callender, love it.....
__________________
260g mixed reef, 105g sump, water blaster 7000 return, Bubble King SM 300 skimmer, Aqua Controller Jr, 4 radions, 3 Tunze 6055s,1 tunze 6065, 2 Vortech MP40s, Vortech MP20, Tunze ATO, GHL SA2 doser, 2 TLF reactors (1 carbon, 1 rowa). http://www.canreef.com/vbulletin/showthread.php?t=50034 . Tank Video here http://www.vimeo.com/2304609 and here http://www.vimeo.com/16591694
|
|
#45
01-03-2012, 03:28 AM
|
|||||
|
|||||
|
New Years Video Update
Normal - http://youtu.be/f6am3KivLno HD - http://youtu.be/f6am3KivLno?hd=1 Hope you enjoy!
|
|
#47
01-07-2012, 12:01 AM
|
|||||
|
|||||
|
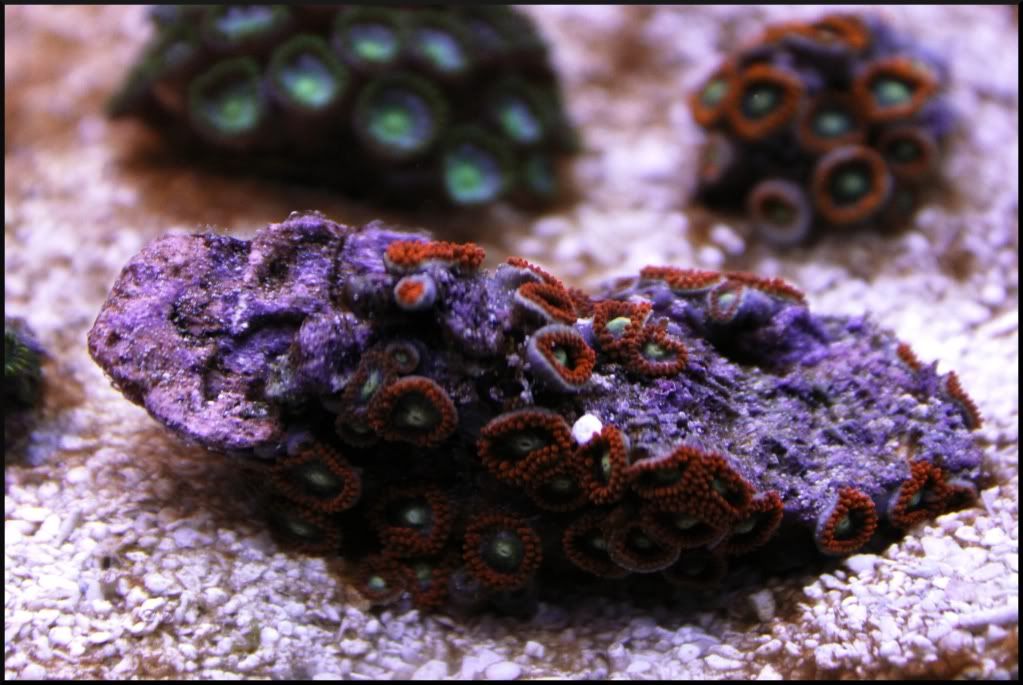
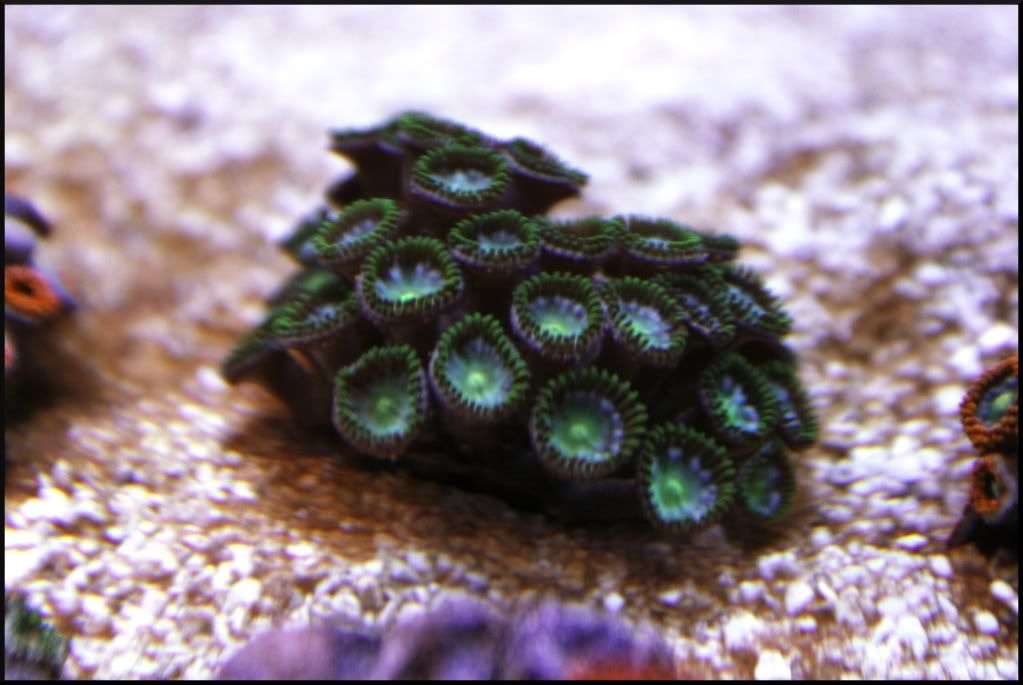
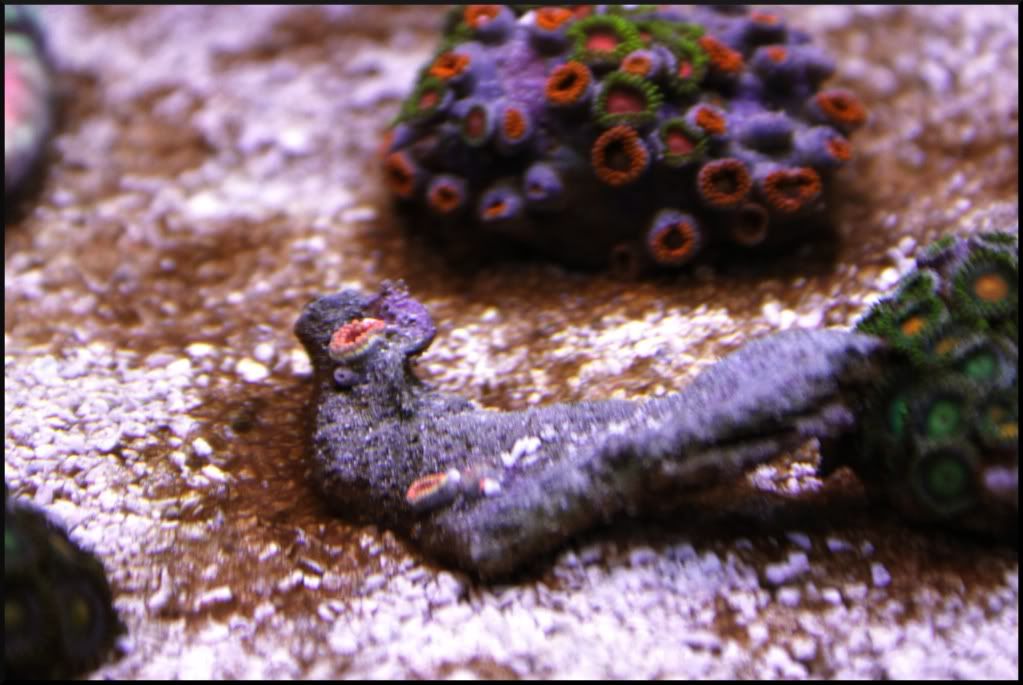
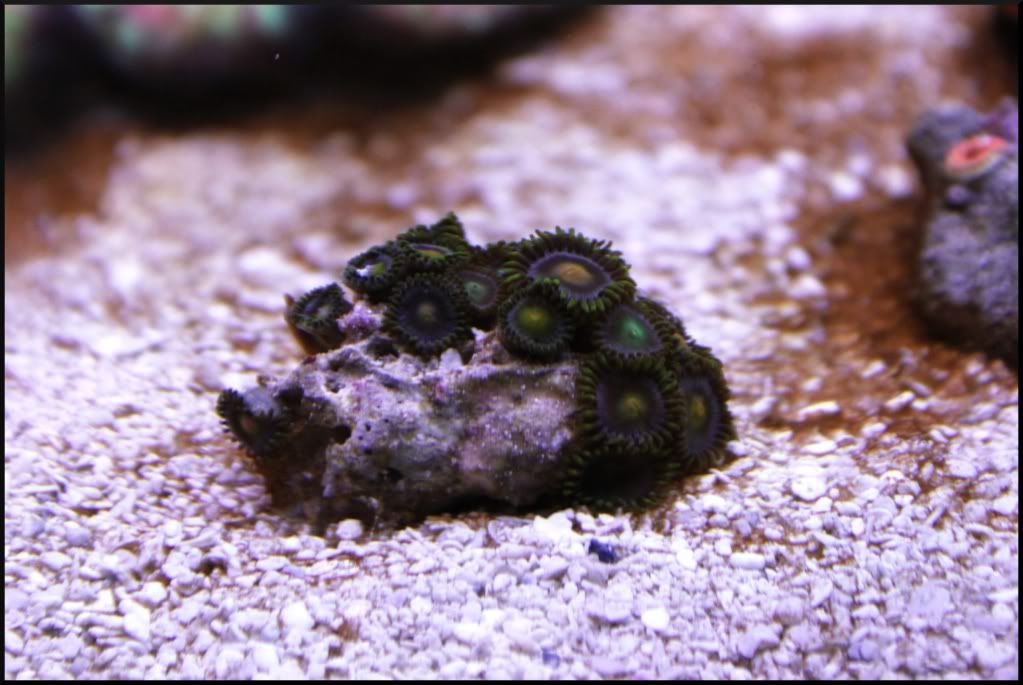
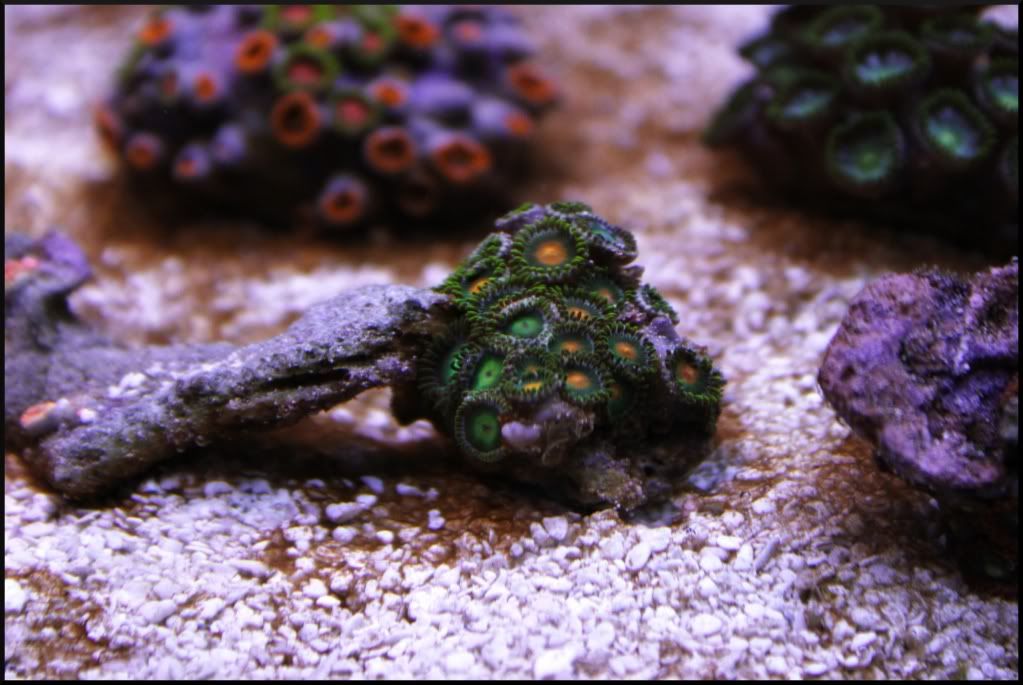
Here are some zoa's! I lost a couple colonies to zoa pox and have been treating with Furan-2. All seems well. Here are a few pics of some of my new/old zoa's!
|
|
#48
01-17-2012, 03:50 AM
|
|||||
|
|||||
|
those zoas look great! cant wait to get my hands on some frags!
__________________
I don,t buy beer, I BUY FISH! 20gal nano reef in the works Black Ocellaris Clown, Orange Ocellaris Clown  http://www.canreef.com/vbulletin/showthread.php?t=80050
|
|
#49
01-19-2012, 03:40 PM
|
|||||
|
|||||
|
In the next 6 weeks I will be doing some major changes to the tank. I have ordered a custom sump for under my stand. It measures 60"x18.5"x18" and will incorporate two 7" filter sock holders, a large skimmer chamber, and a good sized fuge. I will put a picture of the design from sketchup in the next few days. I will be pulling all of my old plumbing out from under the tank and redoing it all. The reason I am re-doing this is for two main reasons. One being that when I originally designed my sump I planned to not use filter socks. Now I use them religiously and really hate how cramped it is in my sump in order to change mine out. The other major reason is I have absolutely no room to work in my fuge. Because it is raised up higher than the sump I cannot fit my hand into it. This makes it extremely difficult to do any maintenance on it like trimming my cheato.
While I am re-doing my sump and plumbing I am going to drain the display tank half way. I will put my heaters into the display water along with my vortechs turned way down so my sand is not blown everywhere because of the low water level. I will also add a couple air stones and feed lightly. I have ordered a glass eurobrace for my tank which I will silicone on once the tank is half empty. I will remove the current black plastic brace that is on the tank now and put the eurobrace on. I will leave the tank half empty for 4 days to let the silicone cure. During this time I will work on plumbing in my new sump. I also plan on painting the inside of my stand white before adding the sump which is something I should have done originally. While waiting for the silicone to cure I will also be re-doing my lights. I will be taking my current four 250w spider reflector metal halides out and putting in three 250w LumenMax Elite reflectors. I will also be removing two of the four 39watt T5 lights I have in the canopy for supplemental lighting. With the larger LumenMax reflectors I can only fit two of the four T5's. I will also be replacing my fans that are currently in my canopy with something much quieter as they are extremely loud! The reason for adding the Eurobracing to the tank is so I can run 3 metal halides with good reflectors instead of 4 with crappy reflectors. Currently my tank has a 4" black plastic brace directly in the middle of the tank which is preventing me from running three 250's as I will not place one directly above this brace for obvious reasons. This will decrease the total power required to run the tank and also reduce the heat (four 250watts put out some mean heat on a 125g tank!). This is definitely going to be a big project but I am excited to get started on it. Im heading to Cuba for 2 weeks on sunday so ill be preparing to start all of this as soon as I get back!
|
|
#50
01-19-2012, 04:10 PM
|
|||||
|
|||||
|
Sounds like a lot of work that's going to be more than worth it good luck. These things are constantly evolving which is both a frustration and a way to keep things fresh I suppose.
|
 |
| Tags |
| 125, 125 gallon reef, 6 foot reef, reef build |
|
|


 Linear Mode

