
|
|
|
#1
 12-15-2010, 04:08 AM
|
||||
|
||||
|
ok so finally had some time to put this all up.
those that don't know I run a DIY skimmer on my apr 450 gal system (total water vol) the skimmer was initially based on the Aqua medic turbo floater 5000 the body is 8 inches in diameter and about 50 or 55 inches reaction chamber – 12 inch cup (don't want to go measure now) it initially had a 4 inch diameter neck of about 6 to 7 inches about 8 inches from the bottom I had 3 pumps running of each 1050 g/h, sucking up air as far as thy where able to (back pressure was a problem) eventually I had a air pump pushing air into the pumps (this mad the skimmer preform better) however still I had to adjust the water level inside the skimmer to about 1 inch from the neck after this I removed 2 of the 3 pumps and used the 2400 L/H air pump to feed 6 air stones of each 6 inches long. what a difference, I had to widen the neck to 6 inches in diameter to handle the foam, but still the water level had to be 1 inch from the neck. now I changed again (for the better) I used a Laguna / askol 2400 pump, and modified it into a mesh wheel and the resold is mind blowing. those whom know, Laguna askol are the same pumps used by red dragon, and known for lots of air suction at low wattage. to overcome my back pressure, I mounted the pump about 10 inches from the top, sucking air from the bottom by a 1.5 inch pipe with a valve on it, so I could trim the suction a bit to put pressure on the suction side (not necessary eventually, however nice to have in case I want to trim) I did not use the original volute, as according to some on RS a DIY could handle more air when it was bigger I made a custom volute (not cosmetically the nicest, but for me it was the first, and functioning was more important than aesthetics ) the DIY volute is build of several sheets of PVC (made flat in the oven from a pvc pipe) the inside diameter measures 3.5 inches x 1.5 inches deep I grinded off the impeller blades and put a new, wider disc on it to hold the mesh. after a trial in a tub, I was amassed by the suction capability. when attaching it to the skimmer body, I put 2 – 45 degree angles inside the chamber to direct the water in a twisting motion, slightly angled down into the skimmer body the skimmer feed pump, I also angled a bit, countering the mesh wheel pump, to mix it all . to overcome turbulence I made several triangles of egg crate that I placed on top of the 45 degree pipes inside the skimmer (I filled the entire 10 inches from pipe to skimmer nek, with egg crate triangles and bits and Pease's) all the egg crate made the air bubbles inside the reaction chamber go up, and no turbulence at all (this is above the pipe where the water air mix comes in) below the egg crate fill it is one big mess of turbulence, vortexing down the skimmer body. there is so much air in it, that I had to lower my water level in the skimmer body by a full 9 inches (almost lower than the mesh mod pump was mounted. I also had to make my neck taller to handle all the foam that was gushing out, so I put a 3.5 inch section on top of the existing skimmer nek se I don't have a air meter to measure how much air it is pulling, but I first had a 2400 air pump with a shorter nek and the water in the skimmer to 1 inch from the nek, now it is a mesh wheel pump that is pulling so much air that I had to lower the water in the skimmer by 9 inches, and make the nek 3.6 inches taller in order to handle all the air overall the set up is running now for 2 weeks, and I have to say, it never worked as great as now. I only additional put a valve on the air intake, as I found out that trimming the 1/2 inch air intake would put some pressure on the suction and even increased the air intake, below some pictures and movie's of the mod and skimmer (sorry it was taken with my phone, and had it the wrong way around) when you go over the pictures, the one that shows the hand are the movie's !! 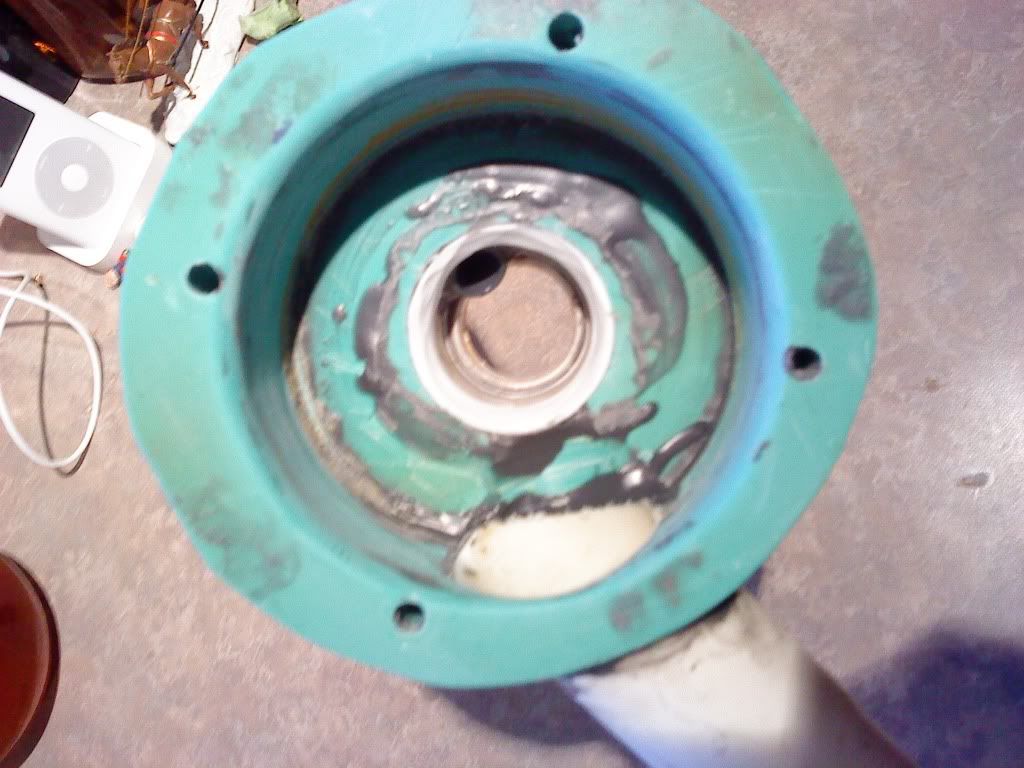 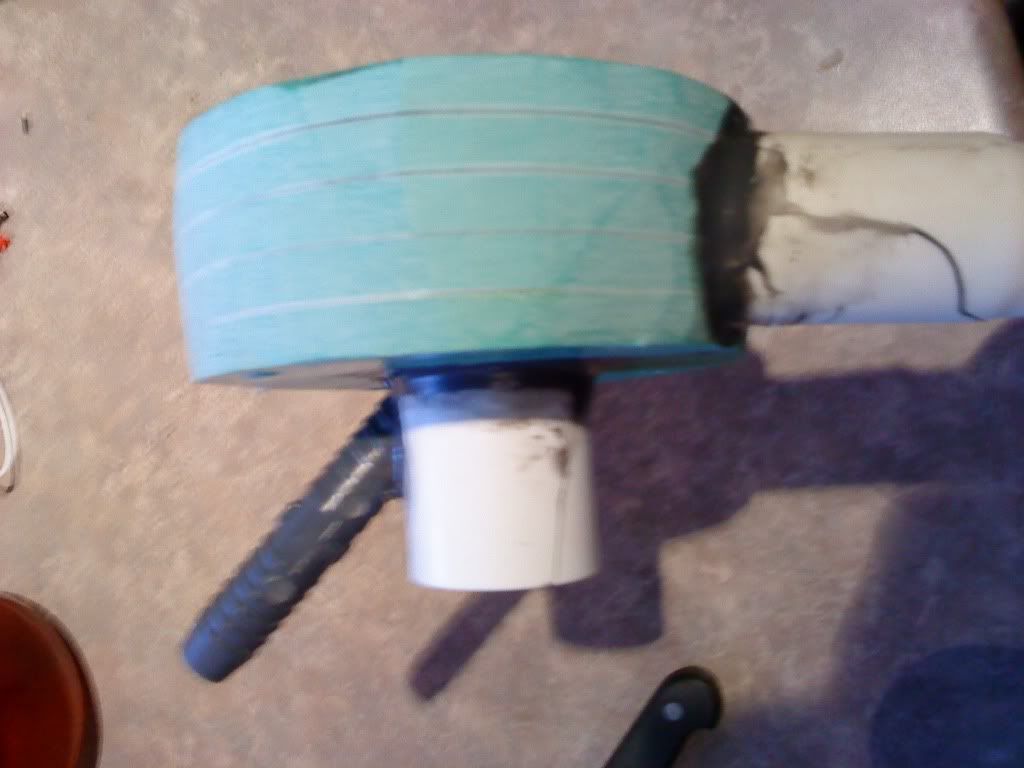 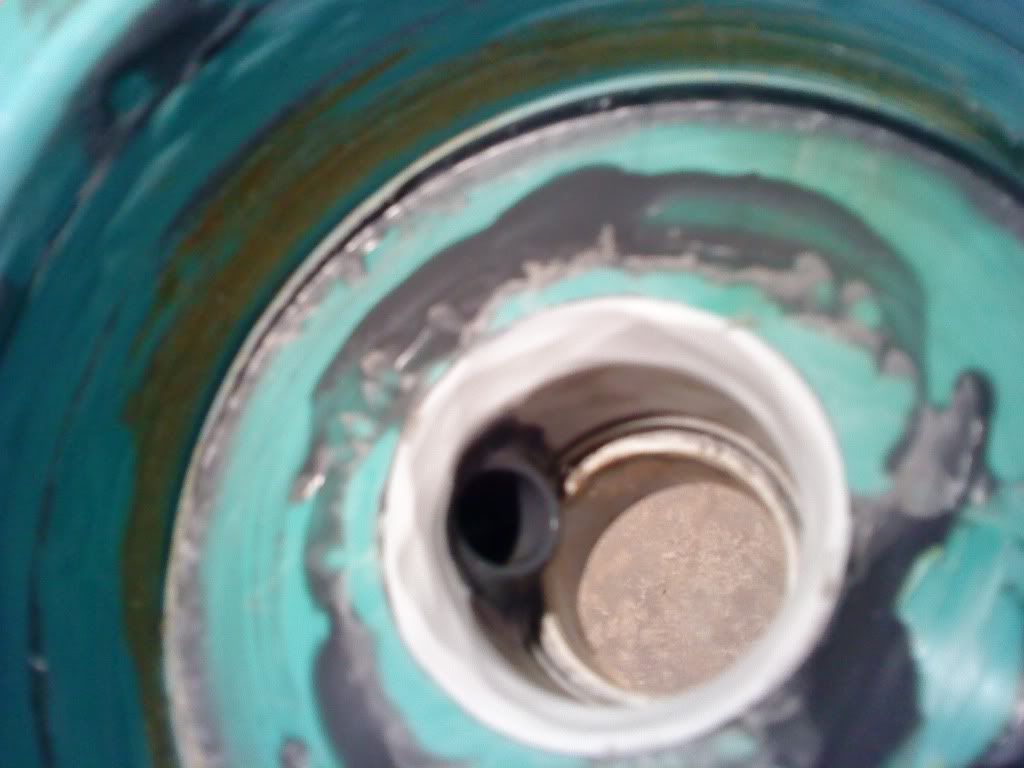 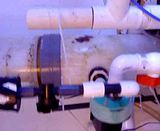 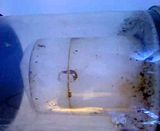 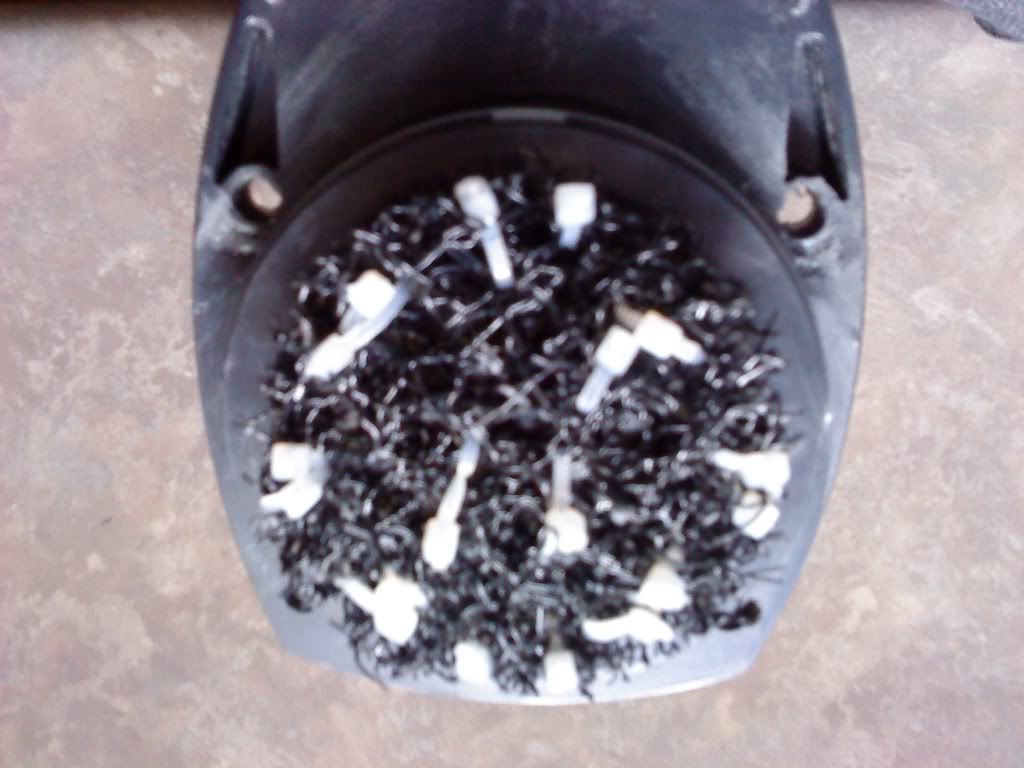 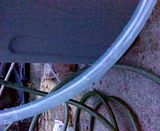 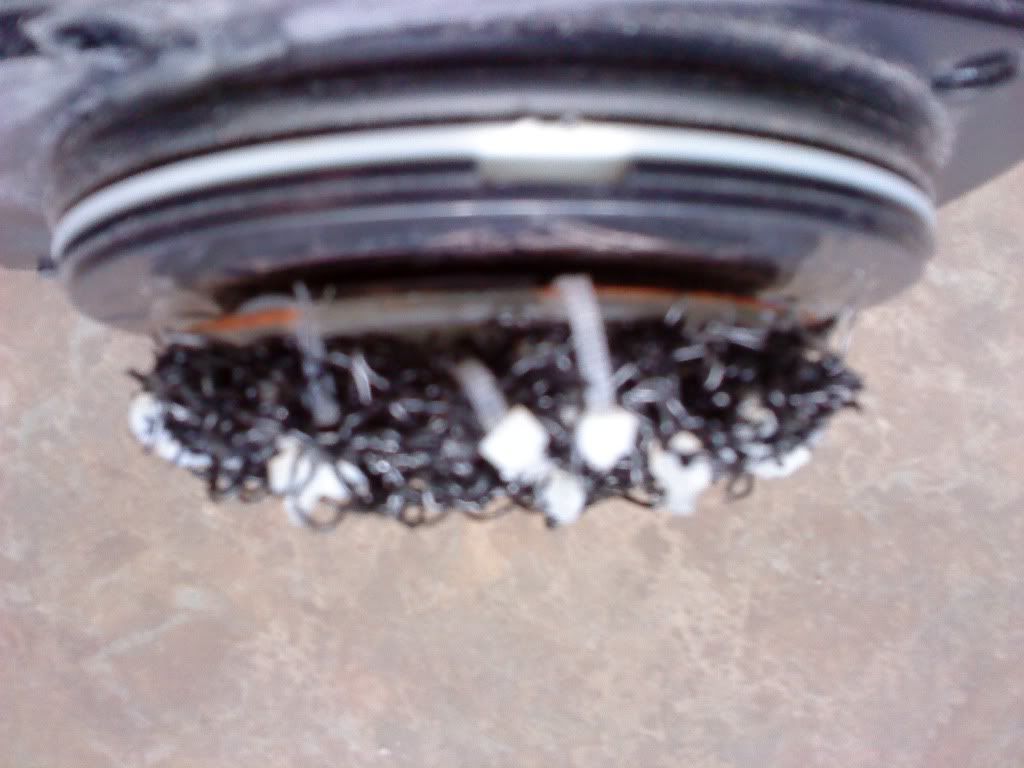 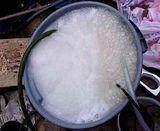 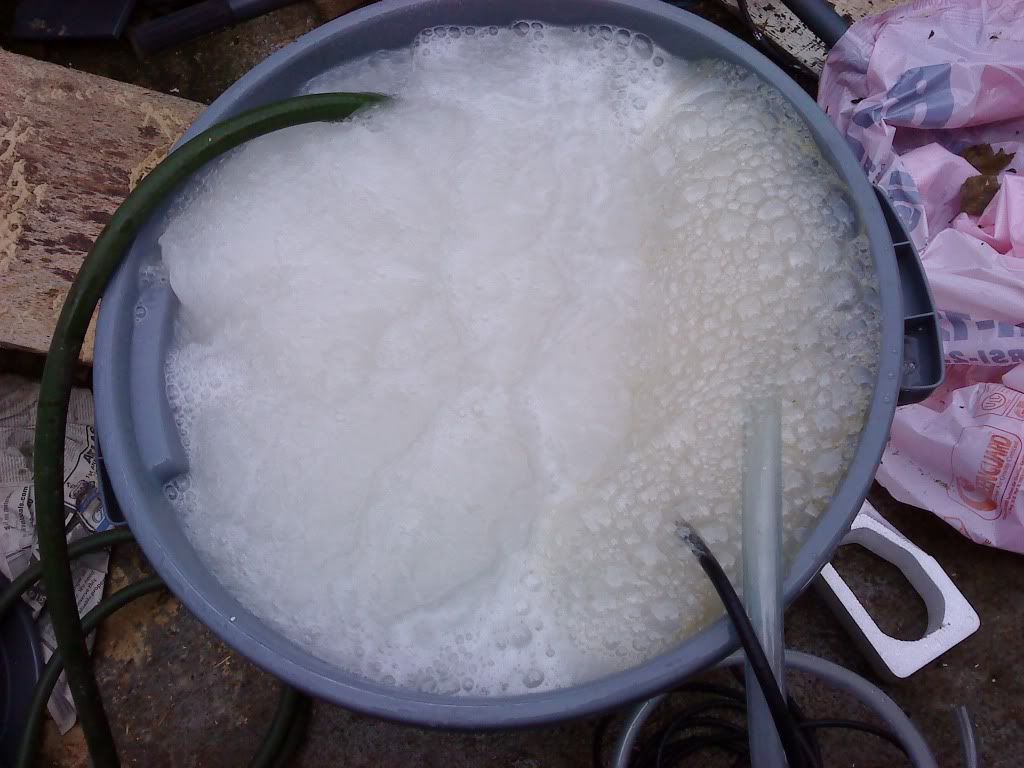 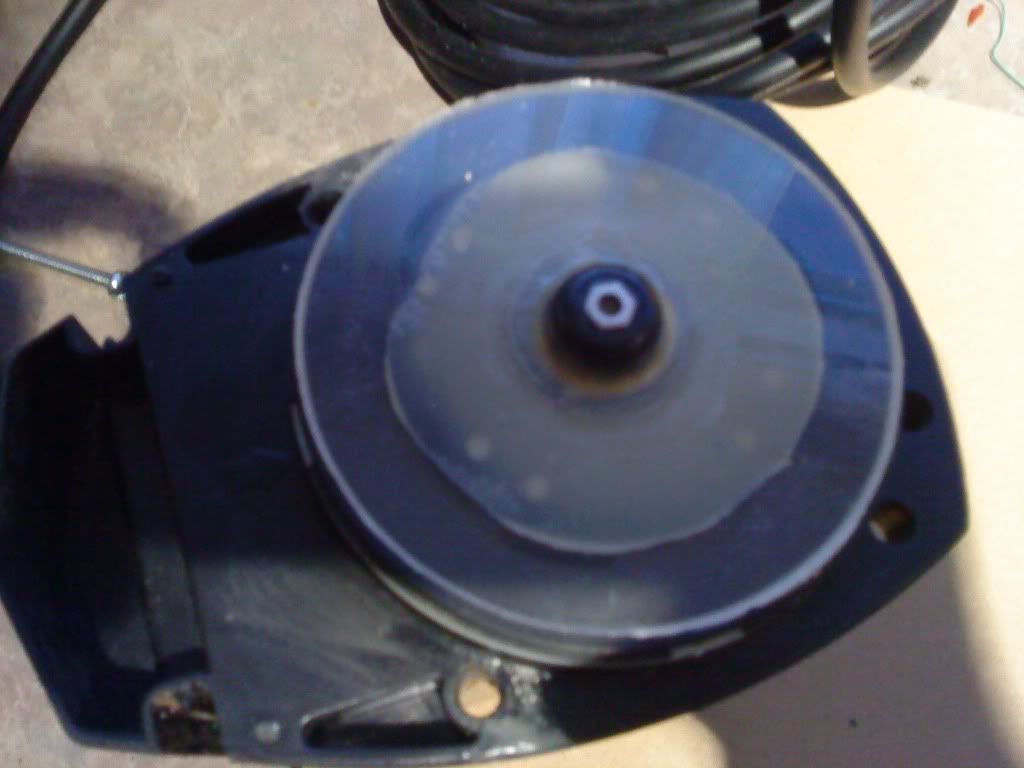 Last edited by KevinK; 12-15-2010 at 04:10 AM. 
|
|
#2
12-15-2010, 06:16 AM
|
|||||
|
|||||
|
Very crafty and resourceful!
Can you go into more detail on how you made the volute? How did you attach the disk to the magnet? Just curious. I mesh mod'ed my Bubble Magus a little while back and just used Weldon16 to attach the disk ... I'm not sure how long it will last.
__________________
-- Tony My next hobby will be flooding my basement while repeatedly banging my head against a brick wall and tearing up $100 bills. Whee!
|
|
#3
12-15-2010, 03:37 PM
|
||||
|
||||
|
Quote:
same I did with PVC glue, and it did not stuck on any, meaning there are 2 totally different materials, the 2 part epoxy was for connecting several kinds of plastic and worked fine. after grinding off the impeller blades, I put the pump on and smoothened the surface with sand paper, this way, whit the disc spinning it would become nice and balanced. as you cans se below on the picture, this is how it should have locked like, mine is nice circle from the inside, but the outside appears bit bulky. 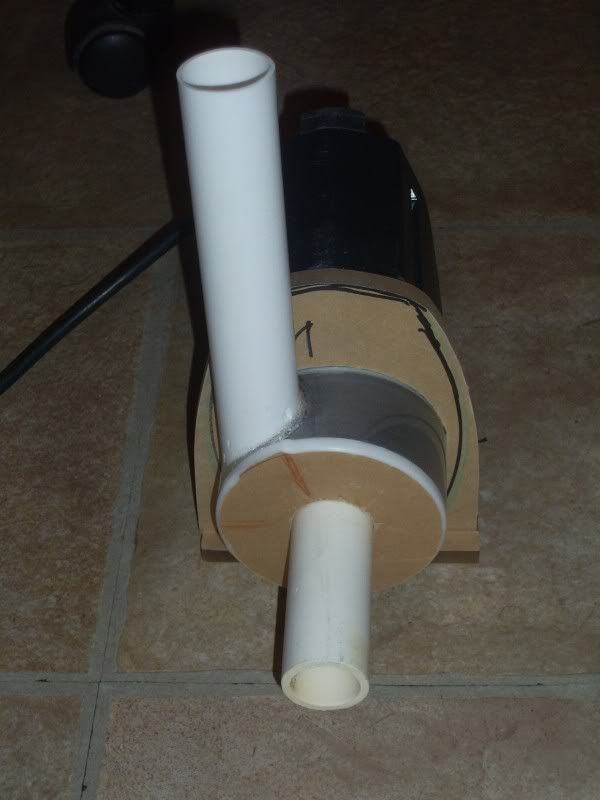 anyhow, the reason for me to go for the pvc body was A -because this would make connections east, otherwise you always had to play around with pvc and acrylic B- the pump it selve has a kind of a disk of 1/2 inch that is still pump housing that fits in the volute, and is exact 3 1/2 inch in diameter, I have locked around and could not find a exact 3 1/2 inch inner diameter pipe, it would always be 3. 6 ore 3.7 inches the inner diameter was critical because the part of the pump that still fits in the volute has a O- seal, if it it off by 1/ 12 inch ore even less, it would not seal and leak (for a in sump model maybe not such a problem) now whit the PVC I drilled a 3 1/2 hole, which turned out to be slightly over this, so no seal, however the pvc body was so sturdy that I could put pressure on the bolds that hold the body in place, to press against the pump. I placed an O- seal (from a RODI canister) around the pump base, I angled the volute part that would connect to the pump slightly on a angle, so in fact it would press down as I fasten the bolds, as well as inwards against the pump body, making a 100% seal  A = the slight angle of the end of the volute body B= 1/2 inch air intake C= existing O- seal on the pump D= new thicker O-seal on this picture you se that the pump originally has a few slots (as the body is PVC, I gust filled them and sanded it to be smooth) ( 1 and 2) 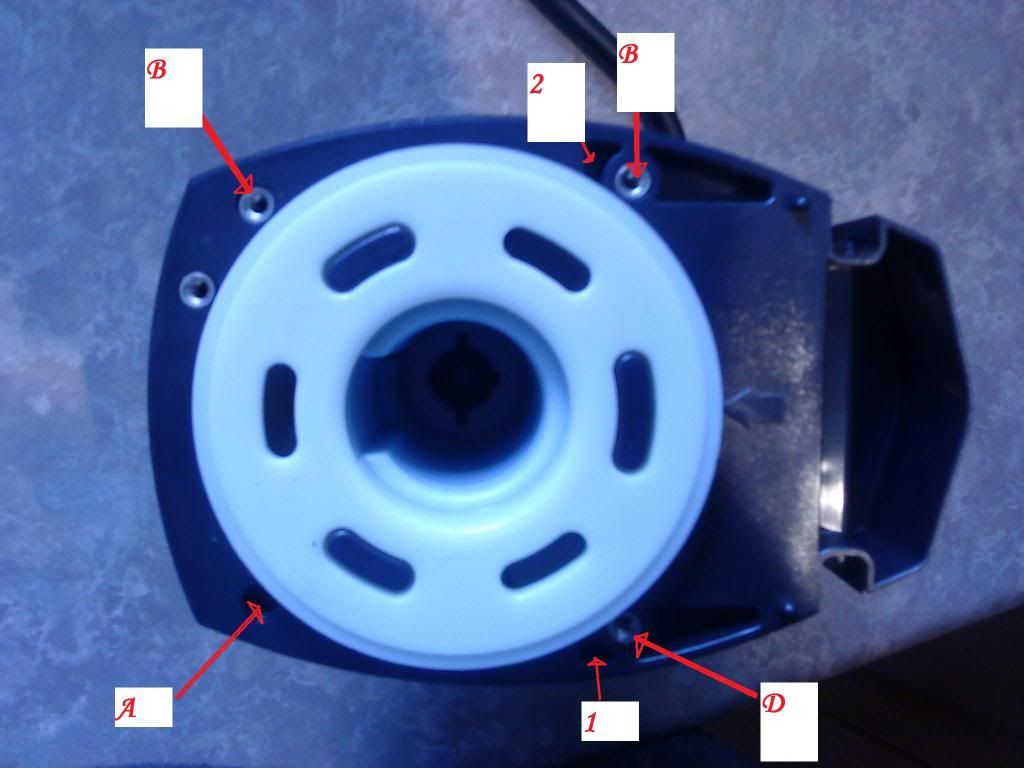 the fastening nuts imbedded in the pump housing I removed and drilled the hole threw to the other side (now I can pass a bolt threw the volute body, threw the pump, and place a nut) (A,B,C,D) the entire pump is dead silence, only draws 60 watt of power, and delivers thons and thons of air (fine bubbles this is)
|
|
#4
12-20-2010, 12:29 AM
|
||||
|
||||
|
as a test I again aded 3 inches to the skimmer neck, to se how it would preform under the same settings, but longer neck.
again, impressive what this change did after 3 days running, meaning the 3 aditional inches wil stay and I wil fasten them to the rest of the skimmer nek. as mt skimmer cup is not tall enough, it wil stay like this and I cant run another test with even a larger nek, as it now is 7 inches from the sealing, and I need to get my hand in to clean the skimmer neck each few days
|


 Linear Mode

