![]() |
|
#1
|
|||||
|
|||||
![]() Kien, I can only hopw that my tank will look half as nice as your tanks do. Your rockscapes always inspire
![]() Darryl, nice to see you here. I don't post on "that other site" anymore, so updates are here or on RC ![]() I made some more progress on the stand yesterday/today. I got the second coat of Kliz on last night, and it looks pretty good - makes it much brighter inside of the stand. My last stand was painted black inside, and it makes it very dark, even when lit inside. This time it should be a lot easier to see things when it's nice and bright in there: ![]() 
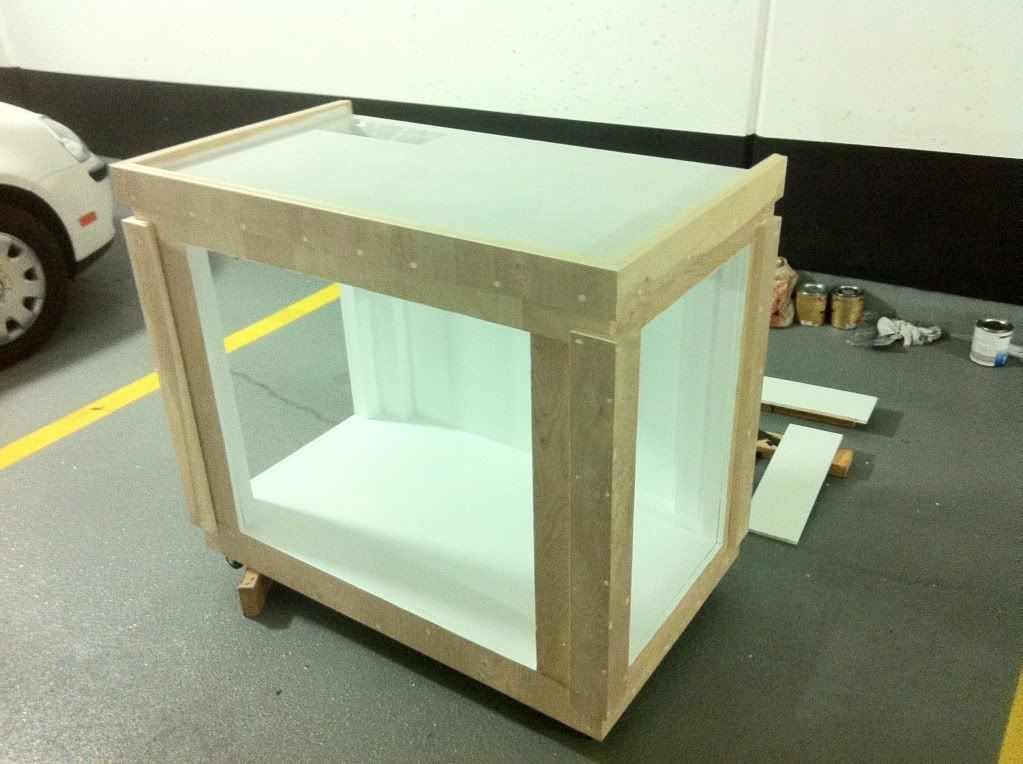
Here's the stand after the first coat of black stain: ![]() 
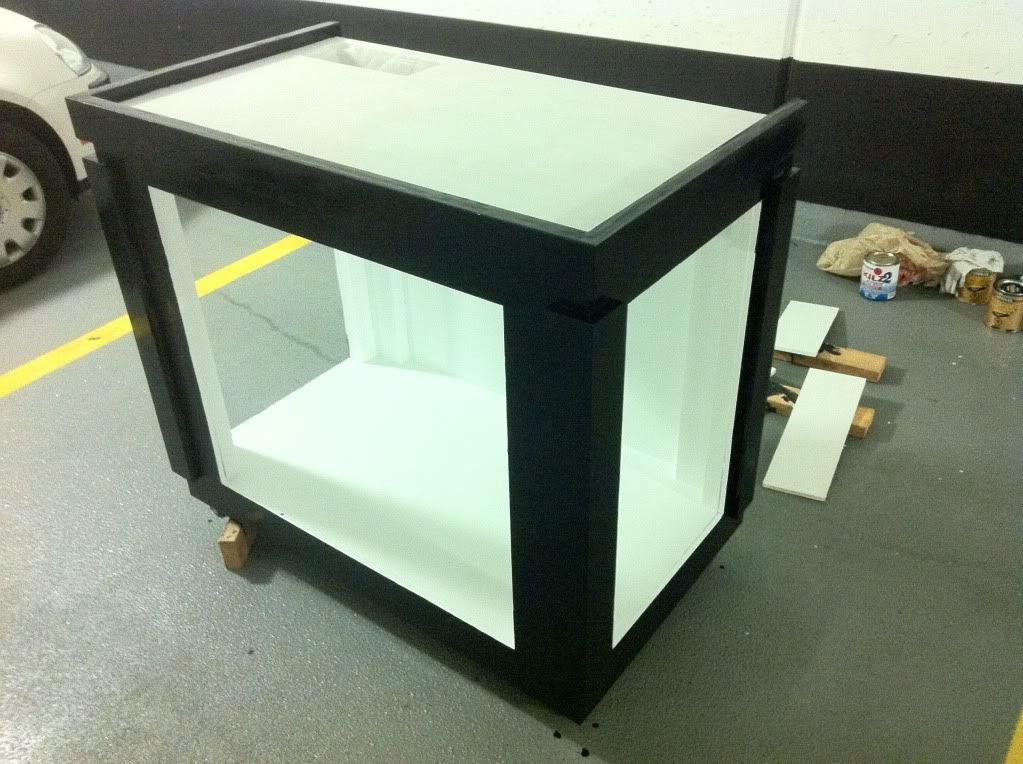
I'm going to do a second coat tonight, then it should be done. Just going to let it air out a few days in the parking garage, then bring it back upstairs.
__________________
Spontaneously Purchased Scleractinian anonymous |
#2
|
|||||
|
|||||
![]() tagging along. looks like it's going to be a great tank
__________________
75 gallon with 20 gallon sump in the works. R. Bacchiega. Tattooer I didn't smack you, I simply High Fived your face. I've got so much glue on my pants it looks like a Friday night gone horribly wrong. |
#3
|
|||||
|
|||||
![]() Had a local forum member make some acrylic goods for me which he dropped off today- 3 dosing boxes, a little stand for my doser, and my black baffles. Everything is top notch, and I'd recommend him to anyone looking or some custom acrylic fabrication in the GTA.
Here are the dosing boxes. Exactly as per my design, and they're amazing. I had the brief thought to turn one into a tank for my desk (....so I may have to place another order with Jamie soon!) My original plans: ![]() Jamie noted that the 2" opening would be too small to get a hand in to clean (good eye!), so after consulting with me, we changed it to 4". The result is: ![]() You can see the little doser stand on top. ![]() Lid detail (it seals the box nice and tight - perfectly made!) ![]() More close ups: ![]() Baffles were made in black to minimize the amount of light thrown around the sump, and prevent algae growth where it's unwanted: ![]() Mocked up in the sump (with return pump and skimmer, of course): ![]() ![]()
__________________
Spontaneously Purchased Scleractinian anonymous |
#4
|
|||||
|
|||||
![]() Now that I have the dosing solution boxes, sump baffles and my 10g top off reservoir (my former 10g tall reef tank
![]() Dosing box fits perfectly with a few mm to spare: ![]() All together now! ![]() Frontal shot: ![]() Right (ATO reservoir) side: ![]() Left (Skimmer) side: ![]() Lots of room above the skimmer: ![]() Behind the sump there's about 1.5" to run electrical and hide anything else: ![]() And a nice little space for storing everything else, and maybe even a future frag tank/species tank of ~10g: ![]() Very excited to start seeing everything come together!!
__________________
Spontaneously Purchased Scleractinian anonymous |
#5
|
|||||
|
|||||
![]() sweet dosing station.....looks very shiny.....and like it cost a pretty penny
![]()
__________________
260g mixed reef, 105g sump, water blaster 7000 return, Bubble King SM 300 skimmer, Aqua Controller Jr, 4 radions, 3 Tunze 6055s,1 tunze 6065, 2 Vortech MP40s, Vortech MP20, Tunze ATO, GHL SA2 doser, 2 TLF reactors (1 carbon, 1 rowa). http://www.canreef.com/vbulletin/showthread.php?t=50034 . Tank Video here http://www.vimeo.com/2304609 and here http://www.vimeo.com/16591694 |
#6
|
|||||
|
|||||
![]() Quote:
![]() And, yes, that is a BK180 Mini (gen 1 tho ![]()
__________________
Spontaneously Purchased Scleractinian anonymous |
#7
|
|||||
|
|||||
![]() wow!.....that is a really good price!......your gonna be really happy with the BK......I know I am
![]()
__________________
260g mixed reef, 105g sump, water blaster 7000 return, Bubble King SM 300 skimmer, Aqua Controller Jr, 4 radions, 3 Tunze 6055s,1 tunze 6065, 2 Vortech MP40s, Vortech MP20, Tunze ATO, GHL SA2 doser, 2 TLF reactors (1 carbon, 1 rowa). http://www.canreef.com/vbulletin/showthread.php?t=50034 . Tank Video here http://www.vimeo.com/2304609 and here http://www.vimeo.com/16591694 |
#8
|
|||||
|
|||||
![]() Since Miracles forgot to apply the black vinyl backing, I tried to apply the vinyl on the tank myself, but I suck. Bad. There's no way I can do it right and make it look decent. I'll probably have to paint the back tomorrow.
I made some progress today though. I cut out an area for the outlets, and expanded one of the holes I put in the back top corner of the stand since I forgot that the power cord for the fan for the light fixture has an adapter on it. ![]() Also, I hung the light fixture. Got the bulbs in and, glass splash shields installed and put that baby up! ![]() ![]() ![]() ![]() It makes me crazy that the fixture is held up by little bolts in the ceiling, but I suppose I should have faith in them - but I can't help but feeling like one day I'll come home to the fixture having gone for a swim.... Anyways, I'm pretty happy. Next steps: 1. Make back of tank black somehow - try vinyl again? paint black with acrylic/latex? 2. Level stand - it's ever so slightly off. 3. Get tank on stand. 4. Glue down plumbing. 5. Silicone in sump baffles. 6. Arrange electrical components (power bars, controllers, battery back-up, cords, etc.). 7. Profit!! Just kidding! Then starts the real fun!! Filling the tank!!! woooooo
__________________
Spontaneously Purchased Scleractinian anonymous |