
|
|
|
#21
 05-29-2010, 03:08 AM
|
|||||
|
|||||
|
Got some time to get my RO/DI connected. The unit is one that I purchased several years ago http://www.aquasafecanada.com/ I've been happy with the performance of the unit I purchased, but the price has gone up a fair bit from the time I purchased ($120) to now (from $200)
I've been using tap water to fill the tank up to this point and my nitrate level has been rising since. I tested a few days ago and it's around 80-100ppm. Not sure how much the tap is contributing to the nitrate (maybe I'll test a little later) or if the tank is not processing it (usually takes a while). Regardless I was planning on adding the RO, and now is as good a time as any. I had originally planned on putting the unit under the tank, but due to the distance to the guest bathroom where the water and drain lines are located I decided to place it under the sink instead. So here it goes Location:under sink  Disconnected cold water line  Installed a shutoff valve. The builder was too cheap to put one in. I believe these may now be mandatory. I you already have one installed that would be a bonus.  The tee'd off the shutoff to supply the faucet above as well as the RO  The original line had to be cut after adding the shutoff and tee.  Here is the final connection with the line to the RO unit installed  I went to HD today and found a couple gauges that I'll be using this time to check the pressure drop over the sediment and carbon filters. Not a bad deal at $7.50 each. with all the connections it came to around $40 for the two gauges. Depending on your set up the connections required may vary.  Connected the first gauge to the main line coming into Stage 1 sediment filter. The second is after the Stage 3 carbon block.  Once the gauges are installed, went to work connecting all the lines. The first was from the gauge on the outlet of the carbon block to the "IN" on the auto shut off. Don't think I'll be using the ATS valve for now, but installed it anyway.  ATS valve "OUT" to the membrane. The membrane I will be using is a 100gpd, but thinking of adding a second in the future.  On the other side of the membrane there are two connections. The one closest to the center of the RO filter housing is the RO filtered water, and the outer connection is the waste line. The filtered water is connected to the second "IN" on the ATS. The waste (yellow) is connected to the flow restrictor/flush valve. The connection to the DI (which will be added later) is the second "OUT" on the ATS.  A bit difficult to see in this shot, but I connected a valve between the inlet on the Stage 1 sediment filter and the main shutoff valve. The yellow hose is connected to the flush valve which will be attached to the drain.  Removed the trap under the sink on the drain and drilled a 1/4" hole for the drain line.  Connected the drain fitting over the hole that was drilled  Inserted and tightened the drain line onto the fitting  Finally tucked the unit away inside the cabinet. I'll be adding DI to the RO once my new canisters arrive.  Also picked up a TDS meter today ($15) from HD. I'm still waiting for my replacement filters and new membrane to arrive, but I tested it out using my old filters. Tap waster is reading 113 and the RO unit with my old filters is reading 3. Hope this helps with the nitrates.  New pressure gauges are working great as well. Looks like I didn't need to replace my sediment filters after all.  DI canisters should arrive some time next week, once installed I hope that would bring the TDS to 0. 
|
|
#22
07-22-2010, 02:33 AM
|
|||||
|
|||||
|
Been some time since I've made any progress on the tank itself. No FTS yet since there has been little change
However, I've finally started on the sump which will be a 40gal breeder. The dimensions are 36"x18"x15"high which fits nicely on the bottom frame of the stand. With the 12" of space remaining on the stand I've built an acrylic tank that overflows into the 40gal, but I'm still not sure what to do with this section. Some ideas I've been thinking of include fuge, quarantine, acclimation, frag.....so much to do and so little space. 
__________________
Sunil One day I'll be finished......then What?
|
|
#23
08-08-2010, 03:23 PM
|
|||||
|
|||||
|
Been busy over the past couple weeks on a few other projects. One of which was building shop table to give my table saw and router a more permanent home. This will come in handy for the DIY's to come.
 
__________________
Sunil One day I'll be finished......then What?
|
|
#26
08-08-2010, 03:48 PM
|
|||||
|
|||||
|
Bioload where did ya get the rock from love it, that is what I need.
__________________
180 starfire front, LPS, millipora Doesn't matter how much you have been reading until you take the plunge. You don't know as much as you think.
|
|
#27
08-08-2010, 04:19 PM
|
|||||
|
|||||
|
Quote:
__________________
Sunil One day I'll be finished......then What?
|
|
#28
08-08-2010, 04:21 PM
|
|||||
|
|||||
|
Quote:
__________________
Sunil One day I'll be finished......then What?
|
|
#29
08-10-2010, 03:37 AM
|
|||||
|
|||||
|
Some more work on the tank. Since I've finally installed the sump I need an overflow box in the main tank to replace the plugs installed when the tank was filled
 I was able to get an off cut from Piedmont Plastics for approx $5.00 sq/ft including taxes. Have quite a bit extra that I can use later on for the media reactors and skimmer. First step was to rip a 6" wide strip for the overflow.  Using the table saw again cut the pieces for the front, back and side of the overflow. The box will measure 6"x6"x4"  Once the cuts were made with the table saw. I then set up a straight edge on the router table to clean up the edges that will be welded. I just use a simple level for this clamped to the table. I don't have a jointer at the moment, but this works fine.  The guide was set to just shave the edge of the piece. Important to do one pass per piece before moving the guide to ensure all the pieces have the right dimensions. Top of each peice then bottom, then sides etc.  Here is a look between the edge from the table saw and after routing.  Once the edges are cleaned up with the router I usually do a dry fit to ensure everything lines up right.  Before welding the pieces together I marked where the bulkhead would be installed on the box and drilled a hole using a hole saw. Just placed is on the back of the tank which was drained and traced the hole.  I used a standard squeeze applicator and Weld-On 4 for the solvent. Both can be obtained from Piedmont Plastics. I would recommend practicing on a scraps if possible to get used to the applicator. When inverted the solvent flows very fast. Squeezing the bottle before inverting helps control the flow, but takes some practice to get right  When bonding two pieces I leave a slight edge that can be cleaned up using the router table afterward.  Once the front, back, and sides are all welded, next step is to clean up the edges.  Attaching everything to the bottom. This piece I did not cut on the table saw. I simply glued the box onto the oversize bottom and again passed on the router  Completed box  I had some egg-crate that fit nicely into the top of the overflow to prevent anything from going into the drain  Finally installed the box into the tank. Ensure that the gaskets are in the right spots. Flange -> Gasket -> Overflow -> Gasket -> Tank -> Gasket (optional) -> Nut  HTH, Sunil
__________________
Sunil One day I'll be finished......then What?
|
|
#30
08-19-2010, 01:43 AM
|
|||||
|
|||||
|
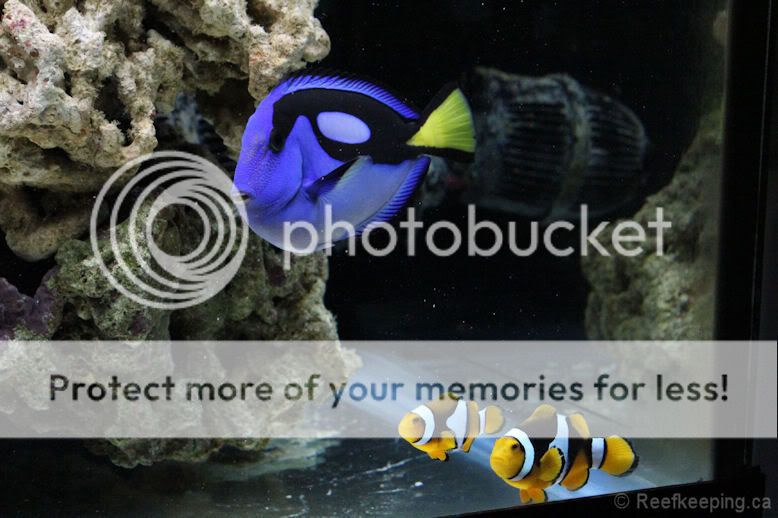
Unfortunately my Blue Tang that I've had for the past several years has become quite aggressive in the 75gal. I won't be able to have a large tank ready in time and would like to continue adding livestock, but I'm afraid she's too territorial.
If someone has a nice home for her.......please ensure that your tank is appropriate, like I said, she's been with us for over 4 years and would hate to have her perish. $60.00 - Approx 5" 
__________________
Sunil One day I'll be finished......then What?
|


 Linear Mode

