 |
|
|
|
#1
|
|||||
|
|||||
|
Curious as to why you took the back panel out of the aquarium? You mean you cut the silicone and removed an entire pane of glass?
__________________
Mike 77g sumpless SW DIY 10 watt multi-chip LED build |
|
#2
|
||||
|
||||
|
Quote:
I guess I could've just stuck another piece on the inside of the old one, but I thought I might as well replace it. Just had a bit of a shock at the price of 8mm glass though, and the fact that it'll take 3 weeks to order in... |
|
#3
|
|||||
|
|||||
|
+3 for a Herbie overflow
Another thing that helps is to use plenty of unions throughout your plumbings construction. That way if you ever have to take it apart to modify it or any other reason you dont have to cut it up with a hack saw... Banditpowdercoat could we see a picture of the other side of your overflow too? It looks like something that I might copy for my next tank or if I get my present one drill a second time.
__________________
"We shall dive down through black abysses... and in that lair of the Deep Ones we shall dwell amidst wonder and glory forever." - H.P. Lovecraft Old 120gal Tank Journal New 225gal Tank Journal May 2010 TOTM The 10th Annual Prince George Reef Tank Tour |
|
#4
|
|||||
|
|||||
|
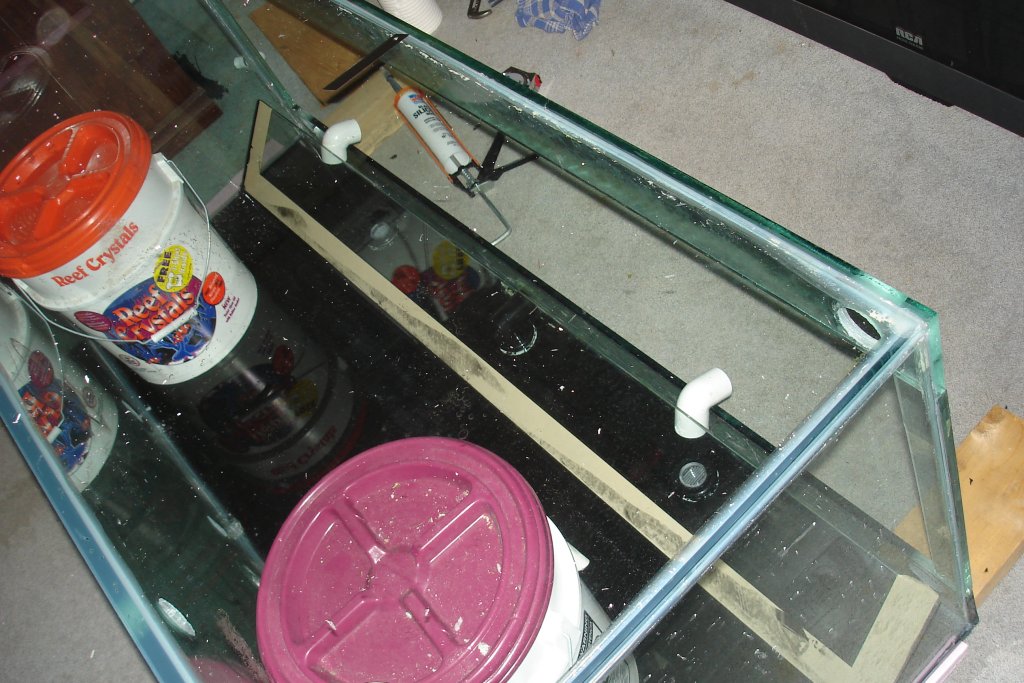
I'm not home right now, but heres a pic of when I was siliconing the wier in place. The tank is on its back in this pic.
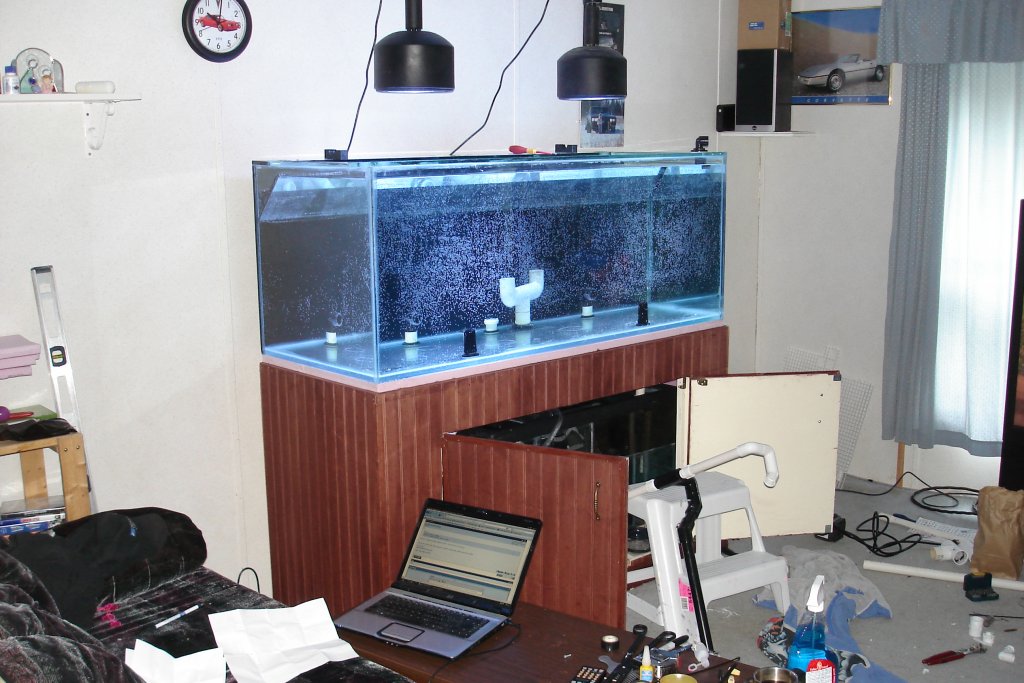
 Here you can see it on the back. This was first fill, leak testing 
__________________
Dan Pesonen Umm, a tank or 5 |
|
#5
|
||||
|
||||
|
Thanks for all the help everyone, I'm going to make the coast to coast on the inside like banditpowdercoat, because although it would be less obtrusive on the outside, to do that I would have to take a long thin section out of the back panel which is somewhat outside my comfort zone at the moment!
I notice that the Herbie style drain seems to be popular, I think I'll do something like that with a third emergency emergency drain because I'm paranoid (and the turbo snails seem to take delight in ending up in the weirdest/most impossible places). I figure that if I use 1.5" tube instead of 1" I should be able to cope with pretty much anything that's likely to happen. I hope! I guess now I've got what I'm building sorted I'll have to do some head scratching and work out exactly how to build it.. Still not looking forward to drilling holes in the glass though! |
|
#6
|
|||||
|
|||||
|
Drilling tanks is easy. Just need a cordless drill, or one with good speed regulation, and a diamond hole saw. Start SLOW speed, using your hand to hold the bit steady, but at a slight angle untill it starts its groove. Then slowly tilt the drill perpenbdicular. Dont push on the drill, let the weight of it do the work. Ohh, water fro bit cooling too.
There are some great how to vids on youtube on drilling glass.
__________________
Dan Pesonen Umm, a tank or 5 |
|
#7
|
|||||
|
|||||
|
Quote:
as for 1" pipe.. it is to small for what you want using a durso. I would go two 1.5" with a durso and a durso is still loud. people have been having luck with the herbie set up using 3, 1" pipes. a herbie will handle more flow for the same size pipe as it is a syphon set up not a gravity feed setup. Steve
__________________
 *everything said above is just my opinion, and may or may not reflect the views of this BBS, its Operators, and its Members. If cornered on any “opinion” I post I will totally deny having ever said this in a Court of Law…Unless I am the right one* *everything said above is just my opinion, and may or may not reflect the views of this BBS, its Operators, and its Members. If cornered on any “opinion” I post I will totally deny having ever said this in a Court of Law…Unless I am the right one*Some strive to be perfect.... I just strive. |
|
#8
|
||||
|
||||
|
Quote:
I could arrange the extra 4" behind the tank, as I'm building my own cabinet to go underneath it. I'd have to accommodate the plumbing behind if the bulkheads were in the back of the tank, so if I put them in the bottom of an external overflow I should be no worse off for space that way.. The problem that I can see is that there's a trim around the top of the tank that I'd have to cut back a bit because I want to have the water level above the bottom of the trim at the front and sides so it's not visible. I'm not sure if the trim is structural or not. Having said that the overflow would act as a brace wouldn't it? Maybe if I can get away with shaving say 1/2" off the trim and whatever else off the glass.. ? Rob. |