
|
|
|
#61
 11-03-2007, 12:45 AM
|
|||||
|
|||||
|
So I picked up the glass for my overflow today and I may have made a mistake. This is to be a toothless overflow. I wanted it to be as close to the top of the tank as possible but I may have got it cut a bit too close. I got it cut so that it will only be 3/8" under the eurobracing. Will this be too close to the top of the tank? It should only be a very thin layer going over the overflow anyways but it looks close. What do you guys think? Does it make sense how I explained it?

|
|
#62
11-03-2007, 01:33 AM
|
|||||
|
|||||
|
I measured on mine and the water surface to the bottom of the Eurobrace and I have 3/4". I held up an edge at about 3/8" and can't see the distance being a problem other then when the 4 way goes around I might get rippling that high. It would just mean it would get salt creep on the bracing more than I get now. Maybe also the water level might go over if I plunged my arm in until the overflow caught back up.
|
|
#63
11-03-2007, 01:54 AM
|
|||||
|
|||||
|
Yeah thats pretty much what I thought. I think it will be fine...Well it better be. I am also wondering though if the overflow will be big enough to handle the 2" drain. I may have made it too small.
Just realized I have another small issue. My RO unit came with a faucet adapter but I cannot use it in my apartment because it is for threaded faucets (like laundry sink ones) and I just have the kitchen and bathroom sink faucets to use (not threaded just regular faucets). Is there anything I can pick up from somewhere like home depot to use?
|
|
#64
11-03-2007, 02:35 AM
|
|||||
|
|||||
|
Actually the glass is too tall. It just barely leaves 3/8", maybe even a bit less. What a pain...I guess I have to have new glass cut. I don't think they can trim off just a tiny bit for me.
This is all because the eurobracing is a bit lower and thicker than I thought it was. Its 1/2" glass.
|
|
#65
11-03-2007, 04:35 AM
|
|||||
|
|||||
|
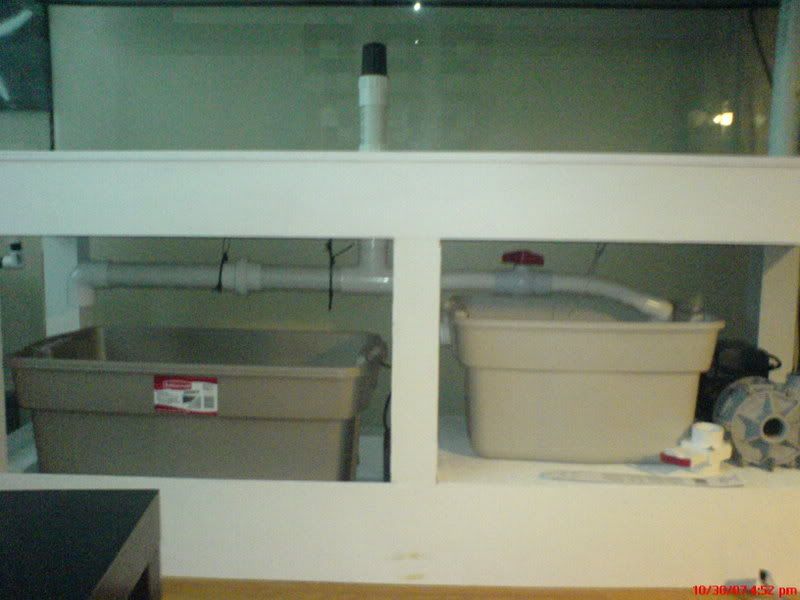
A few more things Im really not sure about. I started doing my plumbing and realized that there is not much room to plumb another herbie drain between the refugium and sump. Im also wondering about the fact that the refugium is not raised up much higher than the sump. Is this even going to work? If the refugium is draining from near the bottom and then into the sump by gravity, it would barely be a drop at all. I don't know if that makes sense but this doesn't seem to work out in my head. Is it possible just to keep them at the same level and connected through bulkheads near the bottom. That way just allowing water to flow through the refugium into the return section of the sump?
I will draw a picture
|
|
#66
11-03-2007, 07:10 AM
|
|||||
|
|||||
|
If I understand you correctly I think it will work. The only thing is that without the "drop" that you will not be able to push too much water through the refugium because the back pressure might cause the refugium to overflow. So you might need to experiment with flowrates to find the optimal rate, but I think it's not a showstopper. Good luck!
__________________
-- Tony My next hobby will be flooding my basement while repeatedly banging my head against a brick wall and tearing up $100 bills. Whee!
|
|
#67
11-03-2007, 07:15 AM
|
|||||
|
|||||
|
Super rough and simple but here we go. Just something basic like this. And yes, I was actually concerned about back pressure but I do not want too much flow through the refugium anyways. I have seen this done before but I do not know how it worked exactly. It does seem like it would be hard to get flow moving properly through the refugium.
Like I said before though, because of space the second herbie would be hard to do. plus I do not see how it will work without much of the height difference. I may be missing something though! 
|
|
#68
11-03-2007, 07:25 AM
|
|||||
|
|||||
|
Oh - hmmm - why not just raise the refugium a little (put it on bricks or build a little platform) so that the top is at the same level as the top of the sump? Then it can't overflow (well, not without the sump overflowing too).
__________________
-- Tony My next hobby will be flooding my basement while repeatedly banging my head against a brick wall and tearing up $100 bills. Whee!
|
|
#69
11-03-2007, 07:43 AM
|
|||||
|
|||||
|
Quote:
|
|
#70
11-03-2007, 02:59 PM
|
|||||
|
|||||
|
To bad about the glass.
You're layout would work. Any water movement you have have from the pump pushing the water up and gravity filling the void. More will be from the sump as less restriction but you'll get some movement from the ref, plus you have a little head difference working for you as well. I'm laying mine out very similiar and it's my project for today so should be able to tell you how it works, at least for me. I do have a problem, being a low max flow, but more do the size of interconnect (1"). Hope your planning something like 2". On my ro/di have the output going to a Tee, one side is a float valve in the sump, other side to container I use for mixing water. Find the John Guest valve works well as connects easy to the tubing, HD carries. Last edited by mark; 11-03-2007 at 03:02 PM.
|


 Linear Mode

