
|
|
|
#31
 03-15-2007, 10:48 PM
|
|||||
|
|||||
|
i think a 'borat' swimsuit would go well with the cape.

|
|
#32
03-15-2007, 11:19 PM
|
|||||
|
|||||
|
I thought every superhero required either those tall rubber boots or a utility belt! Boots would go best with a Borat-suit!
|
|
#33
03-16-2007, 01:09 AM
|
|||||
|
|||||
|
lol
__________________
500G Mixed Reef  __________________________________ Electrician, Electronics Technician, I can help with any electrical questions you might have!! __________________________________ Kevin
|
|
#35
03-19-2007, 11:50 PM
|
|||||
|
|||||
|
Hawk,
A top corner was framed off in the room and cased. It was slotted at the top about 1.5" below the ceiling to take the highest heat . A 6" hole (room dehumidity)and a 4" hole (heat from hood exhaust) were made in the exterior of the house, and originally ducted into a dual squirral fan inside. The original fan,  Installed without casing, as everything was being dry fitted....Upper left it can be seen. 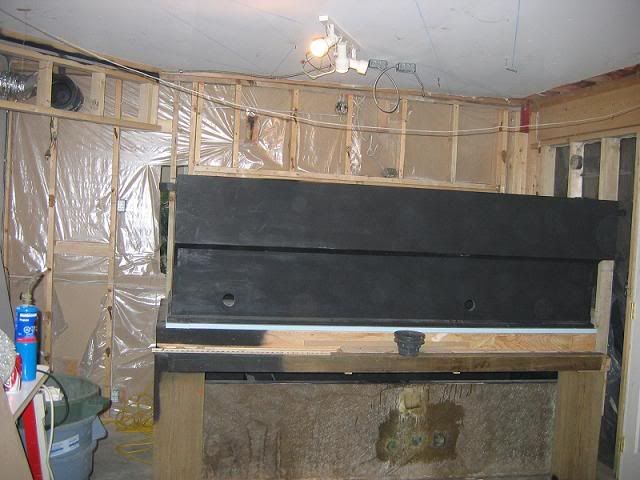 Casing and external switching tee, incase i wanted to recover the heat from the halides in the winter. 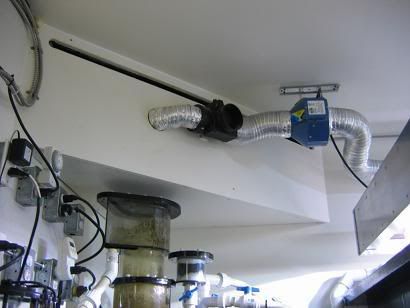 2x 5" intake ducts were also put in just above floor height to bring in cool air, one on each side of the room. 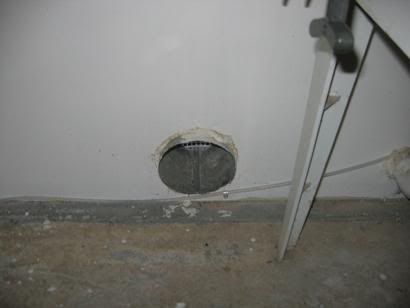 The squirrel fan i had already rebuilt some years ago, and seemed to get unreliable recently...so it was changed out. I was very pleased with the fantech inline (4" 115 CFM)(100% dead silent) fan for exhausting the canopy, and wanted to get another inline for the room exhaust, a freind hooked me up with an 8" elicant one. This thing just about sucks your adams apple out when its on. Here it is stuffed in there..was a tight fit. 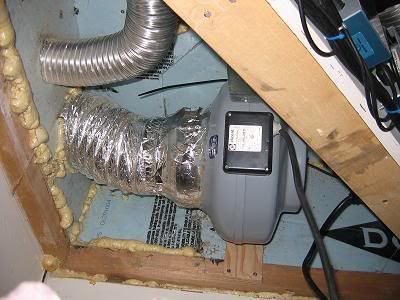 The canopy exhaust is on 24/7, the 8" is wired to a dehumidistat, and kicks on about once every 4-5 hrs at 45% humidity. When both are on i would guess a total at about 800 cfm of air is being vented outside. Marc.
__________________
Confucious say : Things that come to those who wait, will be things left over by those who didnt. Last edited by SuperFudge; 03-19-2007 at 11:53 PM.
|
|
#36
03-20-2007, 02:32 AM
|
||||
|
||||
|
It looks like your canopy does a great job in containing the heat and exhausting it before it has a chance to build up. I was almost resigned to buying a chiller for this upcoming summer but I'm going to try making the same type of canopy first. Thanks for the info.
|
|
#37
03-20-2007, 03:31 AM
|
|||||
|
|||||
|
Marc you rock and one of these days I am going to have to come and see your tank in person (snippers in hand of course). I have read your thread on RC a while ago now and what you with Jamie's help have built is truly amazing.
I like the "Superfudge" tag - you can be my reef hero - rubber skirt and all.
|
|
#38
03-20-2007, 07:14 AM
|
|||||
|
|||||
|
hey marc since you are talking about dehumidity. what is an ok humidity level for a house or room. the highest mine has reached in the room with the tank has been 56%. but if i run my furnace fan it maintains about 42 - 45% humidity.
|
|
#39
03-20-2007, 04:55 PM
|
|||||
|
|||||
|
Hey, now im truly a superhero (or supernerd) ..i have my own avatar.
Colin, i would guess 50% an average, with adequate air movement no mold or mildew should happen. This is hard to achieve sometimes with our climate, as were limited to outside humidity. But if some new air is pulled from inside the house it can be dropped somewhat lower than the outside. Hawk, it works better than i had hoped....but there are some downfalls aswell. Moving it out of the way can be a PITA sometimes...but hardly a reason for not doing it. I also didnt like that when i did move it i had no good light to view the tank...so i put up a couple extra reflectors and some old bulbs, so when its moved i just plug them in an existing ballast. 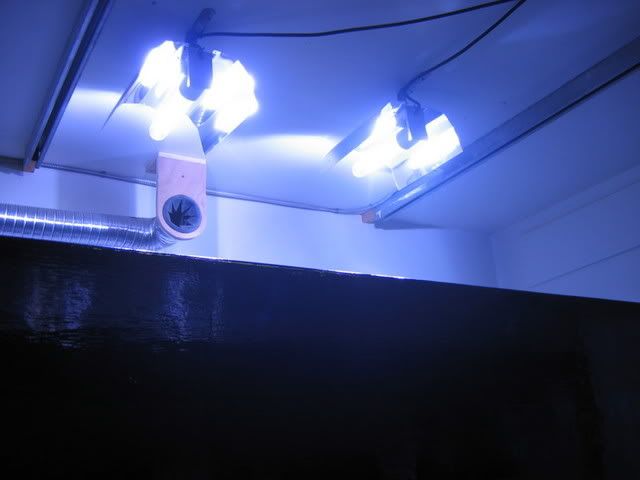 Thank you Ruth, when you visit ill be sure to wear it. :P The reactor (Ca++)......Small Deltec Kalk reactor/stirrer mod to follow. The original reactor was built on the k2r design, with a few changes that i wanted to see. Saving time again, ill just show the finished product... 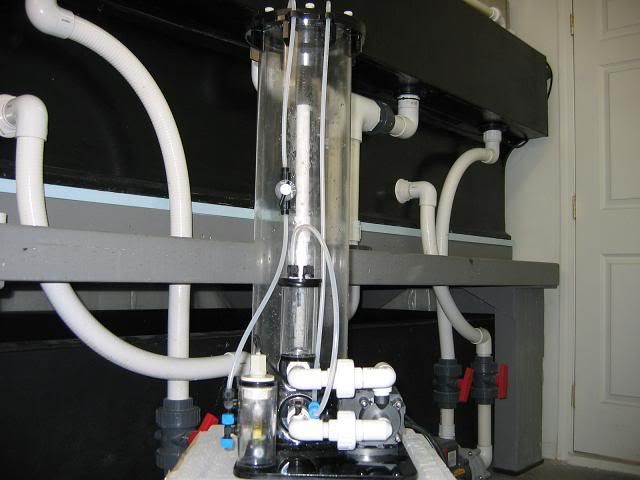 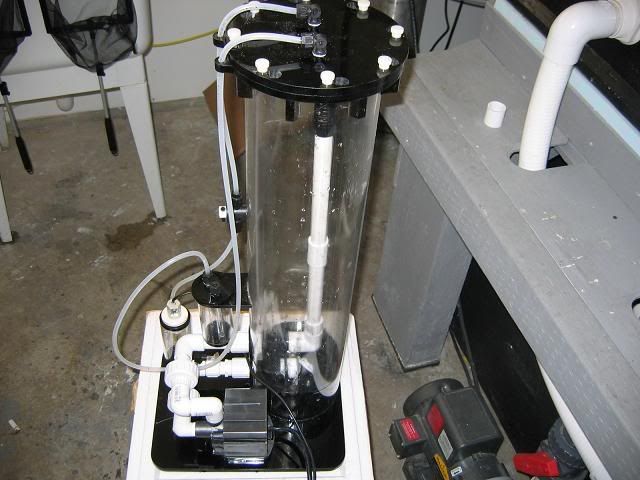 Running... 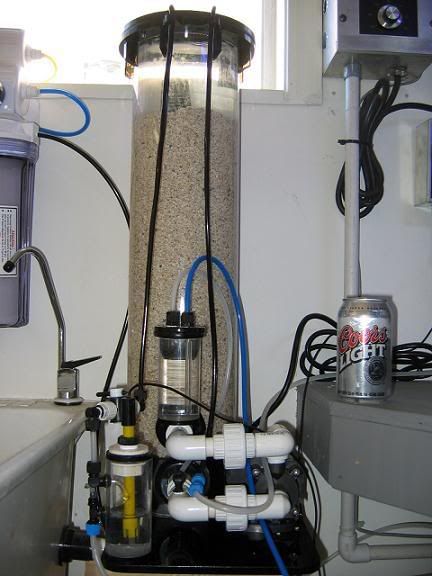 Changed a couple minor things...added a Mazzei effluent valve 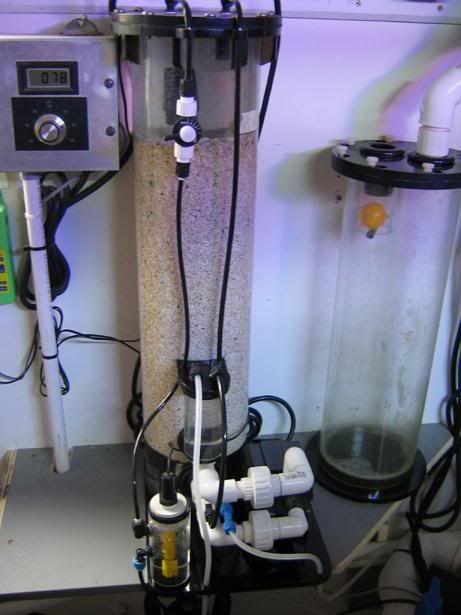 All in all, it worked fine....but in the end wasnt really happy with the design, i now realize i dont like downflow style. Aswell, it pumped out too much P04 for my liking. So i ended up buying a bigger reactor, so i could also get some p04 remover in there aswell as some Mg supplement in there. 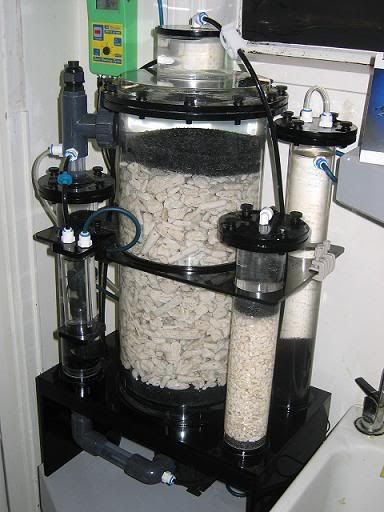 Marc.
__________________
Confucious say : Things that come to those who wait, will be things left over by those who didnt.
|
|
#40
03-20-2007, 05:12 PM
|
|||||
|
|||||
|
Love the avatar Marc
That last reactor pic is pretty impressive. I like the idea of adding the extra chambers for other media. Smart idea
__________________
Christy's Reef Blog My 180 Build Every electronic component is shipped with smoke stored deep inside.... only a real genius can find a way to set it free.
|


 Linear Mode

