
|
|
|
#1
 11-17-2006, 05:21 AM
|
|||||
|
|||||
|
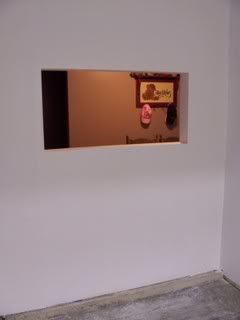
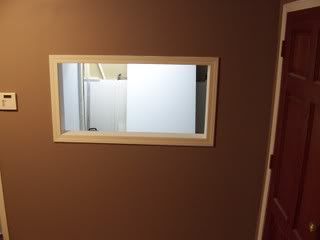
I decided to go with two themes on this project:
to house a temperate, west coast tidal zone reef to use recycled, DIY, cheap, low or no tech equipment. I wanted to house the system in my garage (to make use of the colder temps) but be able to view it from the house, so the first step was to create a porthole in the wall. I waited till my wife went out of town and... Here's the entryway 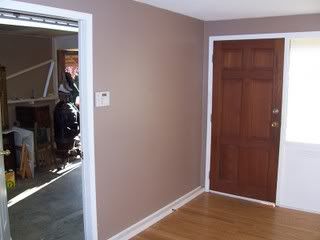 and the garage side  tearing off the drywall 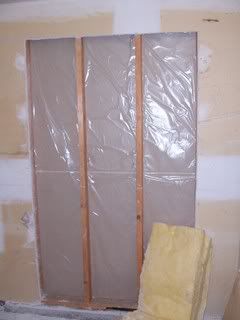 framing in the porthole 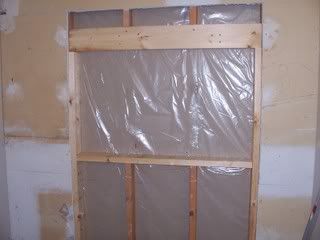 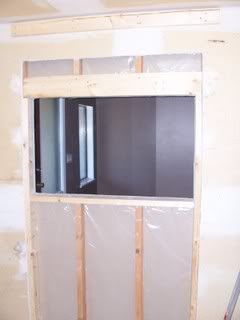 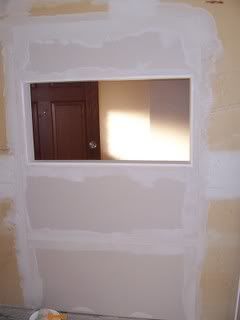 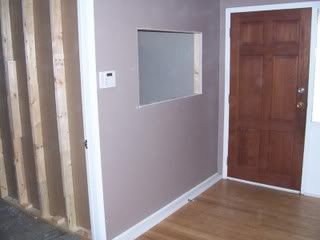 ________ GS500F Last edited by Dale; 01-21-2011 at 01:35 PM. 
|
|
#2
11-17-2006, 05:32 AM
|
|||||
|
|||||
|
Last edited by Dale; 01-21-2011 at 01:35 PM.
|
|
#3
11-17-2006, 05:34 AM
|
||||
|
||||
|
Sounds very interesting. Hopefully it won't overheat in the summer.
BTW, when my wife went out of town to Malaysia for a month, I upgraded a whole buncha stuff in my tanks too. Anthony
|
|
#5
11-17-2006, 05:45 AM
|
|||||
|
|||||
|
You probably don't have to park vehicles in garages in your neck of the woods
__________________
http://www.canreef.com/ftotm/sept05/index.php
|
|
#7
11-17-2006, 06:28 AM
|
|||||
|
|||||
|
While the cats away... My wife always likes the results but not the process.
I've tracked the garage temps for a year now. Mid 40's in the winter to mid 60's in the summer. I had hoped to avoid a chiller if possible but will add one if I need it. Unlike true coldwater tanks that run around 55F constant, this is going to be a tidal zone system where temps naturally vary more. I've already figured out the temp issues, stocking, lighting etc... and will include them as the thread develops. Some people suggest double paned, thick glass or acryllic to avoid condensation but that is because they are running 55F temps in heated areas. My tank will be keeping (close to) ambient garage room temps so the condensation will not be that great an issue. The one area of concern is the pane that faces the porthole as it will interact with the entryway temps. The entryway is the coldest part of the house and there hasn't been an issue so far but I have planned a small fan mod to blow on the glass if it arises down the road. I also lived in Calgary for 6 years and no, we don't need to plug in our cars around here either Here's a schematic of the fishroom. 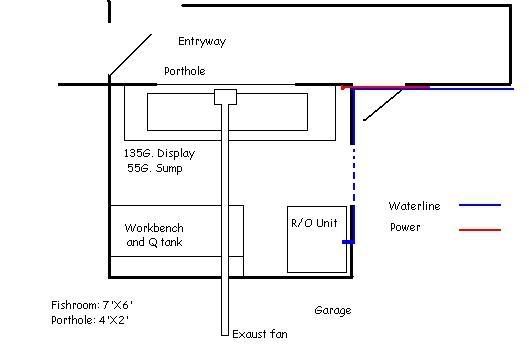 The tank is 6' wide but the porthole is only 4' wide. The studs in the wall made going wider rather complicated and in the end the effect is quite nice. The "wings" hide my overflows, returnlines and you don't get that side pane reflection look. So far I have done all the construction, electrical and plumbing work so the cheapskate theme is on! ________ vaporizer affiliates Last edited by Dale; 01-21-2011 at 01:35 PM.
|
|
#9
11-17-2006, 03:05 PM
|
||||
|
||||
|
Quote:
You may have already planned for this but I think(guessing) the building code requires the opening in the garage/house wall needs to be somewhat sealed to prevent gases entering living space. Since framing a tight fit against the tank is not a good idea you will need some kind of flexible filler for the gap.
|
|
#10
11-18-2006, 04:47 AM
|
|||||
|
|||||
|
Yes, there is a 1/4" or so gap caused by the top and bottom black plastic molding on the tank. I first filled the gap with weatherstripping and then silicone after that.
Here's the display tank. A 135G. I bought used for $50. It needed a good cleaning and resiliconing. Dig that 'ol school' corner overflow box! 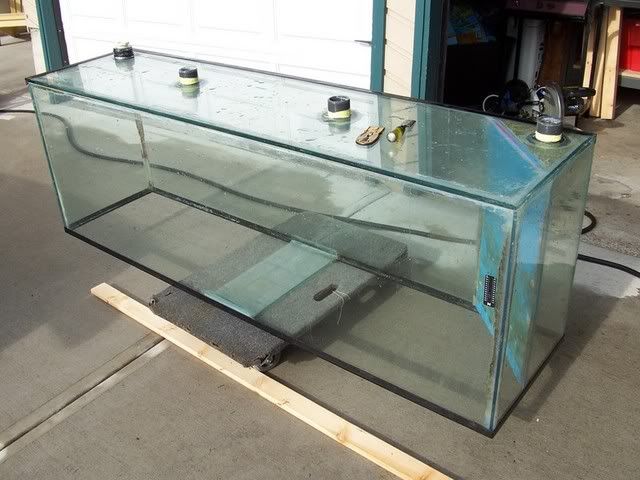 Here's the sump. It's a 50G. breeder that was cracked on one end. I picked it, and two other tanks, up for power raking a freinds lawn. 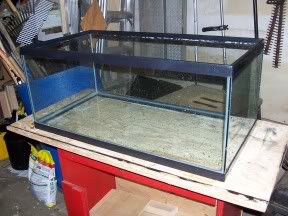 and here's a link to a thread that describes how I resiliconed it: http://www.aquahobby.com/board/viewtopic.php?t=35335 and here's the happy couple. 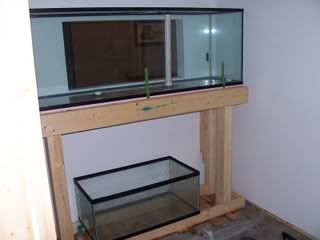 Here's one of two corner overflows 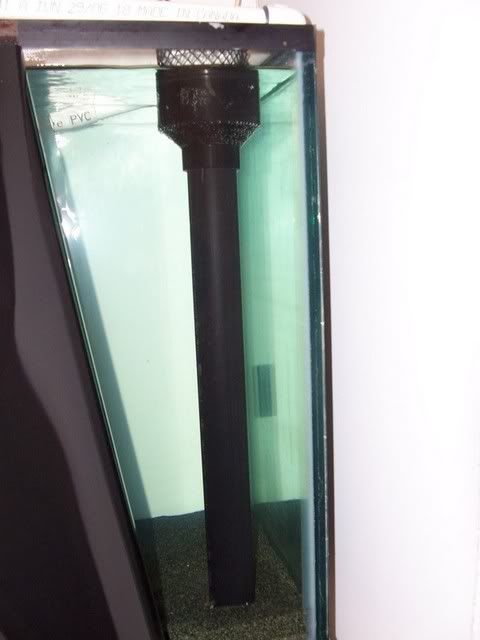 and a top view 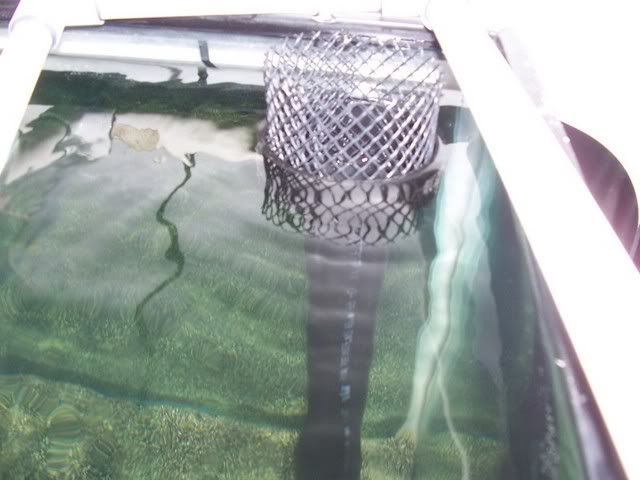 Last edited by Dale; 11-19-2006 at 05:26 PM.
|


 Linear Mode

