
|
|
|
#81
 05-22-2009, 06:47 AM
|
|||||
|
|||||
|
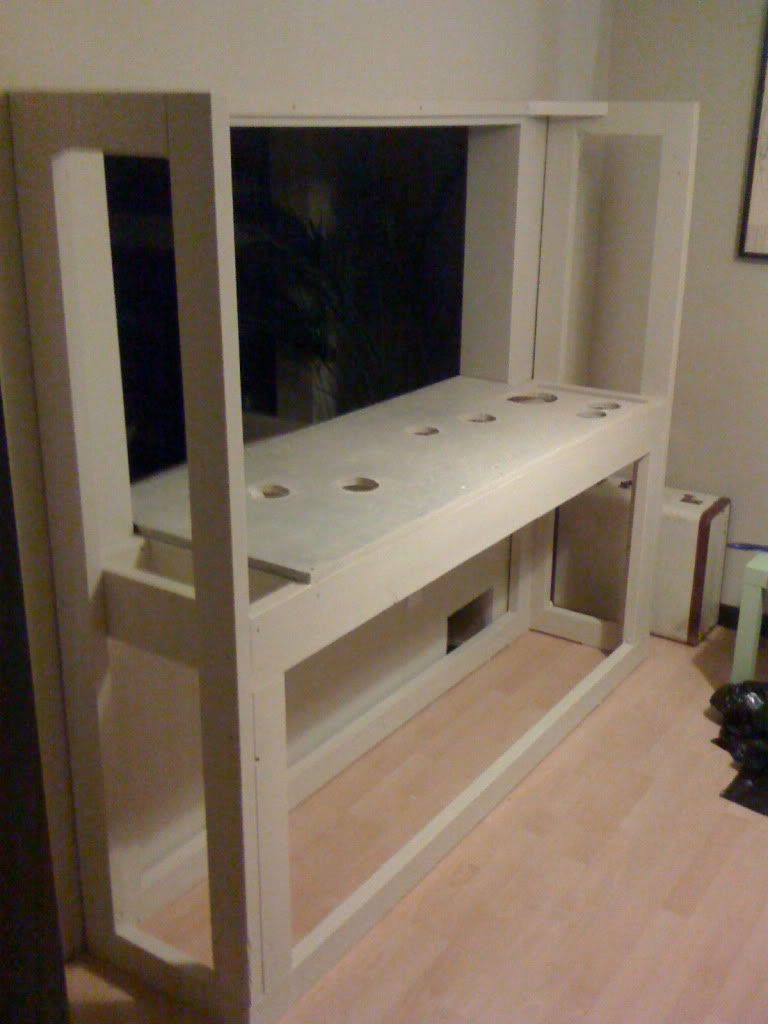
Well, more progress today. I painted the stand last night. Looking at it today though it'll need another coat. I cut a hole in my wall today. In the picture you'll see a rectangular hole in the floor already. I cut that hole in the floor 4 years ago when the house was being built in anticipation of setting this tank up. If we ever move, I'll just put a cold air return vent to cover this hole and there will be no patching of drywall needed. This hole is where my drains/return will be going to the basement sump directly underneath.
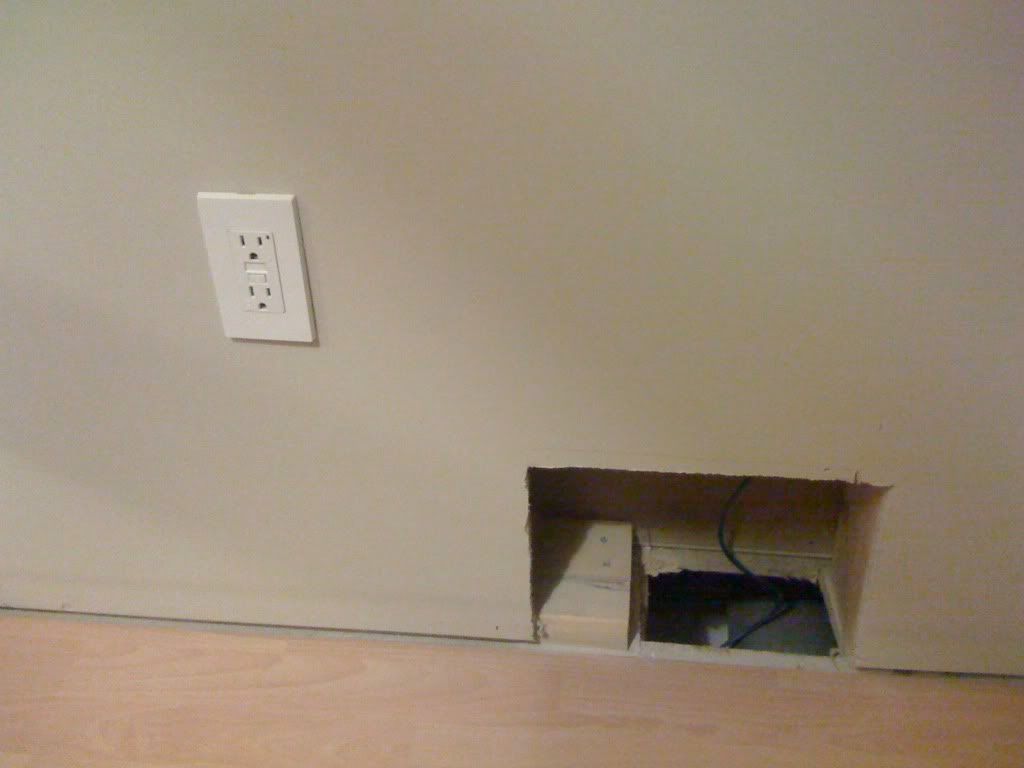 In that picture you'll also see a GFCI plug. I put that plug in tonight. There was never a plug there before. Originally when we were building this house, we were planning for the tank to stick out into the other room(living room) instead of the den. We were going to use the den as an office, but after we had kids, we realized that with an office on the main floor, you can't get any work done unless you ignore your kids. So now we had to add a plug. Wish some fishing of wires, I managed to get a new plug on there (on a separate breaker) without damaging the drywall. Here is a picture of the plug and hole with the stand in place. Notice the green light on the plug  .....it works!!!! I didn't even electrocute myself. .....it works!!!! I didn't even electrocute myself.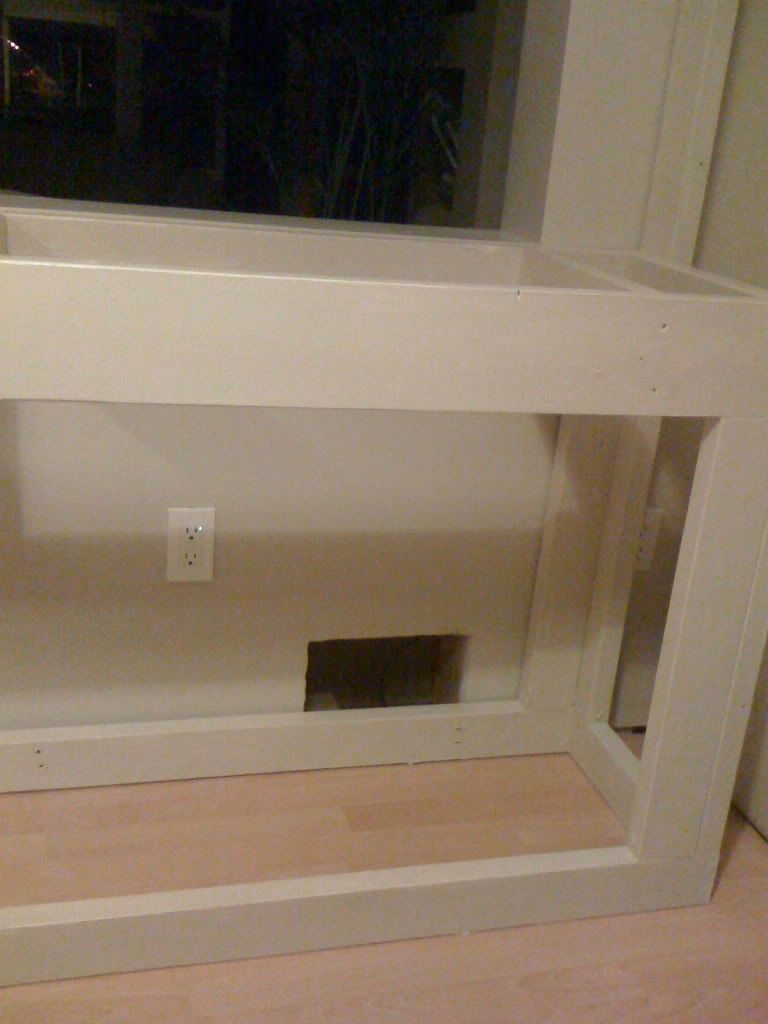 Last edited by Dez; 05-22-2009 at 06:54 AM. 
|
|
#83
05-22-2009, 12:03 PM
|
|||||
|
|||||
|
You wired the plug backwards, supposed to light up blue HAHAHA
__________________
Dan Pesonen Umm, a tank or 5
|
|
#84
05-22-2009, 03:40 PM
|
|||||
|
|||||
|
Looking good. Yeah it's amazing how much bare wood will suck up paint. <paint paint paint> Looking good! Hey what the? Where'd the paint go? <paint paint paint> Looking good! Hey, where'd the paint go .. again? <paint paint paint> Looking good!! Hey, what the... ?? .... etc.
__________________
-- Tony My next hobby will be flooding my basement while repeatedly banging my head against a brick wall and tearing up $100 bills. Whee!
|
|
#85
05-25-2009, 05:10 AM
|
|||||
|
|||||
|
Found some time today to continue on the project. I cut holes in the plywood to match the holes in my tank. I went to Canadian tire to buy a hole saw but couldn't bring myself to pay $40 for a 4 1/2" hole saw/mandrel. Then I'd have to buy a 3" hole saw for the other holes. So I ended up using a jigsaw. Here's the result. I screwed the plywood on and I also screwed the stand into the wall after ensuring everything was level.
 This piece of plywood came with the tank when I bought it, so I figured that I might as well use it. That's why it's black. I had to trim it to the exact dimension of the tank because it was overall 1/4" bigger than the tank. I proceeded to prime the inside of the holes so that I can paint it later with that moisture resistant paint. I also took most of the black plastic trim off of my tank today. The reason for doing this is so that my stand and moulding can be flush to the tank itself when it is all said and done. Then I'll silicone the molding right to the glass so that moisture can't get behind it. I left the 2 pieces of black trim on so that when it is sitting on end as shown, nothing gets scratched. I'm getting excited to get this tank out of my garage. After it's lifted onto the stand, then I'll take the last 2 trim pieces off quickly and clean up the edge before sliding it into position. I'll have to silicone my external overflow box on soon. 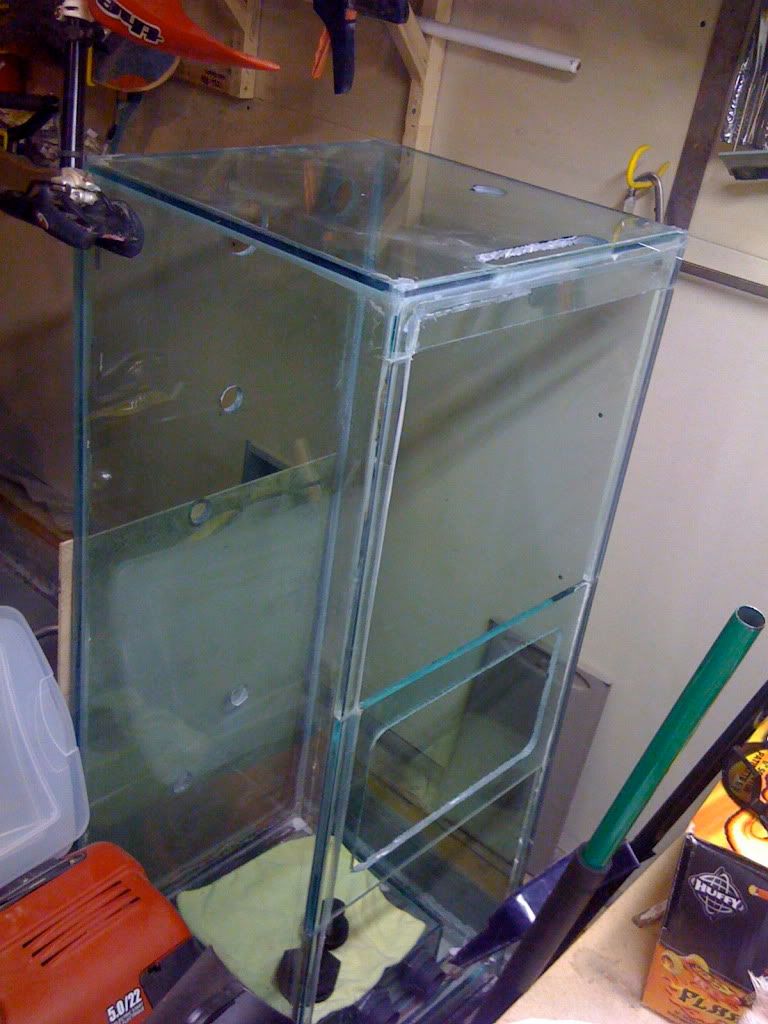 I got enough energy to prime the stand and some of the wall in the basement sump room. I ran out of primer though. Tony is completely correct, that darn wood just keeps soaking up the paint. One thing I found when I went downstairs to the sump room is a marble , I guess my kids threw a marble down the hole from upstairs.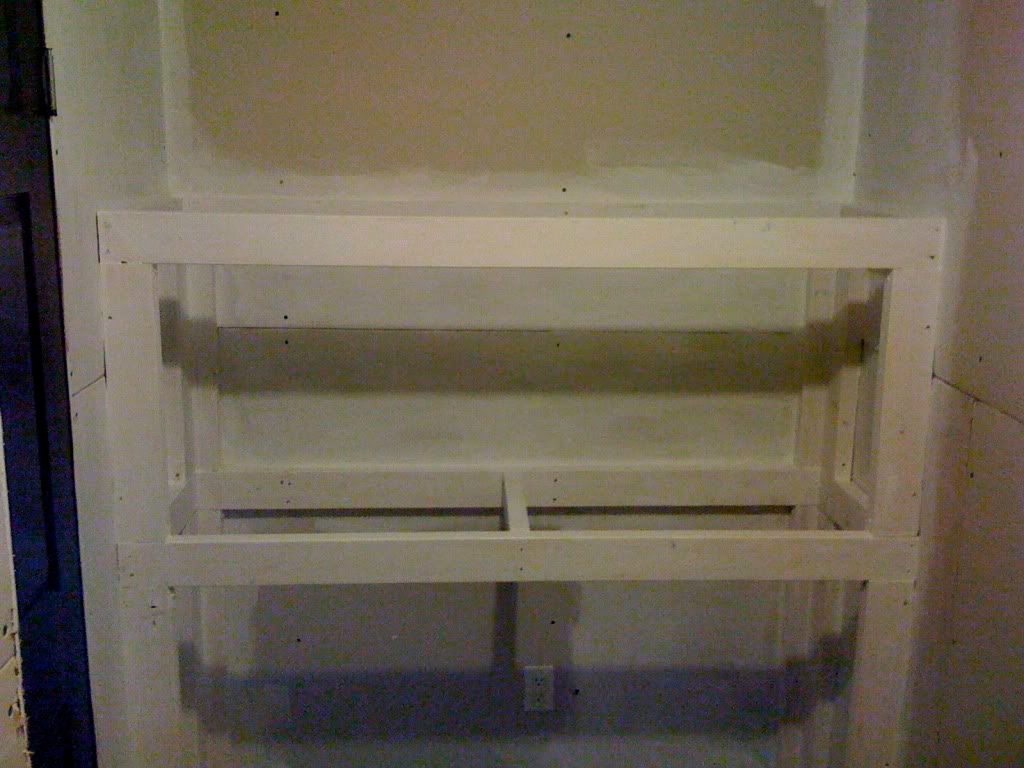 Last edited by Dez; 05-25-2009 at 05:12 AM.
|
|
#86
05-25-2009, 05:16 AM
|
|||||
|
|||||
|
Just a side question here....does it matter what thickness of foam that goes under the tank? I have some 3/8" stuff that's supposed to be used on the outside of houses before siding. It's got a reflective foil on one side and green on the other. It's pretty soft. Does it matter? Thanks.
Des
|
|
#87
05-26-2009, 04:45 AM
|
|||||
|
|||||
|
Today I painted the plywood on my stand so that at least it'll be nicer to look at until there's a skirt around the stand and fish to look at. Here's the final product (sorry for poor quality pics, all pictures in this thread are taken with a cell phone camera):
 Now that the tank is almost ready to go in, I decided to silicone the overflow box onto the tank. As usual, I cleaned the glass with newspaper and vinegar, masked off the area for a "clean" look and went at it. Here are the pictures: 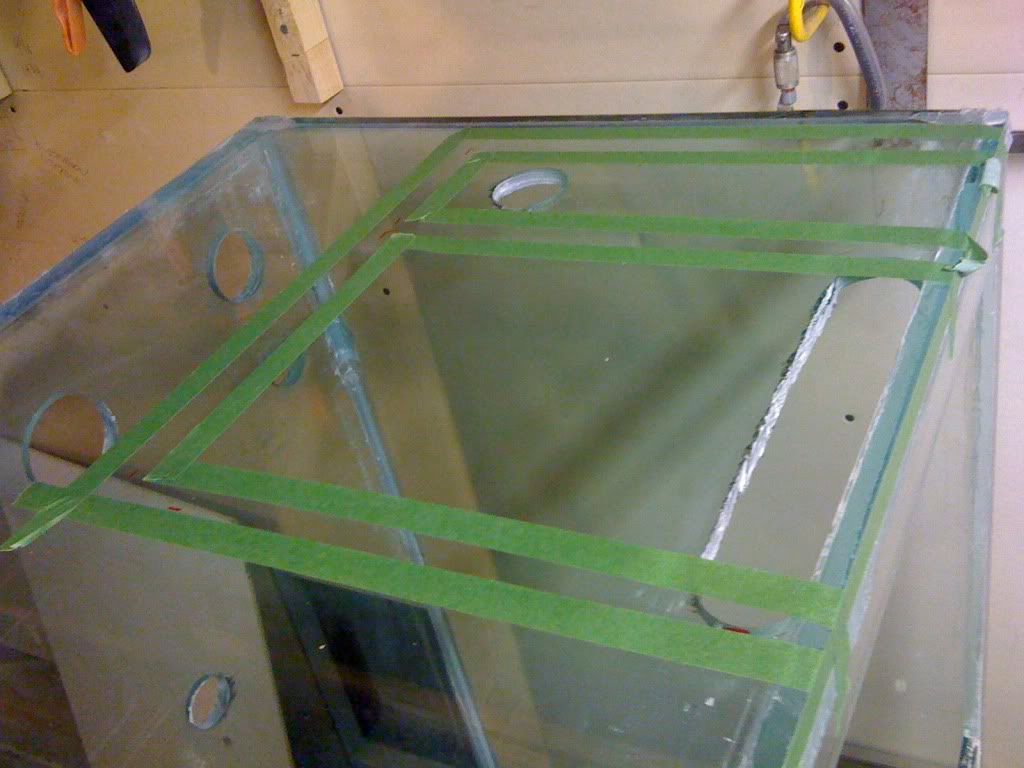 I still have to razor blade off the excess silicone from when I built the box itself. But here is the picture freshly siliconed: 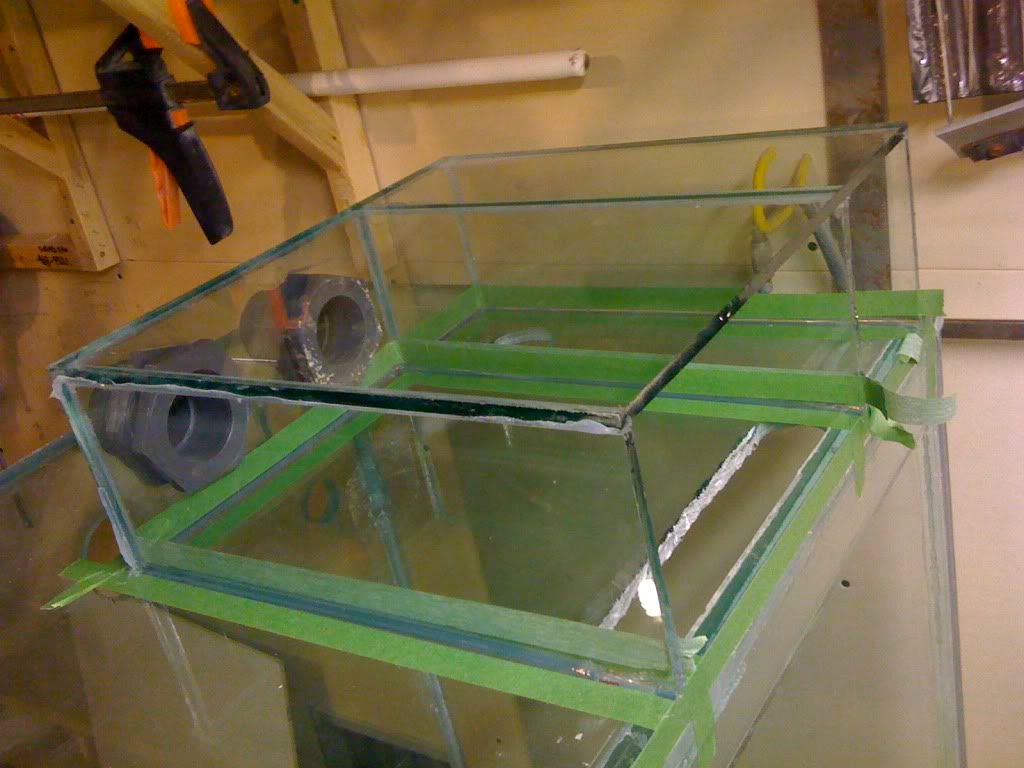 I was pleased with the bubble free joints: 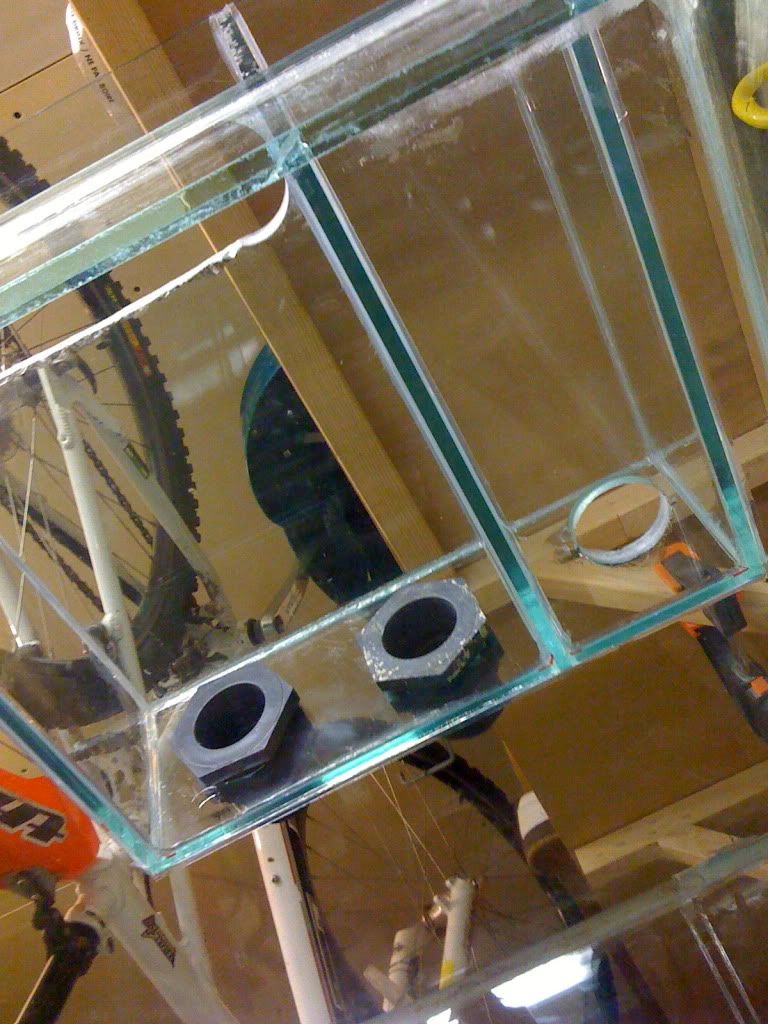 And this is what the tank looks like with all the masking tape off. I'll let it cure for a day before even moving the tank. 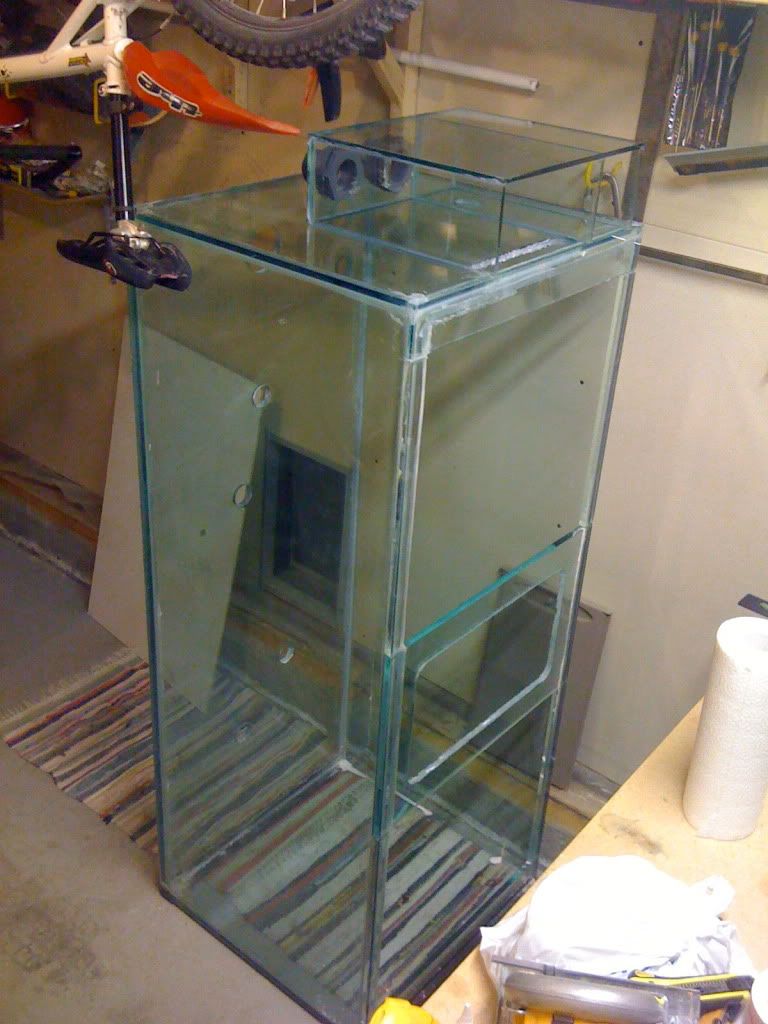 Thanks for looking everyone. Sorry that this build is so slow and uneventful.
|
|
#88
05-26-2009, 05:22 AM
|
|||||
|
|||||
|
Don't apologize dude, this thread progresses just fine.
__________________
-- Tony My next hobby will be flooding my basement while repeatedly banging my head against a brick wall and tearing up $100 bills. Whee!
|
|
#89
05-30-2009, 05:53 AM
|
|||||
|
|||||
|
More progress. I put foam on my tank a yesterday and then my family wanted to lie down on the tank stand
. My daughter joined in later. I almost took a snooze on it.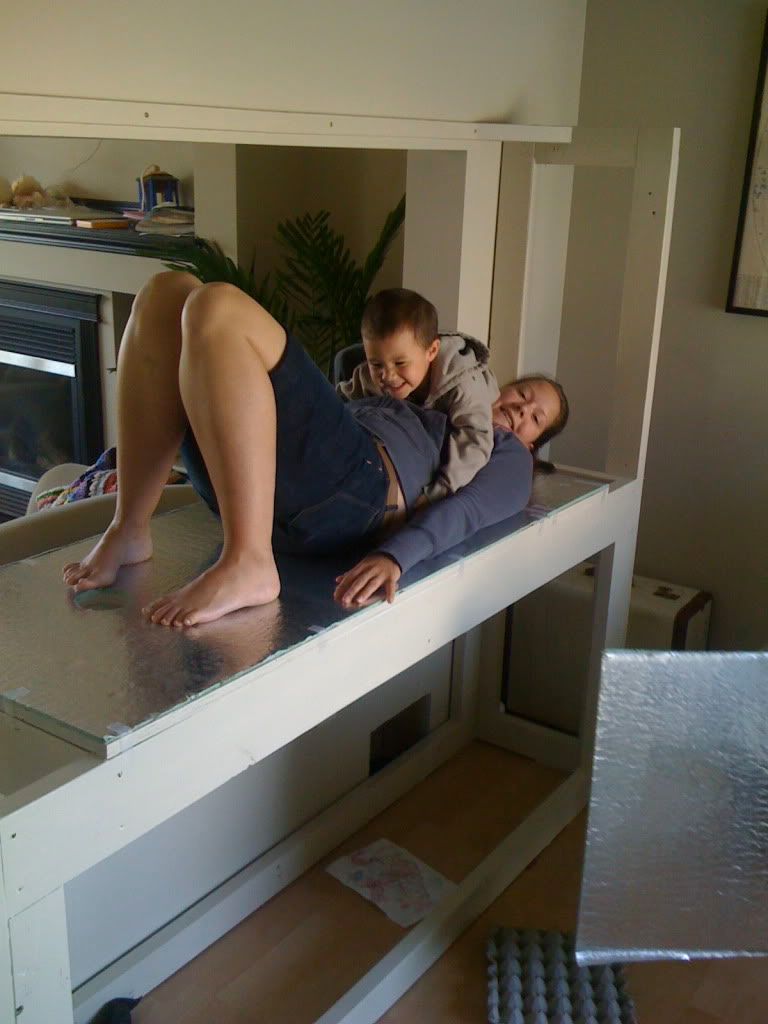 Then with the help on my 2 neighbours I lifted the tank into place. At first I grabbed one neighbour and he tried but didn't trust himself to lift it, so later we grabbed another neighbour and we got her in. My neighbour then proceeded to lift up one corner of my mini since he was in the "lifting" mood. He got the car up about an inch in one corner....yikes. Here's a picture looking from the living room. 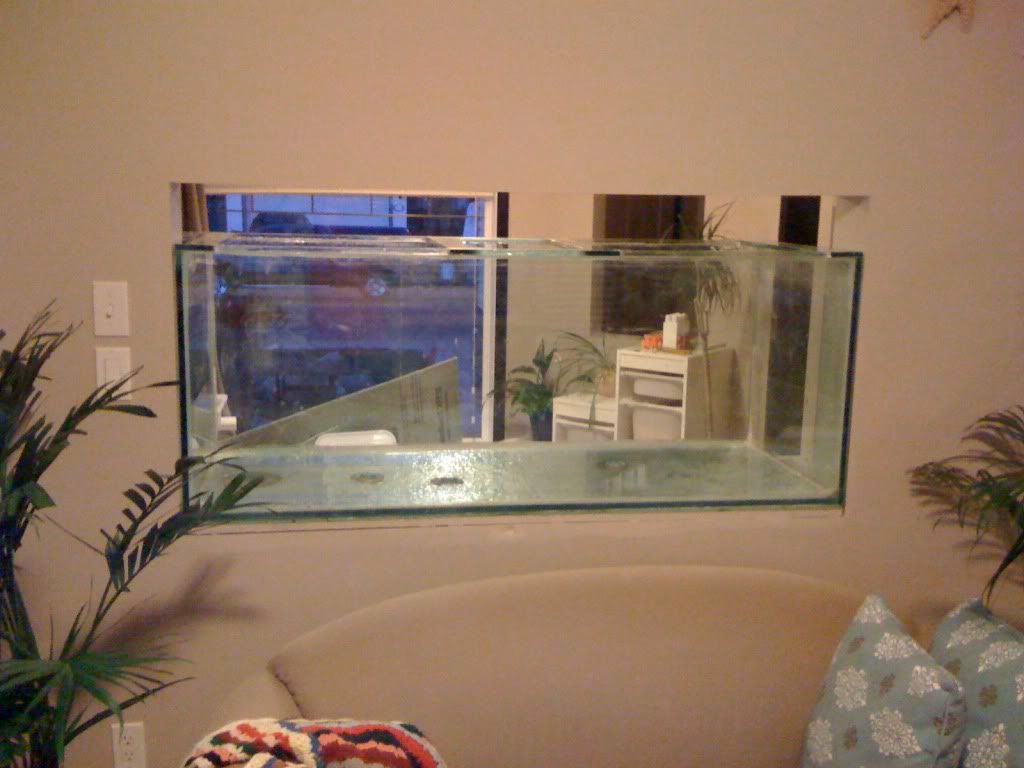 Here's a picture from the den side, my tolerances were tight. I have about an eighth of an inch on either side of the tank and my overflow is about an eighth of an inch away from the wall. I'm so glad it fit: 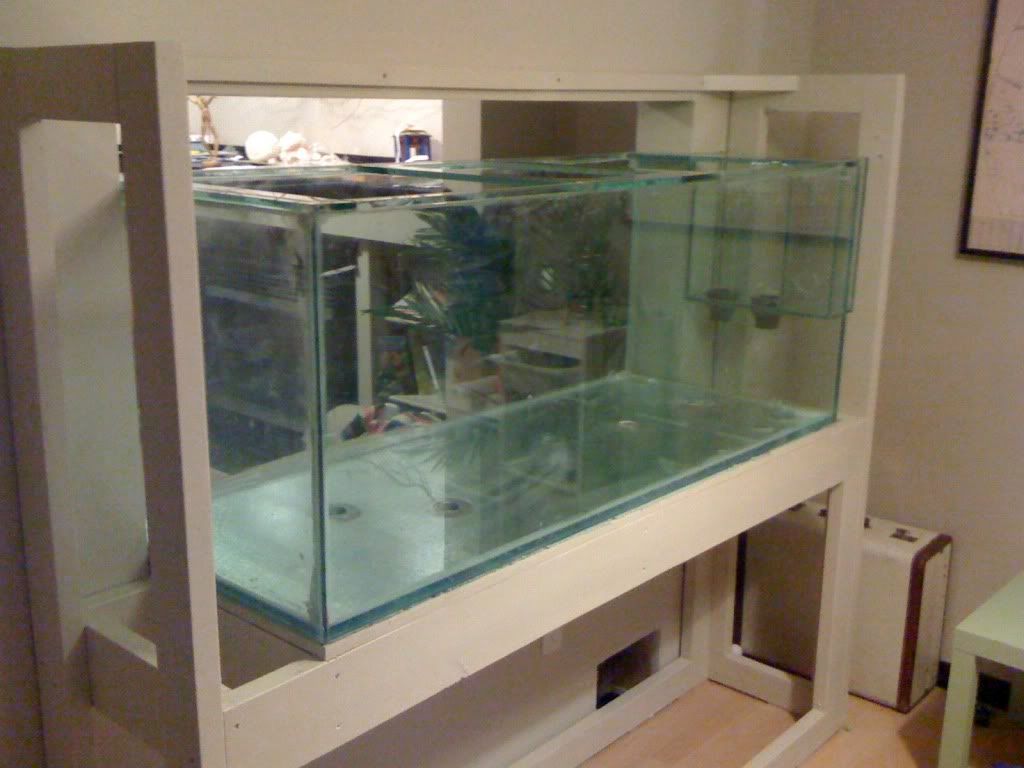 The external overflow - the 2" bulkhead in the bottom of my tank is the intake for my closed loop. 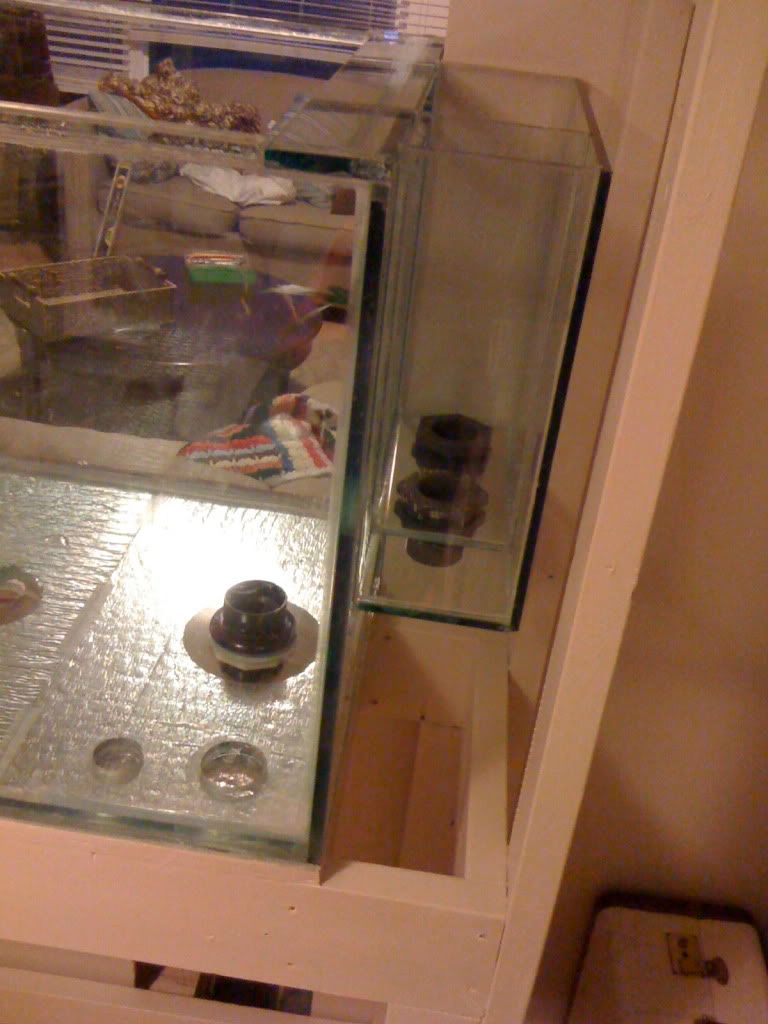 Tonight I decided to make my first piece of aragocrete. The idea is to make a piece of rock around a 2" plumbing "Y" to use as an intake for my closed loop. I hate the idea of the strainer and trying to hide it with rocks, so I'm making a strainer rock. Here is the Y with a ton of holes drilled. I've kept the shavings to add to my aragocrete mix to make it more porous. 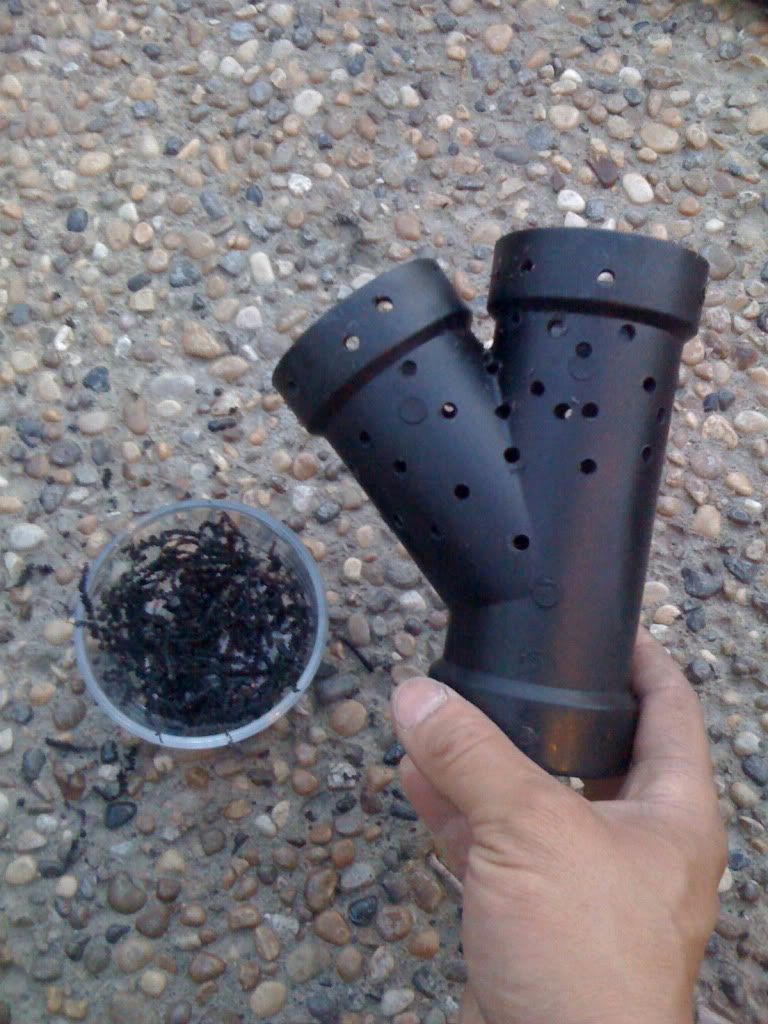 Here's another couple of pictures with straws inserted so that there will be holes to suck water in from. The balloons are to prevent my aragocrete mix from going into the fitting. 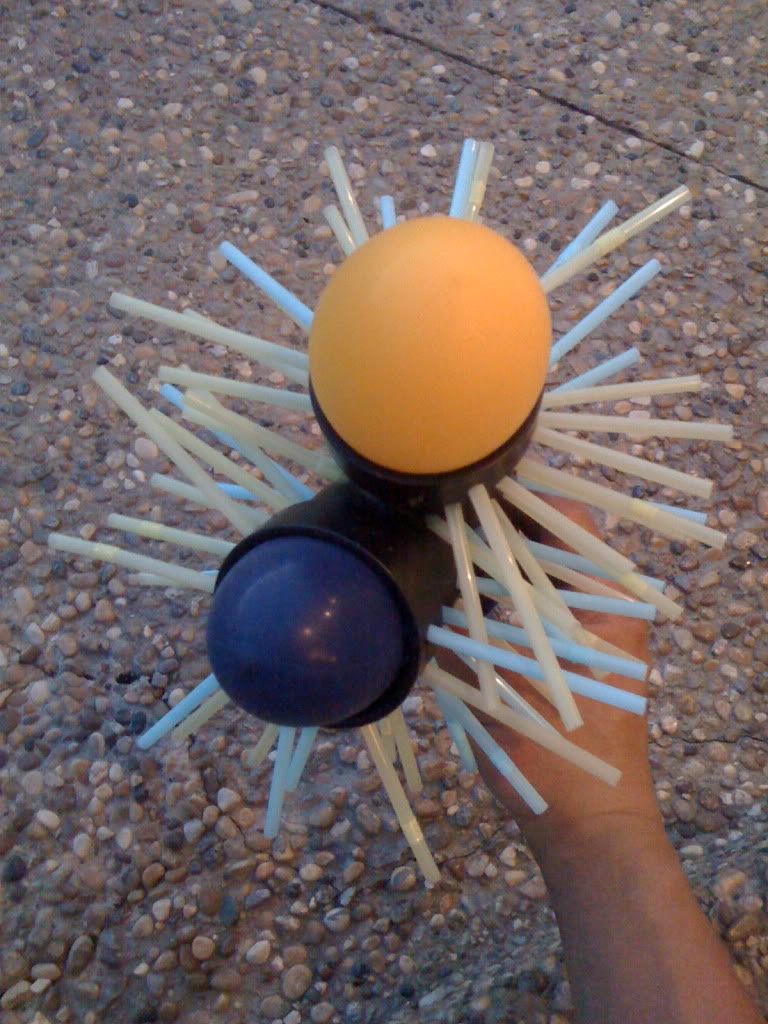  And finally, my artwork. Hopefully the backside turns out alright. I think I'll put the backside toward the overflow side cause it's going to be rather "flat". The reason I'm using a Y is to try to create more surface area for the suction to create less "suction" points. I don't know if that makes sense. Not to great with words. Hopefully you're enjoying this slow tank build. 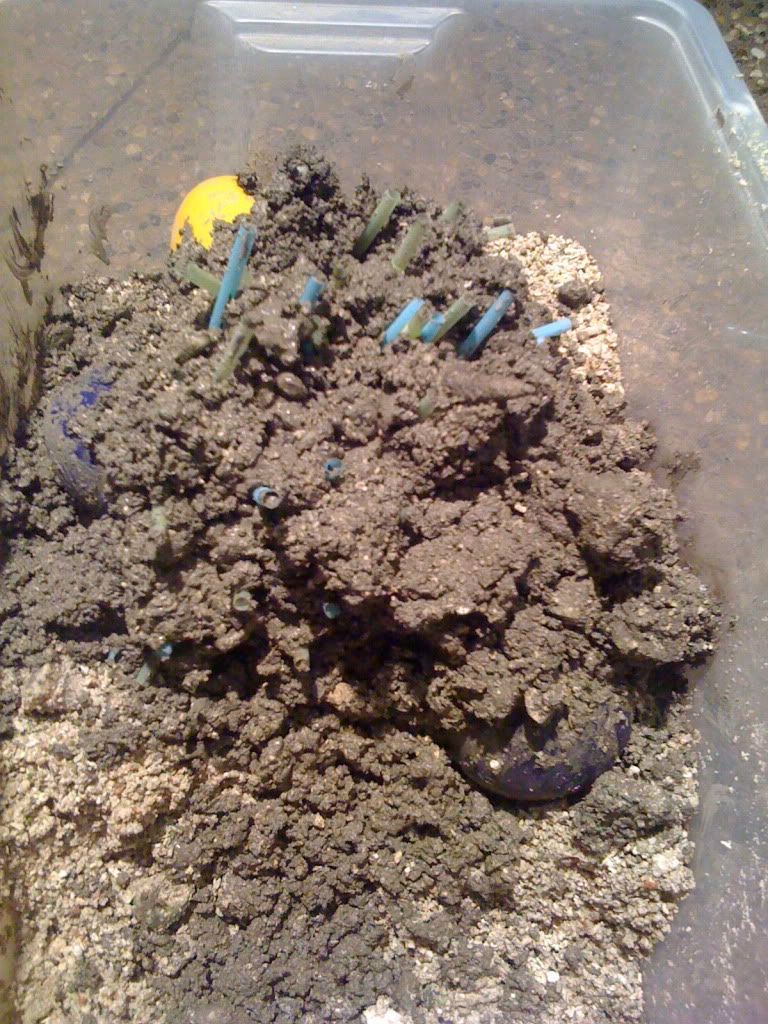
|


 Linear Mode

