
 |
|
#31
|
|||||
|
|||||
|
|
|
#32
|
|||||
|
|||||
|
|
|
#33
|
|||||
|
|||||
|
The wife is at a nursing seminar so I am free to do some work on my painfully slow build! Only really get weekends to work on the tank and the wife/dogs/house keep me pretty busy. I'm sure you all know what I am talking about.
So I am using 1/4" laminated MDF for the bottom shelf, tank shelf and back of the stand. Now I know what you are going to say about MDF but I have used it for years around tanks and never really had a problem. If it starts to swell I don't mind replacing it (hopefully during an upgrade)! 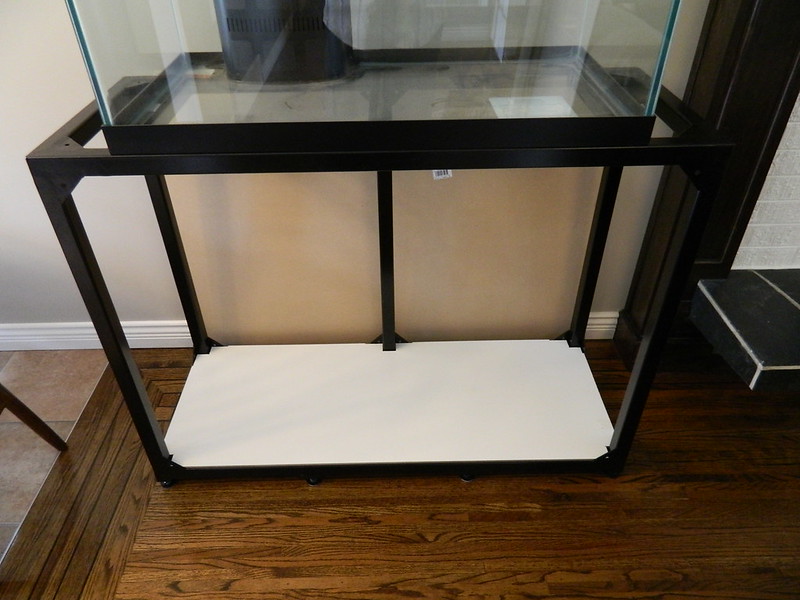 Now here is a good example of why I needed adjustable feet. This is front to back and the second photo is the horizontal/left to right. Going to work on that now. 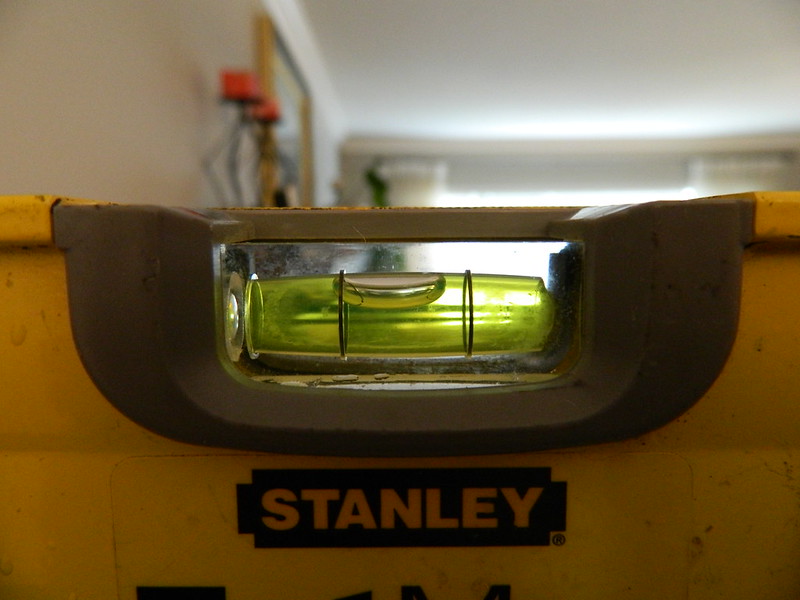 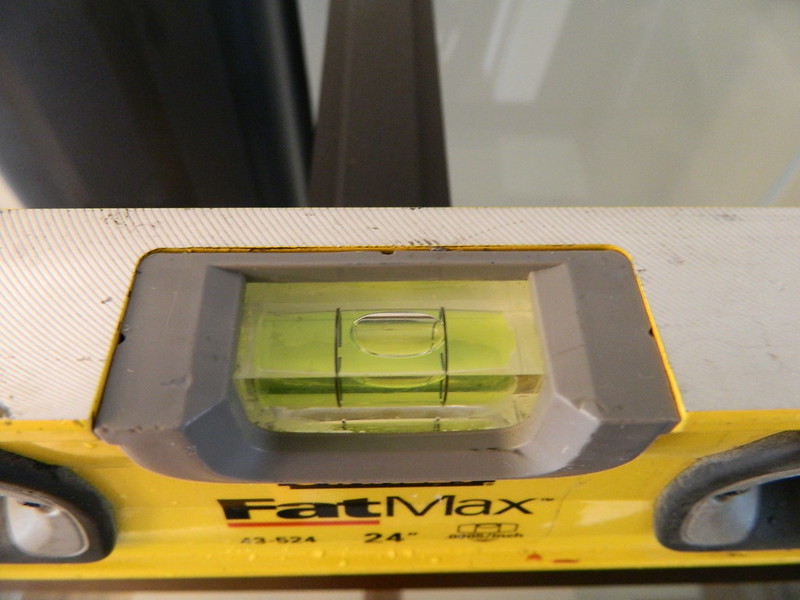 All comments/suggestions welcome. Thanks for looking! P.S. I am still waiting for a popcorn emote from kien. *sigh* |
|
#34
|
|||||
|
|||||
|
No big deal on the out-of-level issue
I used composite shims that don't compress over time or have problems with moisture I bought mine at Home Depot. And 'cause they're brown you may not see them with your floors I can't find a Canadian link for you, but these are what I bought in the door department in Burnaby They're just as easy to score and snap as the cedar ones too Just to touch on your electrical ... If you run BX, are you planning on it being in-wall just to the receptacle ? If not, I'd suggest you go with something more water-compatible rather than a metal jacket that can corrode around your tank |
|
#35
|
|||||
|
|||||
|
Quote:
God I hope we never get that big earthquake here in the GVRD. I think in the future I will avoid the hassle of the levelling mounts (extra welding, ordering, drill and tapping) and just use the shims as you suggested. Thanks for the link. In the meantime this pic will help me sleep at night.  As for the BX idea, I have decided against it. I will replace the receptacle behind the tank with a GFI one. If it pops the breaker I will just have to add an extension from the nook plug. Did a leak test on the baffle I siliconed in place last weekend... 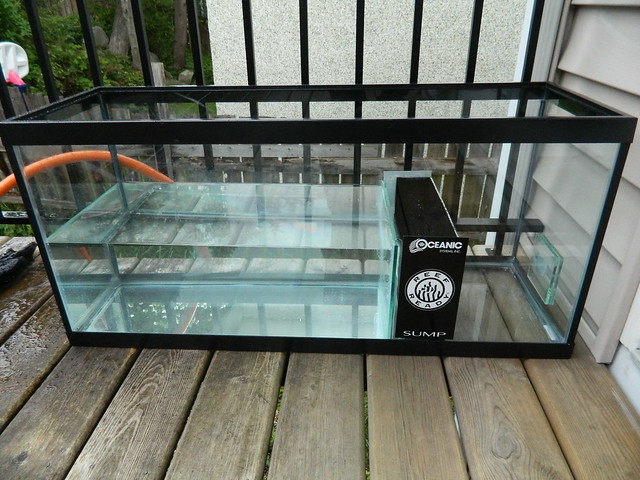 ...and proceeded to a maximum pressure test on the sump. 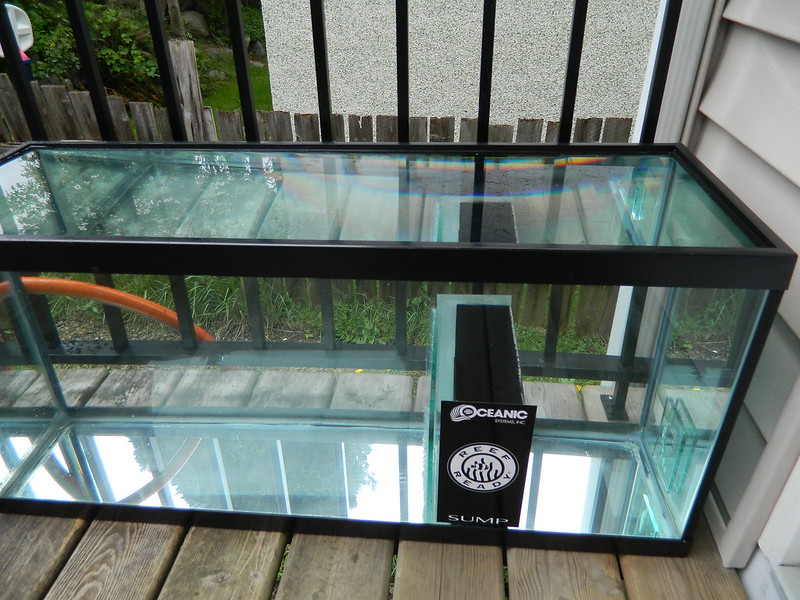 The left chamber will be for drain/filter sock, skimmer, zeo reactor and pod love nest. The middle chamber will be for mechanical and chemical filtration and the return is on the right. As you can see I removed the return bulkhead and put in 2 panes of 6mm float. If ever you need to replace the bulkhead you can just use an old high E guitar string to garrote the silicone. Here is a straight up view from inside the stand taken just for Laurie (The Guy). As you can see Laurie, there is plenty of room for the bulkheads and I was worrying about nothing, Lol. 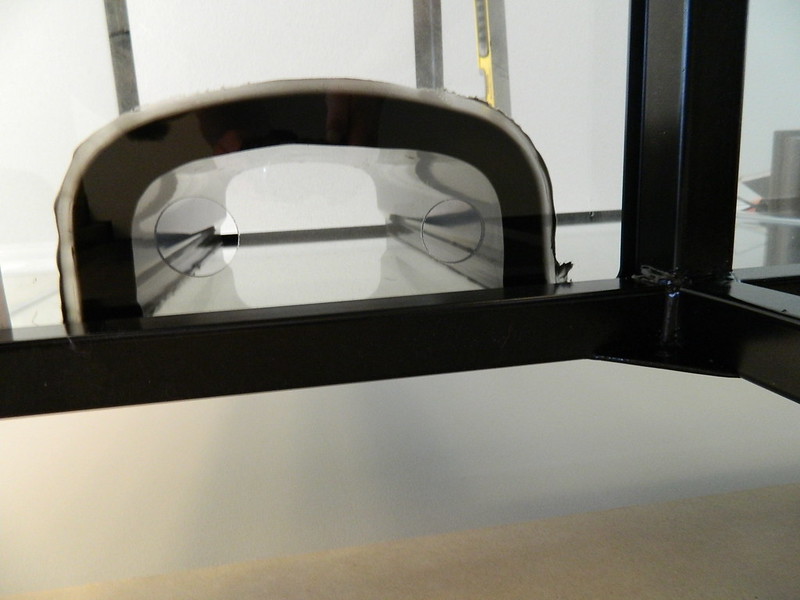 Thanks for looking. |
|
#36
|
|||||
|
|||||
|
Looks great dude
How'd you level it ? You have something like appliance bolts ? I ask as you mentioned levelling mounts So, is it Salty yet ? |
|
#37
|
|||||
|
|||||
|
Quote:
Hoping to have it wet in a few weeks, first need to plumb and finish the cabinets for the stand. |
|
#38
|
|||||
|
|||||
|
Guess I should have been following your build thread to catch all the hardware you're using
|
|
#39
|
|||||
|
|||||
|
You need to pay attention! Lol, I stole the idea for the ro/di slider from your build thread!
|
|
#40
|
|||||
|
|||||
|
Put the sump in the stand for the first time today.
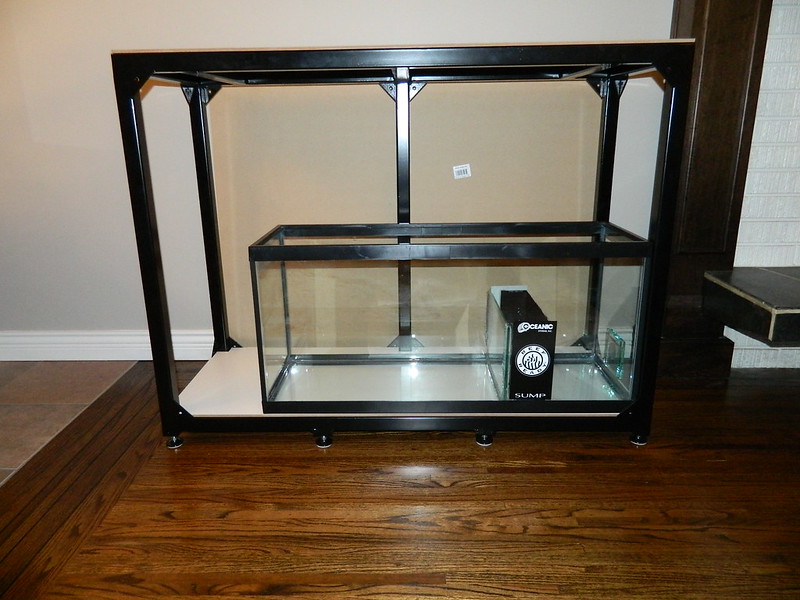 Should be enough room for dosing containers on the left. 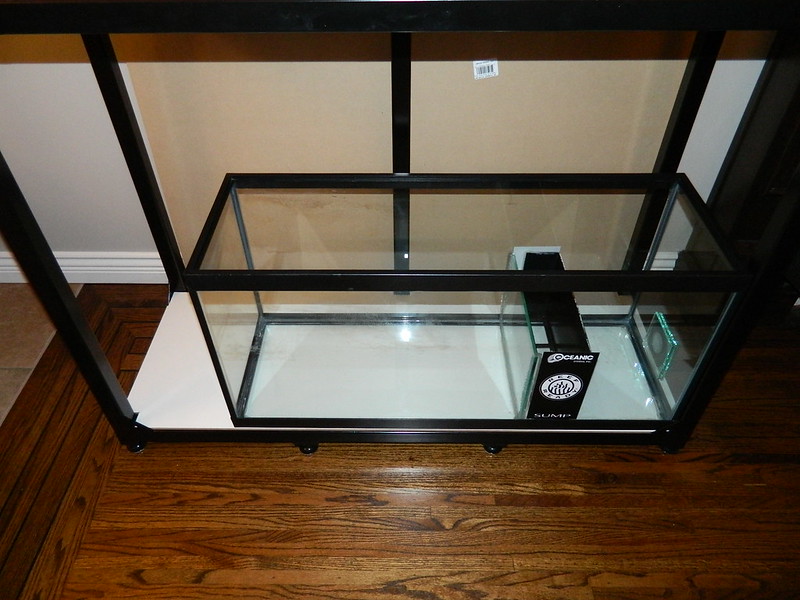 Thinking I might do a custom ATO reservoir behind the sump. I wonder if 9 gallons will be enough for a weeks worth of top ups on a total system volume of 80 gallons? Any thoughts on this? 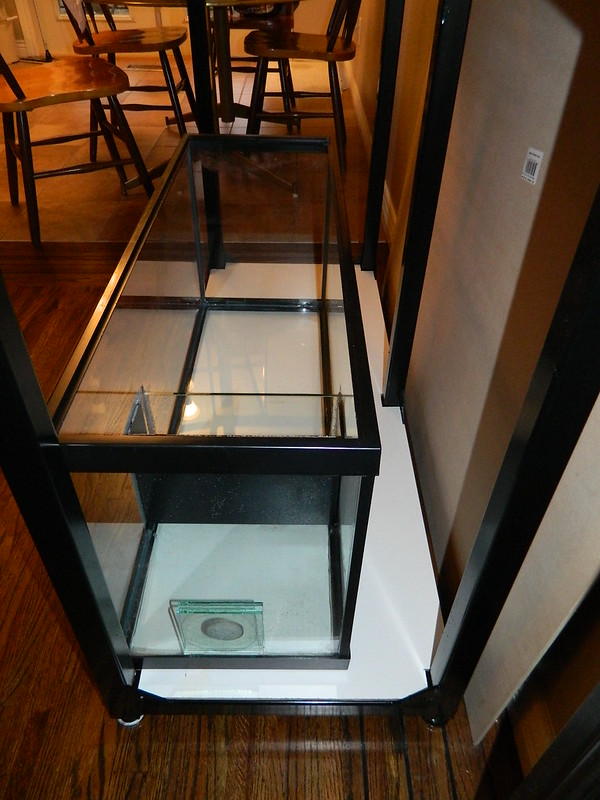 Thanks for looking. |