Canreef Aquatics Bulletin Board  

Go Back   Canreef Aquatics Bulletin Board > General > Tank Journal

Reply
 
Thread Tools Display Modes
  #11  
Old 08-25-2012, 12:22 AM
yellowworld's Avatar
yellowworld yellowworld is offline
Member
 
Join Date: Jan 2011
Location: Calgary
Posts: 228
yellowworld is on a distinguished road
Default

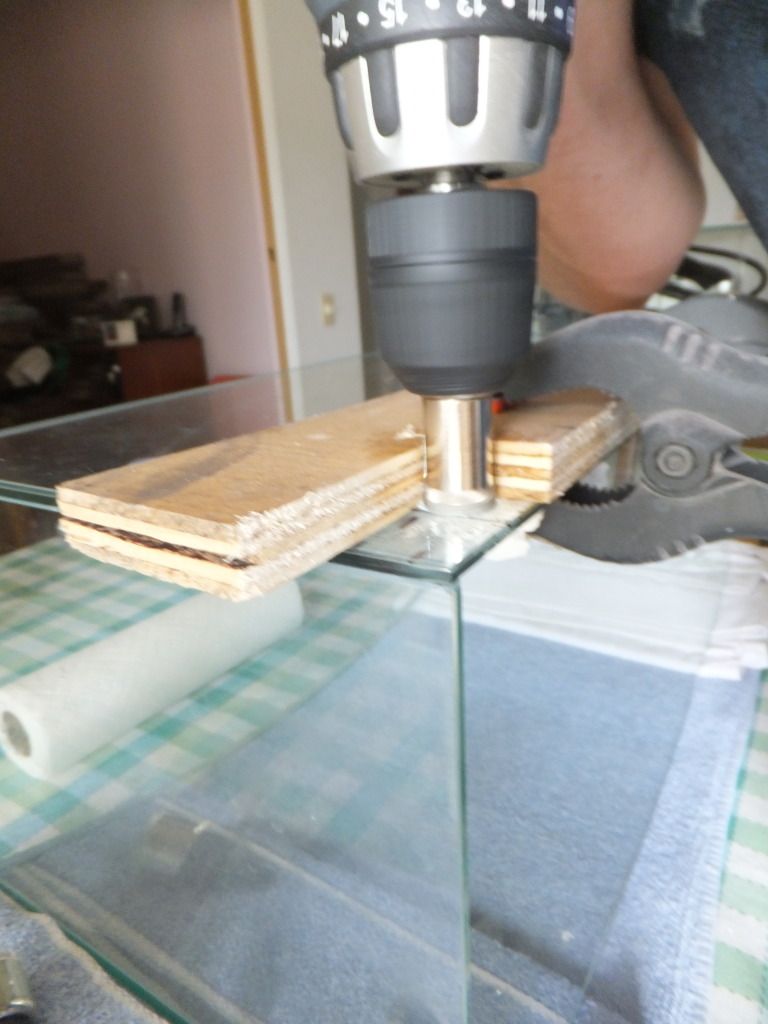
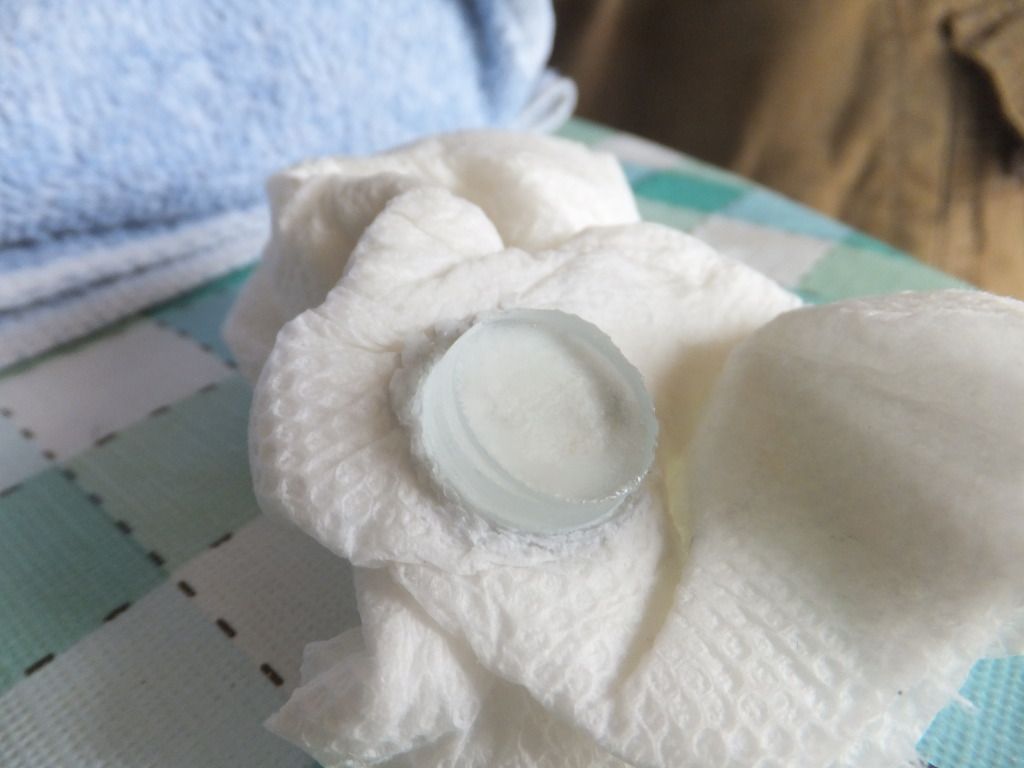
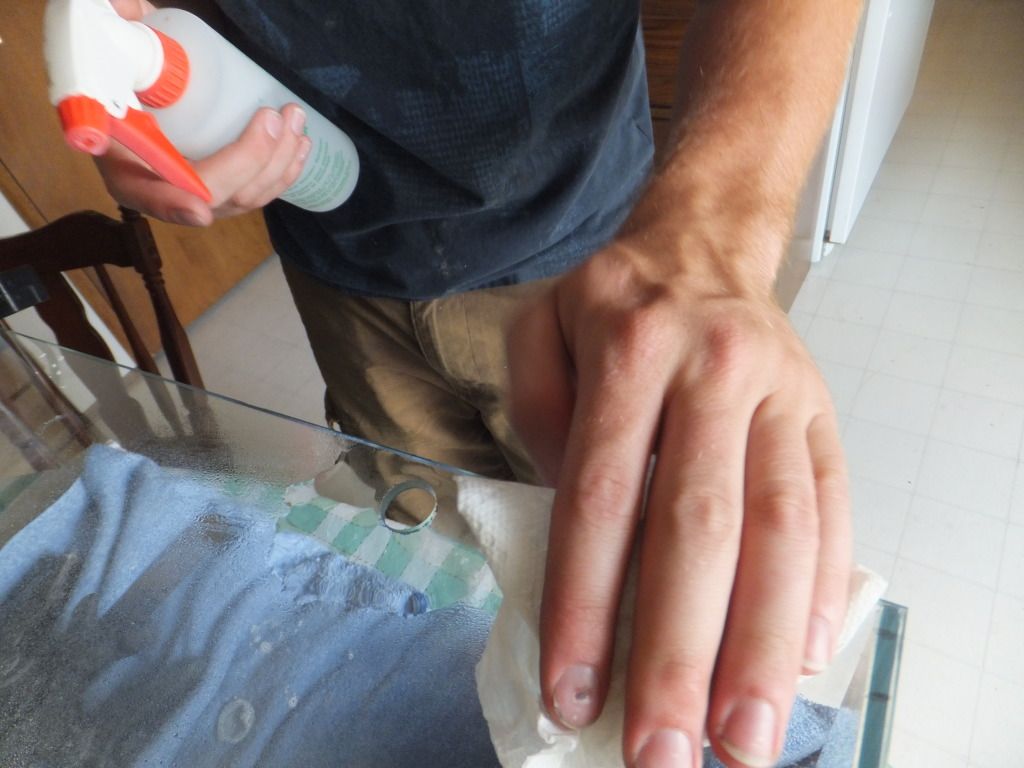
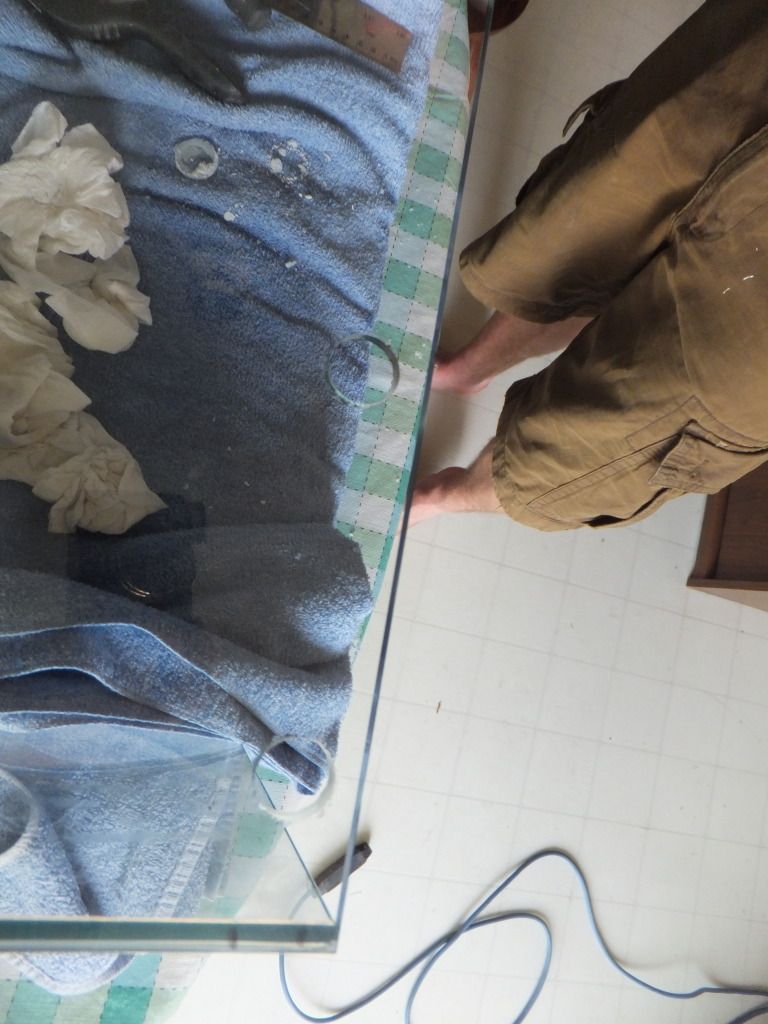
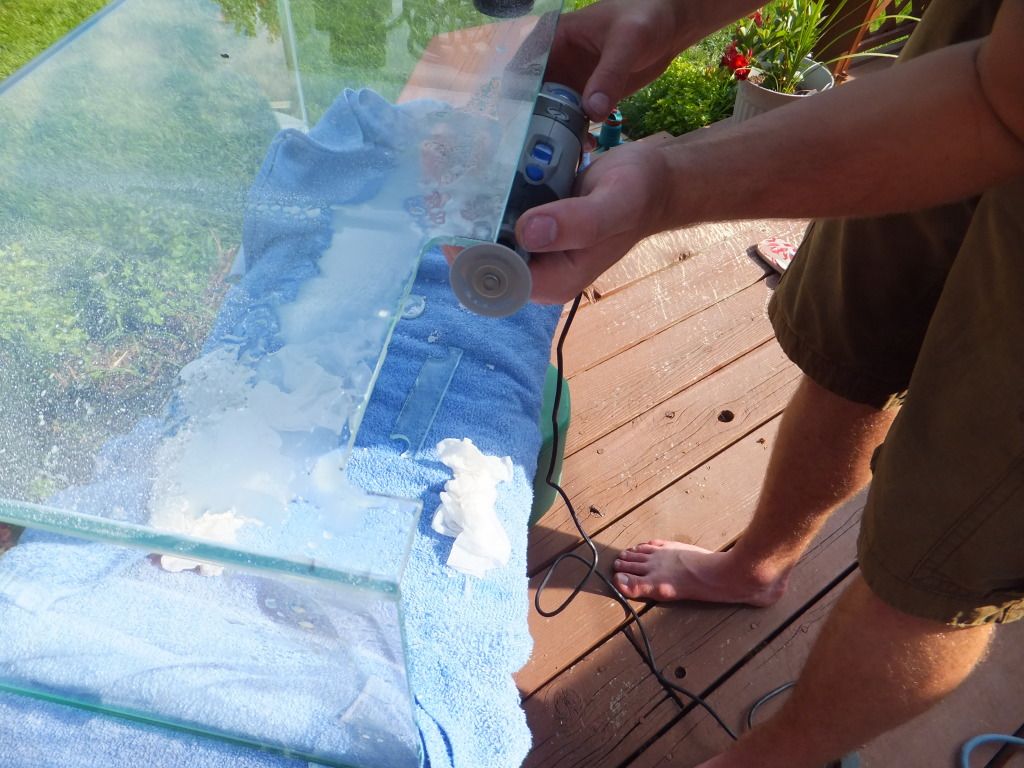
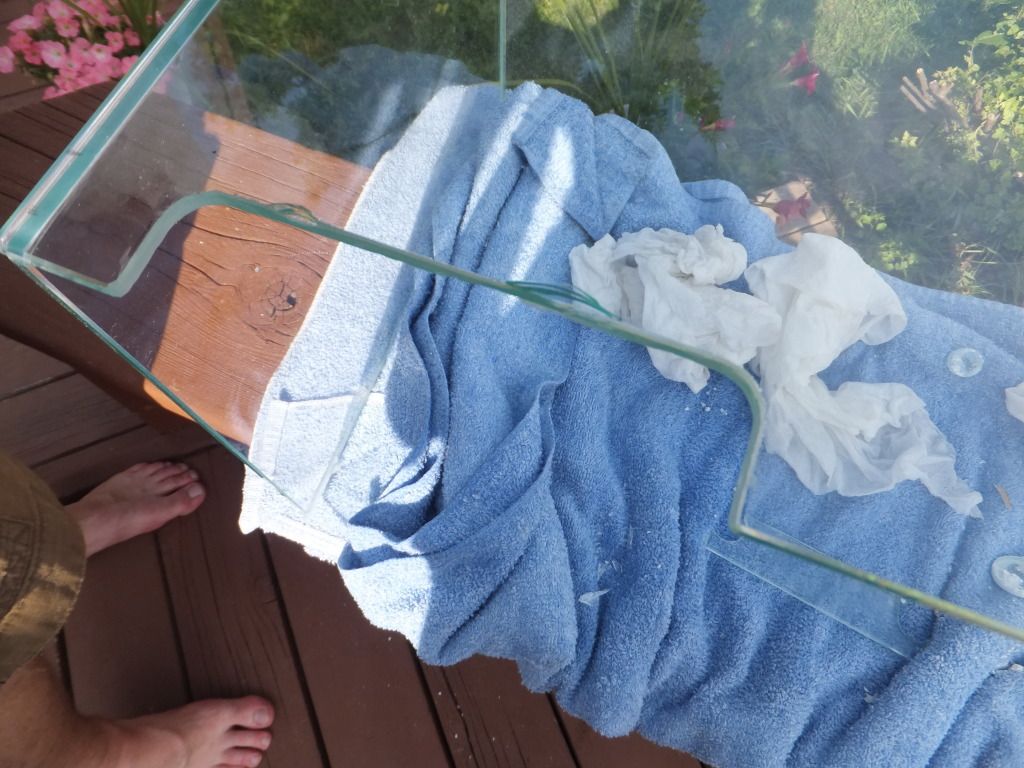
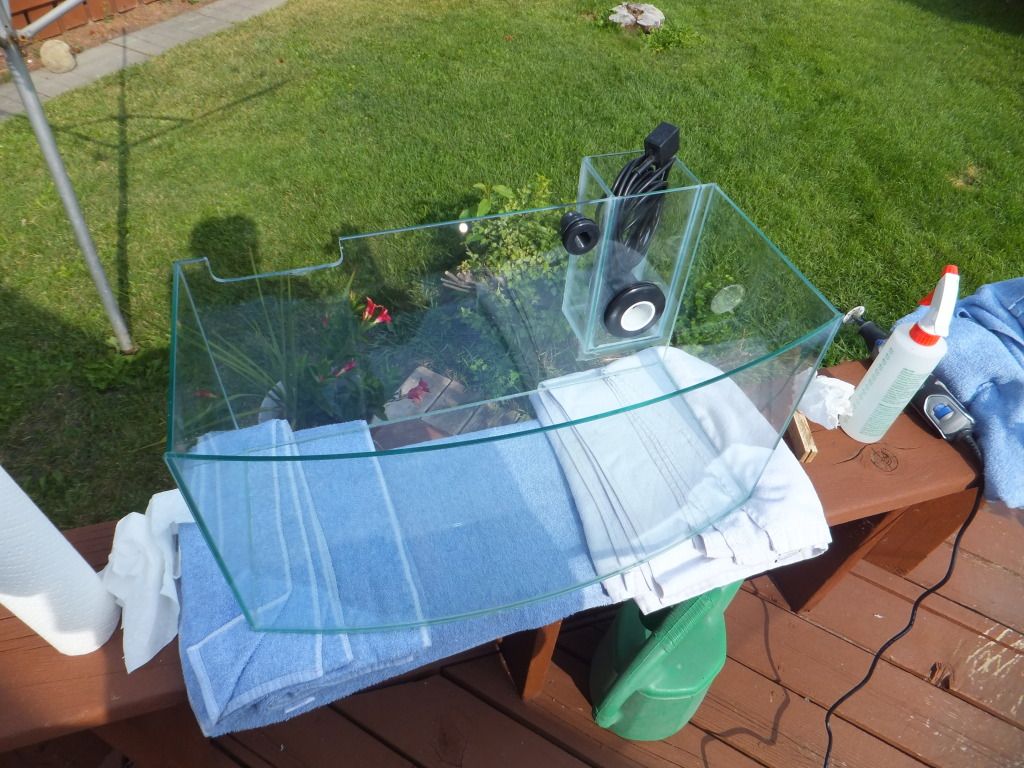
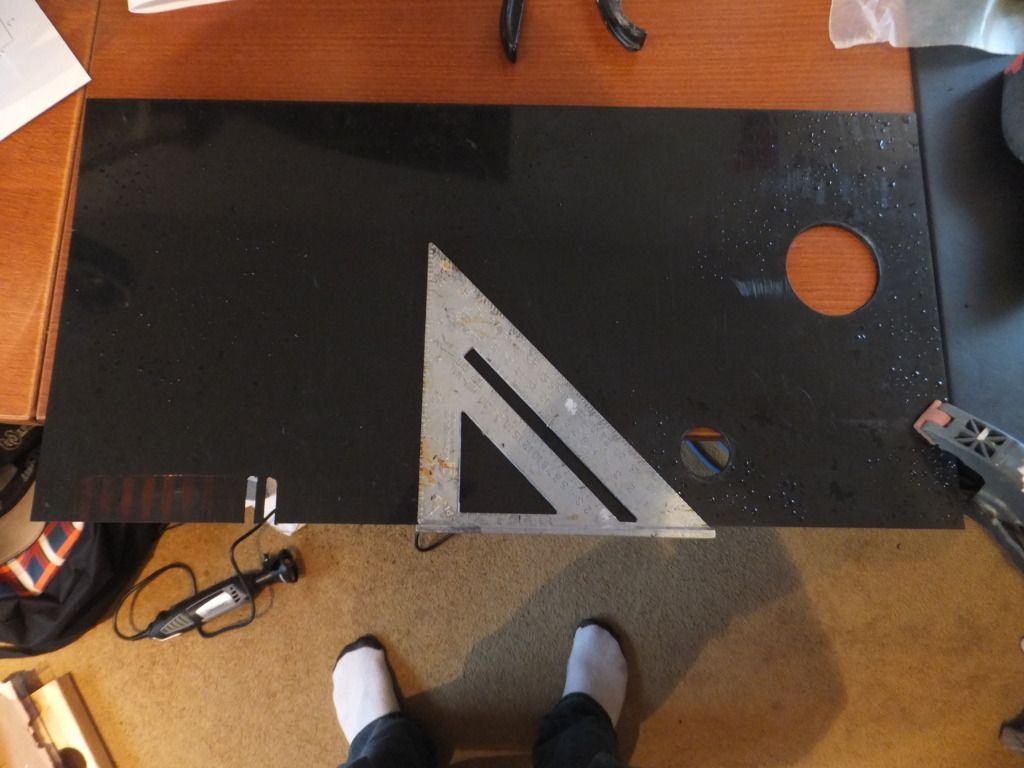
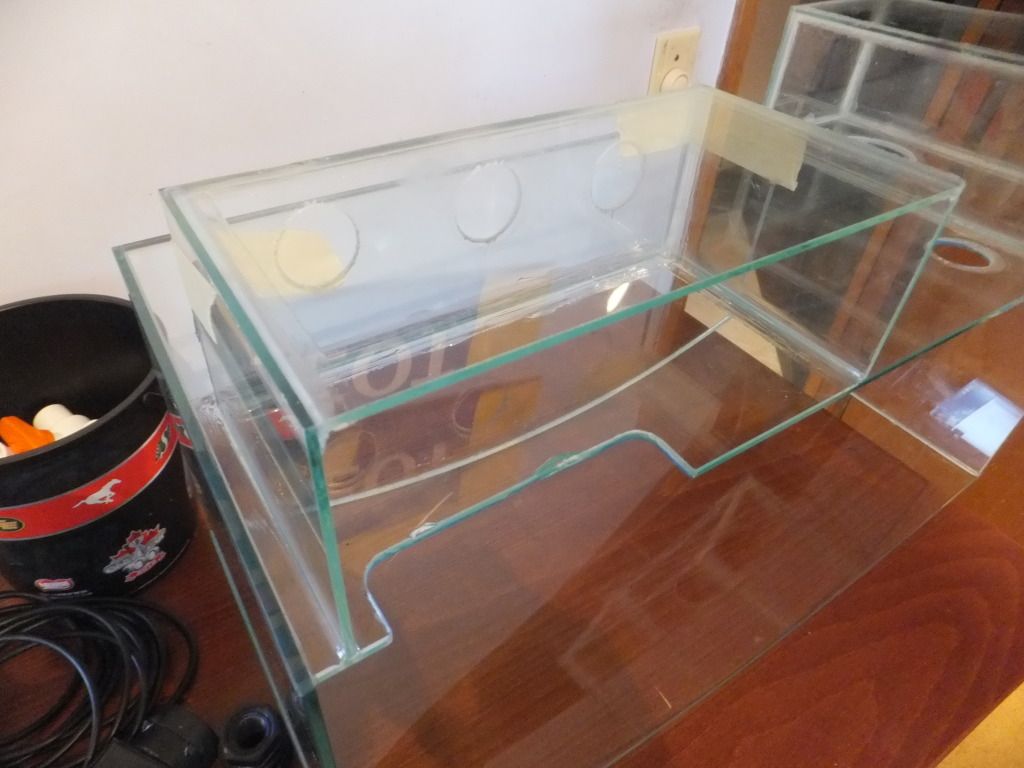
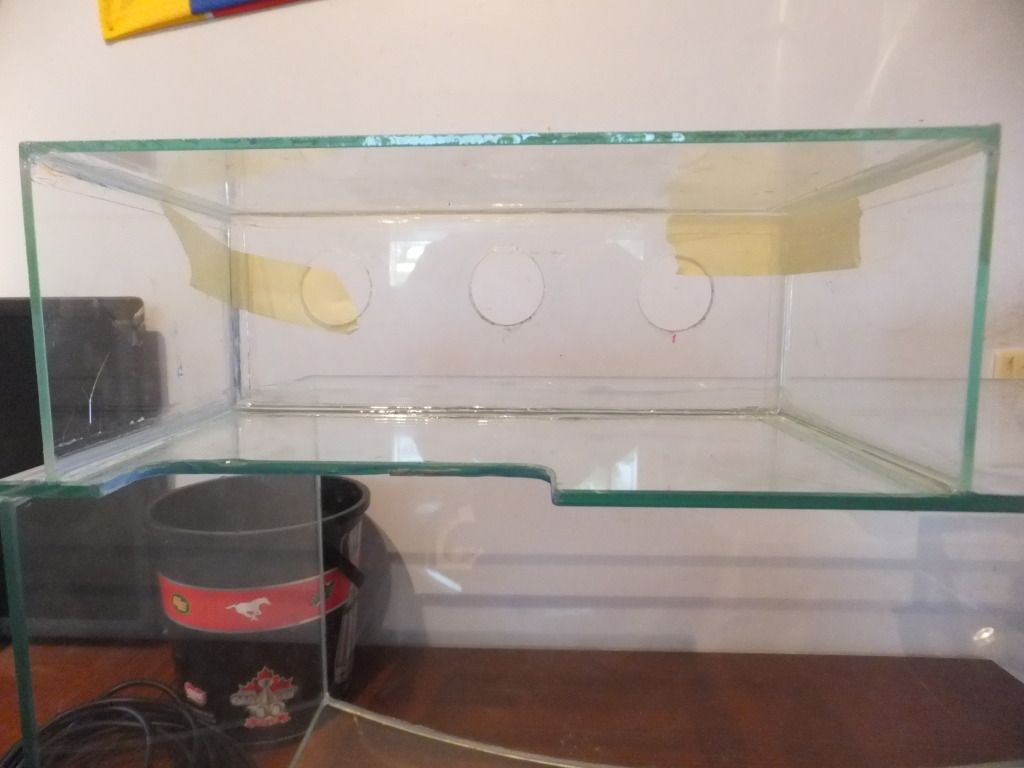
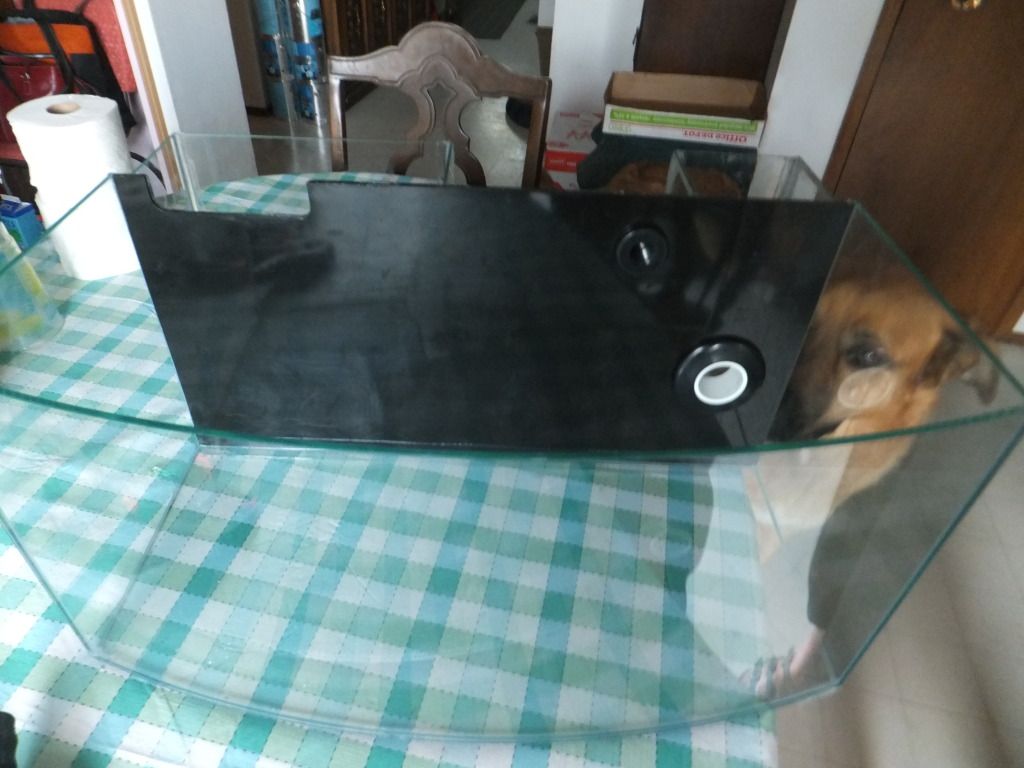
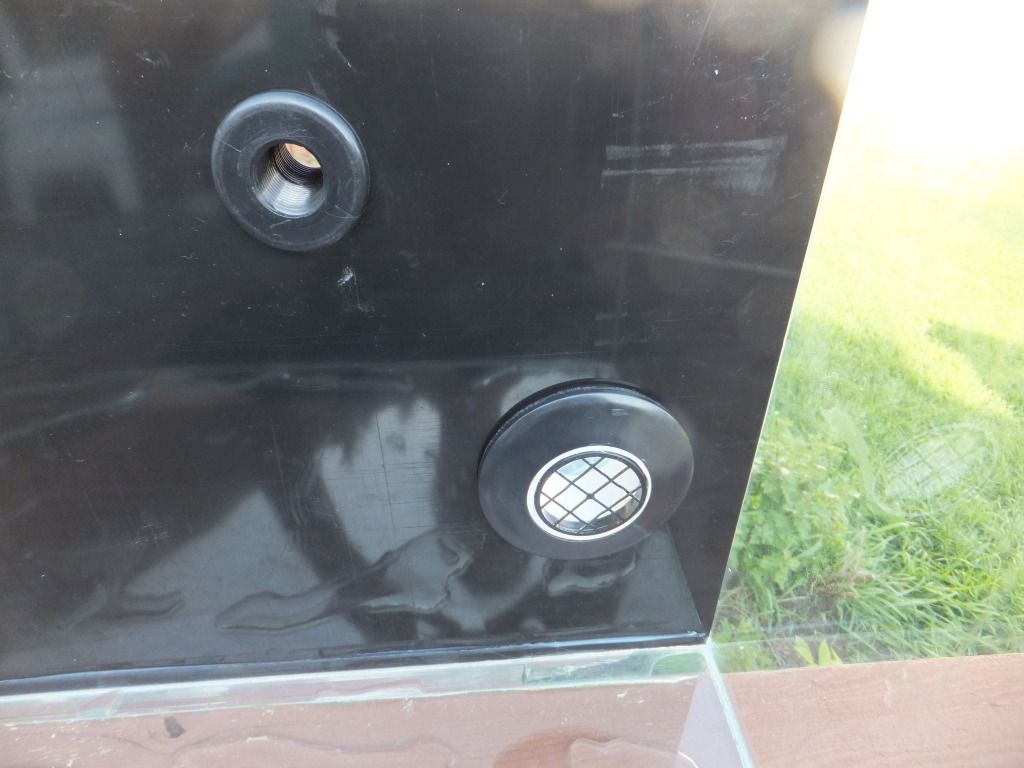
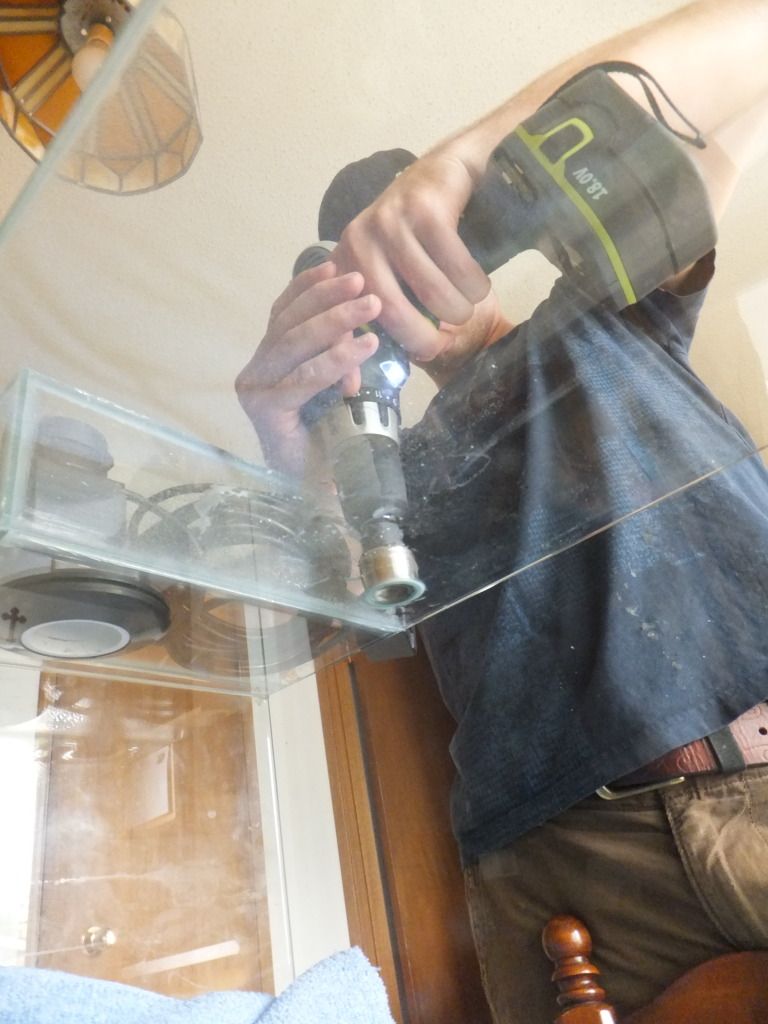
I got the return line drilled and the overflow weir is cut into the tank so here you go!


Reply With Quote
  #12  
Old 08-25-2012, 02:53 AM
HaZRaTTy's Avatar
HaZRaTTy HaZRaTTy is offline
Member
 
Join Date: Jul 2011
Location: Edmonton
Posts: 482
HaZRaTTy is on a distinguished road
Default

Hey how did you cut out your overflow, I see you drilled 2 holes then did you just use a glass etch to go between or did you use the drem with a bit to cut it out? Details as I'm in the process of building a Nano and I am scratching my head how I'm going to create the overflow.
Reply With Quote
  #13  
Old 08-25-2012, 03:06 AM
yellowworld's Avatar
yellowworld yellowworld is offline
Member
 
Join Date: Jan 2011
Location: Calgary
Posts: 228
yellowworld is on a distinguished road
Default

Quote:
Originally Posted by HaZRaTTy View Post
Hey how did you cut out your overflow, I see you drilled 2 holes then did you just use a glass etch to go between or did you use the drem with a bit to cut it out? Details as I'm in the process of building a Nano and I am scratching my head how I'm going to create the overflow.
I drilled two holes with a glass hole saw only because i wanted smooth corners and it think it looks better, then i used my dremel with glass cutting wheel to slowly cut out the over flow from the holes, you can see in one of the pictures im cutting the overflow into the back.

Im going to post the rest of the overflow right now so read on to see what i did
Reply With Quote
  #14  
Old 08-25-2012, 03:07 AM
yellowworld's Avatar
yellowworld yellowworld is offline
Member
 
Join Date: Jan 2011
Location: Calgary
Posts: 228
yellowworld is on a distinguished road
Default

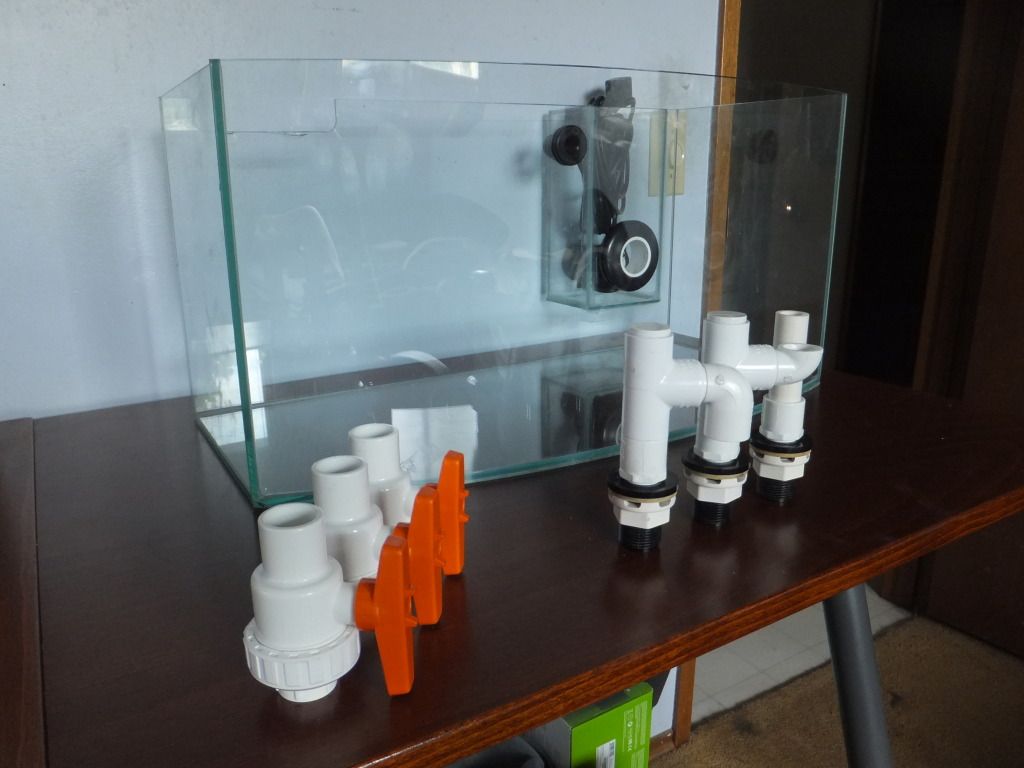
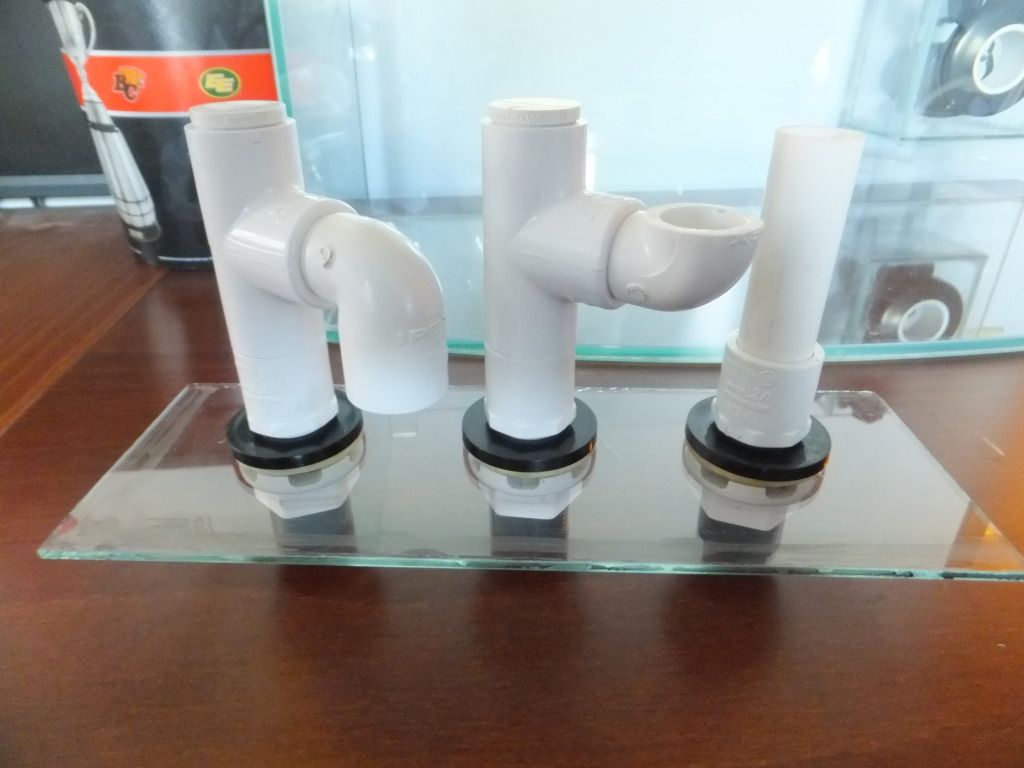
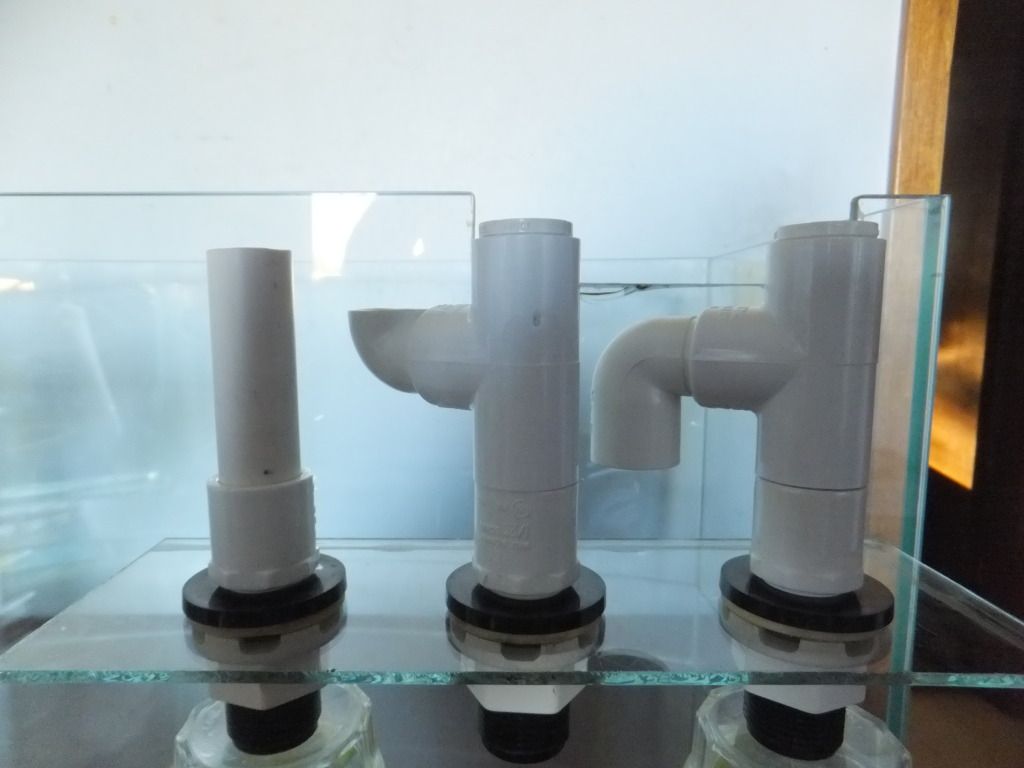
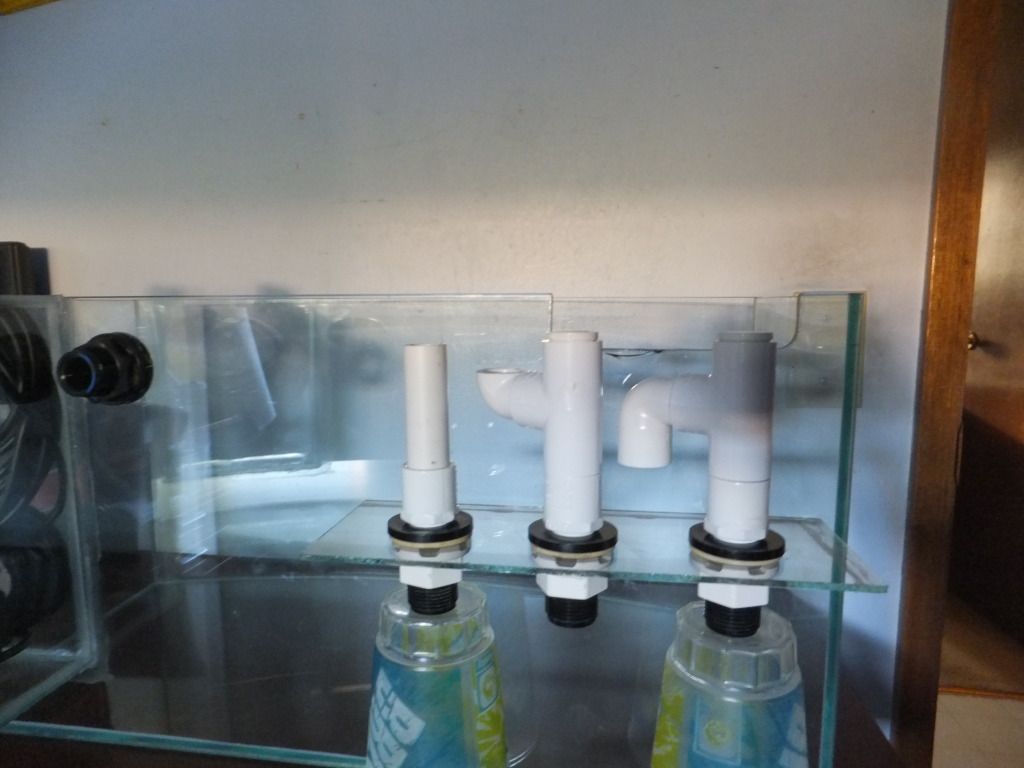
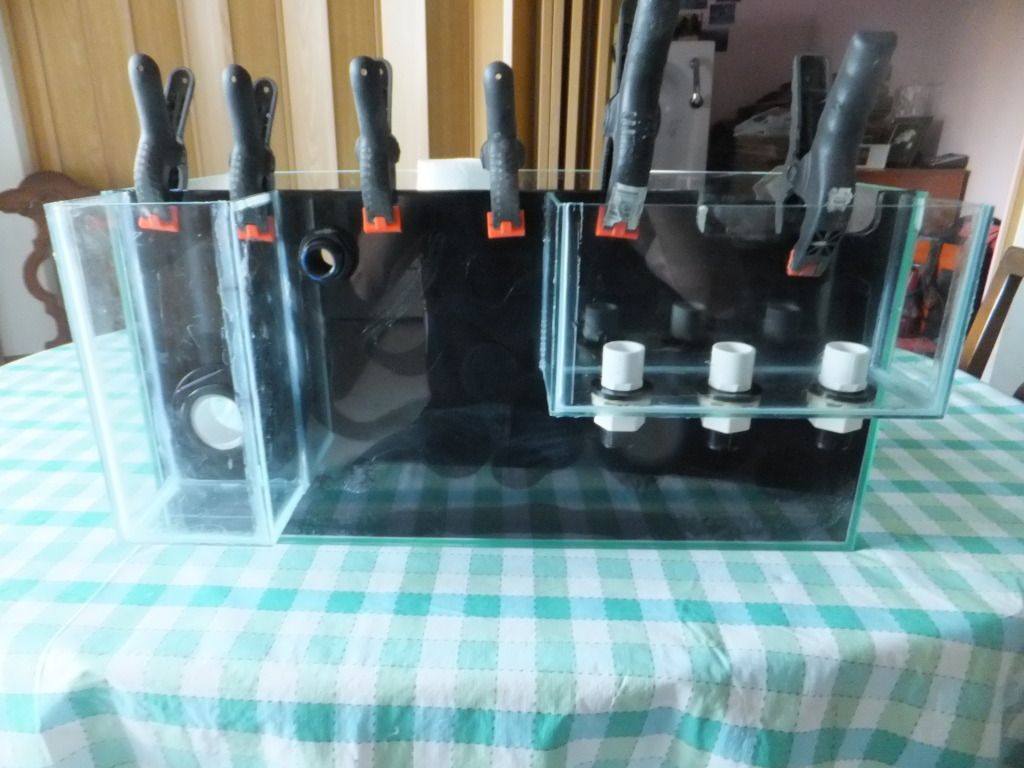
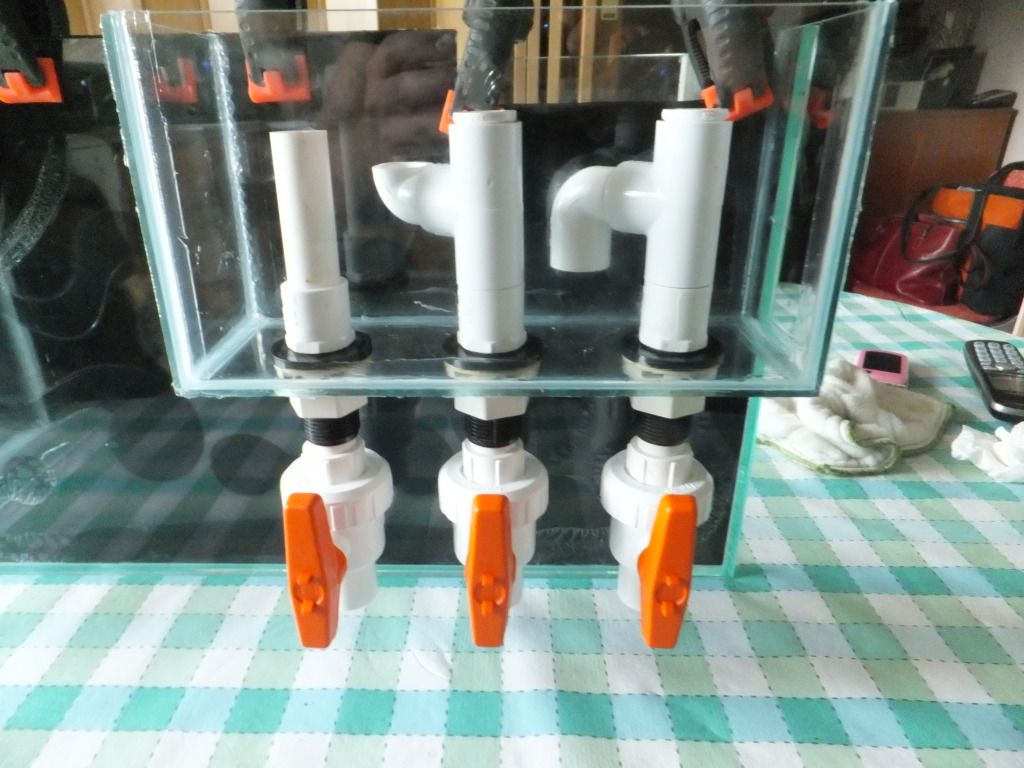
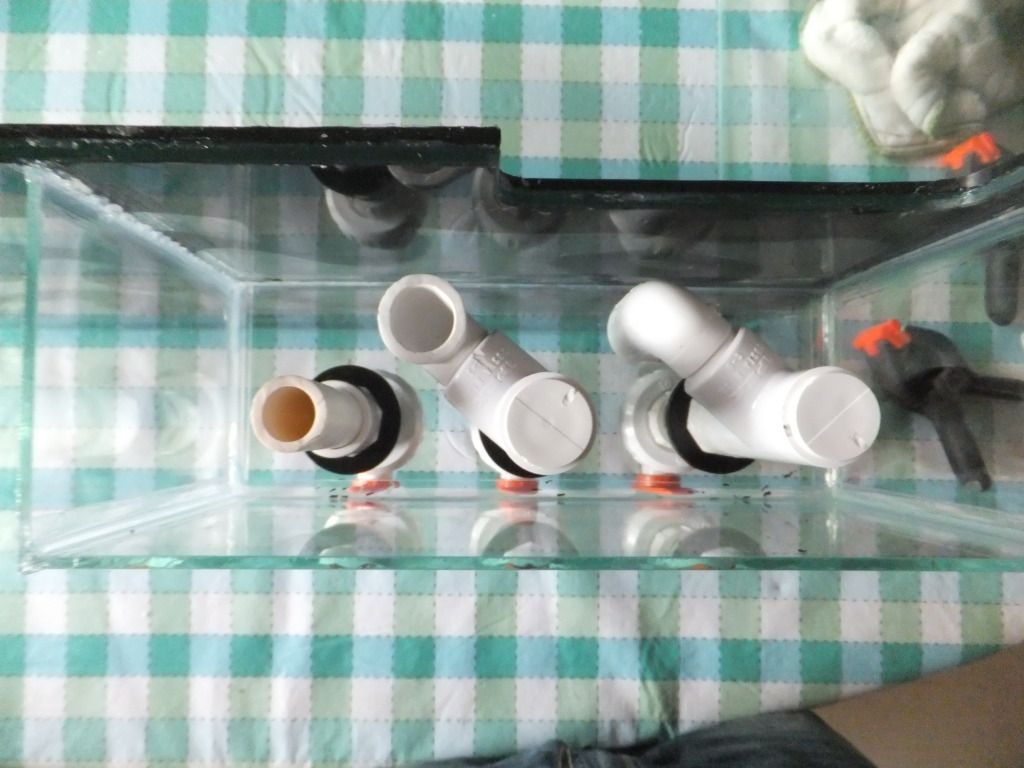
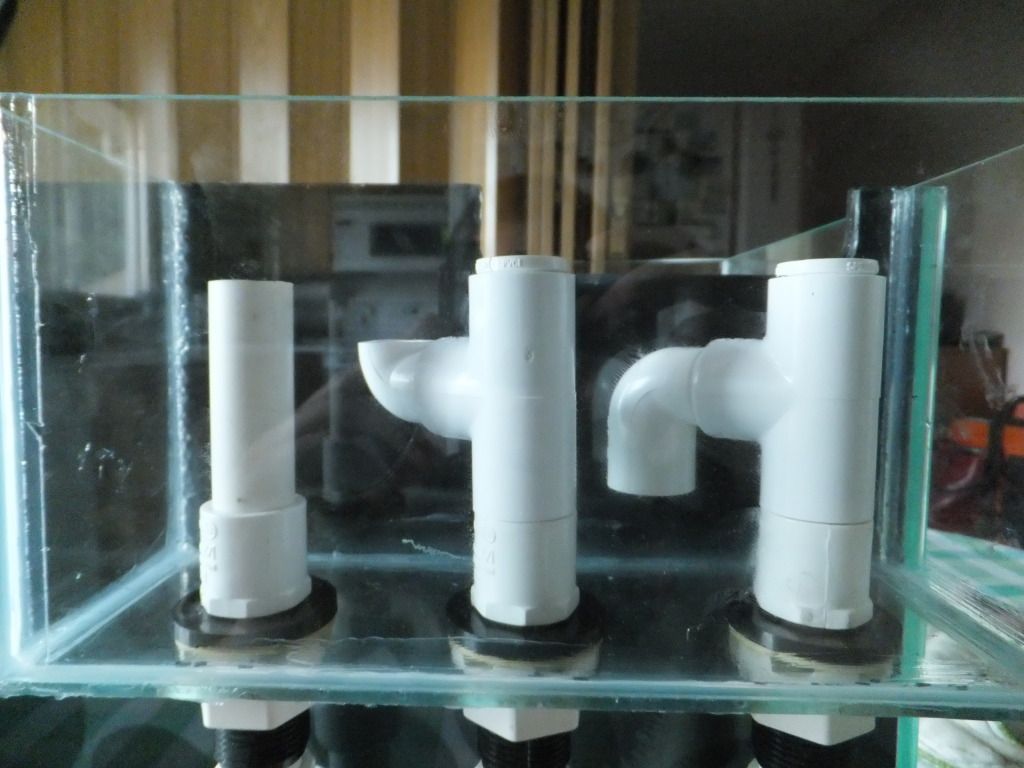
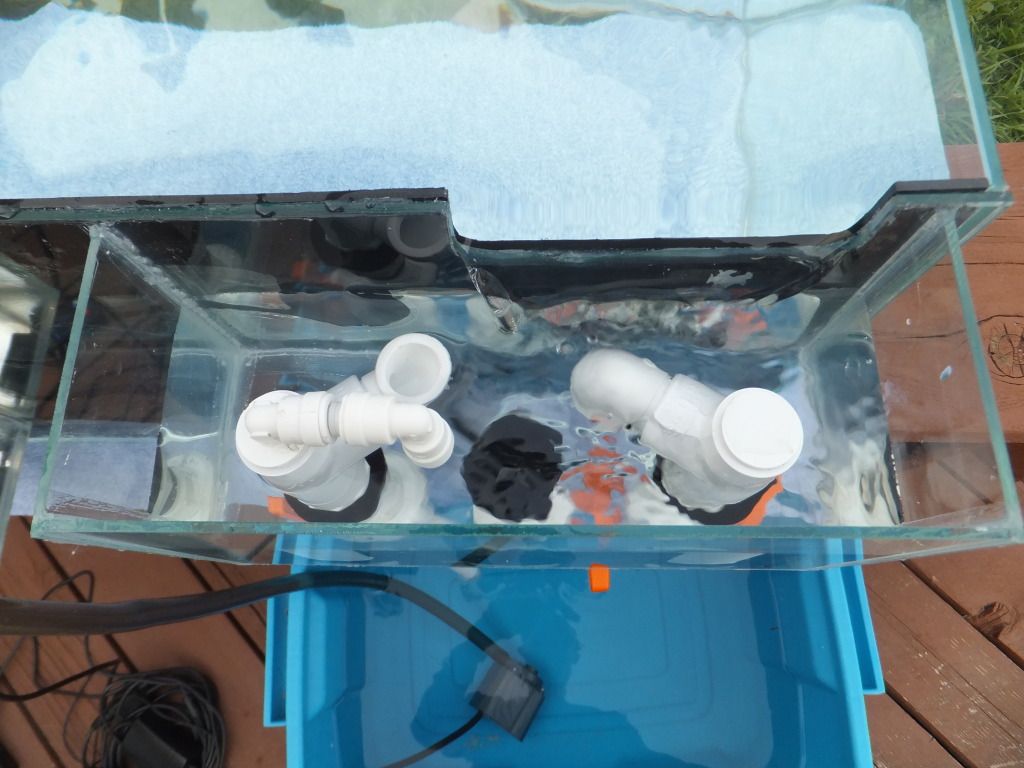
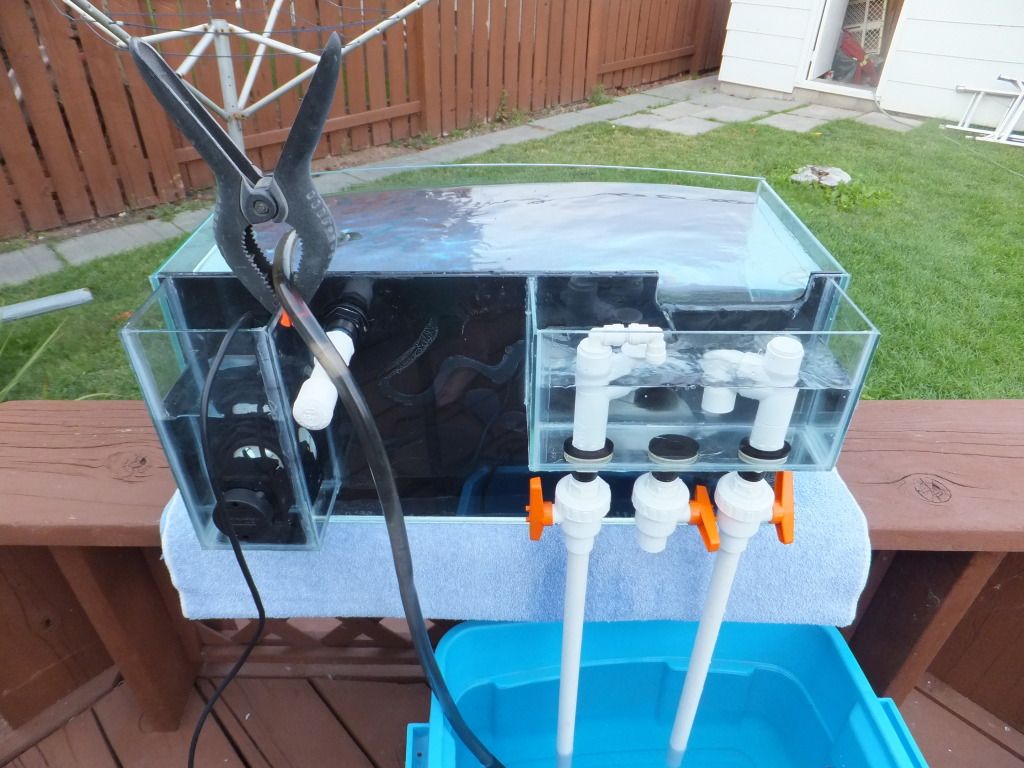
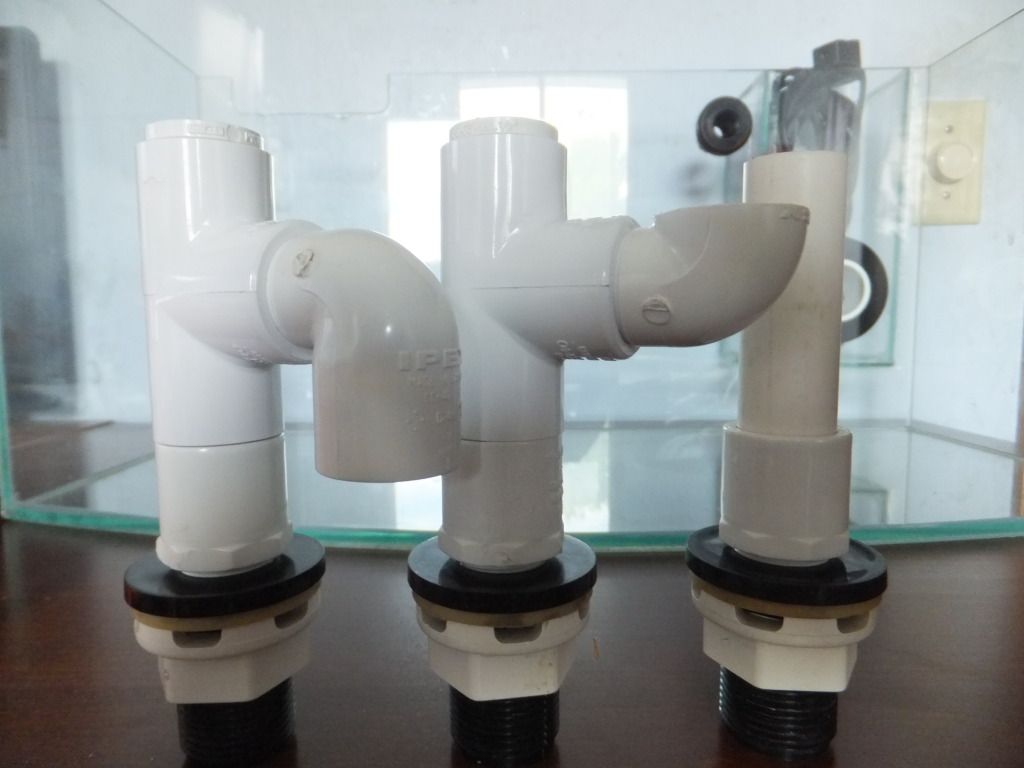
So I decided to drill the holes for my overflow and put together the plumbing for it, after some thinking and some cutting to make it all work in a small space, this is what i have so far


Reply With Quote
  #15  
Old 08-25-2012, 03:08 AM
yellowworld's Avatar
yellowworld yellowworld is offline
Member
 
Join Date: Jan 2011
Location: Calgary
Posts: 228
yellowworld is on a distinguished road
Default

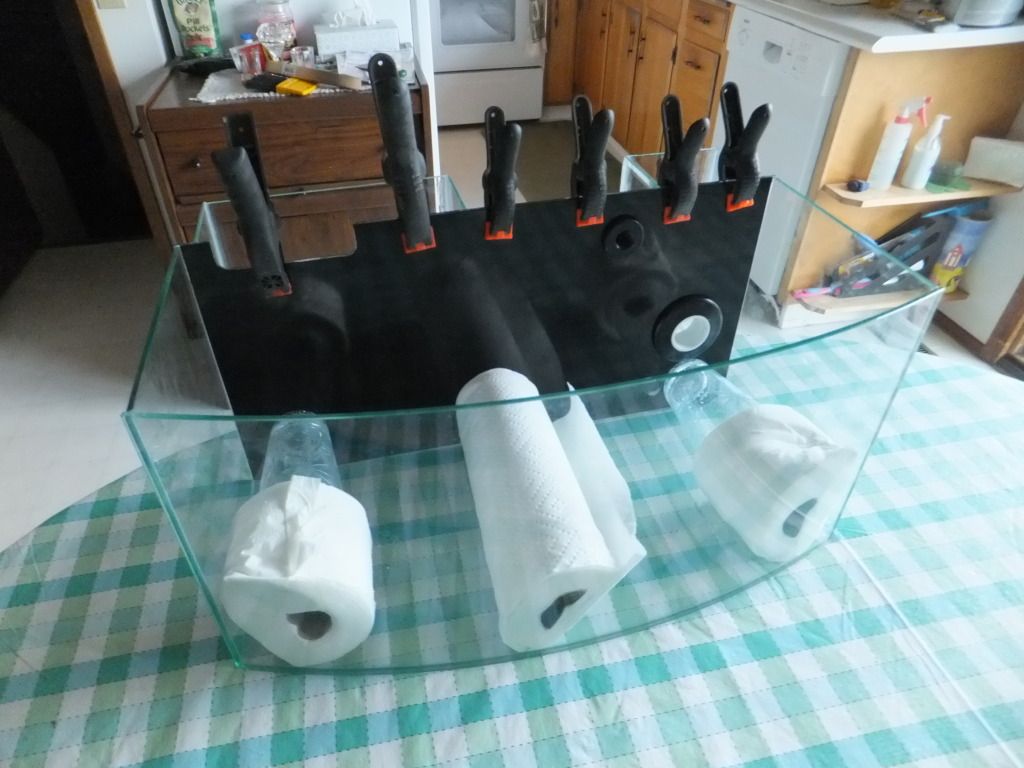
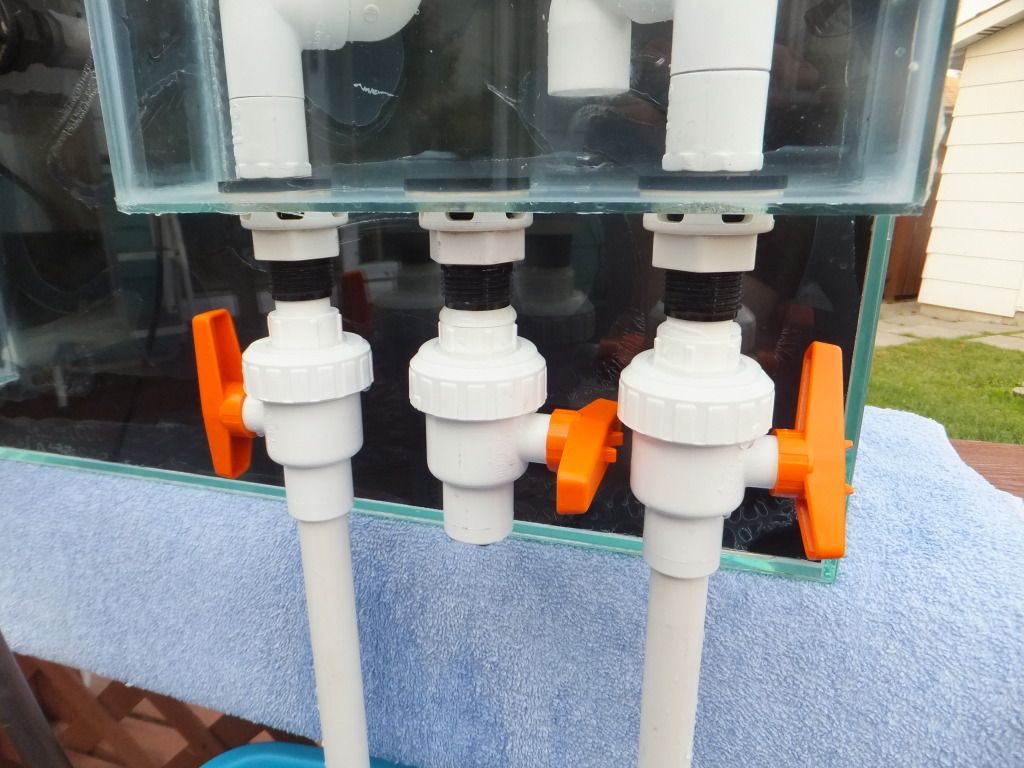
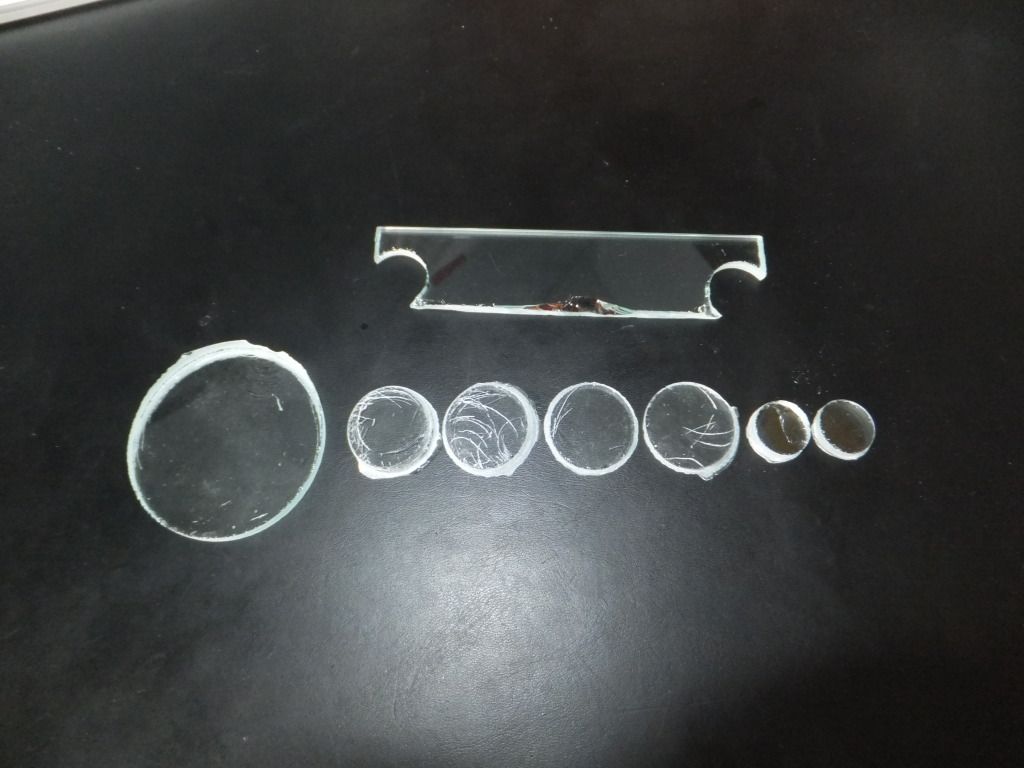
Today I got quite a bit of stuff done, I got the glass for the overflow cut and put together, I picked up a peice of black acrylic to put inside the tank as a background to cover everyything up and i got the plumbing all together for the backside of the tank


More to come as it all goes together tonight
Reply With Quote
  #16  
Old 08-25-2012, 03:47 AM
yellowworld's Avatar
yellowworld yellowworld is offline
Member
 
Join Date: Jan 2011
Location: Calgary
Posts: 228
yellowworld is on a distinguished road
Default


Can you spot the snooper??


Reply With Quote
  #17  
Old 08-25-2012, 05:24 AM
toytech's Avatar
toytech toytech is offline
Member
 
Join Date: Oct 2010
Location: edmonton
Posts: 672
toytech is on a distinguished road
Default

This tanks putting the space shuttle to shame , it is a fancy piece of kit. Looks like youve been thinking about this for a while , its going to be epic.
Reply With Quote
  #18  
Old 08-25-2012, 08:30 PM
yellowworld's Avatar
yellowworld yellowworld is offline
Member
 
Join Date: Jan 2011
Location: Calgary
Posts: 228
yellowworld is on a distinguished road
Default

Quote:
Originally Posted by toytech View Post
This tanks putting the space shuttle to shame , it is a fancy piece of kit. Looks like youve been thinking about this for a while , its going to be epic.
hahaha thank you very much! I have been mauling it over now for about 5 months as to how im going to do things, the wave box was a big stumper for how i was going to get it to work and work well
Reply With Quote
  #19  
Old 08-25-2012, 08:37 PM
Trocar70 Trocar70 is offline
Member
 
Join Date: Aug 2012
Location: Innisfail, Alberta
Posts: 35
Trocar70 is on a distinguished road
Default

That's pretty cool, good luck with the rest of the build!
Reply With Quote
  #20  
Old 08-27-2012, 05:09 AM
yellowworld's Avatar
yellowworld yellowworld is offline
Member
 
Join Date: Jan 2011
Location: Calgary
Posts: 228
yellowworld is on a distinguished road
Default

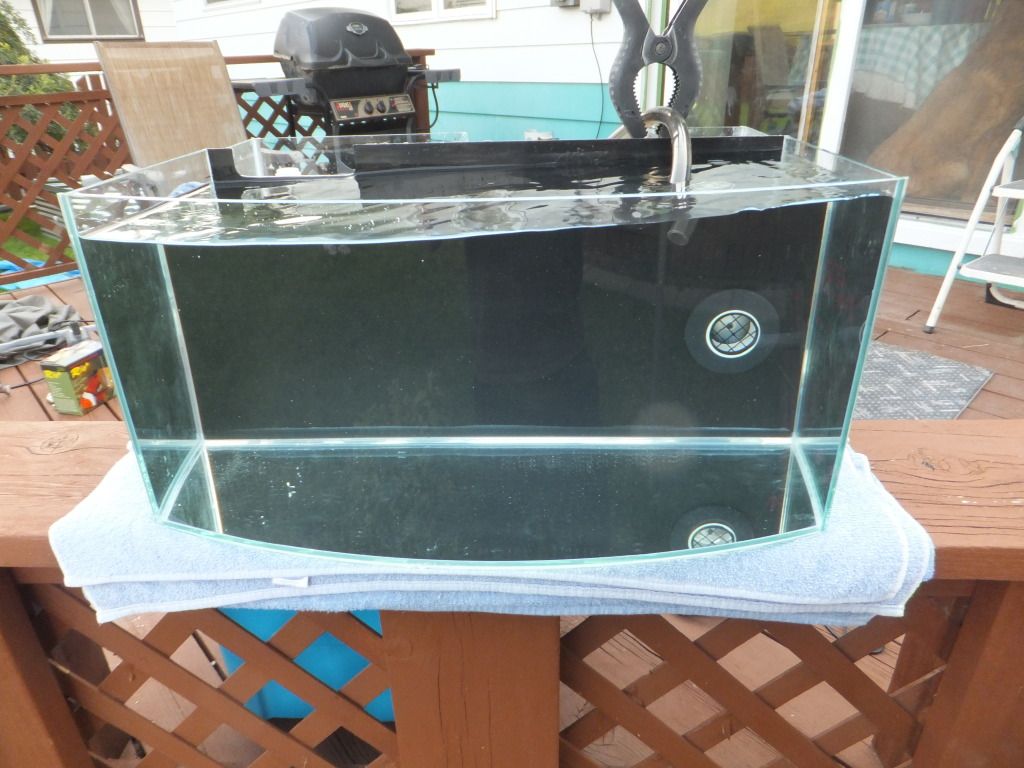
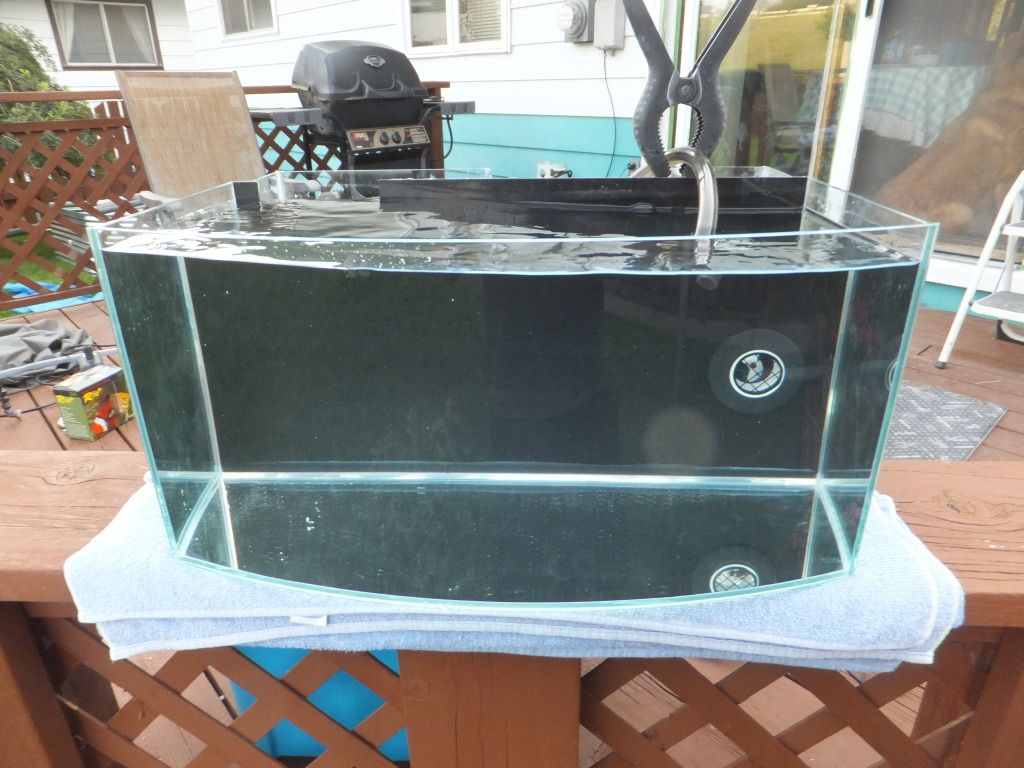
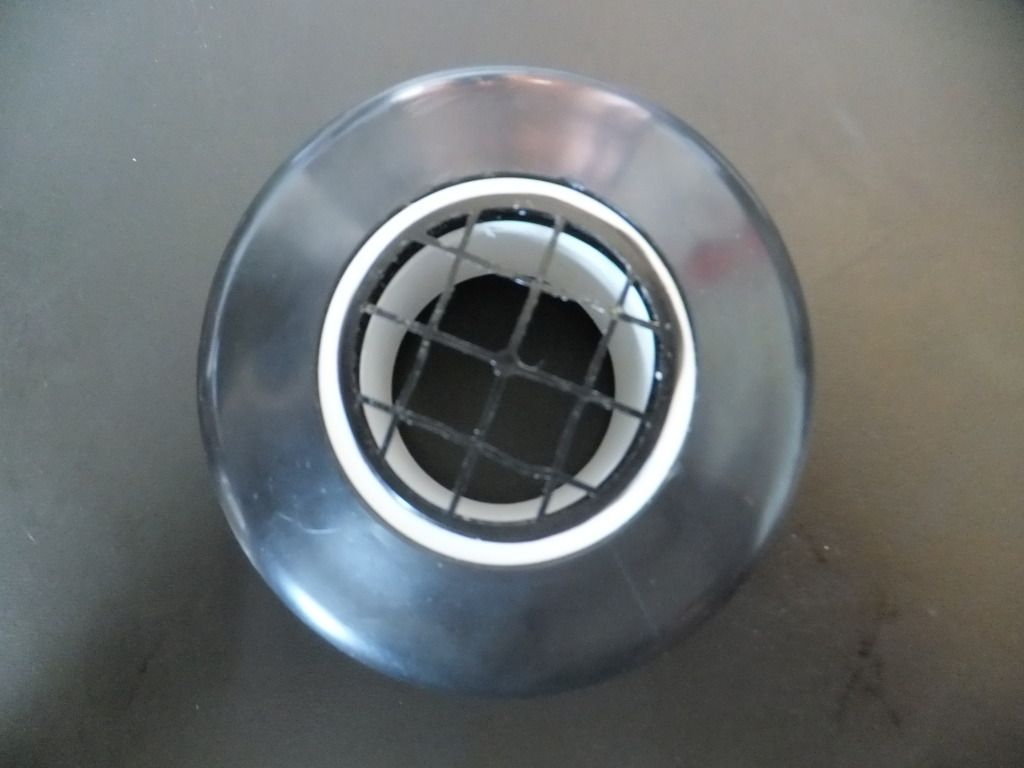
I did some more work today and got the wavebox covered up


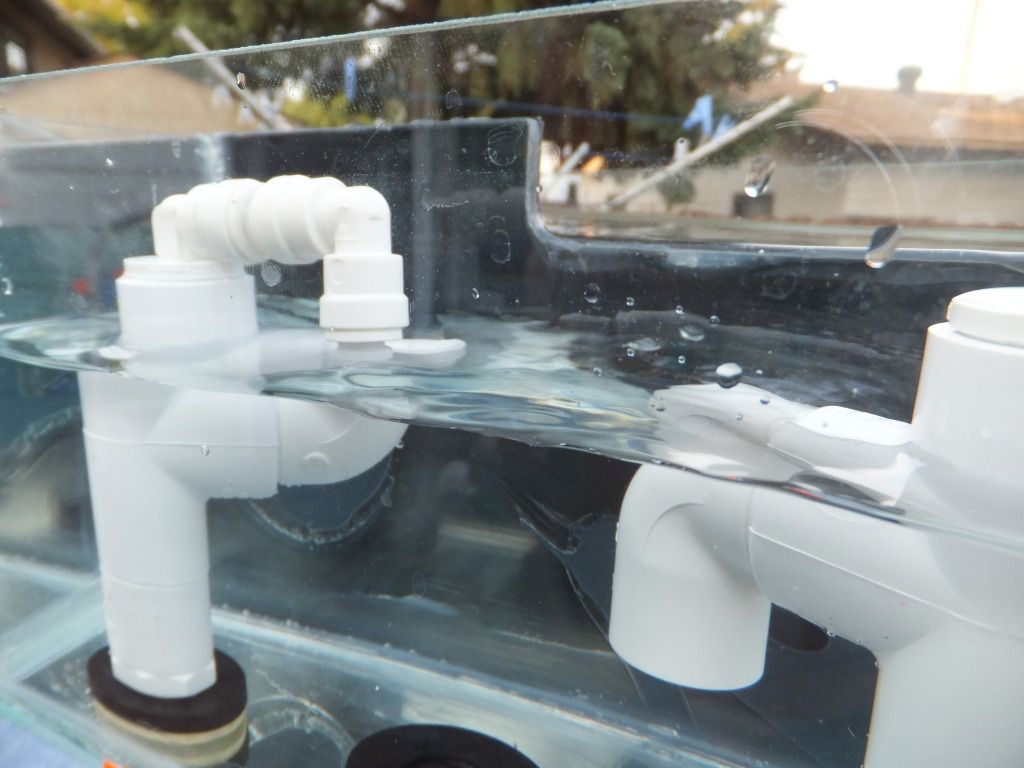
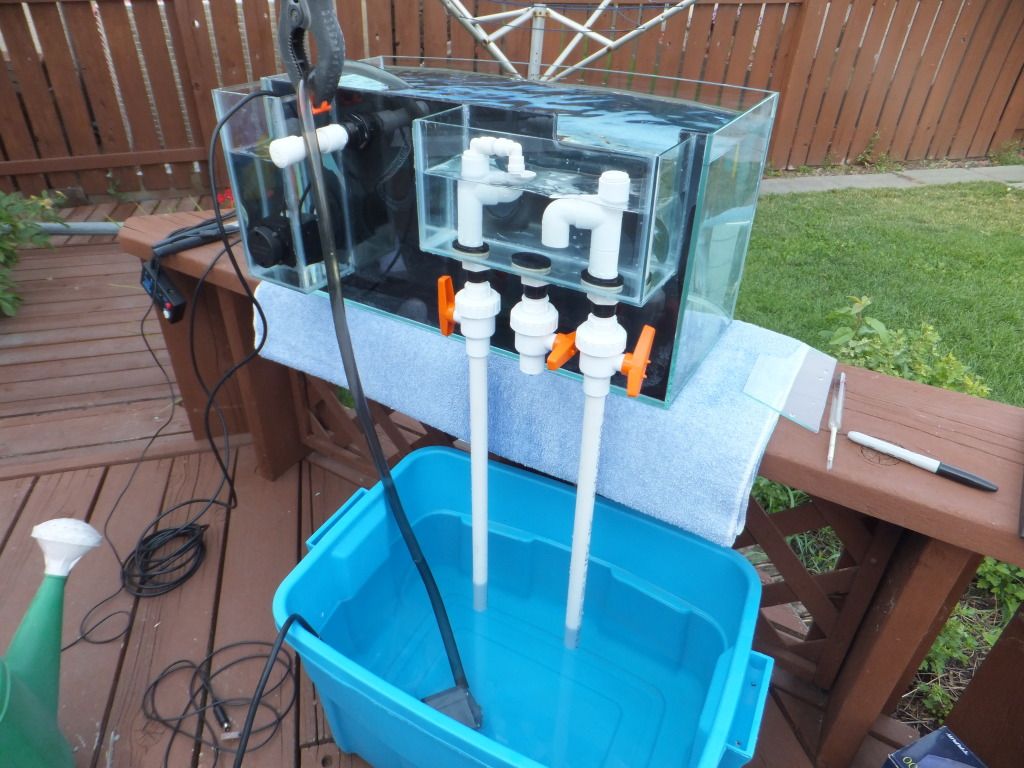
Then i couldnt wait any longer and the minute i had finished my overflow I get it all wet to see how it would work and let me tell you, it went just swimmingly!! take a look


and last but not least...VIDEO PROOF THAT IS REALLY HAPPENED
Reply With Quote
Reply

Tags
bowfront, custom, exposed rock, tunze, wavebox


Posting Rules
You may not post new threads
You may not post replies
You may not post attachments
You may not edit your posts

BB code is On
Smilies are On
[IMG] code is On
HTML code is Off
Forum Jump


All times are GMT. The time now is 07:00 AM.


Powered by vBulletin® Version 3.7.3
Copyright ©2000 - 2024, Jelsoft Enterprises Ltd.