
|
|
|
#1
 05-13-2011, 05:04 AM
|
|||||
|
|||||
|
This thread is going to happen in semi-slow motion, mostly because the build of the tank is tied to the build of my house, which, as I'm sure you can guess, happens at the pace it happens.
I want to start off by giving the specs, and posting the pictures I have so far. The tank will be 6ft long X 34inches wide X 26 inches high for a total display volume of approximately 275 gallons. It's being built right in to the house as a divider between two rooms, the dining room and the office, so it will be open on two sides. I don't have a fish room in this house (some battles you have to 'compromise' on in marriage I suppose), so 99% of the equipment will be under the stand, with the only remote equipment being an R/O storage container in the basement below the tank. The goal: To minimize the amount of manual labour required to maintain the tank. Since it's getting built right in to the house, I had an awesome opportunity to automate water changes as much as humanly possible, and the wall space the tank sits in has been plumbed with a water supply, a drain to the sewer, and an emergency floor drain under the aquarium. Here's the space the tank will occupy (viewed from the dining room): 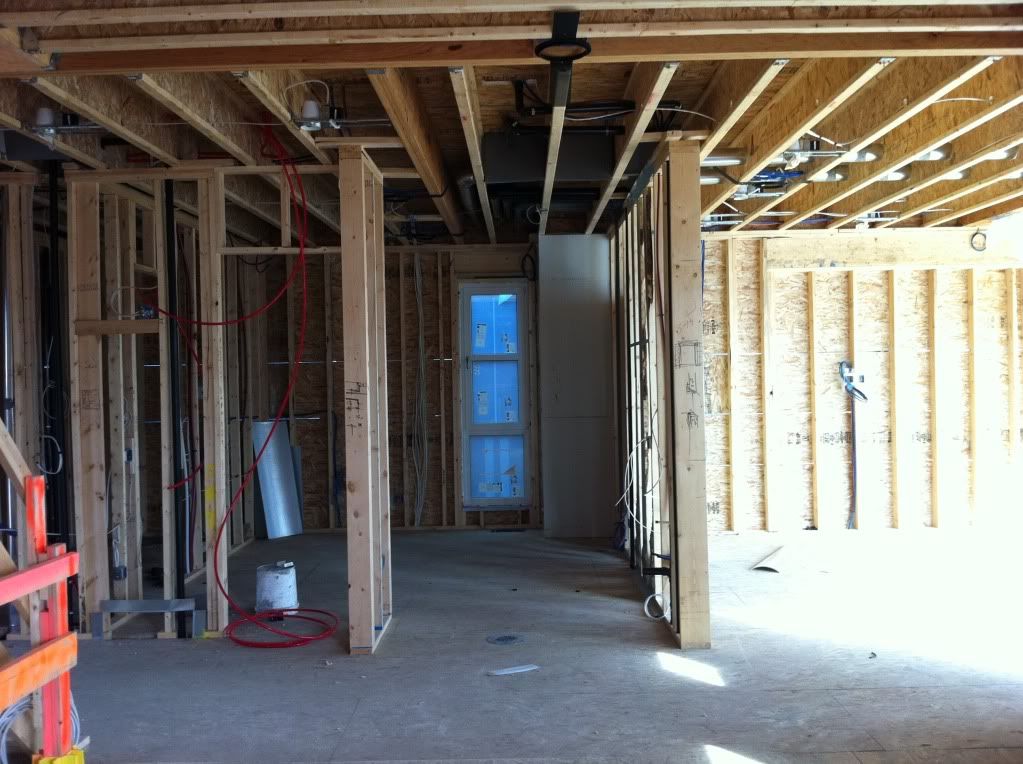 Closer image 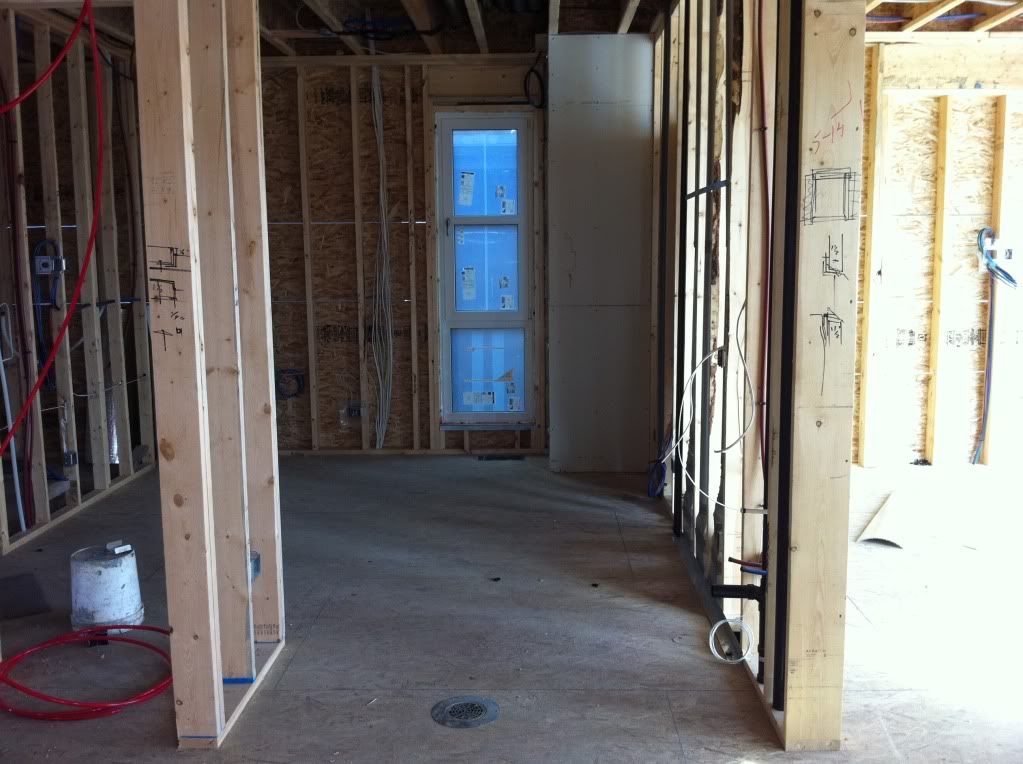 Water supply and drain 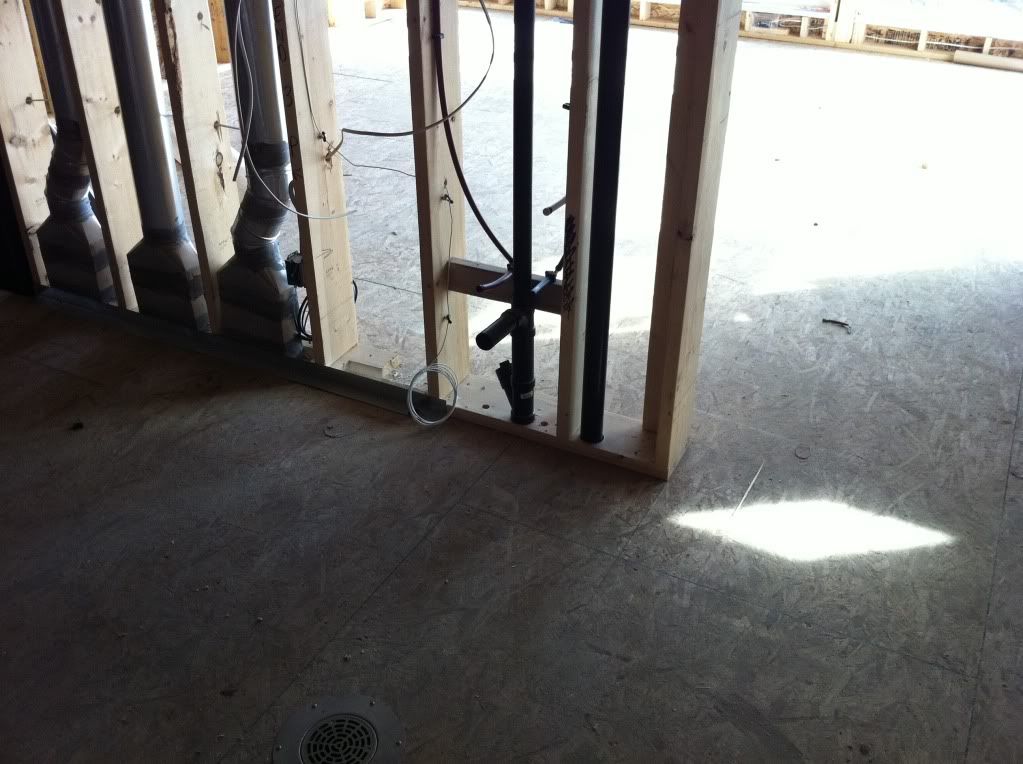 Power supply 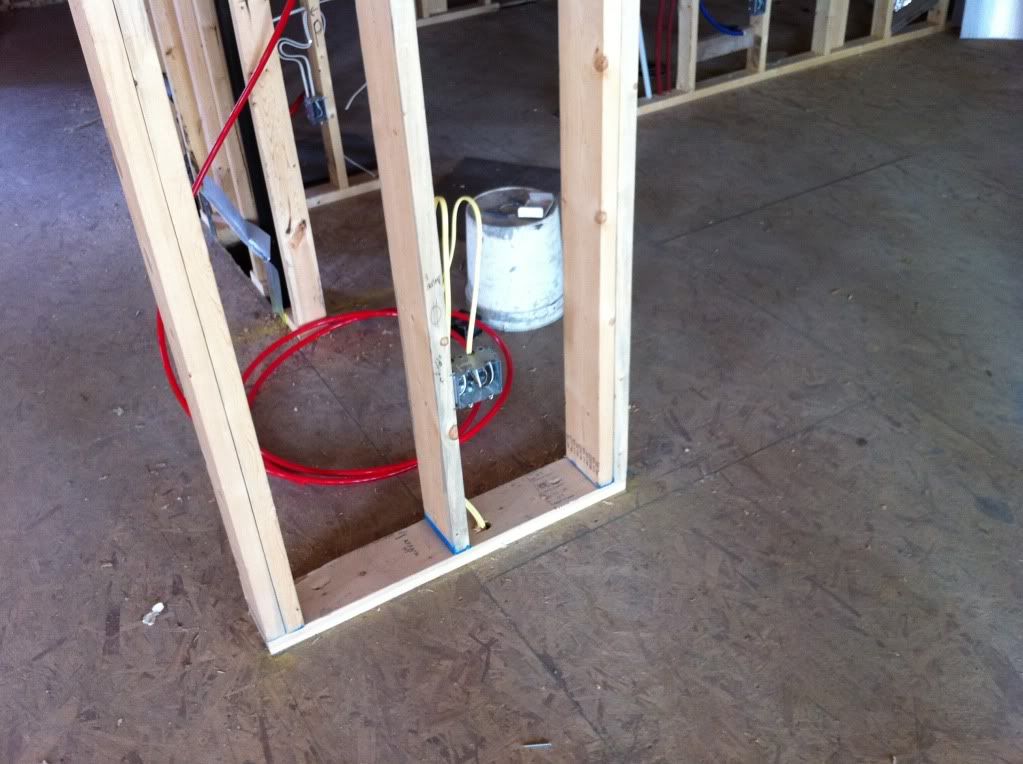 Emergency floor drain 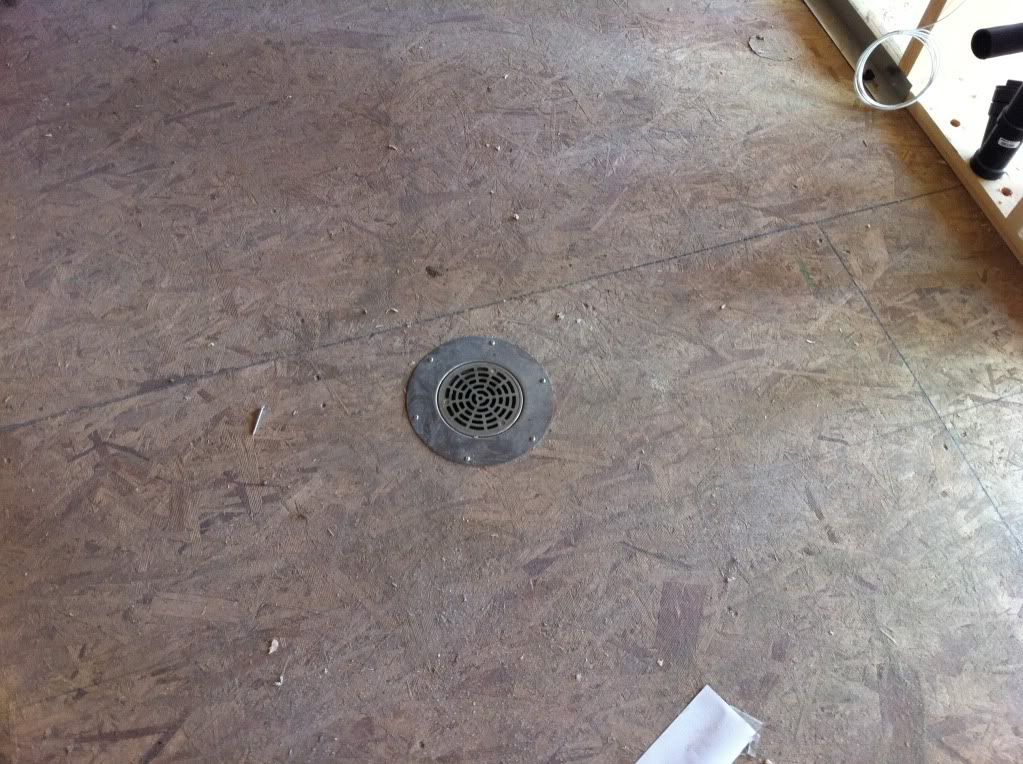 View of tank from office (looking in to dining room and kitchen) 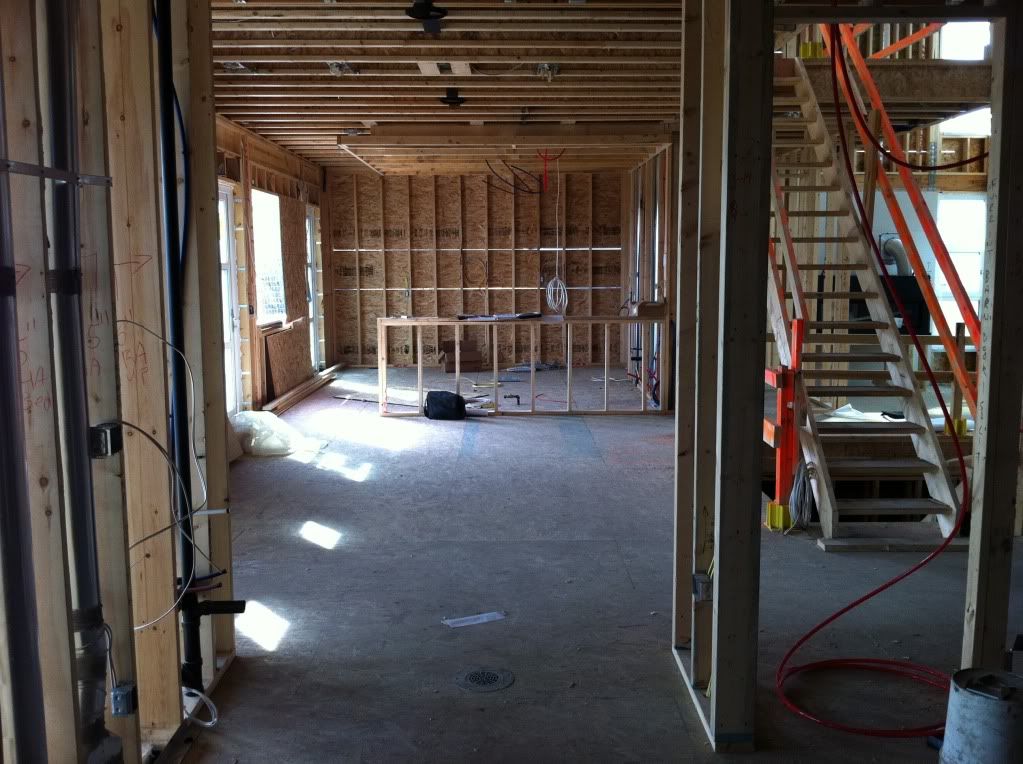 Still working out the details of the sump with Kevin at Red Coral, but it will be designed so that one half of it can be isolated from the tank, drained, filled with fresh R/O water, mixed with salt, and then returned to the main system without ever needing to hand bail a bucket, or siphon a single drop. I'll post more pics/drawings as it progresses. 
|


 Threaded Mode