
|
|
|
#121
 02-09-2012, 03:22 PM
|
||||
|
||||
|
I'm a big believer in DIY...so I would be talking to Modularled and see if Martin has some suggestions.
If you can hold out for the controller, the Cerebra should still be the bomb (if it is ever really released)
__________________
Mark...  290g Peninsula Display, 425g total volume. Setup Jan 2013. 
|
|
#122
02-12-2012, 01:54 AM
|
|||||
|
|||||
|
Stopped in at Levi's place today to check out his mind blowing tank. I have to say, seeing those radions over top of a tank like that makes a world of difference. They are out of this world. A small part of me was worried the tank wouldn't look as good in real life as it does in pictures, but holy crap was I wrong. It looks even better.
My mind must have been playing tricks on me when I was in Edmonton, because the brightness, colour rendition, and basically everything I care about in tank lighting was spot- on perfect. Then the pre-built software... Took all of 8 seconds in front of that living piece of art to make up my mind. Radions it is. My tank is 5 inches taller though, so I am considering adding an extra inch of sand, and i'll build the hanging rack so that I can buy two extra units if I think I need it. Thanks so much for letting me come over Levi, you solved in 20 minutes a dilemma I've been losing sleep over for 3 months.
|
|
#123
03-07-2012, 10:40 PM
|
|||||
|
|||||
|
So. Close.
I can practically taste the salt water: 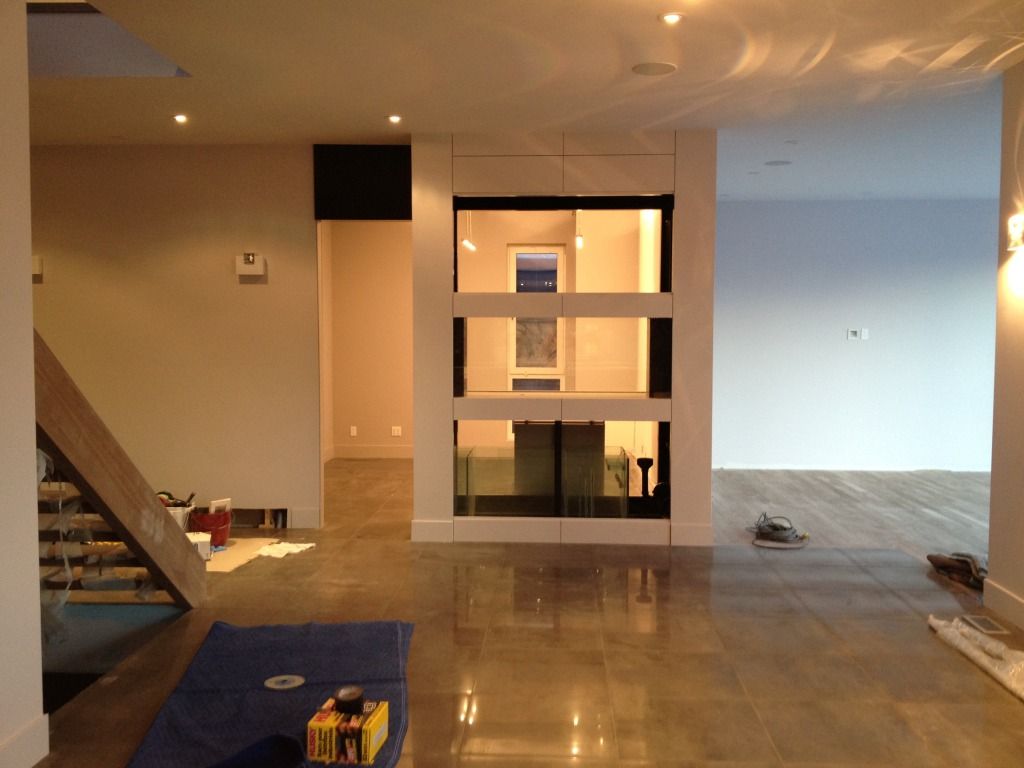 Except for the doors (which you can see stacked on the other side of the tank in the office) which will be hung last to give us as much room as possible to work, the enclosure is finished from the builder's point of view. I had no idea the p-trap they needed to install for the under tank drain was going to be so obtrusive and obnoxious, but after I took this pic I had them to re-work it so that it's not jutting out directly in to the cabinet space. I'm hoping to start the plumbing this weekend. I am losing my mind with anticipation.
|
|
#124
03-10-2012, 05:17 AM
|
|||||
|
|||||
|
Doors got hung today!
Dining room: 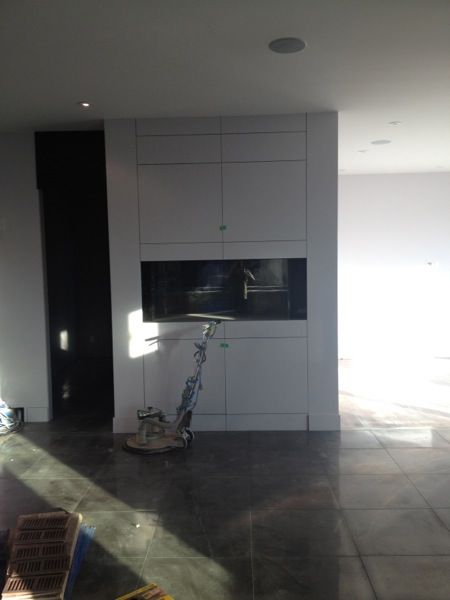 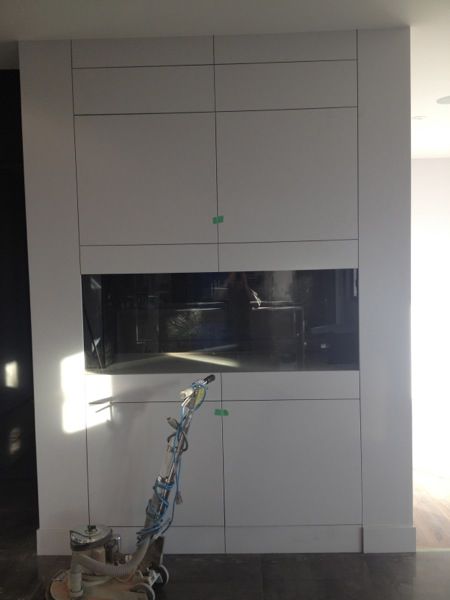 Office side: 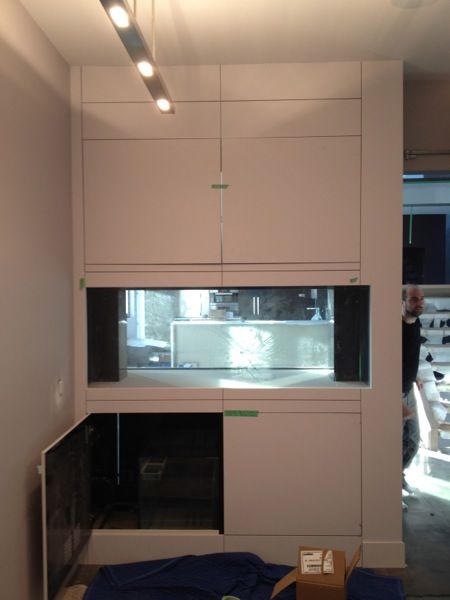
|
|
#127
03-10-2012, 06:05 AM
|
|||||
|
|||||
|
Quote:
Then later in the design stage we ended up needing to move some stuff around, so instead of having a laundry room with tons of space for fish equipment right beneath the tank, we ended up with the most jam packed utility room I've ever seen. It's barely got enough free space for the R/O reservoir. The laundry room got moved to another part of the basement, walled in on 3 sides by concrete foundation. Quote:
|
|
#129
03-18-2012, 02:21 AM
|
|||||
|
|||||
|
The day has finally come!
First, a massive thanks to Kevin from Red Coral, when I said 'come over on Saturday and we'll plumb the tank!' I fully intended to be more helpful than I was, but I really could have said 'come over on Saturday, and you'll plumb the tank, while I sit around offering suggestions and otherwise being annoying', and still have been correct. The display is filling with tap water as we speak, but first, here's some photos! I came last night and spent 2 hours cleaning the entire set-up. There was like a solid inch of construction dust on everything. 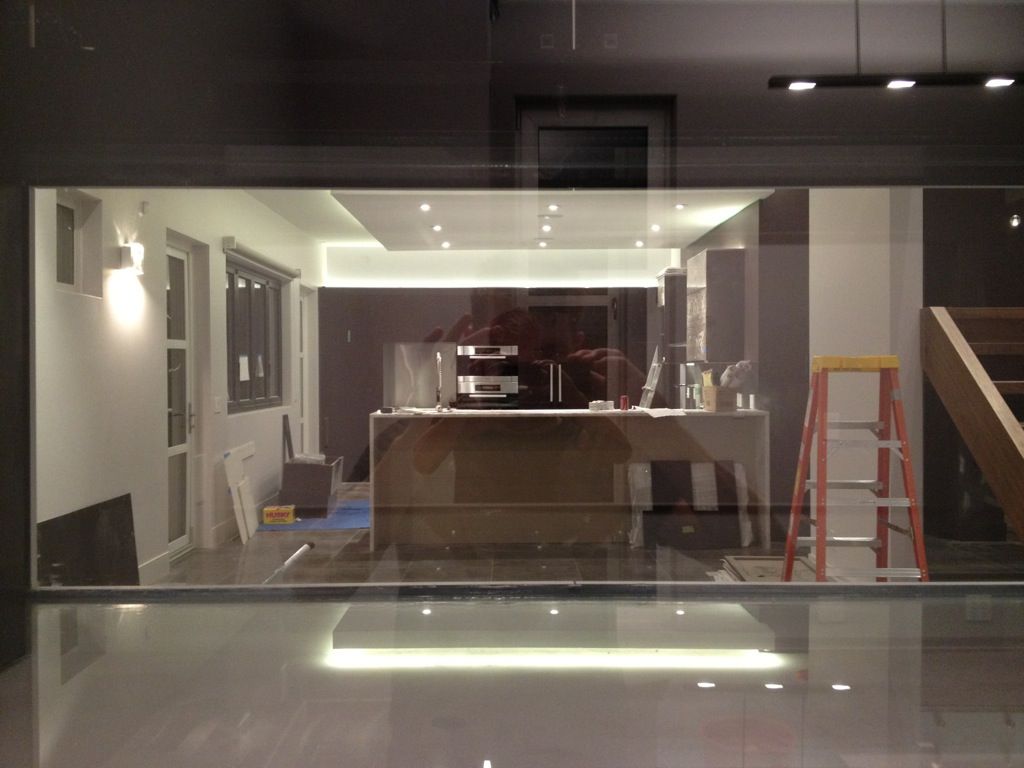  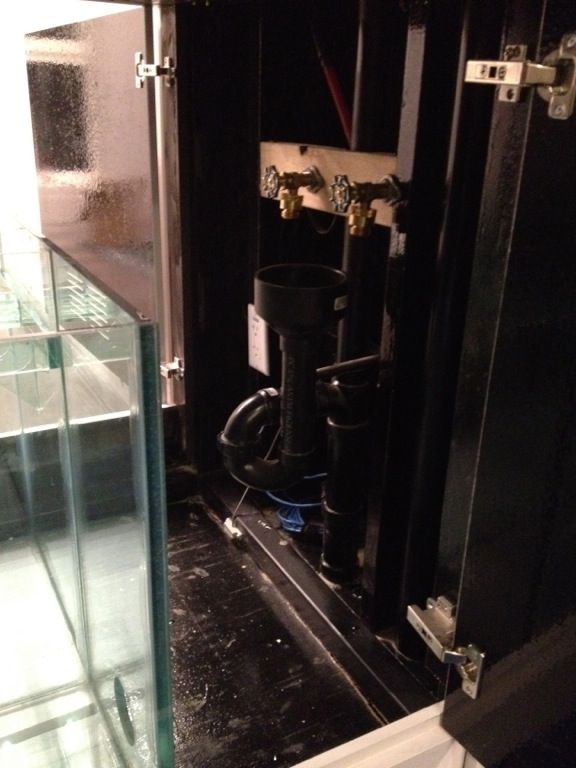 Bulkheads go in: 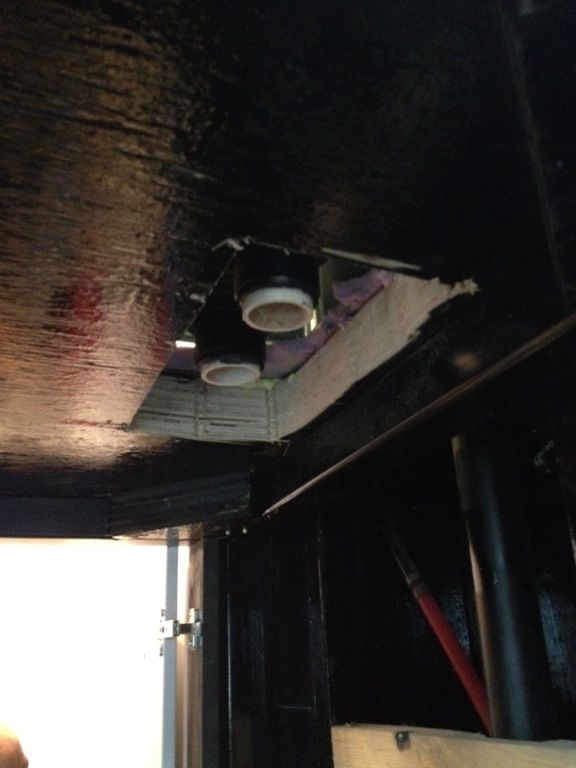 Checking to see that the hose attachment works 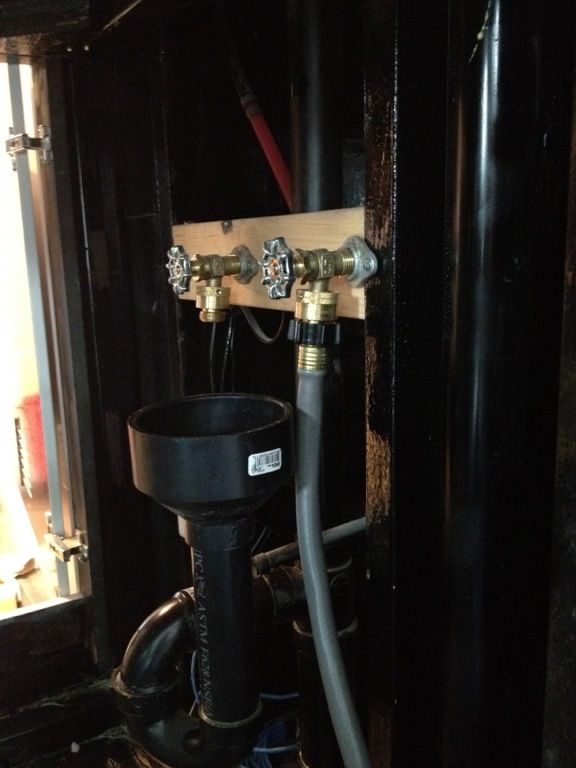 All sorts of 2 inch plumbing: 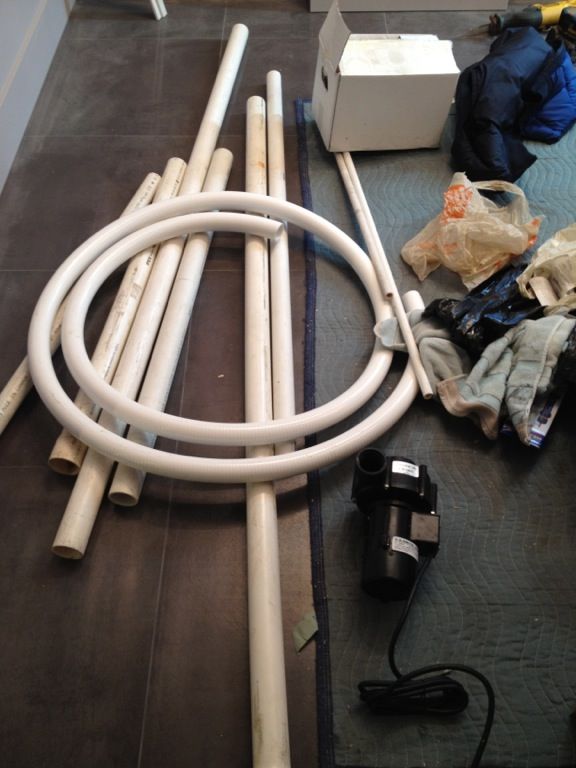 We went with the Reeflo Dart. This thing is whisper quiet 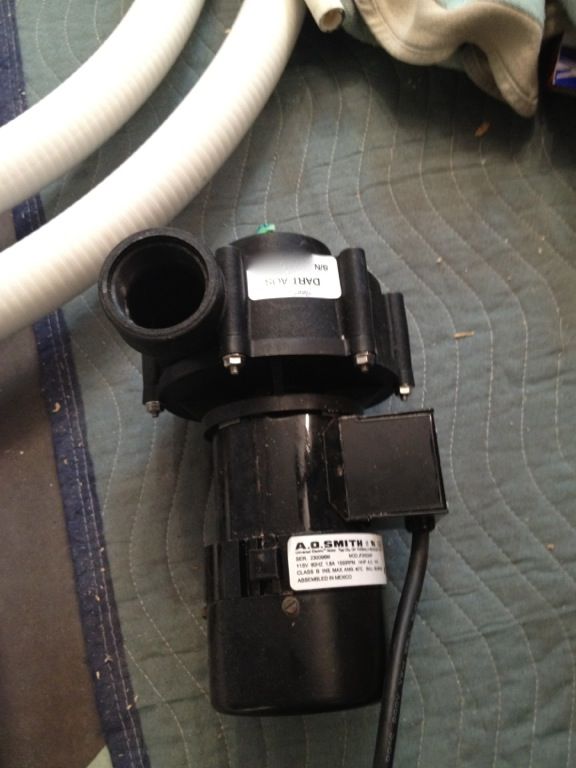 The two overflows needed to be teed together to feed to the gigantic three-way gate we installed. South end (office and dining room side) 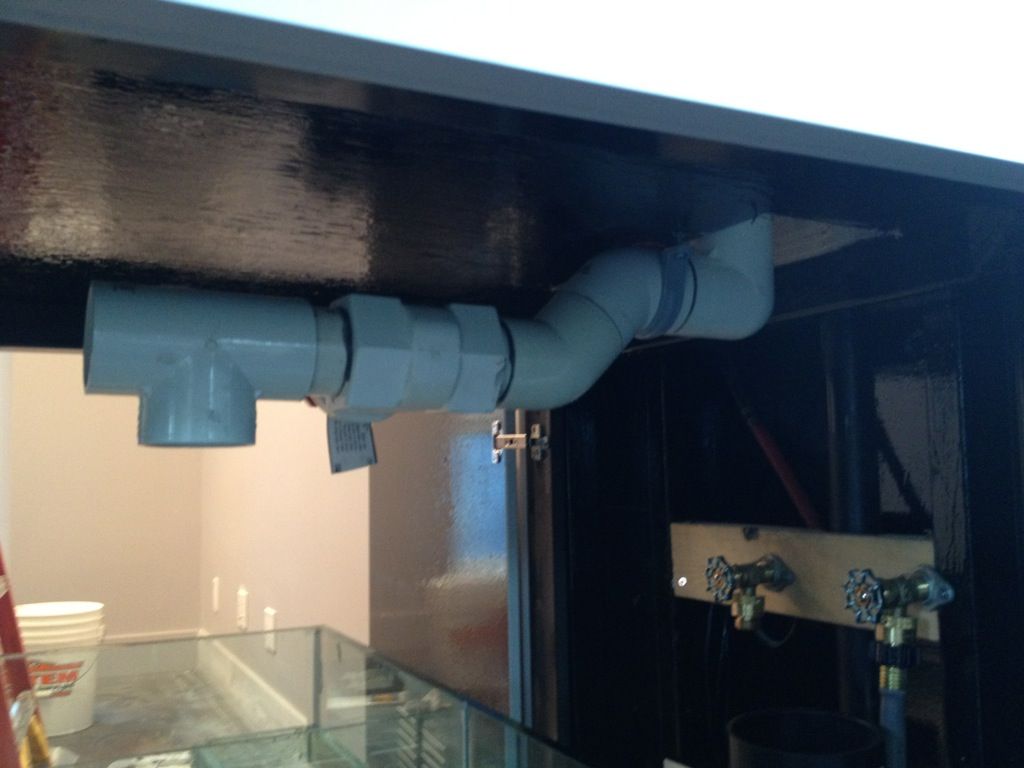 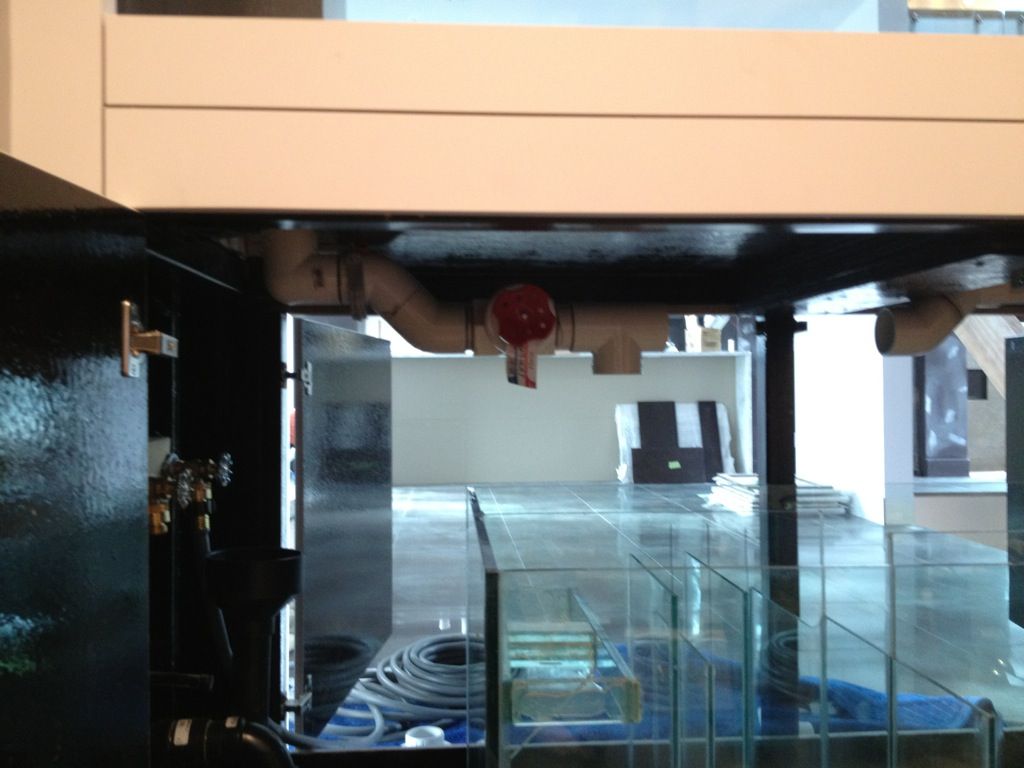 North end (office and dining room side) 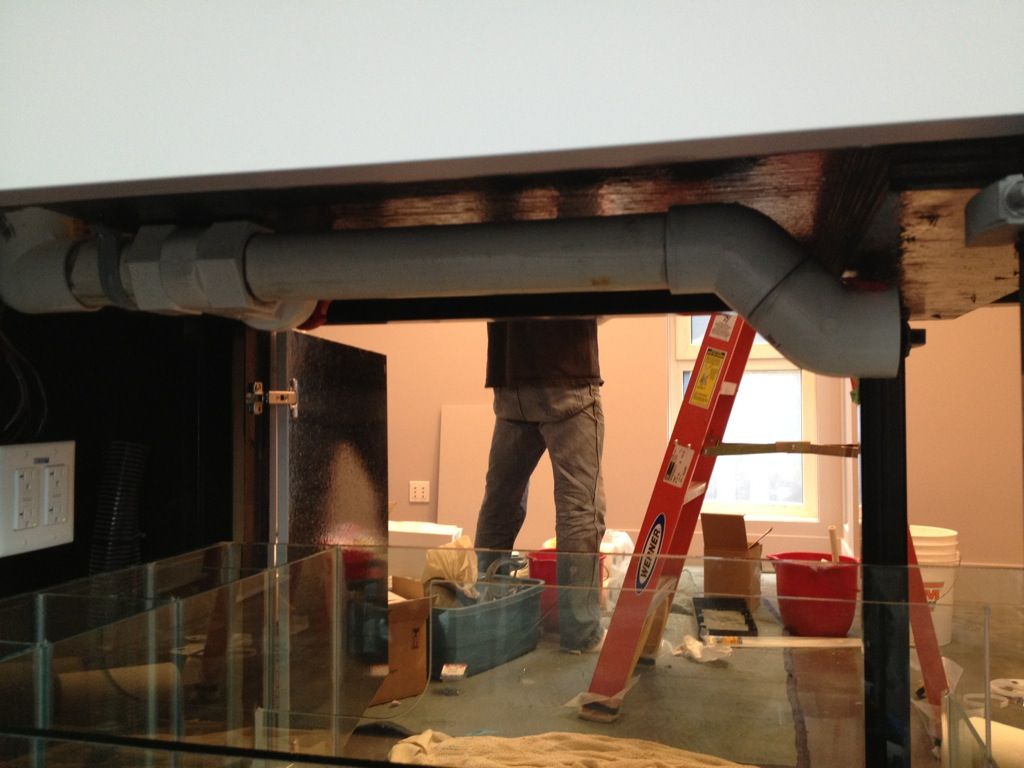 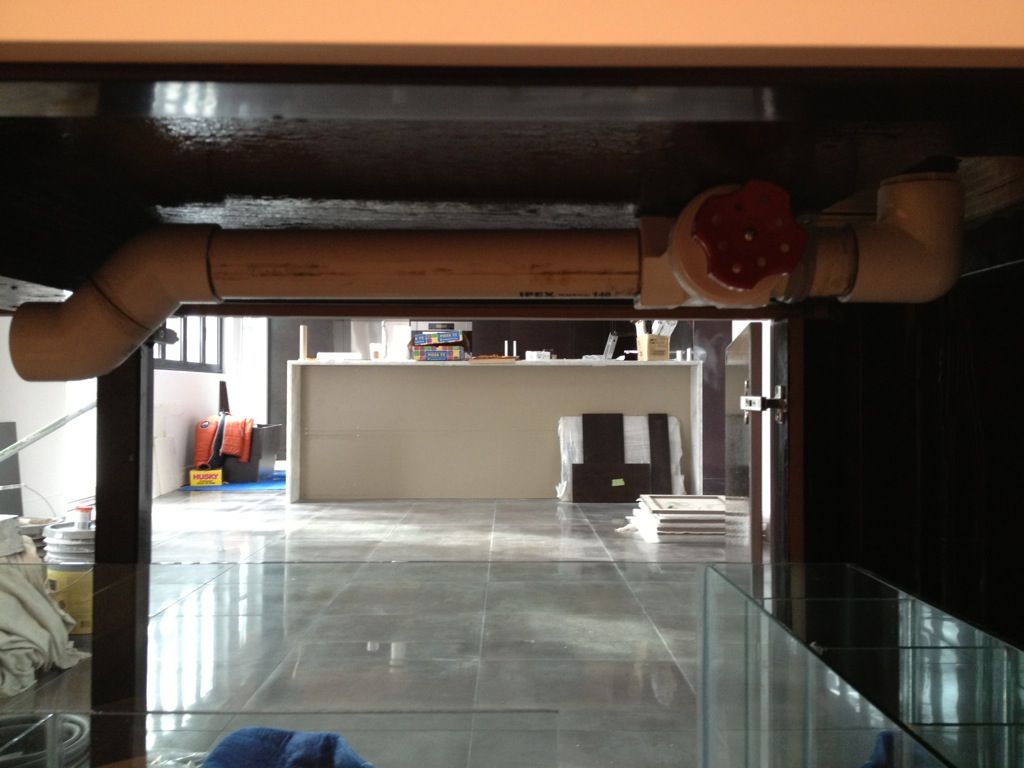 We put gate valves on both sides in the hopes that we can make a herbie work. Since the two overflows join in to each other then flow in to a 3 way valve, it might not happen (in which case we'll do Dursos), but here's for leaving your options open! And the main event - the three way valve. The ones on our pool in California are smaller than this! Everything was positioned to provide maximum access, and to not interfere with the skimmer chamber. 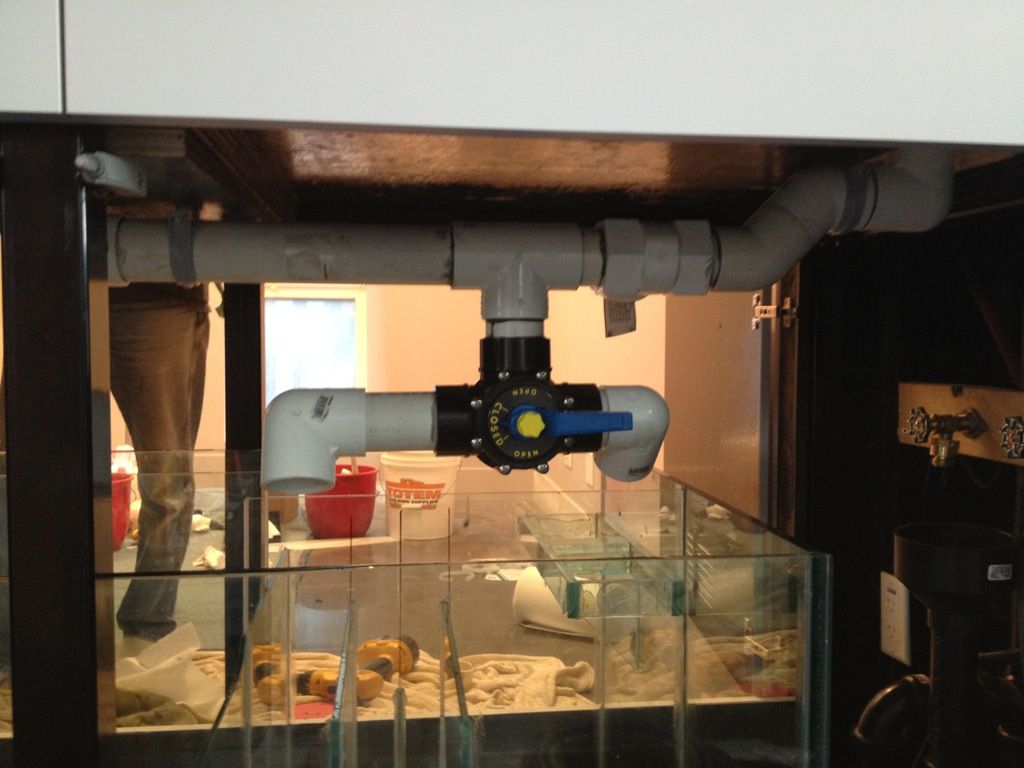 Filling the return chamber for a leak test. One minor adjustment and we're leak free on the return side! 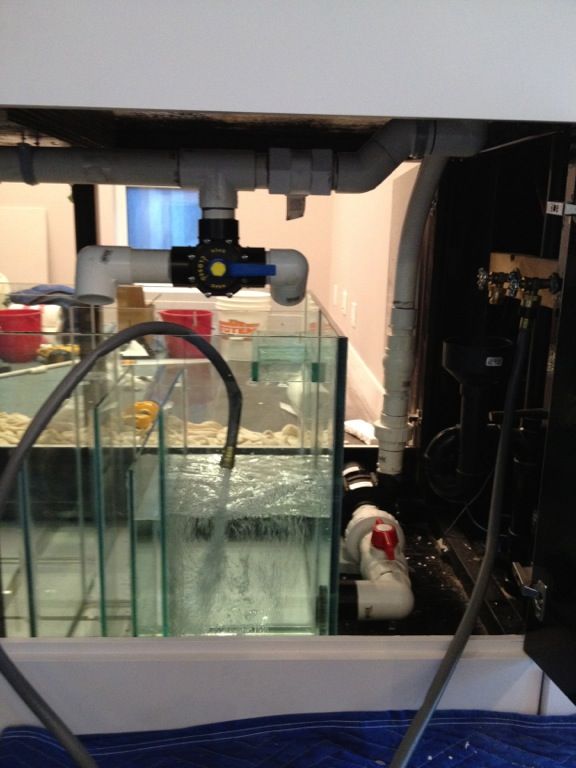 Started filling the sump for real. 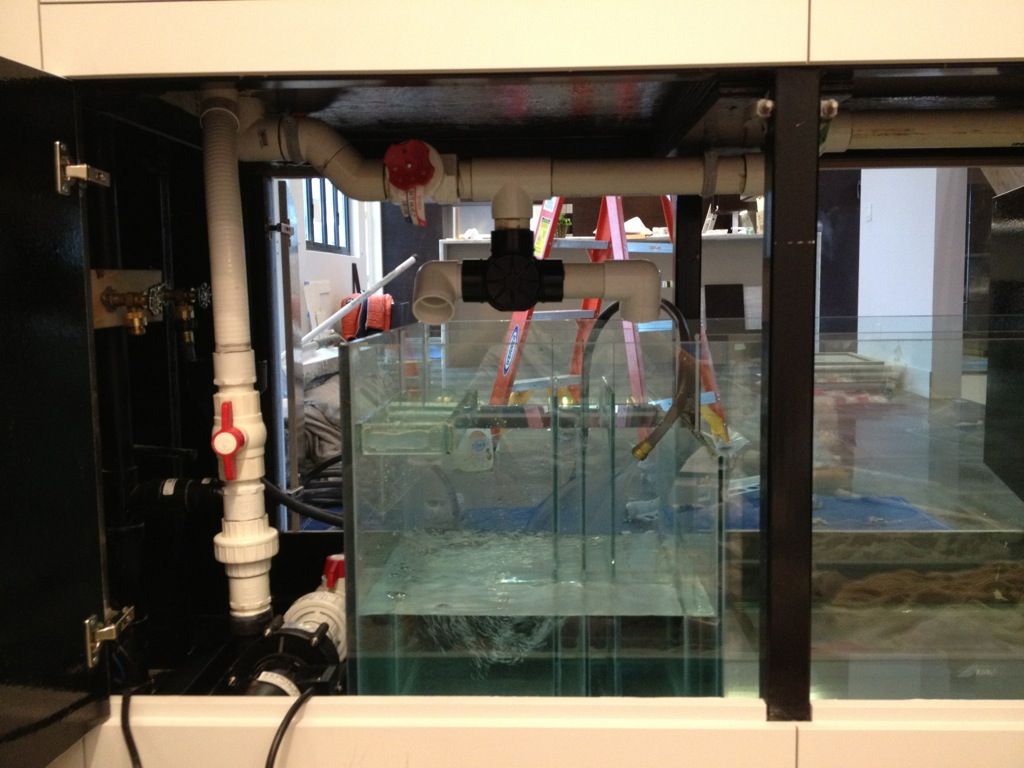 This is the part I was most worried about, the water exiting the skimmer chamber has to split in two and fill both the frag chamber and the water change chamber. Turns out it works perfectly  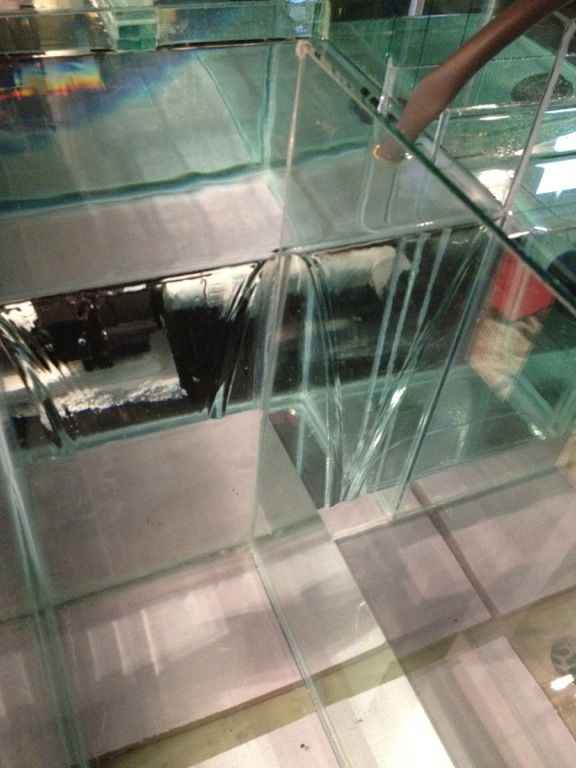 And now to fill the main tank... This is where I'm at now, so far it's been an hour and it's not full! 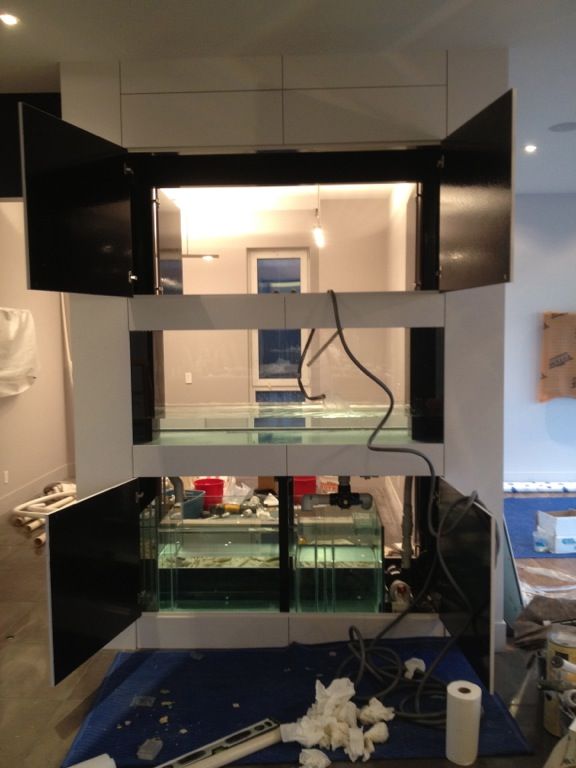 Next up - testing the overflow system, and that monster 3 way valve...
|
|
#130
03-18-2012, 02:37 AM
|
|||||
|
|||||
|
looking good man
__________________
180 starfire front, LPS, millipora Doesn't matter how much you have been reading until you take the plunge. You don't know as much as you think.
|


 Linear Mode

