
|
|
|
||||||||
| Portal | PhotoPost Gallery | Register | Blogs | FAQ | Members List | Calendar | Search | Today's Posts | Mark Forums Read |
|
|
Thread Tools | Display Modes |
|
#1
 02-08-2010, 11:09 PM
|
|||||
|
|||||
|
Well I guess its been a long time coming, but I am finally at the point to start our small 24" cube tank build.
This will highlight as many GHL ProfiLux items we can cram into it, go through step by step set ups and throw in as many photos and possibly video for you. This build will also feature fauna marin and Aquarium Illuminations as these two companies products all tie up with GHL in various ways. So onto the equipment Then tank 24x24x24 cube Euro brace with rear center weir box. 3 sided star fire, supplied by Miracles in Toronto Canada. I should have delivery in 14 days or less. The stand Custom made in birch by none other than Christian (Boboxx) Chris builds some of the most stunning bespoked cabinetry I have come across and well worth talking to him if you are looking for something custom. The stand will be Espresso in colour to match our home decor, production photos to follow soon. The Sump Supplied, again by Christian (man of many talents!) This will be acrylic. Lighting 2 x Aqua illuminations LED's, I am really looking forward to getting these above the tank, the functionality when attached to a profilux controller is mind blowing. Still waiting on the cable like everyone else, but I am told its in the post wahey!!  Mineral dosing No calcium reactor here, instead fauna marin Balling light using the GHL doser and 3 x Bubble magus 2.5L containers. Skimmer I wanted to use the Blue line skimmer from Fauna Marin here but its just too big so will be using a Bubble Magus BM150Pro, this is the one with the aqua bee pump so I am quite keen to see how this plays out, again i wanted to use a cone, but they do not do one small enough as yet. Live Stock Lots of Fiji premium rock, and SPS dominent, I will also have a small amount of LPS, my wife would not be happy if it did not have a hammer head. Fish wise, not a clue as yet, its only 60 gallon so will not be crowded. I am not sre where the corals are coming from as yet, to be honest i have been quite dissapointed with local offerings so far, being from the UK I am used to full coloured maricultured colonies for about $100, and I cant find anything to match this here in Canada. Same goes for the rock, hard to find good supply, but I am banking on Pat at Ottawa Inverts to come up with something to meet my European high expectations More to follow |
|
#3
02-08-2010, 11:50 PM
|
|||||
|
|||||
|
So onto the set up and some photos (the important part)
So my wife loses one of her side tables in favour of the tank, I am sure I can find room elsewhere for her belly dancing photos! 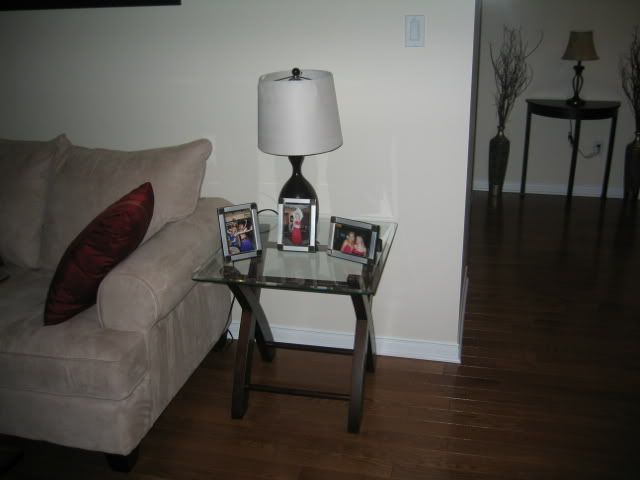 The first thing that arrived was the 5 stage RO unit from BWi plumbing. Here is the spec Membrane - watts 5 stage RO/DI Stage 1- 1 Micron Sediment NSF® certified Stage 2- Catalytic Carbon for Hydrogen Sulfide and Chloramines Removal 12 x 40 mesh size Stage 3-0.5 Carbon Block Cartridge for Long Life and High Chlorine Reduction 20,000Gal Capacity NSF® certified Stage 4- 100 GPD Membrane TFC 96%-99.5% rejection rates max PSI 125 Stage 5- Nuclear Grade Mixed Bed DI Resin Cartridge for Demineralization flow 1GPM The set up was easy. First thing was to take a tee off the homes humidifier 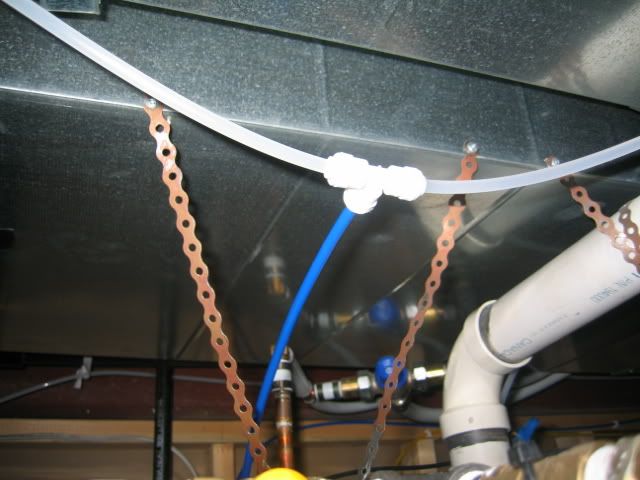 This saved the need for a seperate tap, although a shut off has been put inline to the unit. The RO unit was securely mounted near the furnace so i could utilise the basement furnace drain for waste. 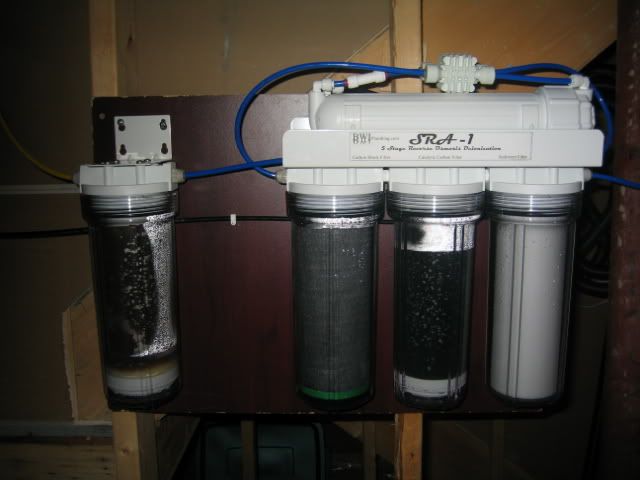 The RO will be used for direct auto top off as well as filling the auto water change container, so a line had to be run to the front of the house. At this point the decision came whether to put a pipework duct in the dry wall down to the basement, but then i realised the there was a air return by the side of the tank which was perfect for running the pipework for the ATO and the AWC. Here you can see the duct boot I will be going through  Where it comes out 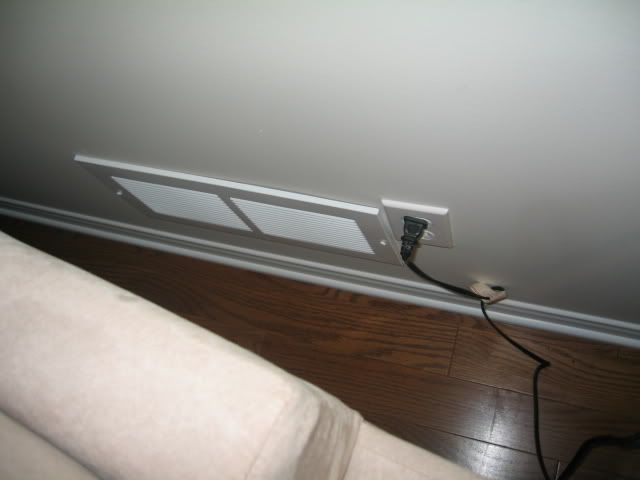 And the feedline waiting to be extended to the first floor 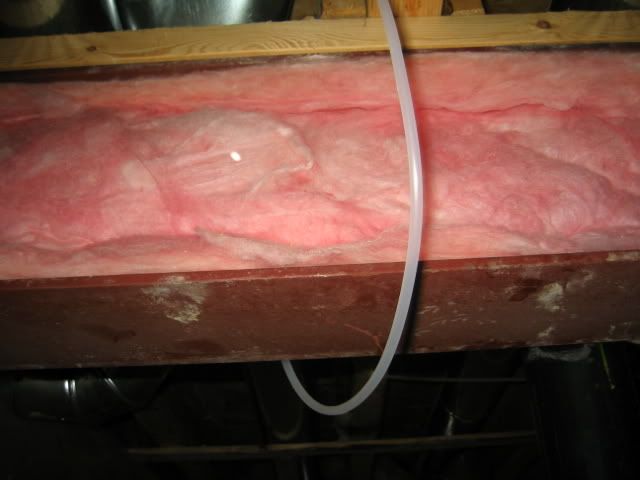 For the ATO I will most likely use two solenoid valves, one will be for redundancy. The ATO will be controlled by the ProfiLux as will the AWC. Last edited by Aqua-Digital; 02-08-2010 at 11:55 PM. |
|
#5
02-09-2010, 01:43 AM
|
|||||
|
|||||
|
So here are the first pictures of the stand
   |
|
#6
02-09-2010, 01:53 AM
|
|||||
|
|||||
|
MIke that is it,
__________________
180 starfire front, LPS, millipora Doesn't matter how much you have been reading until you take the plunge. You don't know as much as you think. |
|
#8
02-09-2010, 01:50 PM
|
|||||
|
|||||
|
Mike, you do know that your TDS may be higher when just operating the RO/DI as top off water. You got the double solenoids for redundancy, cool, but the first Liter of my RO is allways higher in TDS. I find that making 20g at a time, then using that for ATO water, my TDS stays really low. But if I tap off the first liter, it's like >15PPM
__________________
Dan Pesonen Umm, a tank or 5 |
|
#9
02-09-2010, 01:55 PM
|
|||||
|
|||||
|
Quote:
ya mine is like that too Dan.
__________________
180 starfire front, LPS, millipora Doesn't matter how much you have been reading until you take the plunge. You don't know as much as you think. |
|
#10
02-09-2010, 01:59 PM
|
|||||
|
|||||
|
Quote:

__________________
Dan Pesonen Umm, a tank or 5 |
| Thread Tools | |
| Display Modes | |
|
|


 Linear Mode

