
|
|
|
||||||||
| Portal | PhotoPost Gallery | Register | Blogs | FAQ | Members List | Calendar | Search | Today's Posts | Mark Forums Read |
 |
|
|
Thread Tools | Display Modes |
|
#1
 07-16-2009, 02:45 PM
|
||||
|
||||
|
Hi everyone, a little history. This tank/setup was a christmas present to my gf- Cheyanne who had a saltwater tank in the past and this is something I've always wanted. We're both from the coast and the ocean has always been a big part of my life so this is the next best thing. Before this i've never owned a tank of any kind but through tonnes of reading, researching online and going through all your tank journals i've begun to gain a little knowledge.
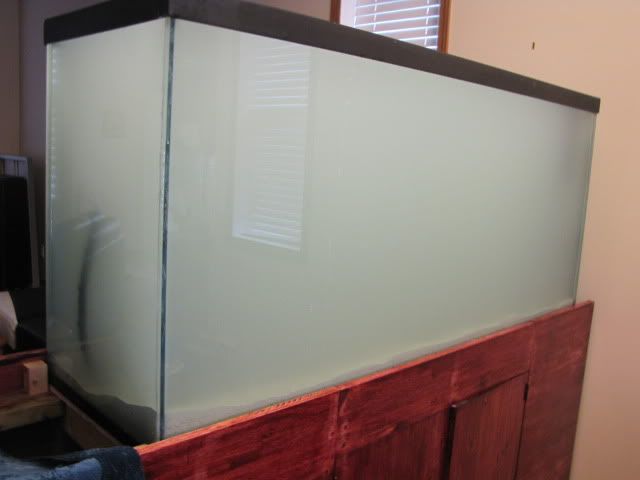
So we picked the tank after christmas but we were moving april 1st so everything had to be put on hold till then. Well the set up at least. Specs... The tank is 60"x18.5"x27.5" for total of 130g. The tank had an overflow in the rear corner with only one hole and the return was drilled mid tank 3/4 way towards the far end. Needing some guidance, luckily, we found a great asset at a LFS, Kevin from Red Coral. He totally gave us ideas on how to set our tank up, explained it in ways easily understood, gave us the pros and cons of different setup possibilities, and he was just as excited with our growing set up as we were. Thanks Kevin honestly without your help this wouldn't be possible. So first this is who we are.... Cheyanne and her newest fish for the tank  Claytons first ever fish way back when 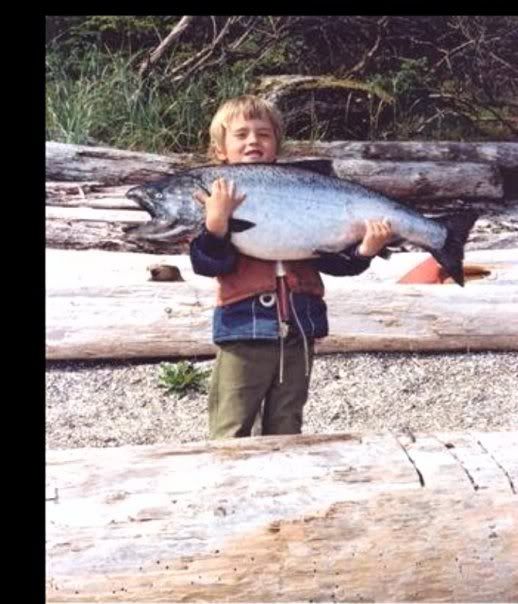 Sweet love  Our cleaner shrimp puppy  So first off our tank had only one hole drilled in the overflow and kevin had a quick super simple solution for that, just drill the emergency drain through the back wall and there ya go a fully functional herbie overflow. The tank going in to get drilled 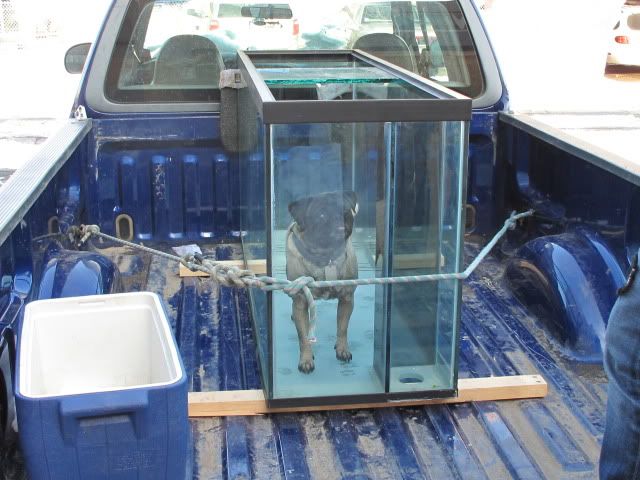 Our fearless guardian 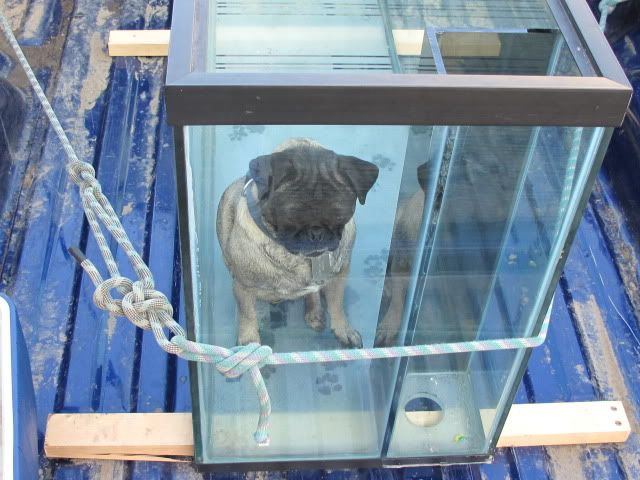 So got the tank back moved into our new house and the tank is to be the divider between our kitchen and our livingroom  I set about building the stand 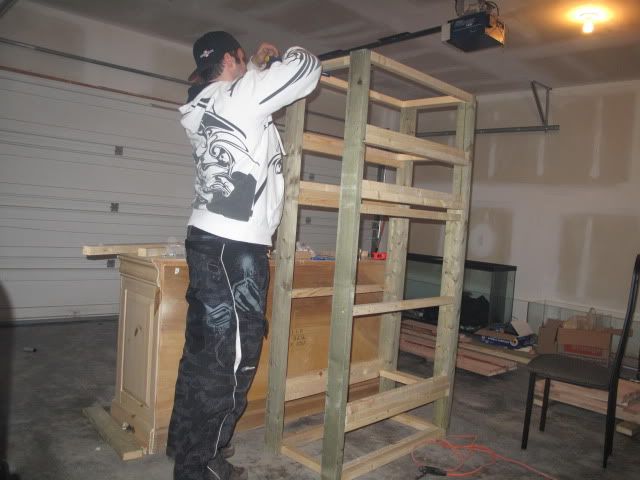 Its well built with 2x4's and 2x2's braced in all the right places 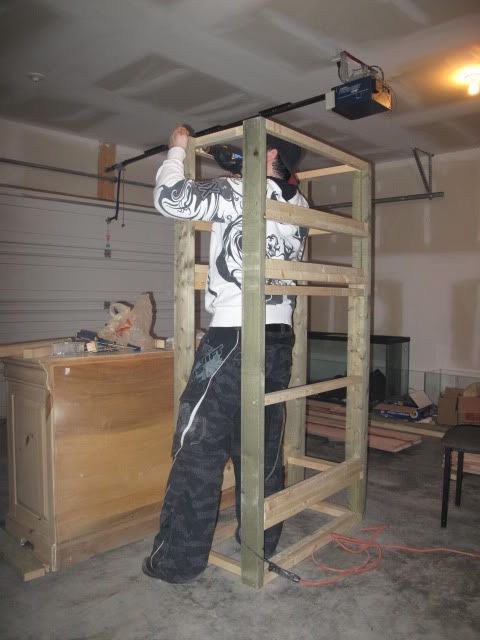 The panelling is eucalyptus and i ran it 2" high on top to hide the black trim on bottom of the tank and i built the stand a foot longer than the tank to make a shelf and storage space also ran the panelling 4" further on the rear to hide all wires and the overflow pipe; 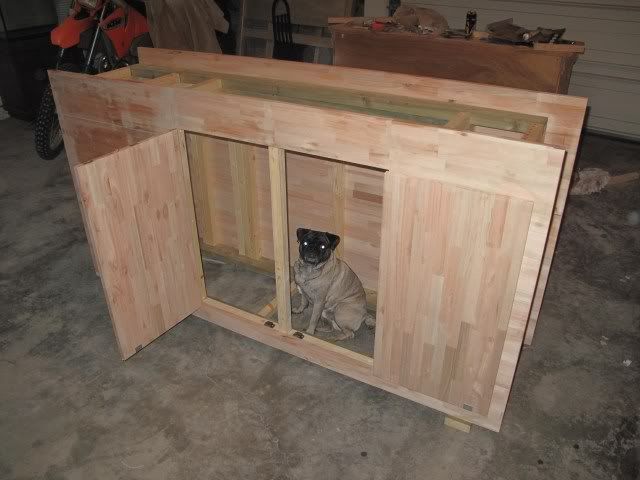 Bombay mahogany stain 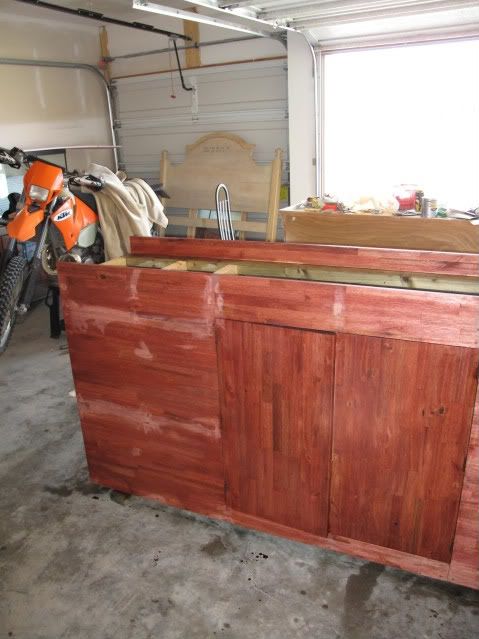 
|
|
#2
07-16-2009, 02:48 PM
|
|||||
|
|||||
|
Very nice! I love the stain colour.
|
|
#3
07-16-2009, 02:53 PM
|
|||||
|
|||||
|
Looking good so far. Looks like it'll be a good build thread. Keep asking questions so that you can do it right the first time and not have to regret it. Be PATIENT. This is one thing I have learned over the years.
This board is so great for learning and I have developed so many friendships over the years even though I haven't had a tank for the past few years the friendships continue. Looking forward to seeing how your tank turns out. One thing you might be able to get rid of is that middle vertical bar between your doors and brace your tank with a beefier horizontal "beam" in your stand. One thing I've learned is you want as much access as possible under your tank. It makes life much easier in the long run. I don't even have a sump under my tank, just a closed loop and I'm already dreading when my skirting is coming for my stand because it's going to limit my access below a bit. Hope this helps. BTW, Welcome to Canreef. Des Last edited by Dez; 07-16-2009 at 02:56 PM.
|
|
#4
07-16-2009, 03:06 PM
|
||||
|
||||
|
So got the stand done and the tank and stand are moved into the house
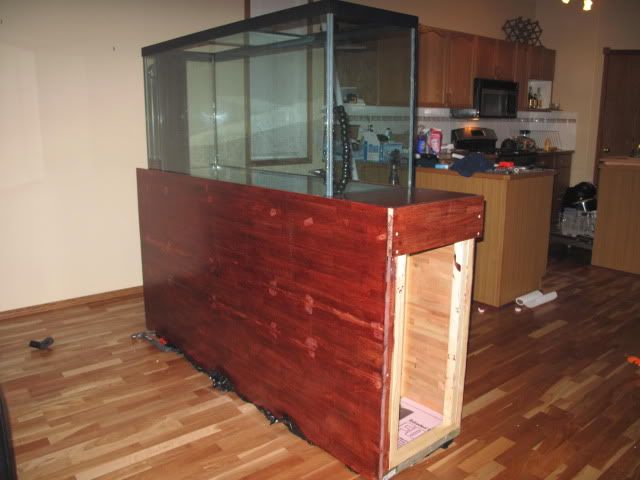 How the overflow is done with the emergency drain drilled out the back. 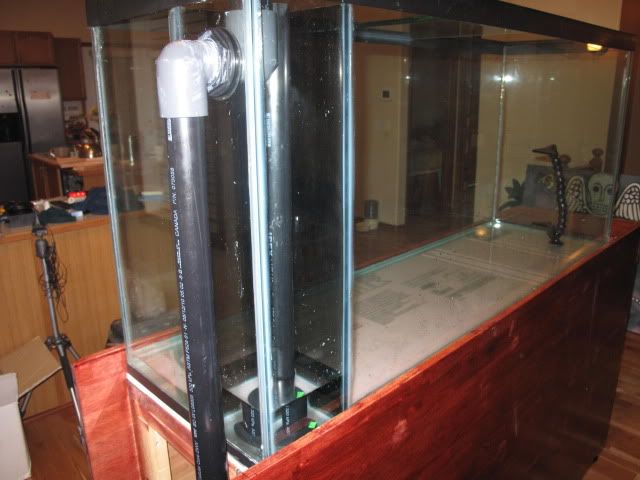 Kevin at Red Coral had us a custom 3 chamber sump built at 48"x14"x16" and heres the dry fit with equipment in the sump 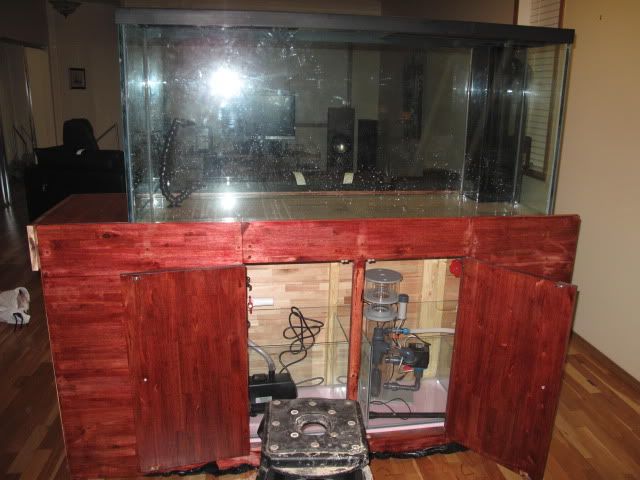 Quiet one 6000 and Hydor preformer 600 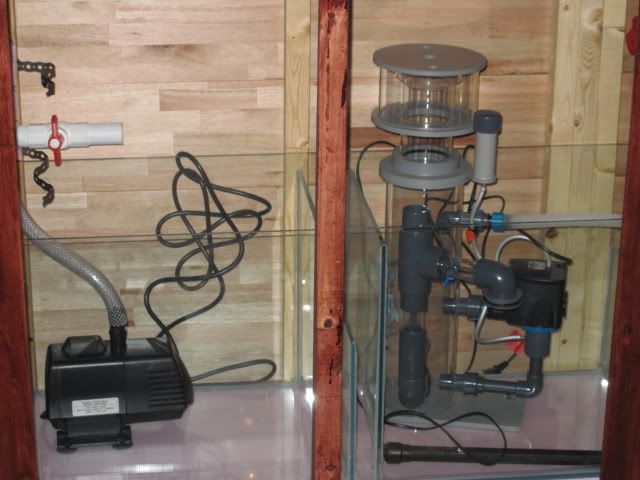 The Drain and emergency drain going down to the sump 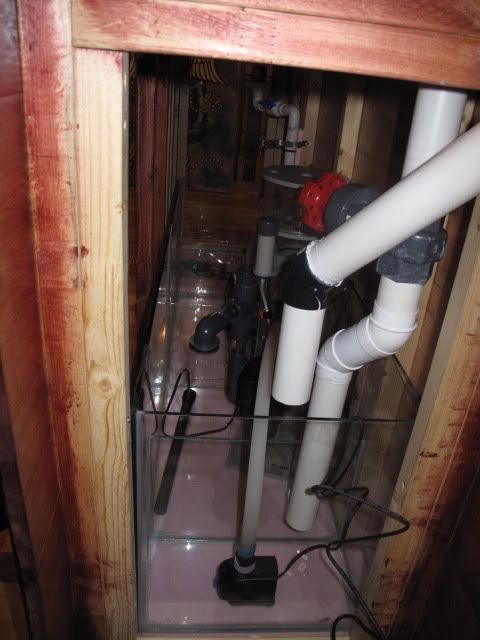 Tank end shot... Next tank will be same length and height but 36" wide 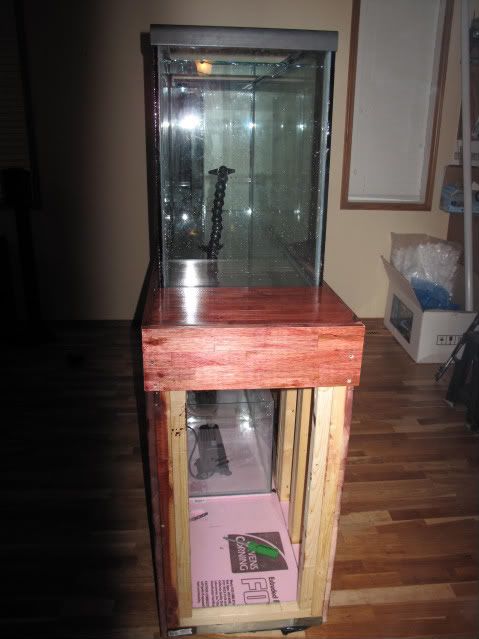 Reactor and the plumbing prior to the change. Now hardlined in with 2 45's no 90's 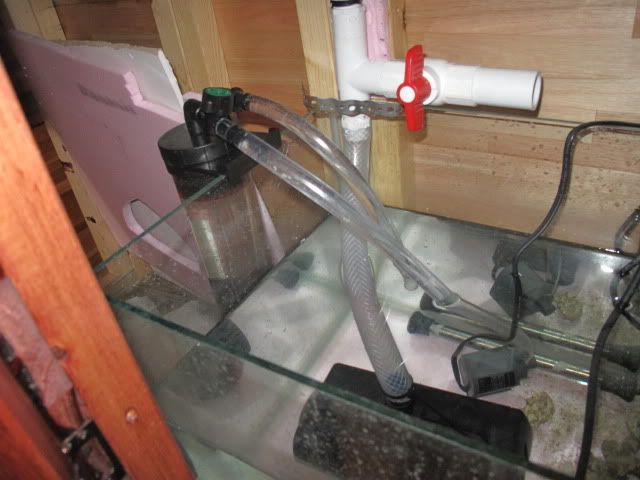 Our fearless guard 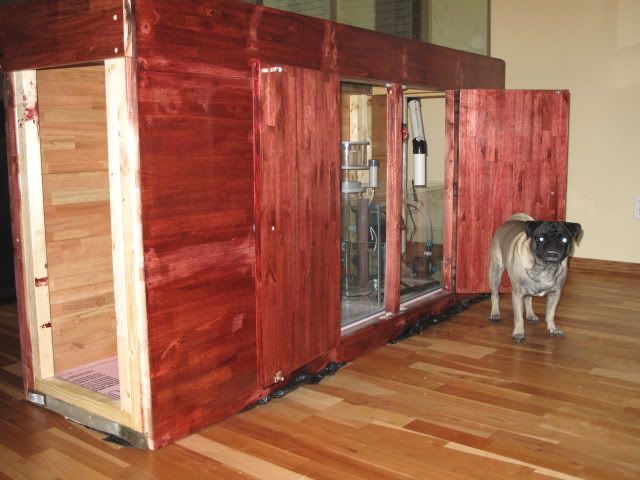 Dogs eye view 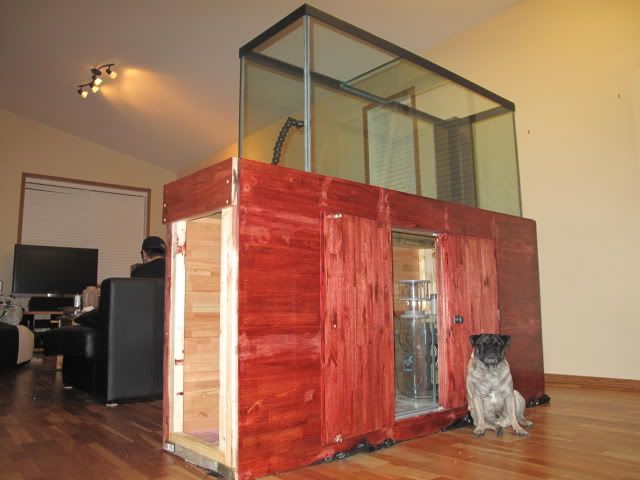 My first shot at wiring this bad boy up. Not bad I must say. 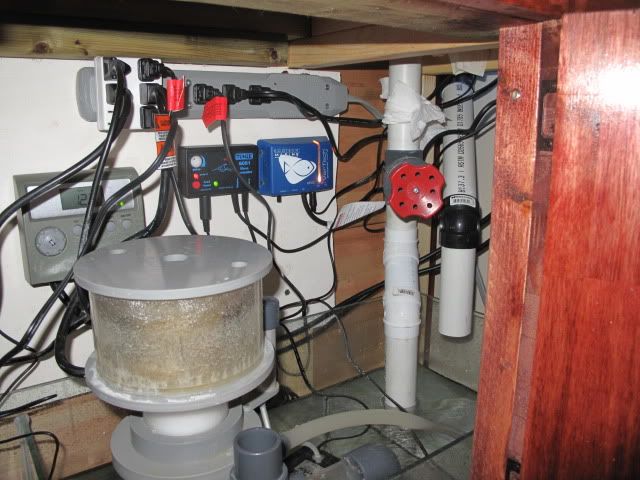 Sand is now in.. we went with fine sand, 1\2 live rest is regular good ol sand 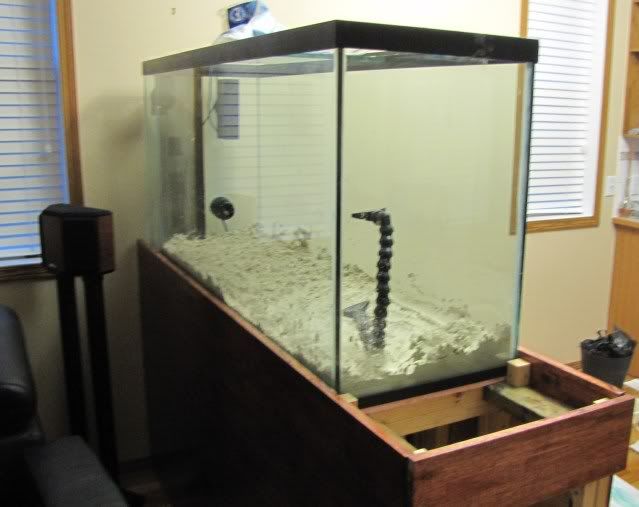 Ready for water. See how our return breaks into 2 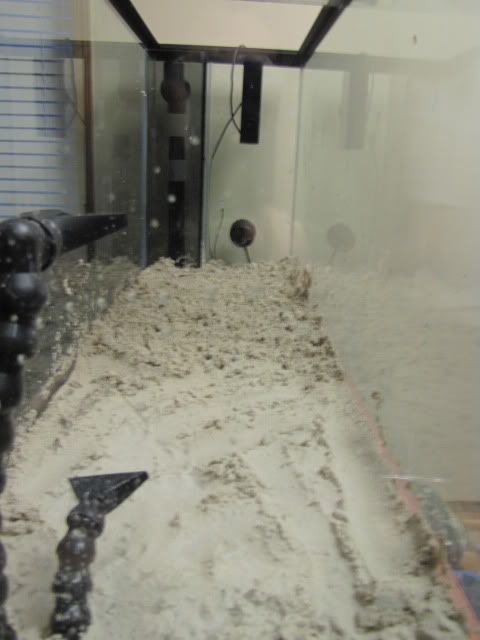 This is where the magic is mixed  Ready to fill her up 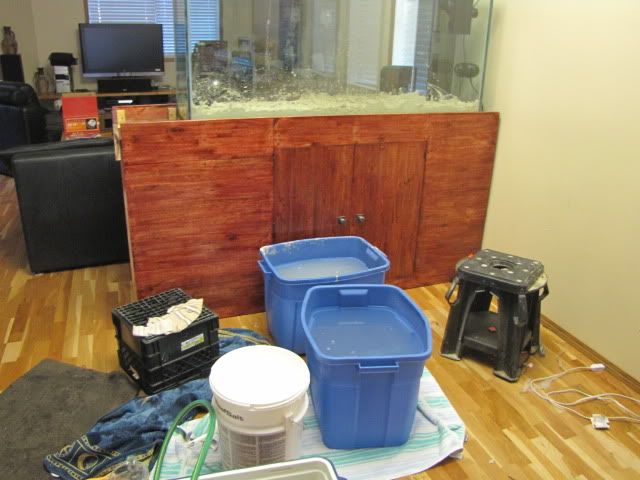 Waters in but its a little cloudy 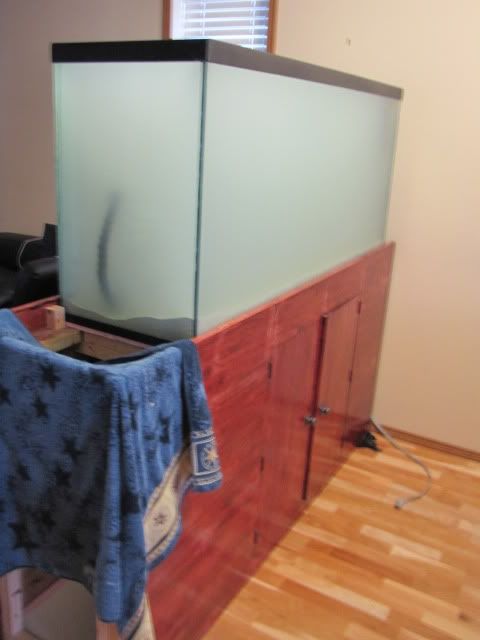
|
|
#5
07-16-2009, 03:15 PM
|
|||||
|
|||||
|
Looking good so far. One quick question. What happens when the power goes out? With your return plumbing running mid and low in the tank, won't all that water siphon out when the power goes out and drain half your tank?
I would run the line from your return pump near the water surface. Even with a check valve, the check valve could fail with anything getting caught in there. Des
|
|
#6
07-16-2009, 03:31 PM
|
||||
|
||||
|
Real cloudy
 I'm sure somethings swimming in there 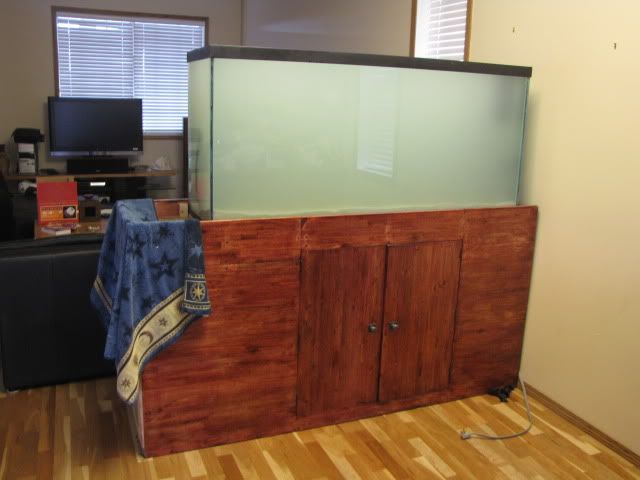 View from the bedroom  Again we are lucky enough to deal with a great LFS. Red Coral. Kevin opened the store up early for us so we could pick and choose through all his live rock till we came up with an over all shape and plan for our live rock set up. We probably went through 600-700 lbs to find the 130lbs that was right for us. We totally messed the floor of the store up building our desired shape, saved our new hardwood floors for sure. Again thank you very much Kevin Cheyanne and myself greatly appreciate that. So 130 live rock at home built and photographed ready to go in... but no its not that easy to recreate what you've built once inside the tank.  Even with pictures... 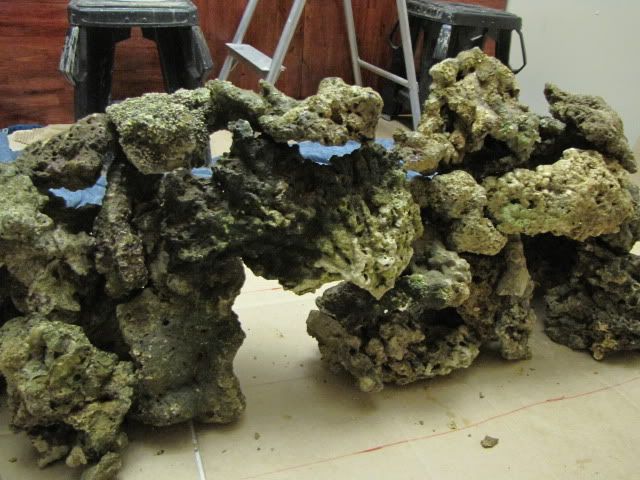 its way harder in the tank. By the way Kevin thanks for the beautiful live rock 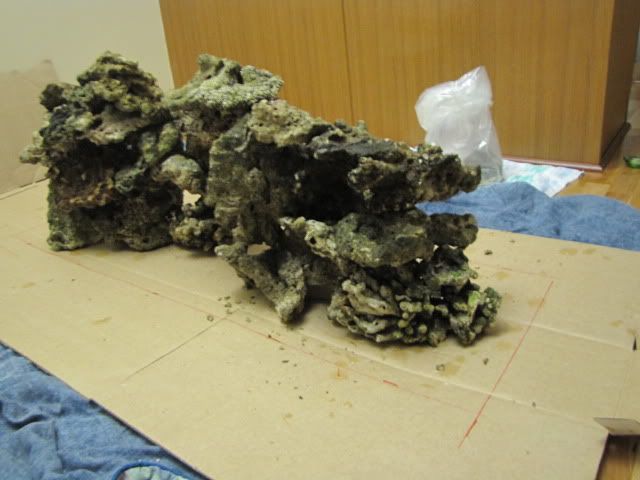 Rock and water all in, the divider is up. The lighting we went with is a tek light 48" fixture with 8 bulbs. Looking from the kitchen towards the livingroom. 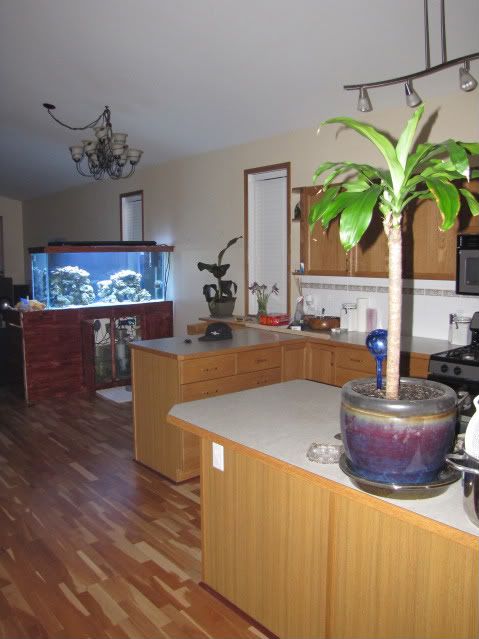 When the stand and hood are completed there will be a ledge all the way around the top edge of the stand to rest a drink on or whatever your fancy. The hood will be enclosed and the back against the wall will be enclosed. Here is the view looking from livingroom back towards kitchen 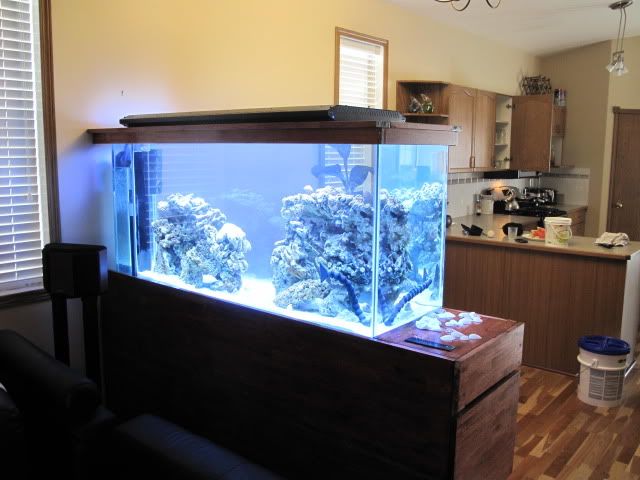 Our origional aquascape and the vortech and wavebox 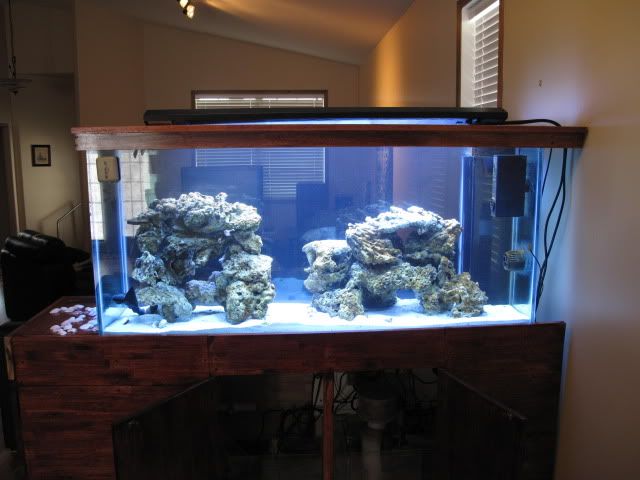 Overflow a working 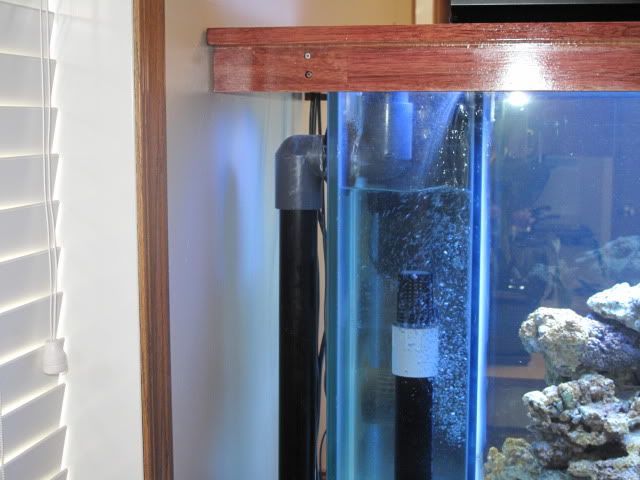 Sitting pretty. So the tank has been running since mid april 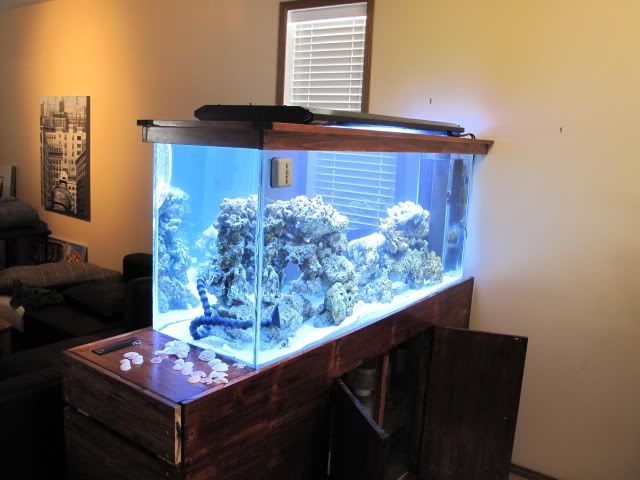 Tunze nano wavebox and vortech-mp20 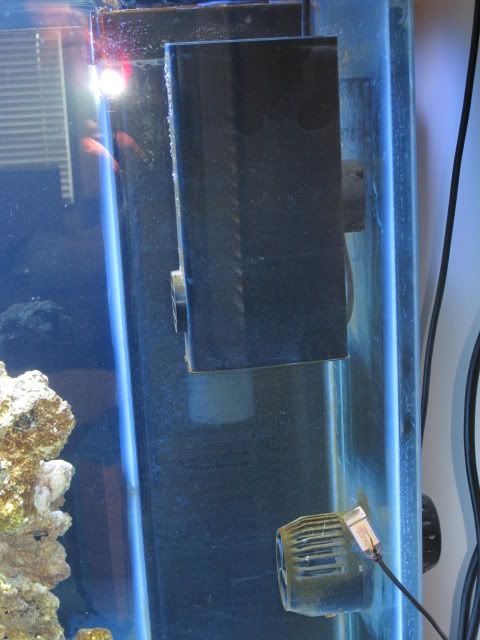 Return lines going down either side of rock work 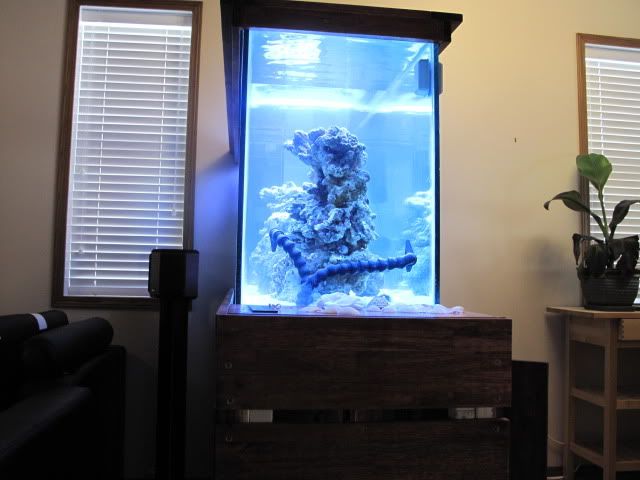 The flow splits 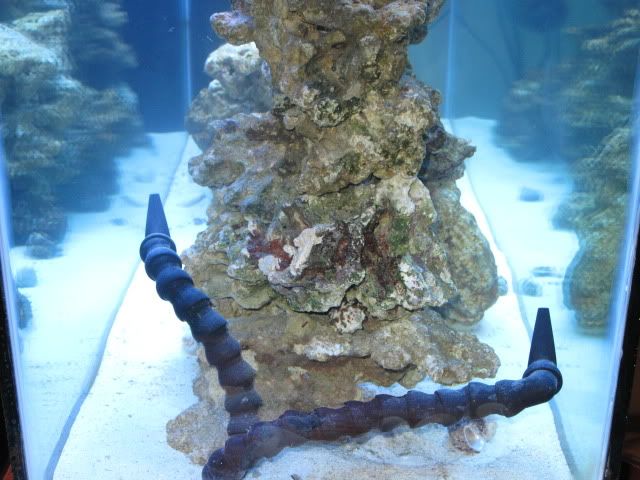 One of our caves 
|
|
#7
07-16-2009, 03:34 PM
|
|||||
|
|||||
|
Looks Freak'n GREAT! What's the plan for Live Stock?
J
|
|
#9
07-16-2009, 03:47 PM
|
||||
|
||||
|
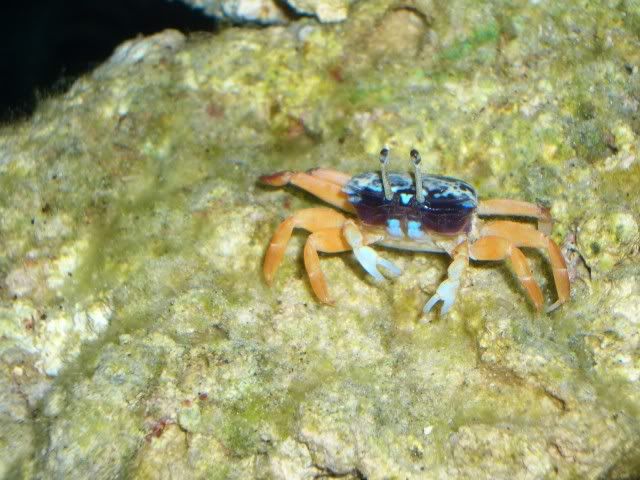
Cheyannes favorite crab
 Frag from fooser 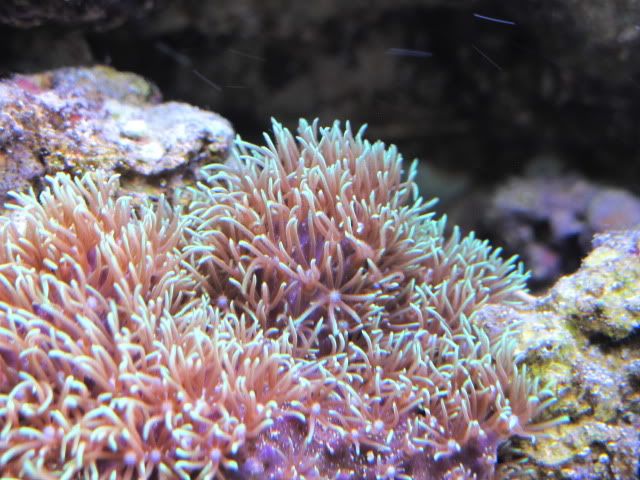 Another frag from fooser, thanks alot 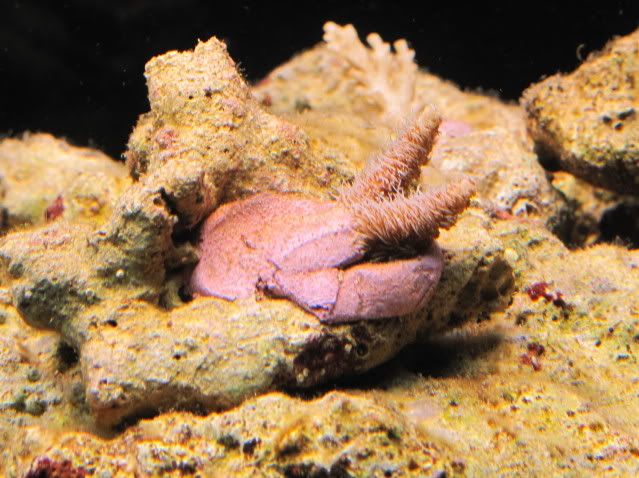 our Bicoloured Blenny peaking out 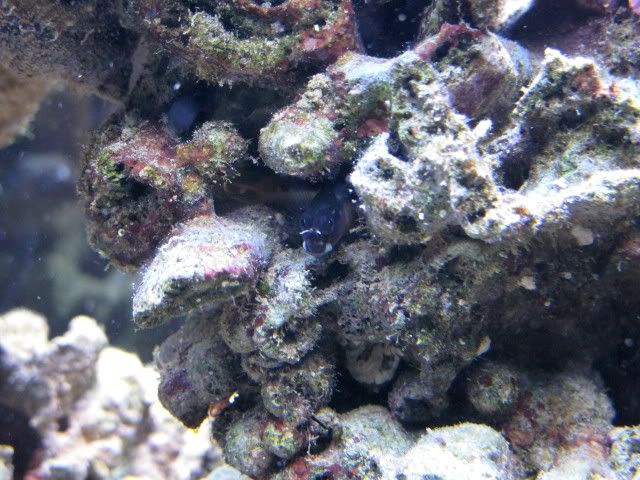 Maculiceps Tang 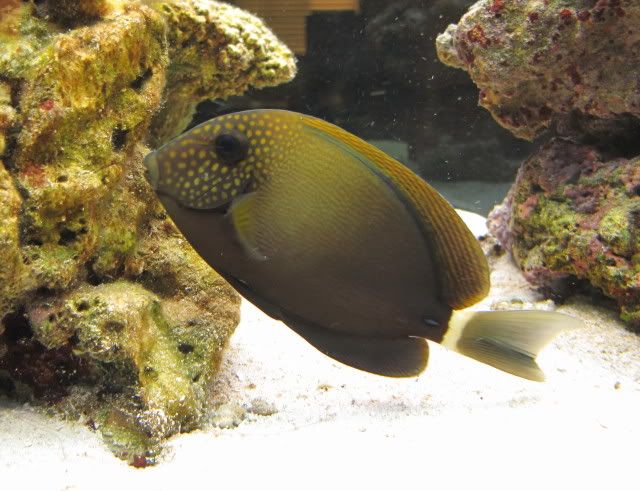 Our so called reef safe Oriental Sweetlips sold to us by another LFS with complete asurance that it was perfectly reef safe and easy to take care of. So far its been a great fish doesn't bother other fish but i do notice when i'm out looking at the tank in the middle of the night with my trusty flashlight that it is always patrolling all night long 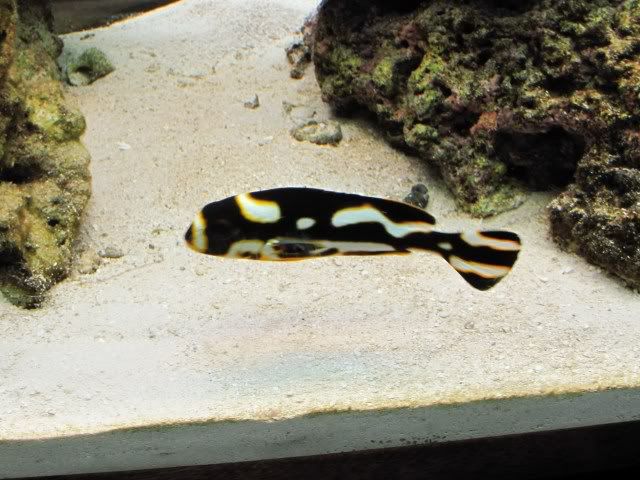 Did some more aquascaping with a bit more new rock now we have a bridge between our 2 islands also some mushrooms and Sun Polyp coral 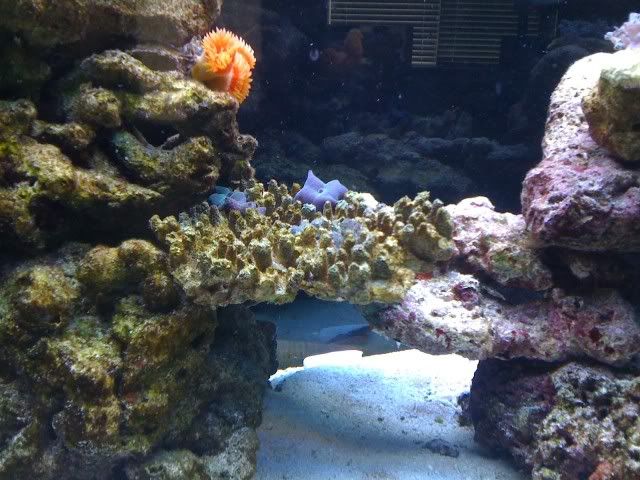 Clown Tang 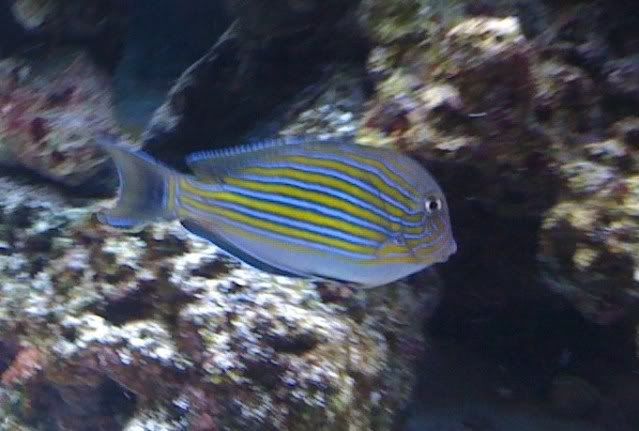 Clown Fairy wrasse along with a Chalice from JDigital 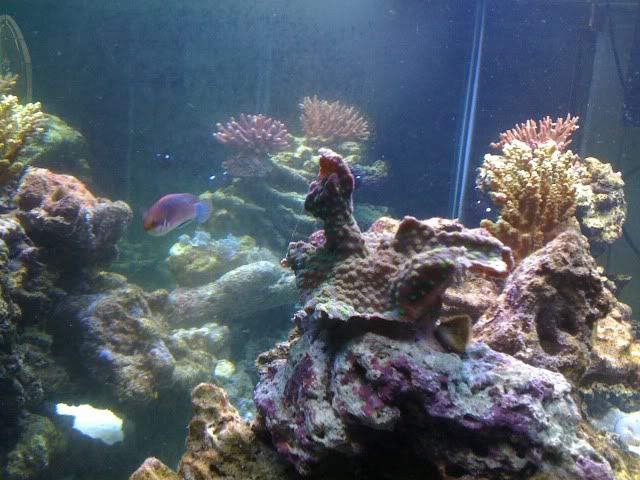 Dark Red Mille from JDigital and its friend 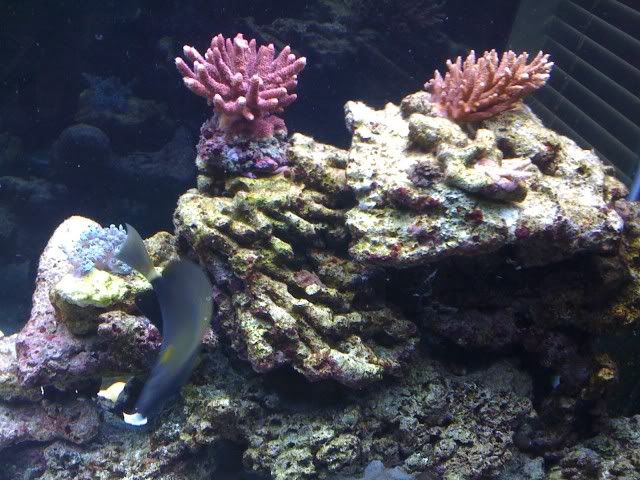 Lime green Acro from JDigital. Thanks for the sweet coral my pics dont do the colours justice 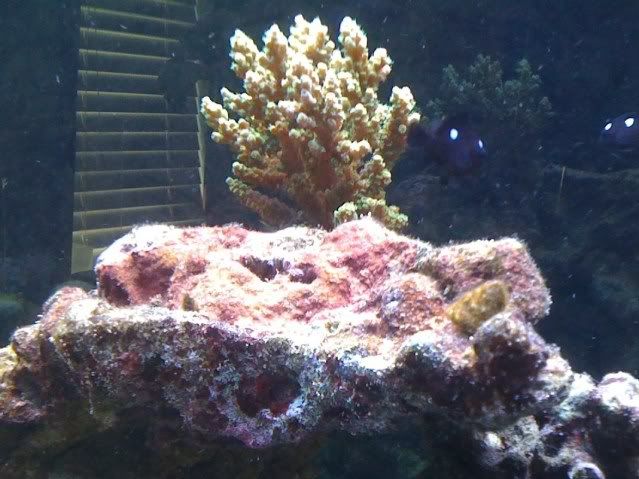 Pulsing Xenia 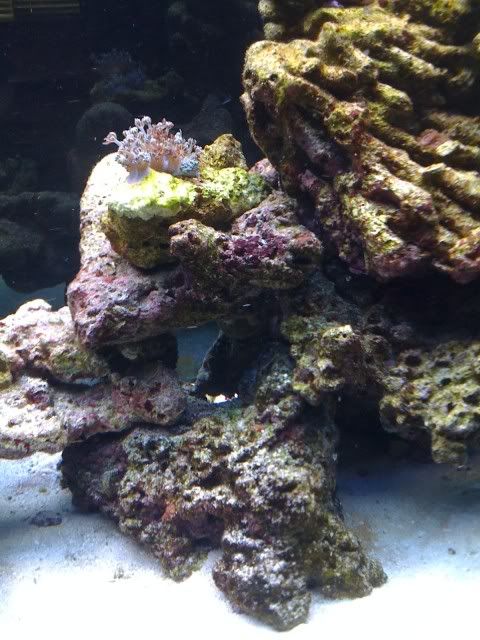 Our Vlamingi Tang 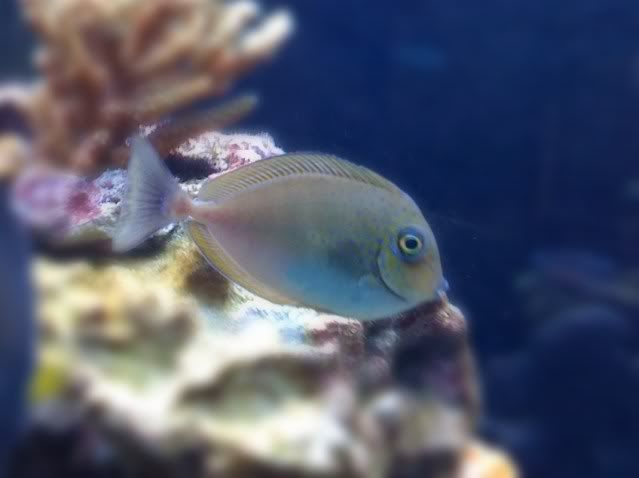 3 of 4 domino damsals 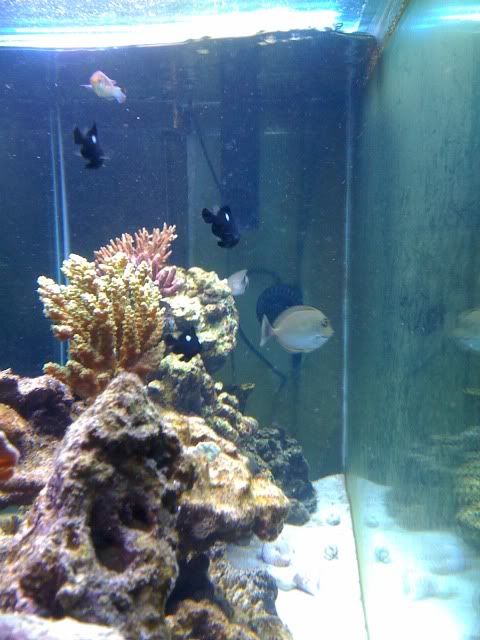
|
|
#10
07-16-2009, 07:44 PM
|
|||||
|
|||||
|
Very nice tank build. Your wife must be very pleased!
|
|
| Thread Tools | |
| Display Modes | |
|
|


 Linear Mode

