
|
|
|
||||||||
| Portal | PhotoPost Gallery | Register | Blogs | FAQ | Members List | Calendar | Search | Today's Posts | Mark Forums Read |
 |
|
|
Thread Tools | Display Modes |
|
#61
 07-16-2014, 03:55 AM
|
|||||
|
|||||
|
Lost all motivation to work on the tank this week what with the crazy heat. Temperatures in the house are around 41 C.
 Been hiding away in the air-conditioned confines of the bedroom. Been hiding away in the air-conditioned confines of the bedroom.  Crawled my way out of the deep freeze to do a bit of work. Sweat was dripping down my face as I mounted 8 screws to the plumbing clips I picked up today. Yeah... that's enough! Here are the pics. I was thinking to paint the back of the wood white, but my mind melted and I remembered the A/C. No one will ever see it anyways. 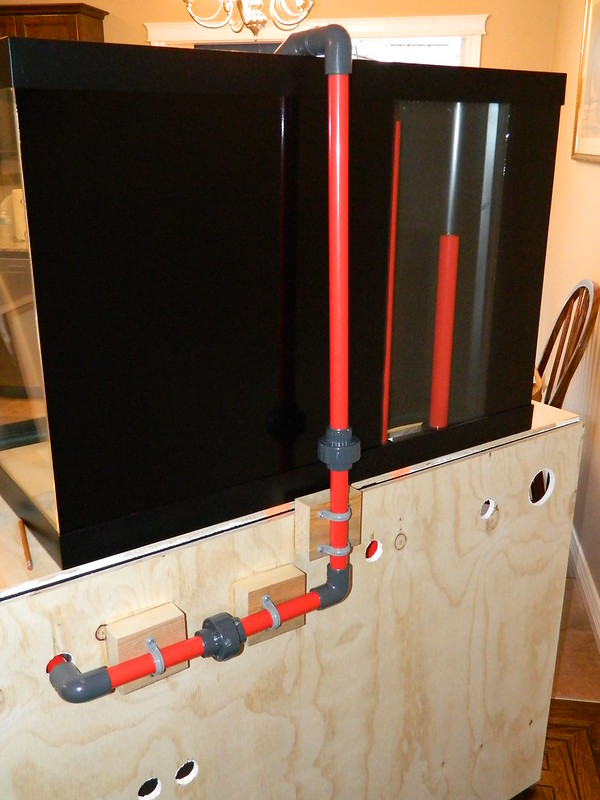 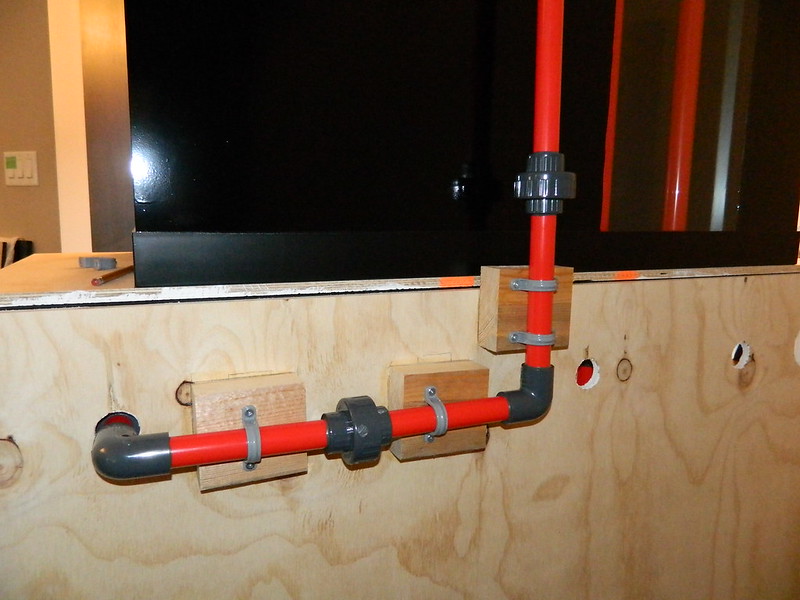 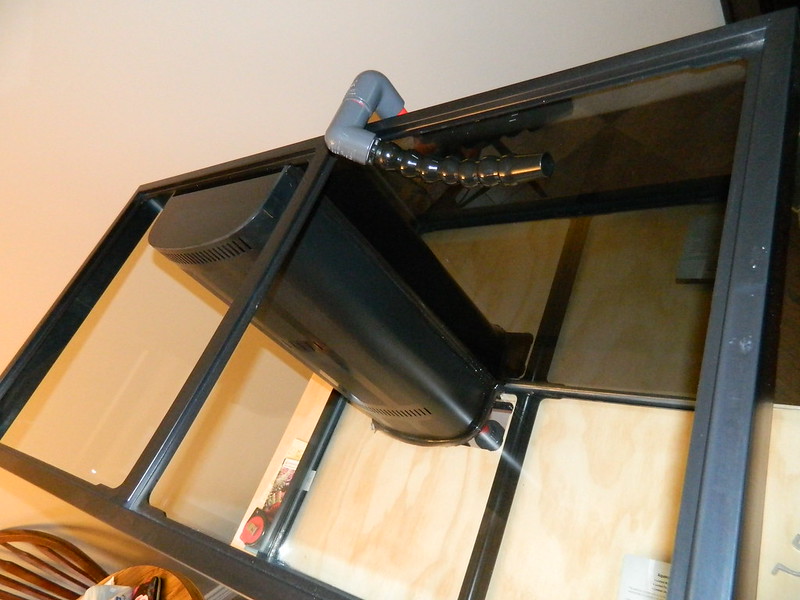 Thanks for looking. Comments/suggestions welcome. 
|
|
#62
07-16-2014, 04:00 AM
|
|||||
|
|||||
|
Quote:
If anyone else has thoughts on this I'd love to hear them, thanks!
|
|
#63
07-16-2014, 04:18 AM
|
|||||
|
|||||
|
Every time I see that red pumbing .... oooohhh
41C in your house !!!! When mine hit 37C with the heatwave 5-6 years back I installed 2 x 10,000BTU units and we cool the whole house now A thought - how are you planning to keep a chiller running if your house temps are above it's rated intake air temps ? 41C is 105.8F My chiller's ratings are based on max room temps of 90F and I easily hit 85-86 in the sump room if I don't monitor it. This can happen before I turn on the house AC and then it's hard to bring it back down. Luckily one of our AC units it in the sump room, but it doesn't help the chiller if I'm not watching it 82 in our livingroom translates to 86 in the sumproom, so not a lot of proper cooling going on I'm currently working on plumbing the chiller's hot air out a window to alleviate the cycle of compounding hot air buildup, and am also thinking about a separate exhaust fan on a humidistat Keep the build pics up when you can stand the heat !!
|
|
#64
07-16-2014, 04:36 AM
|
|||||
|
|||||
|
Quote:
|
|
#65
07-16-2014, 04:42 AM
|
|||||
|
|||||
|
Quote:
I had to split my return My left side is running a locline Y fitting Half of it points straight down towards the sand and the other across the surface towards the front of the tank to take away what would churn up the sand On the right side of my overflow is the other locline, and it points towards the far right corner Last edited by gregzz4; 07-16-2014 at 04:46 AM.
|
|
#67
07-16-2014, 04:44 AM
|
|||||
|
|||||
|
Quote:
I run one unit in our master and one in my office/sump room Back and front of the house and the furnace fan runs all summer
|
|
#68
07-16-2014, 04:47 AM
|
|||||
|
|||||
|
Quote:
Maybe that would work for him All the heat from my chiller is enough to cause me to run my office AC when the house is still comfortable
|
|
#69
07-16-2014, 05:07 AM
|
|||||
|
|||||
|
Quote:
Quote:
Quote:
|
|
#70
07-16-2014, 05:20 AM
|
|||||
|
|||||
|
Quote:
I used to love to help whoever I could, but after 23 years in my last industry, I dreaded everytime some family member/friend asked "Hey, can you ..."
|
|
| Thread Tools | |
| Display Modes | |
|
|


 Linear Mode

