![]() |
|
Portal | PhotoPost Gallery | Register | Blogs | FAQ | Members List | Calendar | Search | Today's Posts | Mark Forums Read |
![]() |
|
Thread Tools | Display Modes |
|
#1
|
|||||
|
|||||
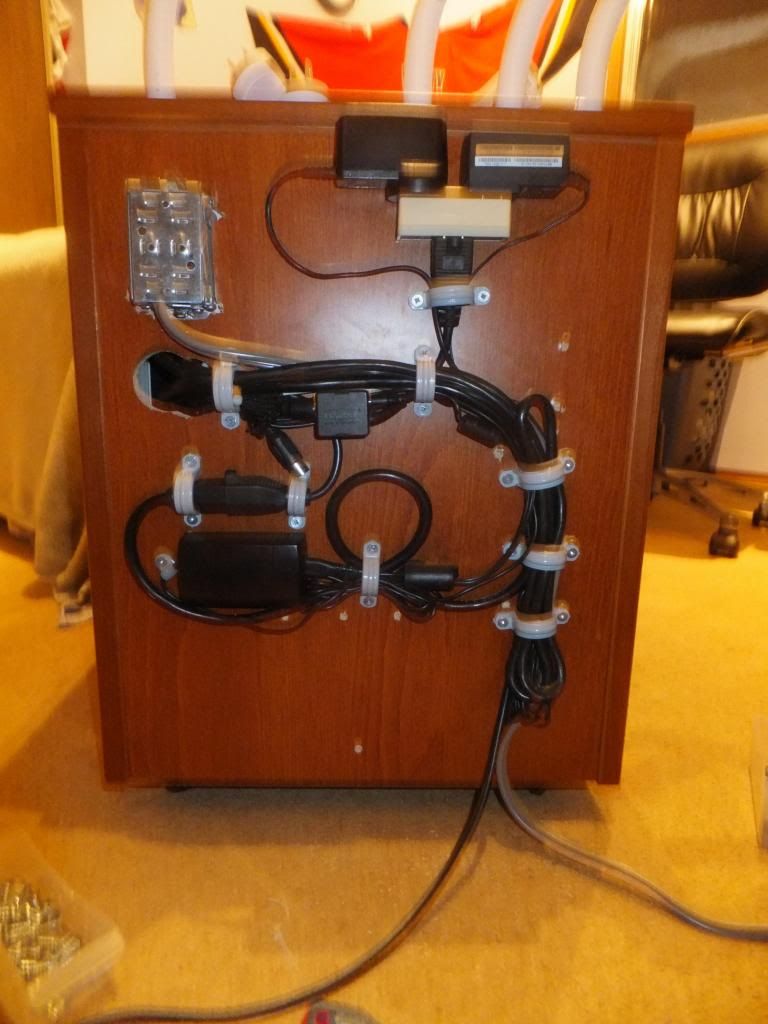
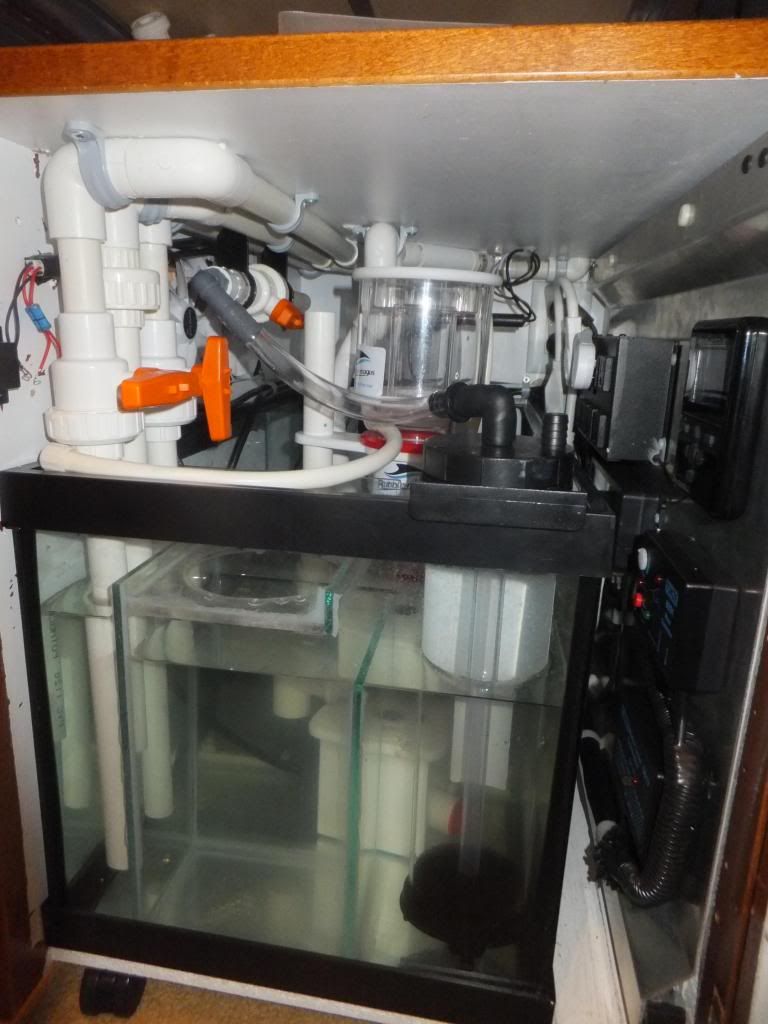
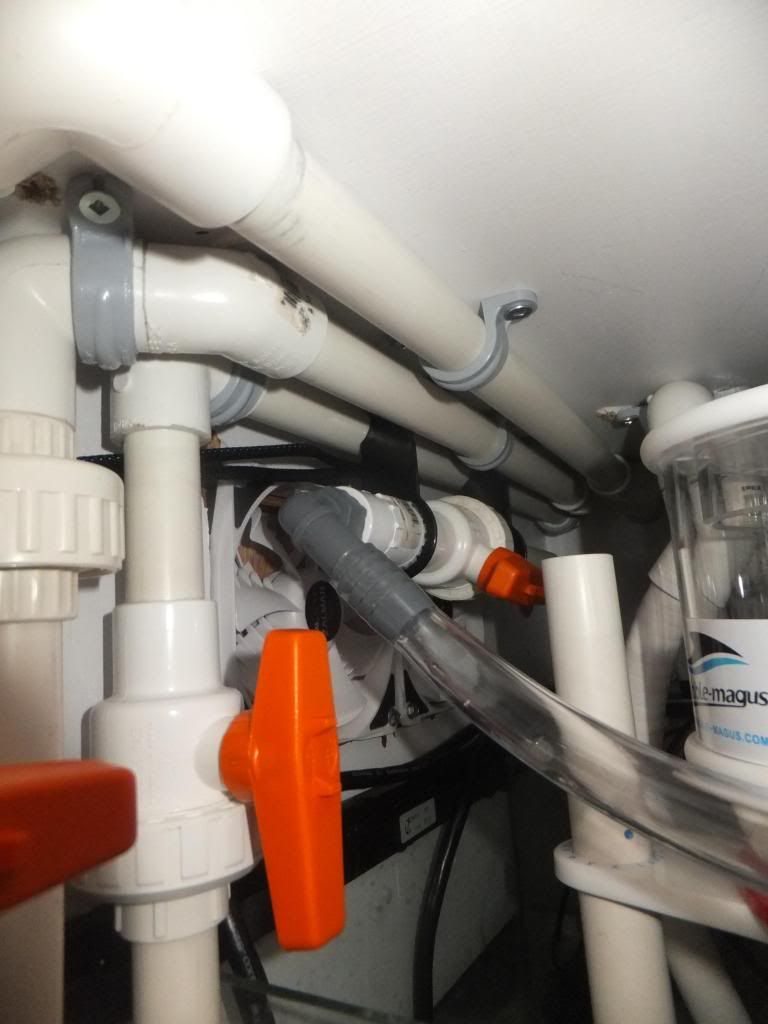
![]() Hey guys, i hope you all had a great christmas!! I got some more stuff done over the holidays. were getting close to getting saltwater into it now!! I drained all the fresh water out of the tank and the sump, I also plumed a Phosban 150 Reactor into my return line and cleaned up the extra wireing on the back side of my tank! Enjoy!!
![]() ![]() ![]() |
#2
|
|||||
|
|||||
![]() Hey everyone, so as promised I'm back with pictures for you guys. I spend the last 24 hours cutting and reworking my rock wall and when i finally stood back and looked at my new creation this is what I saw. Ill take you though everything from start to finish.
So i used: A Hammer A Chisel A Hack-saw with a masonry blade A Can of "Touch n' Foam" Landscape from Lowe's and a lot of time haha This is where i started with the old wall that you've all seen before ![]() ![]() Then came the destruction of the wall, i cut off the upper rock that was out of the water and the moved it over to determine where i wanted it to sit ![]() Once i figured that out i had to cut some off the back of the rock so that it sat flush with my wall - thats where the hack saw came into play ![]() After a few hours of cutting dow the rock i was finally ready to start putting it back into place, but I knew that i wasn't happy with the size of the pond so out came the chisel and hammer and away i went until i had chunked out a very substantial portion of the work i had previously done ![]() Then out came the foam and it was time to start rebuilding... This is the new pond ![]() ![]() This what i ended up doing to the rock that was in the middle of the tank - I hammer out quite a bit of it and moved it around until i found a place for it ![]() I added a leg to the ledge just for looks ![]() And finally this is the new scape from the front ![]() |
#3
|
|||||
|
|||||
![]() Alright so now that I have something to update you on Ill update you haha I came home from work last night and found a lovely big brown box at my front door! It had all kinds of goodies in it
![]() |
#4
|
|||||
|
|||||
![]() So I got the RO/DI system done and installed and its now making some sweet pure water!
![]() ![]() ![]() On the way in... ![]() On the way out… ![]() ![]() |
#5
|
|||||
|
|||||
![]() Now that that is out of the way I turned my attention to protecting all the electronics inside my sump cabinet. I started out by rearranging the panel a little bit then planning out the back plate.
![]() ![]() ![]() |
#6
|
|||||
|
|||||
![]() Today i spent most of the day taking everything I have built apart!
But dont worry it was all for a very good reason haha, so before some of you go and have a heart attack this is why I did it. Im getting pretty dam close to the last few things that need to be done and one of those final things is to clean up everything and tie it all together really nice and pretty like. So i started with a little paint First on the return manifold ![]() Then on all three of the overflow drains ![]() They arent done yet tomorrow i have to mask them off and paint the exposed(still white parts) flat black then I have to paint all of the conduit hangers red to match. Then they get put back into a freshly painted sump cabinet where the white and red with stainless steel screws are going to look pretty spiffy i think heres the newly painted cabinet - no more missing paint or scratches from hundreds of bumps putting in and taking out that sump haha ![]() Then once I was done that I started into the wiring again, I had some wires that were bugging me and it just didn't quite look perfect so i went ahead and started to hack apart the wiring and then once i had a big mess of copper and plastic insulation i pulled out the soldering iron and got to work making it all function again This is the UBS that connects the APEX to the Energy Bar 8 - shhhh dont tell apex i think its a warranty issue ![]() ![]() then i tossed some shrink wrap on it to make it look pretty and then put it back in. You can see i also did that with the internet cable between the APEX and the Netgear Wireless receiver ![]() Then i thought hey! lets get some light inside this box! so i started wiring up some LED strips that i picked up, the only problem is there is only one output on the controller box and i don't want to run one continuous strip all over the place, so im going to have to do some fancy wiring to get about 3-4 separate strips wired the way i want them to and all controlled with a magnetic on/off switch connected to the door of the cabinet ![]() ![]() ![]() I still have to finish building the acrylic box and get some weather stripping to makeusre that its got a pretty dam close to air tight seal as i can get but thats for another day! |
#7
|
|||||
|
|||||
![]() So today i got a few things done, the paint is all dried and its time for final assembly to begin!
![]() ![]() ![]() ![]() Tomorrow I start the last of the wiring! I gotta get the fans up and running and finish the enclosure around the electronics and that should be all! everything else is just plug and play |
![]() |
Tags |
bowfront, custom, exposed rock, tunze, wavebox |
Thread Tools | |
Display Modes | |
|
|