
|
|
|
||||||||
| Portal | PhotoPost Gallery | Register | Blogs | FAQ | Members List | Calendar | Search | Today's Posts | Mark Forums Read |
 |
|
|
Thread Tools | Display Modes |
|
#1
 03-28-2013, 05:03 AM
|
|||||
|
|||||
|
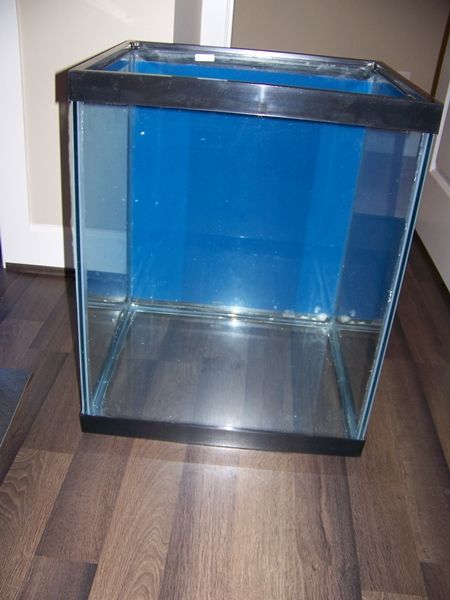
For this build Im using a 4 year old 37 gallon column aquarium measuring 20wx18dx24h. This will be an sps only tank when it is completed with a snail only CUC, various shrimp and a few fish. For me the enjoyment is in watching the reef come together; I could happily run without fish but adding them keeps the rest of the family interested.
This is not a quick one week and its done build; I wont be rushing anything. Ill be trying a few things along the way that Ive always wanted to do but never have. I thoroughly enjoy the plan and build portion of each aquarium I start and the unique challenges each one brings, so I hope you enjoy tagging along as I document this one. My plan is not fully hatched but here are a few of the steps I am committing to: 1) Clean up the front corner caulking. It has suffered from some overzealous algae blade scraping over the past few years and just plain looks ratty. 2) Converting it into an all in one tank. 3) Build a foam/rock back wall to hide the newly created bulkhead in step two. 4) Find and convert a unique cabinet into a functional aquarium stand. The equipment list will be developed and detailed along the way. As I type I am about 3 weeks in to this adventure and have been taking pics along the way. Stay tuned for some updates over the next couple of days. 
|
|
#2
03-28-2013, 06:49 PM
|
|||||
|
|||||
|
So here is what the tank looked like to start with. Not a huge fan of the blue background (I prefer black) but there will be so little left visible once I'm done that I decided to leave it for now. Can always change my mind later.
 Here's a rather blurry shot of the silicone in the front corners. Nothing wrong with its functionality but it is less than desirable to look at. Here's some detail for the less experienced out there on how I went about cleaning that up. 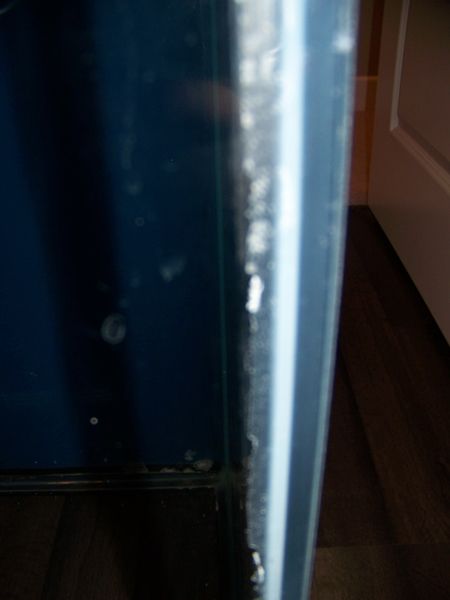 The first requirement is a sharp blade or two. 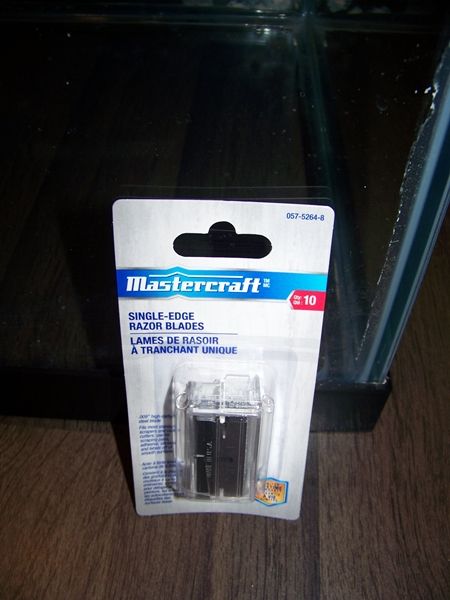 And a top down shot of the old silicone that has been removed. Note it was just the inner sealant that I removed not the structural adhesive between the panes. 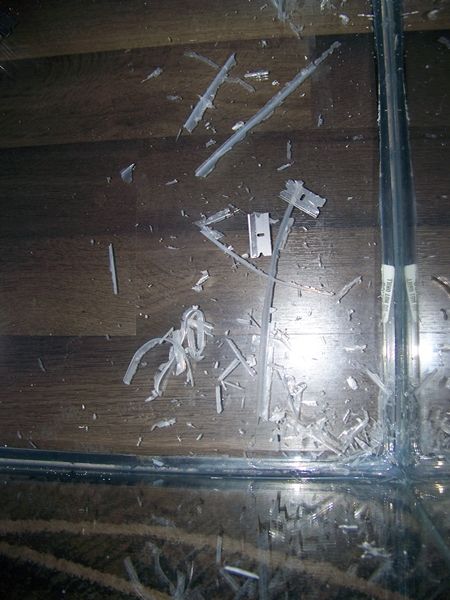 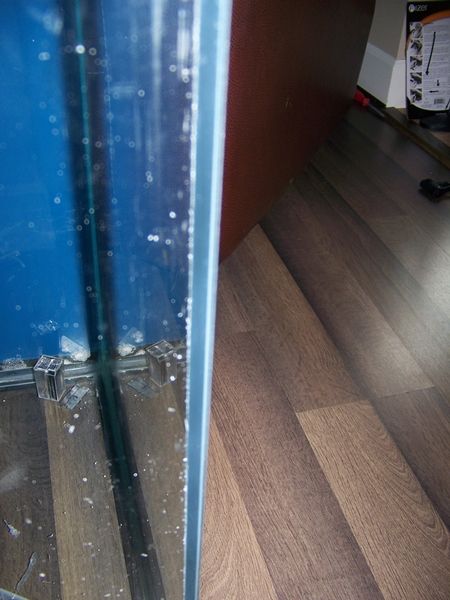 Next the glass was cleaned with some acetone and left to air dry. 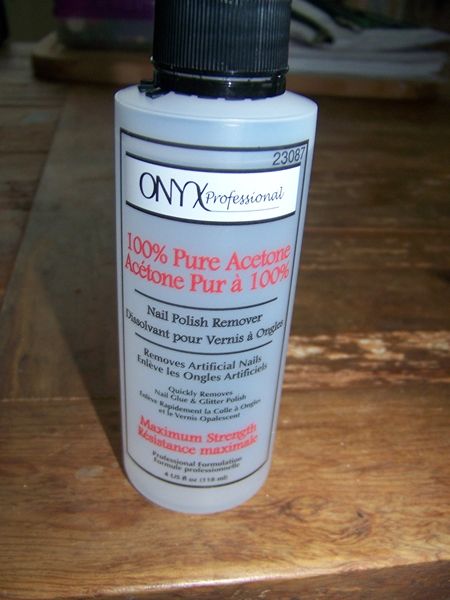 I ordered in a tube of good quality silicone that is used by many home builders of aquariums. I didn't need to do that for this part of the project as any old aquarium safe silicone would have done. However I will need some good stuff later when I do my all in one (AIO) conversion so figured I'd get it now. 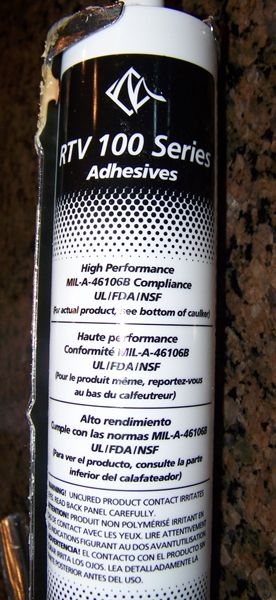 The corners were taped up using painters tape and I went to work with some good quality silicone and some gloves. I didn't actually use the tool shown for these corners as I prefer the control of my finger. However for silicone jobs that aren't visible afterwards (like bottom panes) that is what I would use. 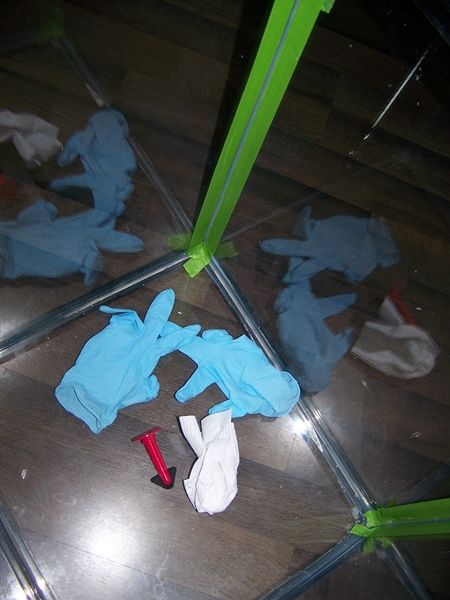 And when it is all said and done this is the end result.  Not something I would have cared about in my younger days but these little things matter to me now.
|
|
#3
03-29-2013, 01:34 AM
|
|||||
|
|||||
|
I have always run sumps on my larger aquariums but ambient noise and space are an issue for the future location of this tank. I therefore subscribed to the KISS method and decided to make the tank into an all in one. The front pane and the right side are fully viewable so I had to keep that in mind when creating the AIO area.
I originally was going to use acrylic to make the divider thinking it would be cheaper than glass. I went to a plastics shop recommended by a fellow reefer and came away with a quote of $135 for 5 pieces of acrylic and 2 holes drilled. 4 of those 5 pieces were only 4 inches wide so the price caught me by surprise. Thinking I had nothing to lose I went to Payless Glass in Langley (shoutout!) on the advice of another reefer and saved myself 50 bucks. 5mm glass, cut and drilled exactly the same as the acrylic specs, and no sharp edges. Couldn't be happier with the service I received there. I designed the AIO area to cover 14 of the 20 inches across the back and be 4 inches in depth. This gave me enough room for my equipment (and future considerations), a clean viewing pane on the right side, and enough room to get my manly hand inside and to the bottom when needed. Glass is cut. 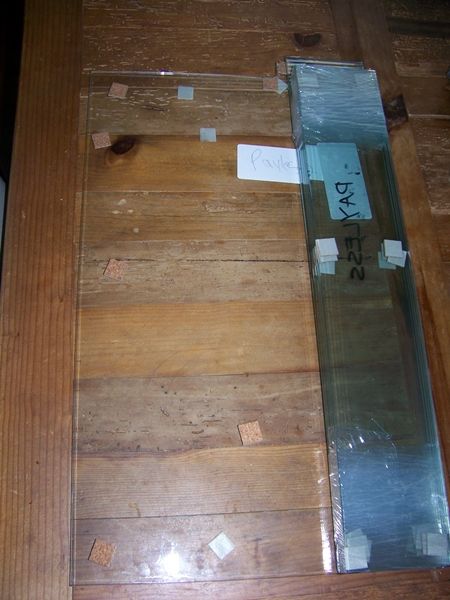 Using my best clamps 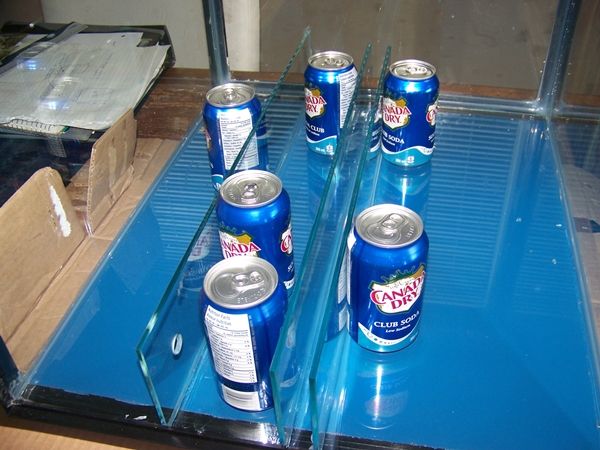 I then placed the middle piece of glass for the bubble trap (top down shot here). 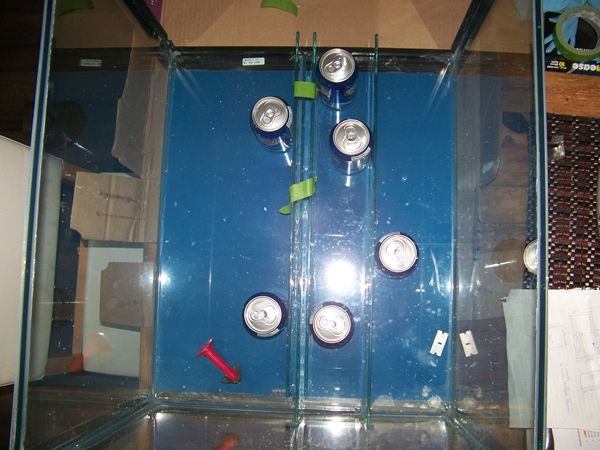 And then used my biggest clamp 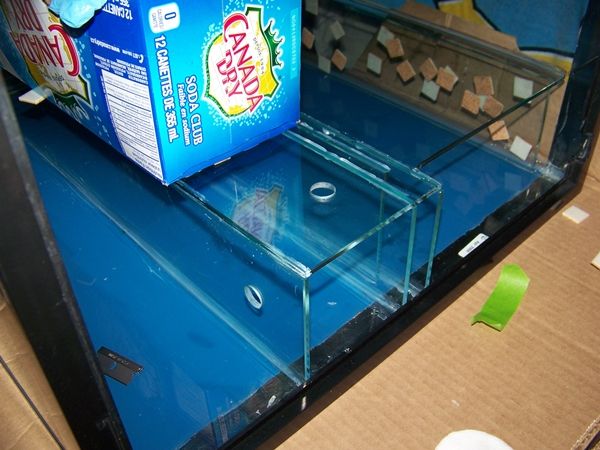 And the final product. 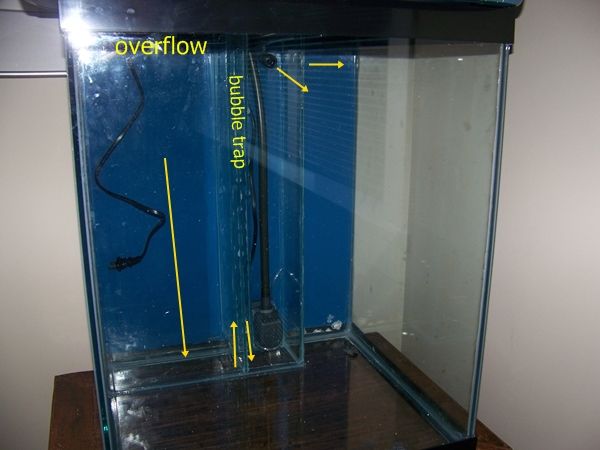
|
|
#4
03-30-2013, 02:25 AM
|
|||||
|
|||||
|
The next step was to start on the back rock wall. I actually started it while waiting for my glass to come in and the measurements turned out pretty well.
I started with the plastic lighting egg crate cut to size, joined with zip ties, and attached a base plate to help hold it down with live rock once it is foamed and in the tank. 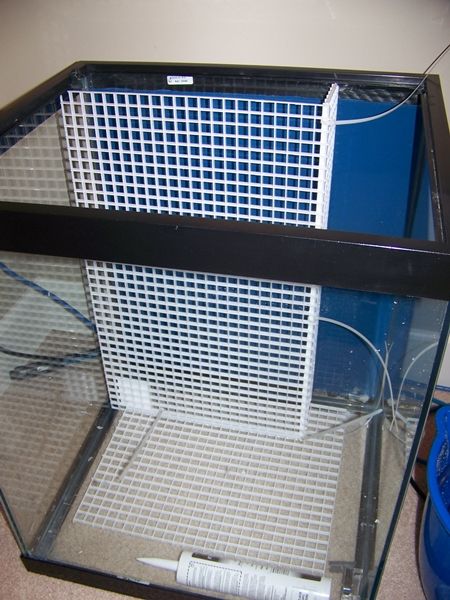 I had previously given 3 pieces of old base rock a good cleaning and multiple freshwater rinses. I then smashed them up into suitable size pieces with a big hammer and gave them the high pressure hose treatment and set them aside to dry. Essentially I created small dead rocks from big old live rock. Here's what they looked like before and after. 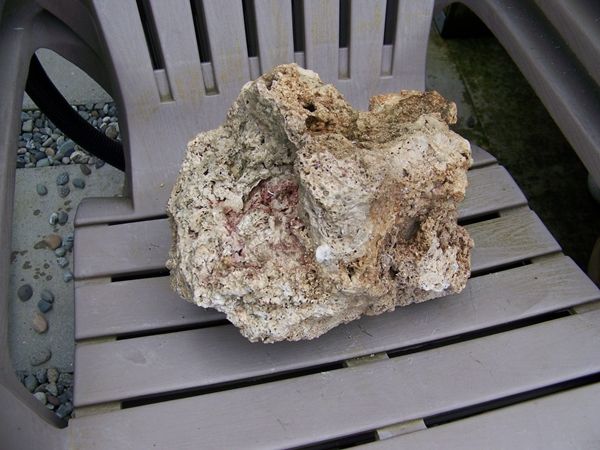 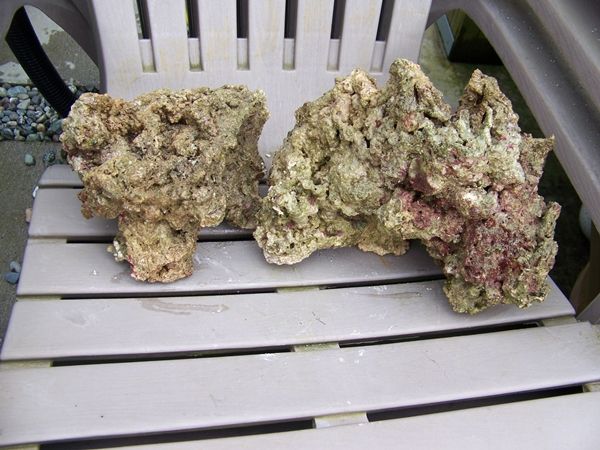 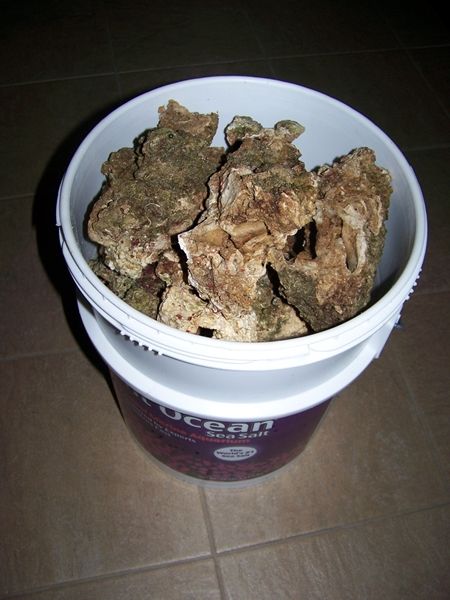 I then went about drilling holes in the rock big enough to push a zip tie through (smelled just like the dentist drilling a tooth!). I attached the rock to the egg crate using the lightest pieces of rock towards the top. The egg crate at this point is very flimsy and needs lots of support not to break. When closing the zip ties it is important to have the catch in the front and not the back of the egg crate. With the catches in the back it makes it difficult to get the egg crate to sit flat against the aquarium wall. I left enough space at the bottom of the vertical piece of egg crate to allow the placement of live rock up against the wall on the base plate. Here's what it looks like at this stage. 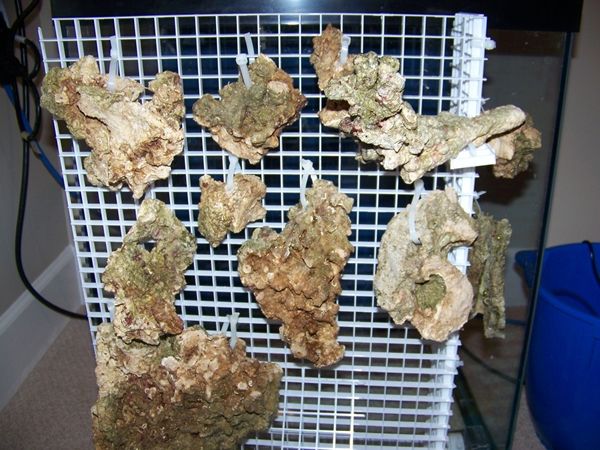 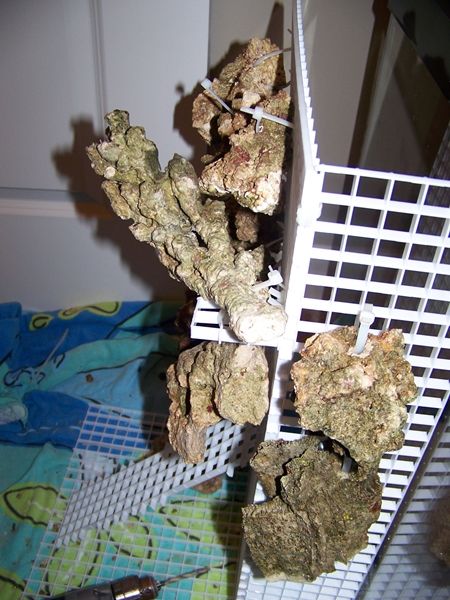 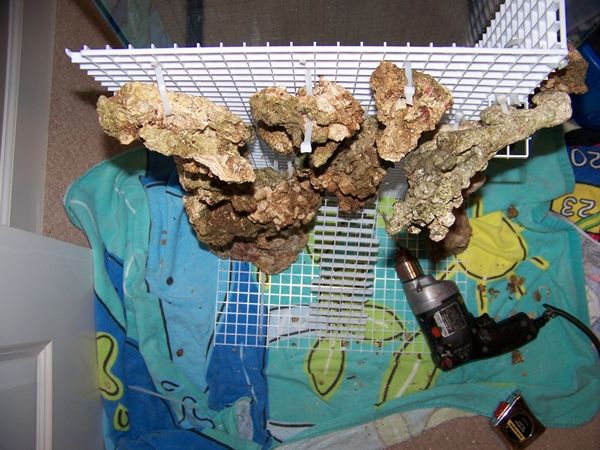 More to come...
|
|
#5
03-30-2013, 03:05 AM
|
|||||
|
|||||
|
following along! Neat idea and great work
__________________
225gal dt with 100g sump. Mitras, vortechs, bubble king, AI Sol and Profilux. http://www.canreef.com/vbulletin/sho...threadid=84782 Will trade subs for frags My other summer hobby: http://www.edkra.ca
|
|
#7
03-31-2013, 02:49 AM
|
|||||
|
|||||
|
Looks good, this is exactly what I did as well.
The only suggestion I would give is use more rock. I wish I had put a lot more on than I did, I used a lot of foam. Thanks, Bob
__________________
There's plenty of room for all God's creatures. Right next to the mashed potatoes.
|
|
#8
03-31-2013, 03:03 AM
|
|||||
|
|||||
|
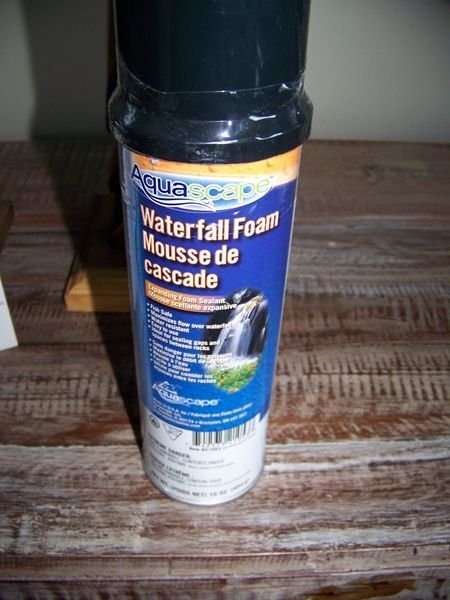
So the next step was to start applying the foam. For this I purchased a 20oz can of black pond foam which is used to make waterfalls and seal pond rocks outside. It is more UV resistant than the standard yellow "Great Stuff" foam and also has "fish safe" stamped right on the can. Nothing against the Great Stuff foam, it's a lot cheaper and has been documented as used for these types of backgrounds. It is also about 1/4 of the price of the pond foam. If I was doing a huge tank I might have considered it but luckily for me I only needed one can so went with the pond stuff for more peace of mind for me.
 I put the egg crate on its back and placed a garbage bag underneath. This would help stop the foam from pushing through and being wasted on the wrong side of the egg crate and also makes it easier to clean up afterwards. This is truly one of the messiest, stickiest substances to work with - gloves and old clothes are a must. I positioned the rocks to make them as prominent (least flat) as possible as the intention is to have them become shelves to place frags on when it is done. 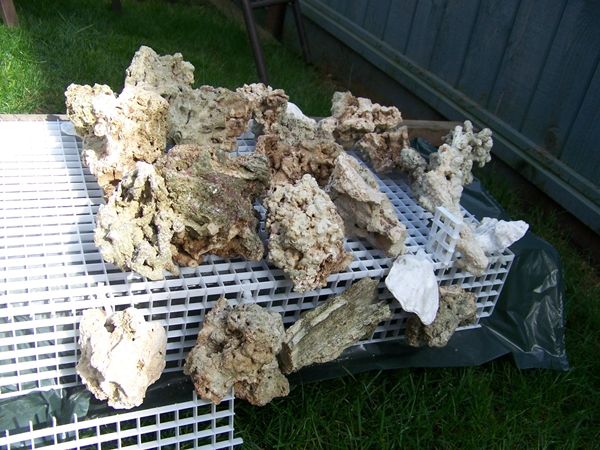 Then it was just a matter of spraying as little as possible for coverage knowing that the foam would expand somewhat. Here's a picture when it was first completed. 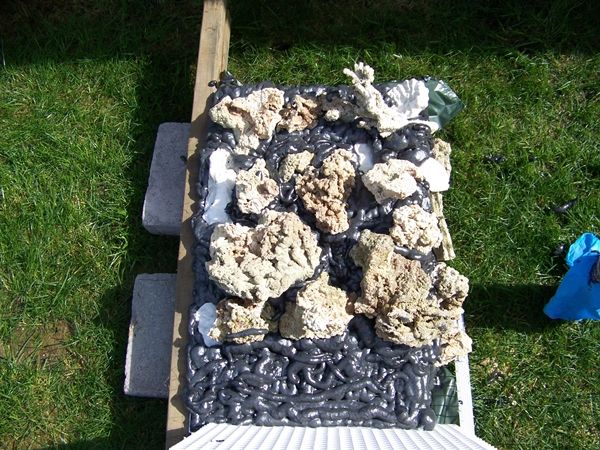 And here's a picture about 15 minutes later when the foam has almost completely expanded. If you look just below the bottom-most rocks it is a good comparison. 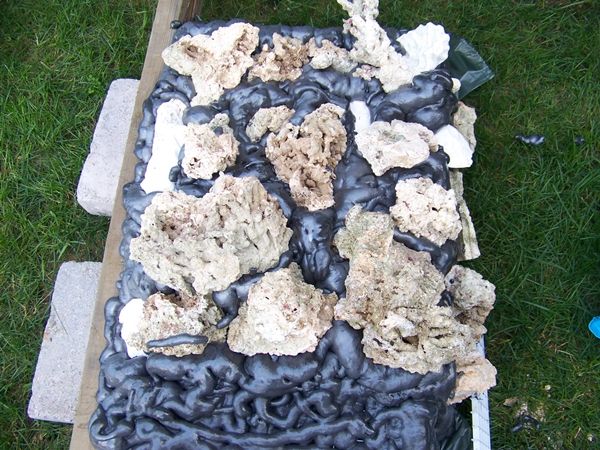 Here's a look at the can afterwards. I couldn't un-stick the glove. 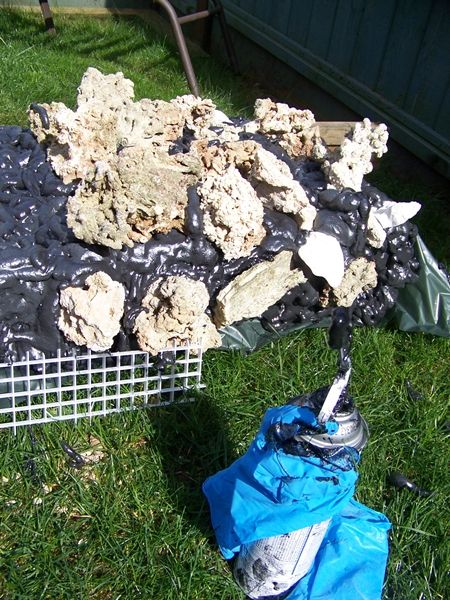 Up next is making it look real...the arty part!
|
|
#9
03-31-2013, 03:12 AM
|
|||||
|
|||||
|
I loving this. I would love to try something like this one day. I seen Bob's (Codfather) and it's spectacular. Your going to love it!
__________________
225gal dt with 100g sump. Mitras, vortechs, bubble king, AI Sol and Profilux. http://www.canreef.com/vbulletin/sho...threadid=84782 Will trade subs for frags My other summer hobby: http://www.edkra.ca
|
|
#10
03-31-2013, 03:22 AM
|
|||||
|
|||||
|
Quote:
|
|
| Thread Tools | |
| Display Modes | |
|
|


 Linear Mode

