
|
|
|
||||||||
| Portal | PhotoPost Gallery | Register | Blogs | FAQ | Members List | Calendar | Search | Today's Posts | Mark Forums Read |
 |
|
|
Thread Tools | Display Modes |
|
#11
 12-14-2011, 03:42 AM
|
|||||
|
|||||
|
Quote:

|
|
#12
12-14-2011, 03:45 AM
|
|||||
|
|||||
|
Quote:
|
|
#13
12-14-2011, 03:45 AM
|
|||||
|
|||||
|
As far as spill protection you should consider something although it's difficult to add something properly with the tank already setup. Spills will happen, 100% for sure it's just a matter of when. That platform will prevent proper cleanup when the spill occurs as it will go behind it and be stuck underneath. I hope the idea of the platform wasn't related to floor protection.
|
|
#15
12-14-2011, 04:50 AM
|
|||||
|
|||||
|
Just give it a good weatherproof paint with a sealer, should keep everything happy. I think it will look great once finished, the tank fits so well in the wall having the whole stand and everything flush would have looked off unless it perfectly matched. The only thing that could be a pain is to check when your sitting down if you can see into the lights in the canopy. I used to have a tank beside my TV and i could see the bulbs, it was very distracting when watching TV. haha. Looks great though, good job so far.
__________________
My 150 In Wall Build
|
|
#16
12-14-2011, 11:58 PM
|
|||||
|
|||||
|
Tanks cleared up a bit..
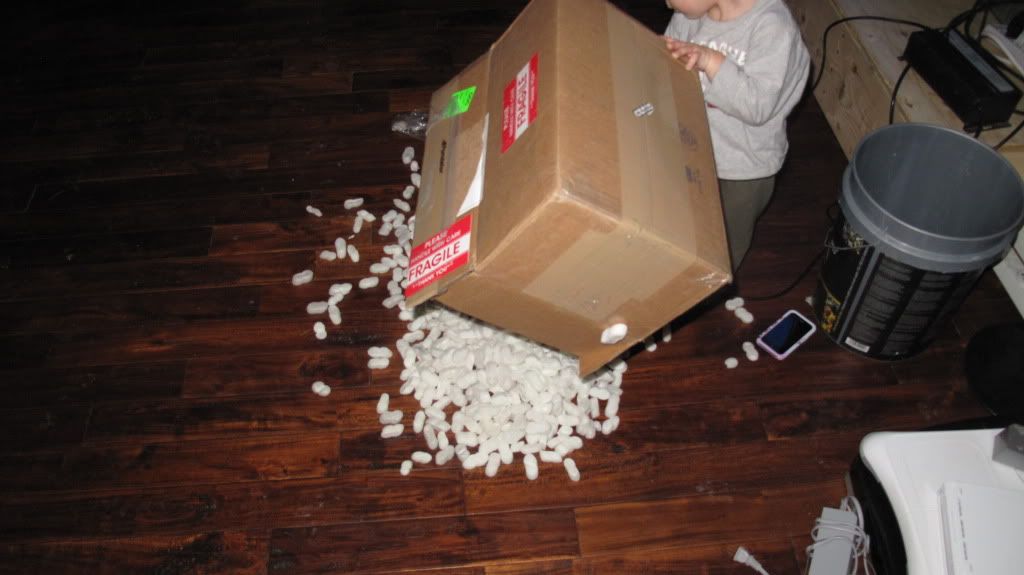
 And the new NS Apex came in the mail today courtesy of concept aquatics: 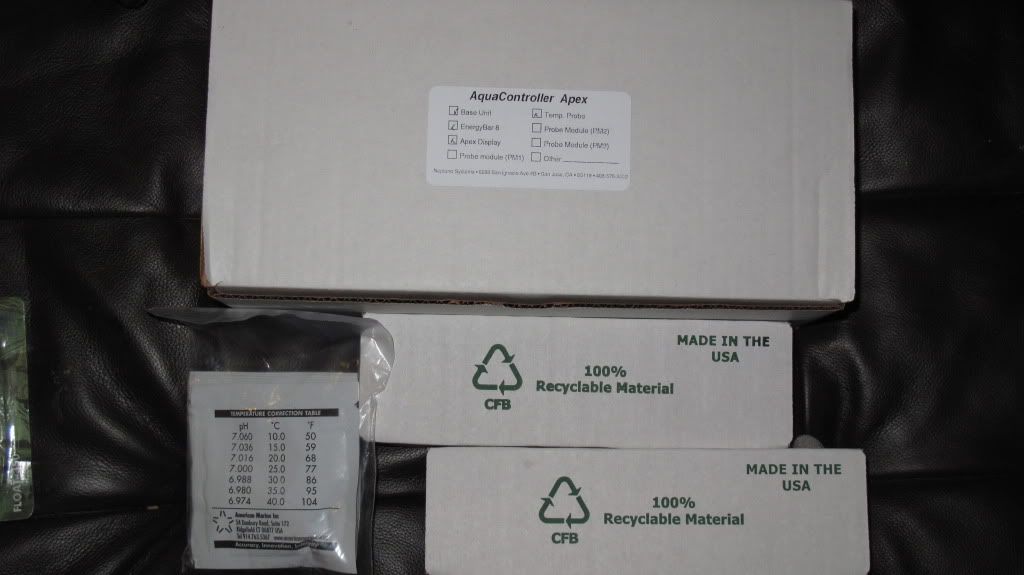 Looks like I wasn't the only one excited about the parcel: 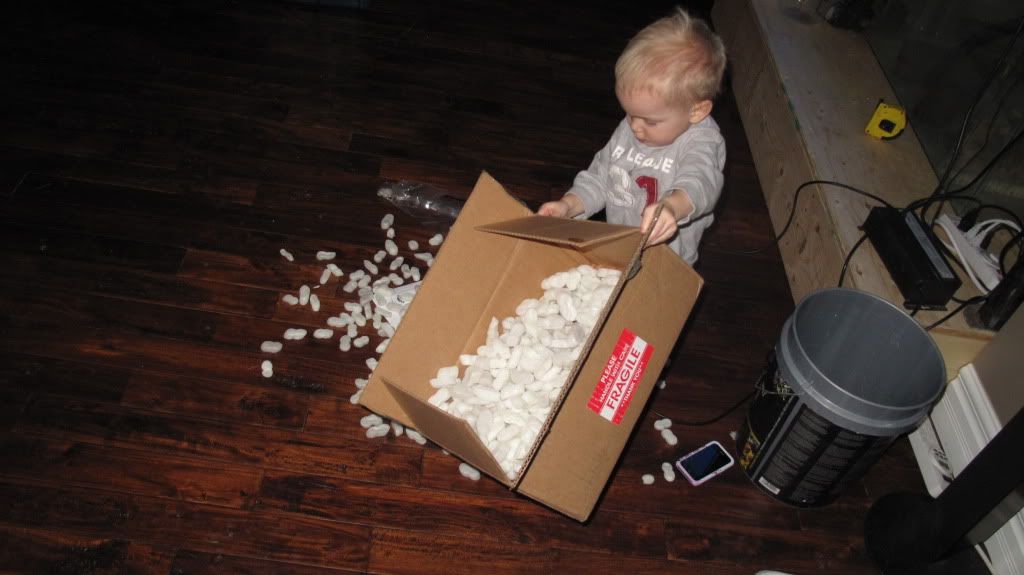
|
|
#17
12-15-2011, 12:00 AM
|
|||||
|
|||||
  Yeah, I'm one of those parents who shamelessly posts photos on my kid  And here's the sump getting ready to be hooked up: 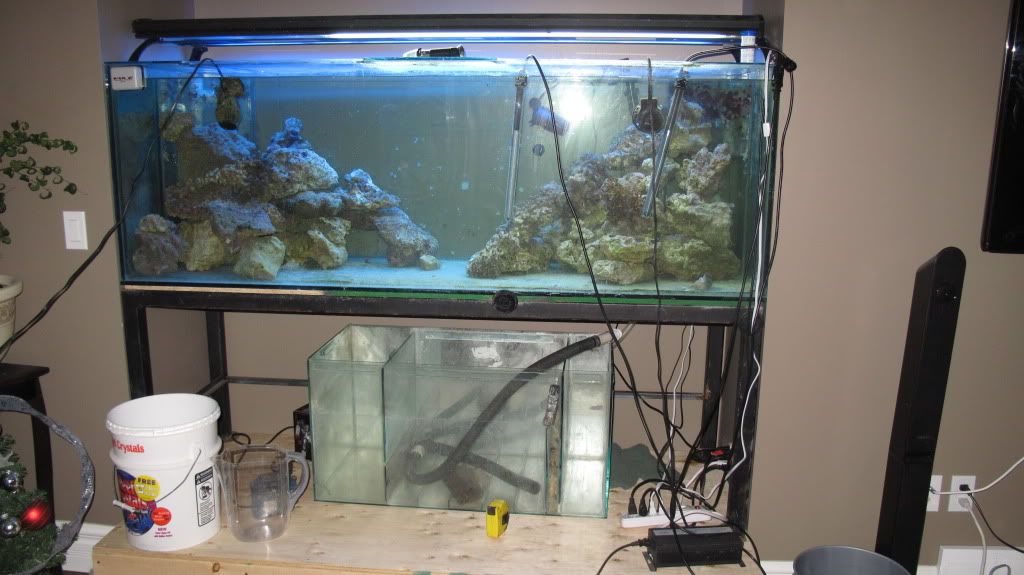
|
|
#18
12-15-2011, 12:02 AM
|
|||||
|
|||||
|
As far as the platform being not very waterproof we are simply going to seal it and sillicone the edges to wall so that water can't run in behind it easily in the event of a spill.
Also our basement is unfinished so if need be we can access under the platform from the basement if all things go south with this platform.
|
|
#19
12-15-2011, 12:55 PM
|
|||||
|
|||||
|
Looks good so far.
You could just trim out the entire setup and make it look like an in-wall setup. Then the lights would be covered and you wouldn't see the bulbs from a sitting position. It would look more like a fireplace... Or more like a fishy place? As others have said, pairing and sealing the base would be a good idea before you setup the sump. You could just do it up white to match your baseboard and continue your base boards from your wall and around the base you built to add to the built in look.
|
|
#20
12-17-2011, 01:44 AM
|
|||||
|
|||||
|
Awesome day. I don't have enough clearance to empty the Vertex IN250 protein skimmer's cup with the sump being on the platform. So we are modifying the sump and dropping it inside of the platform. This is a pain in the ass but it will probably look cool.
Also decided to "upgrade" the sump and go with something a bit bigger. This one is a 50 gallon tank going off of it's dimensions. We are going to do a DIY 80 gallon sump with 4 chambers (chambers are called baffles?), so that we can have a refugium and protein skimmer each with their own dedicated area. This new sump is going to be 5'X18"X18". We'll build it on Xmas holidays if we have the time. Acrylic most likely as for some reason everyone in my local area wants to sell used 50+ gallon tanks for $350 or more. Just the tank, no hardware. Pricey! Also going to be dropping by the hardware store tomorrow to pick up some sealer for the platform. Thanks for the tips and suggestions everyone. Tank is cycling well. Got our initial ammonia spike yesterday (3 PPM). The existing zoas don't seem too thrilled but they are still kicking. Started to plan the cabinetry but that's going to be a surprise for you guys until I post the pics. We have a really great idea for easy access to underneath the tank. Thanks to all who are following along on my learning journey and as always, please add your constructive critism. It's easier and cheaper for me to learn from your mistakes and not my own 
|
|
| Thread Tools | |
| Display Modes | |
|
|


 Linear Mode

