
|
|
|
||||||||
| Portal | PhotoPost Gallery | Register | Blogs | FAQ | Members List | Calendar | Search | Today's Posts | Mark Forums Read |
 |
|
|
Thread Tools | Display Modes |
|
#31
 03-11-2009, 08:09 PM
|
||||
|
||||
|
I don't know...37% loss at Toyota isn't much better than the 40% at Ford last month. That being said, I know the people at Stampede and they are great.
__________________
Mark...  290g Peninsula Display, 425g total volume. Setup Jan 2013. 
|
|
#32
03-11-2009, 11:31 PM
|
|||||
|
|||||
|
Kevin I guess I am lucky I didn't get hurt because I forgot to wear a hard hat during my tank build.
Will the tank be covered until the construction is completed? Likely pretty dusty.
__________________
 Greg
|
|
#33
03-12-2009, 04:54 AM
|
||||
|
||||
|
Quote:
Kevin
|
|
#34
03-13-2009, 12:43 AM
|
|||||
|
|||||
|
Kevin, looking really good. Are you planning on using any powerheads in it? BB or sand bed ?
__________________
Mike 150g reef, 55g sump, T5's, Vertech 200A, Profilux III - German made is highly over rated, should just say Gerpan made. Reefkeeper - individual obsessed with placing disturbing amounts of electricity and seawater in close proximity for the purpose of maintaining live coral reef organisms.
|
|
#35
03-13-2009, 03:35 AM
|
|||||
|
|||||
|
how are you going to handle water flow in that tank, seeing as you are putting a strip of rock down the middle you have the opertunity to use some mass water flow principles, allowing you to creats massive water flow with minimal pumps.
Steve
__________________
 *everything said above is just my opinion, and may or may not reflect the views of this BBS, its Operators, and its Members. If cornered on any opinion I post I will totally deny having ever said this in a Court of Law
Unless I am the right one* *everything said above is just my opinion, and may or may not reflect the views of this BBS, its Operators, and its Members. If cornered on any opinion I post I will totally deny having ever said this in a Court of Law
Unless I am the right one*Some strive to be perfect.... I just strive.
|
|
#36
03-13-2009, 04:29 AM
|
||||
|
||||
|
andestang Kevin, looking really good. Are you planning on using any powerheads in it? BB or sand bed ?
**I havn't determined on the powerheads yet, It will definitely be coarse sand bed. StirCrazy how are you going to handle water flow in that tank, seeing as you are putting a strip of rock down the middle you have the opertunity to use some mass water flow principles, allowing you to creats massive water flow with minimal pumps. ** I will be running a Sequence Dart or Hammerhead for the return pump. It will be plumbed up the overflow hidden in the wall and run across the inside of the top canopy with 1.5" tube. At 6 or 8 different points on this tube we will have it split to 3/4" loc-line with the majority of the pressure going to the front end. This will skim the top surface and keep enough disturbance in the water to suspend debris to be pushed into the overflow. Thanks all for your interest and the kind words. Kevin
|
|
#38
03-27-2009, 07:12 PM
|
|||||
|
|||||
|
any update on this tank? Isn't the dealership opening soon?
|
|
#39
04-26-2009, 04:31 PM
|
||||
|
||||
|
Things are starting to move along now as opening day is approaching. I am not sure of the exact opening day but suspect it to be middle to end of May.
Saturday the 26th I was able to get the majority of the plumbing done and finally was able to take some pictures. * 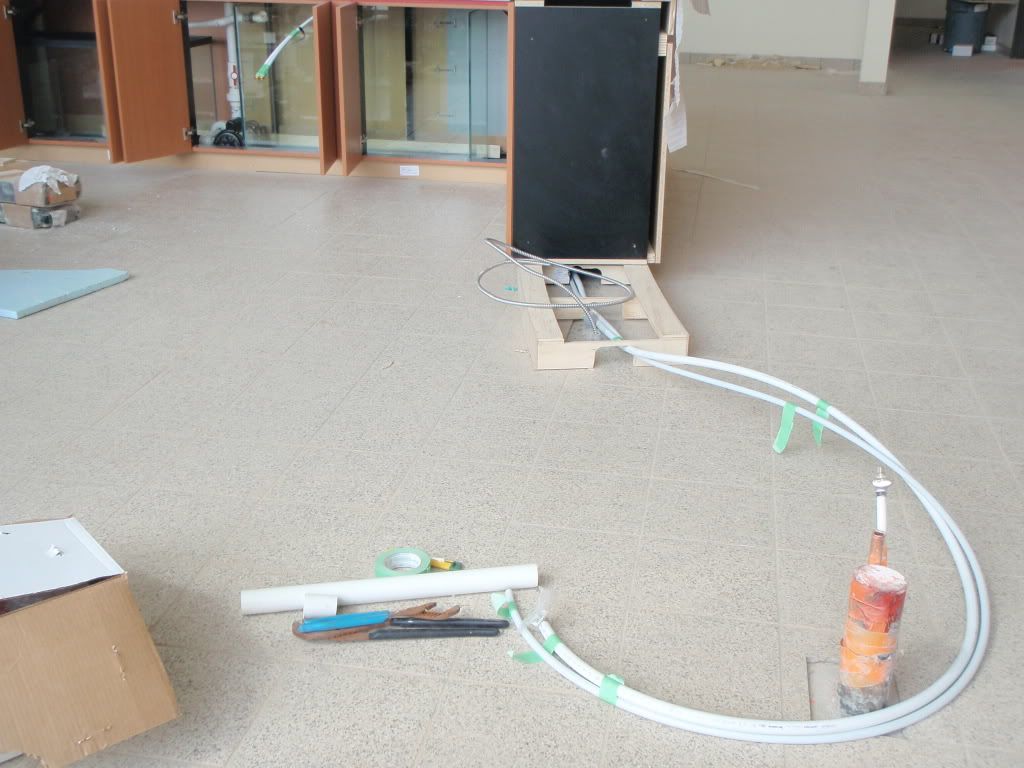 Here I ran two water lines a 1/2" in and a 3/4" drain. I am glad I was able to run it before they got the rest of the cabinets in. You can see where the drain and water line is coming out of the floor. Above that will be a coffee maker and sink. * 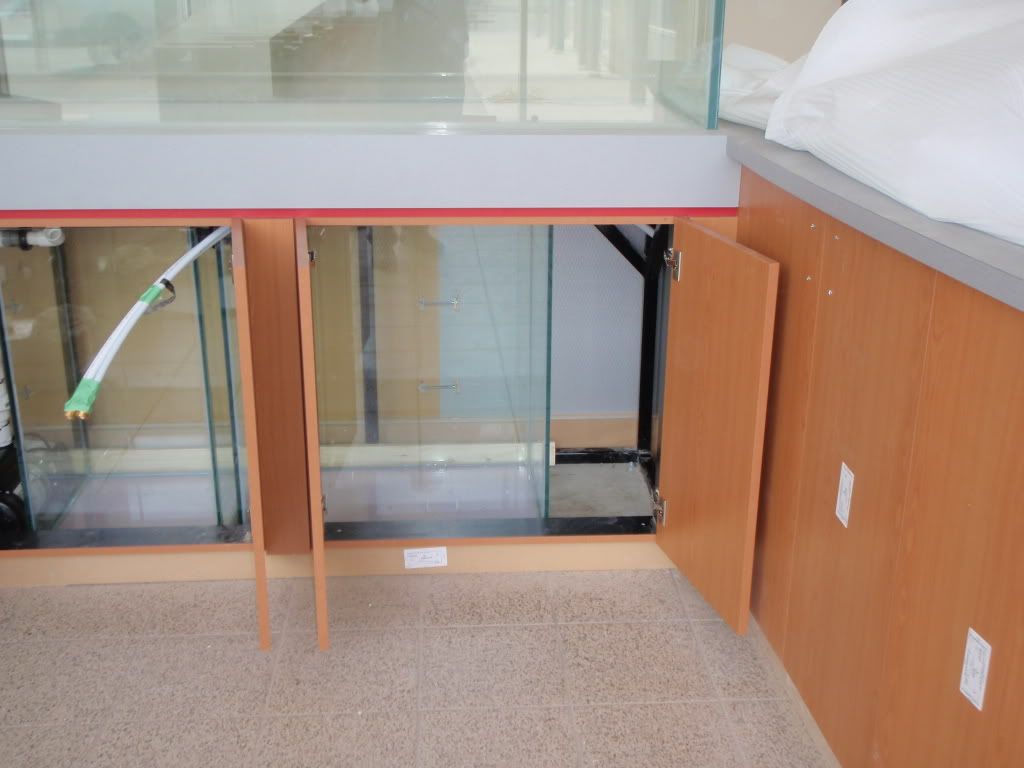 This is where those hoses end up at the two water change tanks. I will have the 3/4" out plumbed into the return from the sump controlled by a ball valve. The 1/2" will be hooked up to a r/o type water filtration unit. * 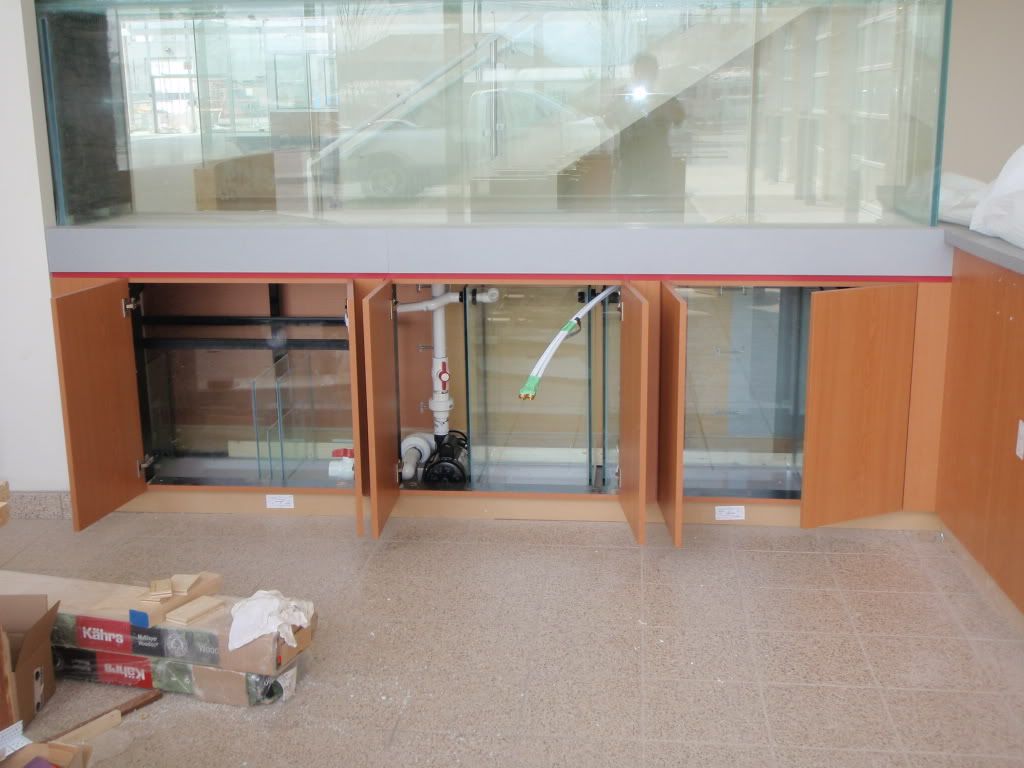 Here I have set up a Sequence Dart return pump plumbed from the sump with unions and ball valves in case we need to pull it out for cleaning and maintenance. The return will be pumped through the 1.5" line through the center bulkhead in the over flow. Here we will run the 1.5" line through the canopy to the front end of the tank. There will be minimum four loc-lines dropped down from that at different stages of the canopy. The majority of the return will go at the end to push the surface water to the over flow. * 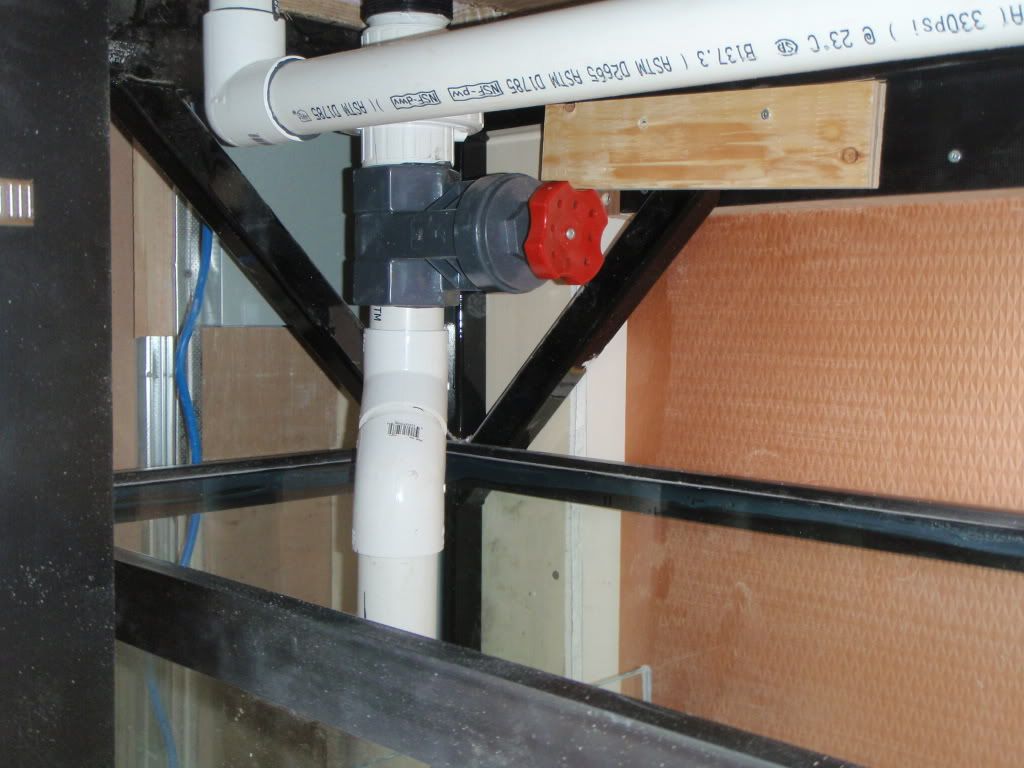 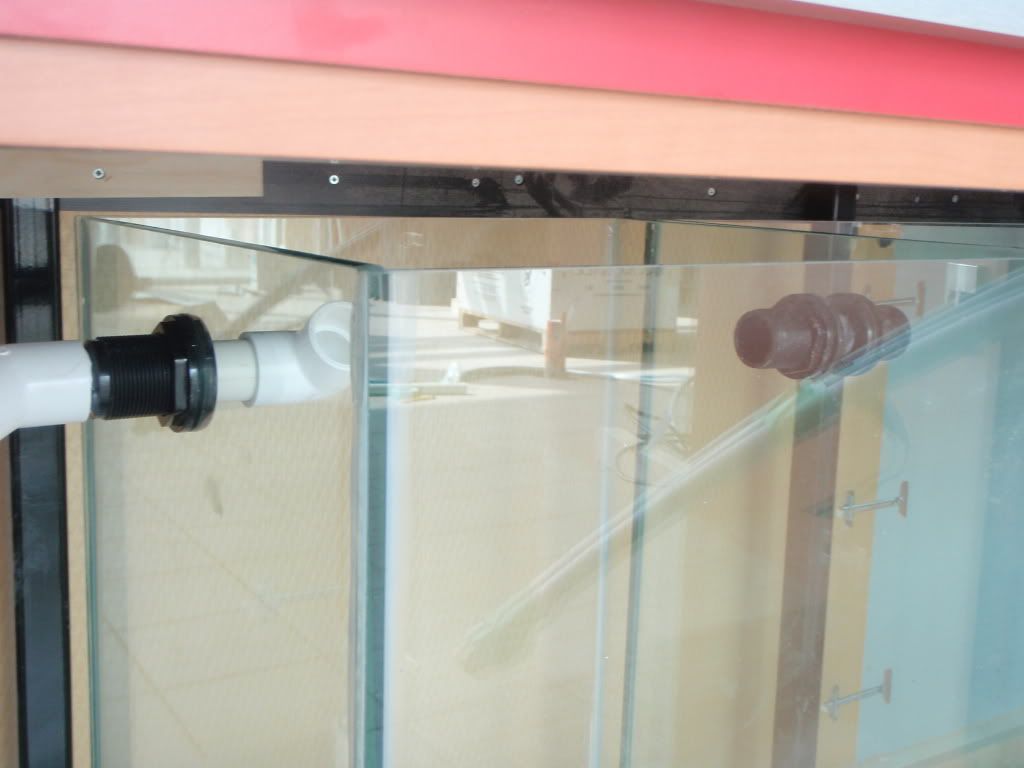 Gate valve for Herbie overflow setup and plumbing for water change tanks(not complete as I don't have the mixing pumps in). * 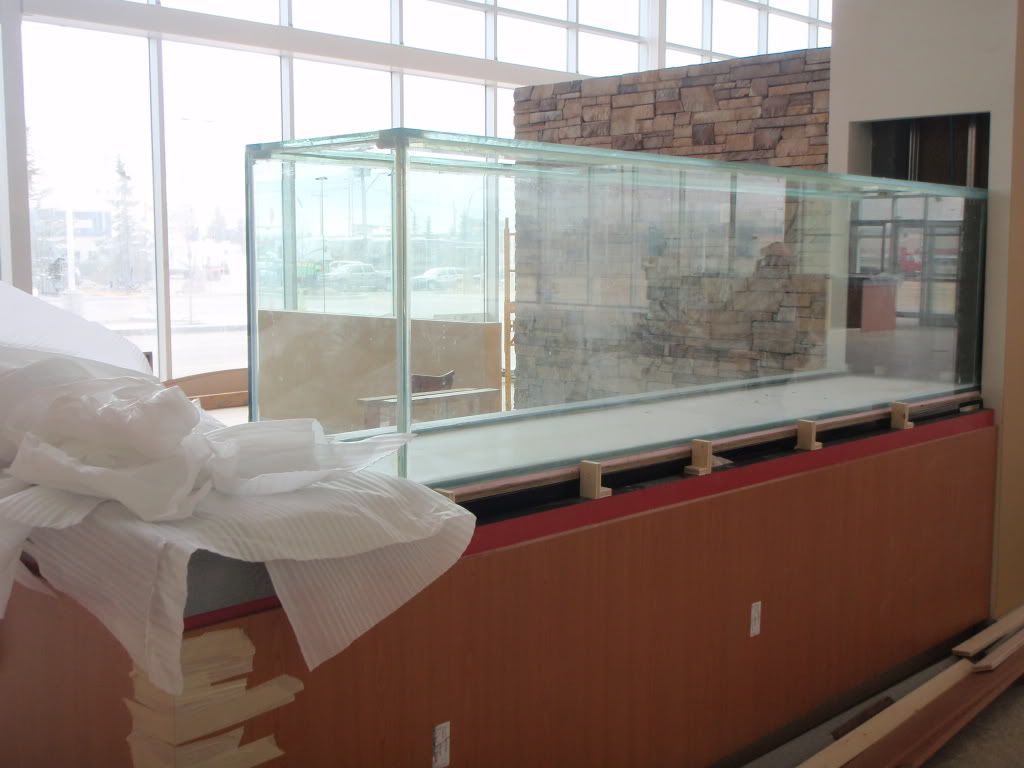 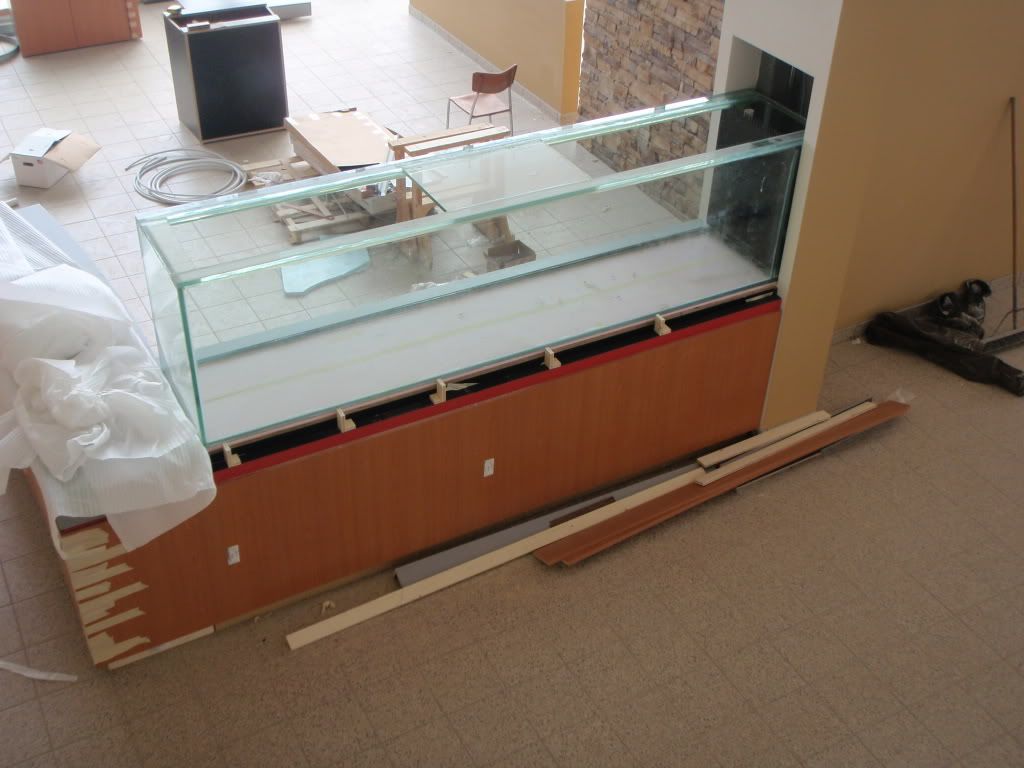 As you can see the mill works is coming along and all our measurements were perfect. The cladding covers the bottom of the tank just covering the top of the silicone. The canopy will be painted the same color as the wall. * 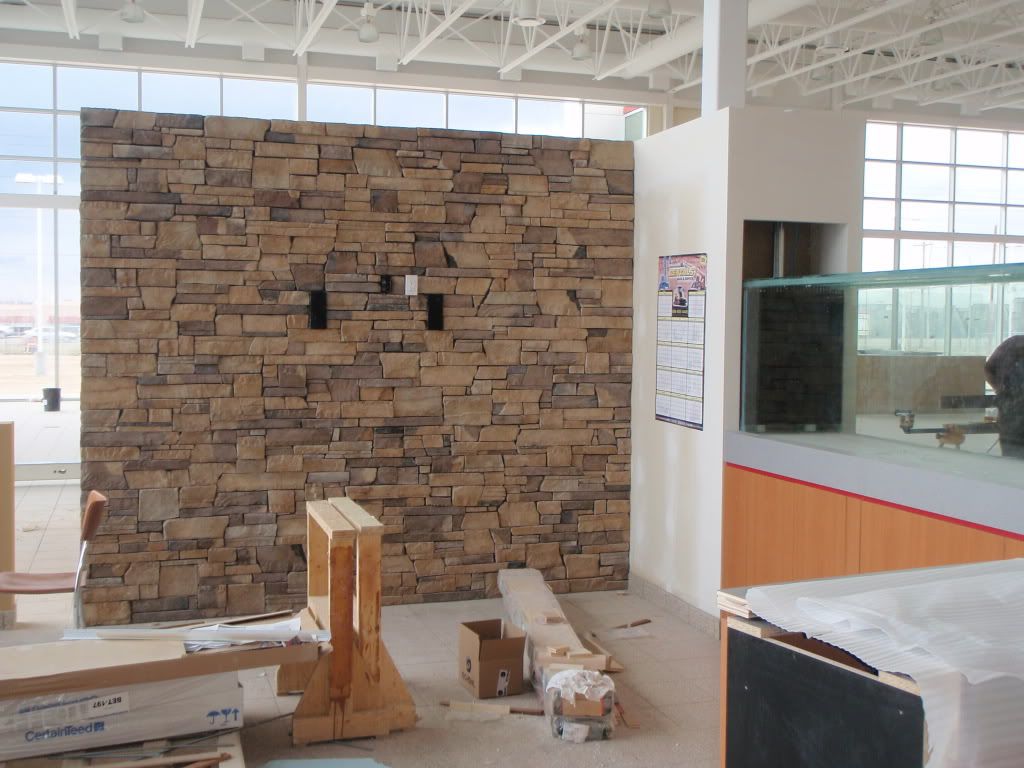 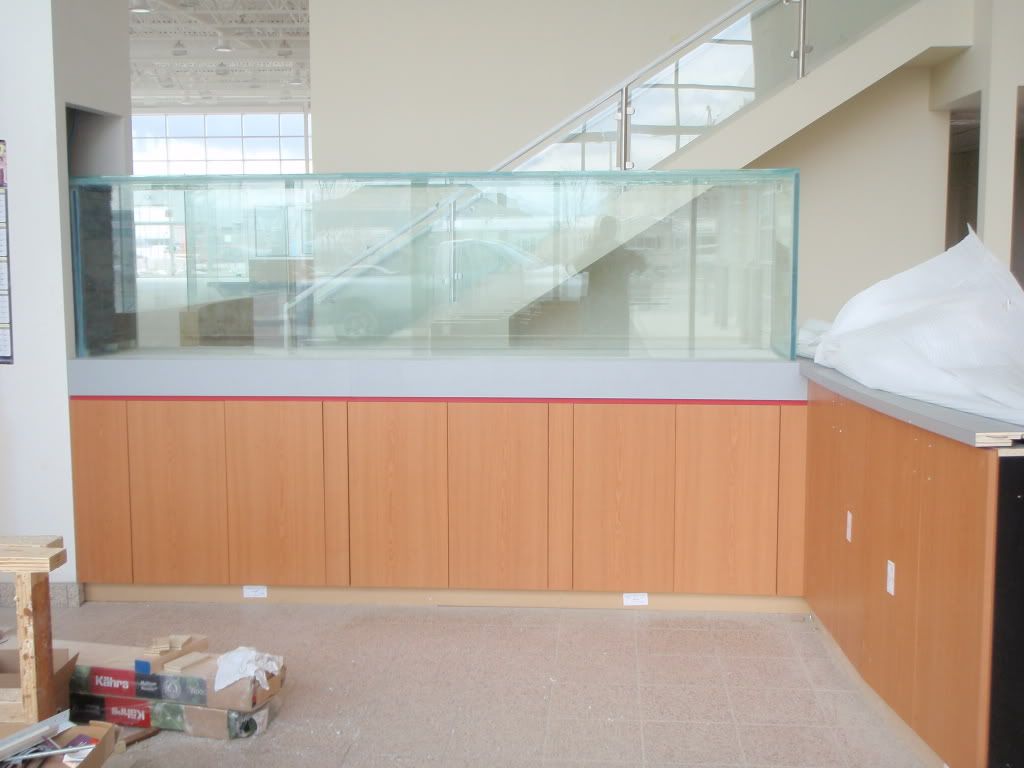 This is a clean look and with the matching canopy; it will have a stunning effect. Things to accomplish. - canopy delivered this week. fasten lighting and water return pipe. - Run 2 surge protectors and fasten into place under the stand and set up timers. - Start drilling Live Rock to place on pvc structure (pvc already completed sorry no pic.) Live rock is cured and ready to go. - Bring equipment (setup UV sterilizer, mixing pumps, ) -Next weekend water and plumbing test. Kevin and the Red Coral Team
|
|
#40
04-26-2009, 04:34 PM
|
|||||
|
|||||
|
looks great Kevin! If there's anything I can help with let me know
__________________
75 gallon with 20 gallon sump in the works. R. Bacchiega. Tattooer I didn't smack you, I simply High Fived your face. I've got so much glue on my pants it looks like a Friday night gone horribly wrong.
|
|
| Thread Tools | |
| Display Modes | |
|
|


 Linear Mode

