
|
|
|
#32
 11-20-2013, 02:42 AM
|
|||||
|
|||||
|
Hey everyone, so as promised I'm back with pictures for you guys. I spend the last 24 hours cutting and reworking my rock wall and when i finally stood back and looked at my new creation this is what I saw. Ill take you though everything from start to finish.
So i used: A Hammer A Chisel A Hack-saw with a masonry blade A Can of "Touch n' Foam" Landscape from Lowe's and a lot of time haha This is where i started with the old wall that you've all seen before 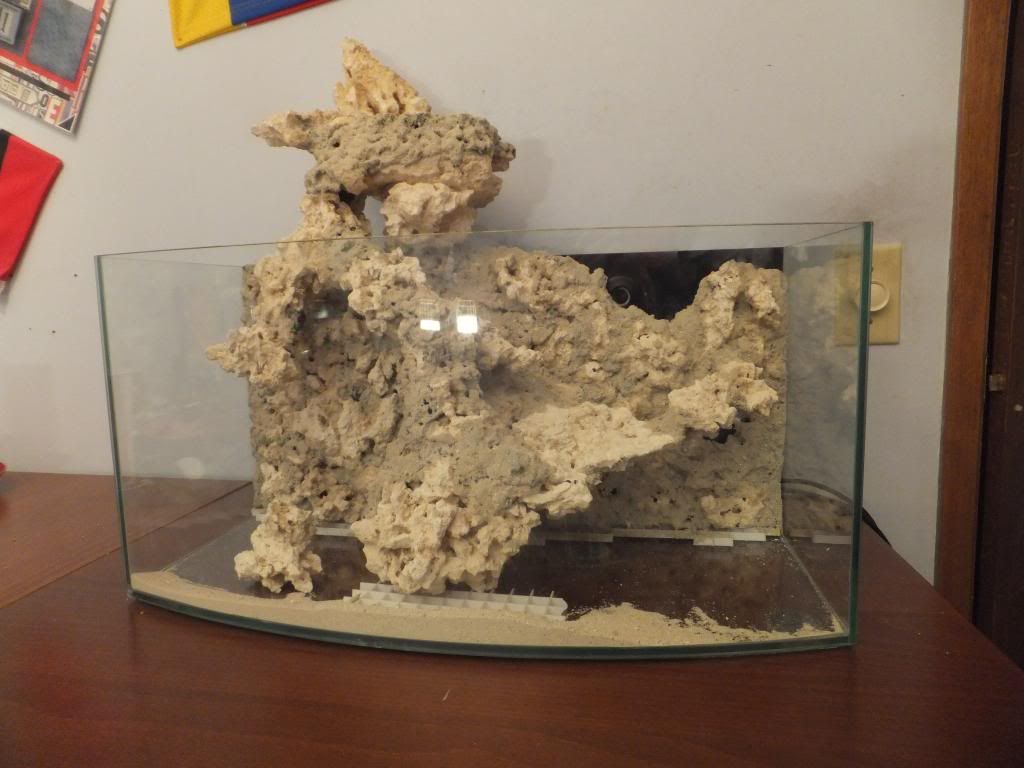 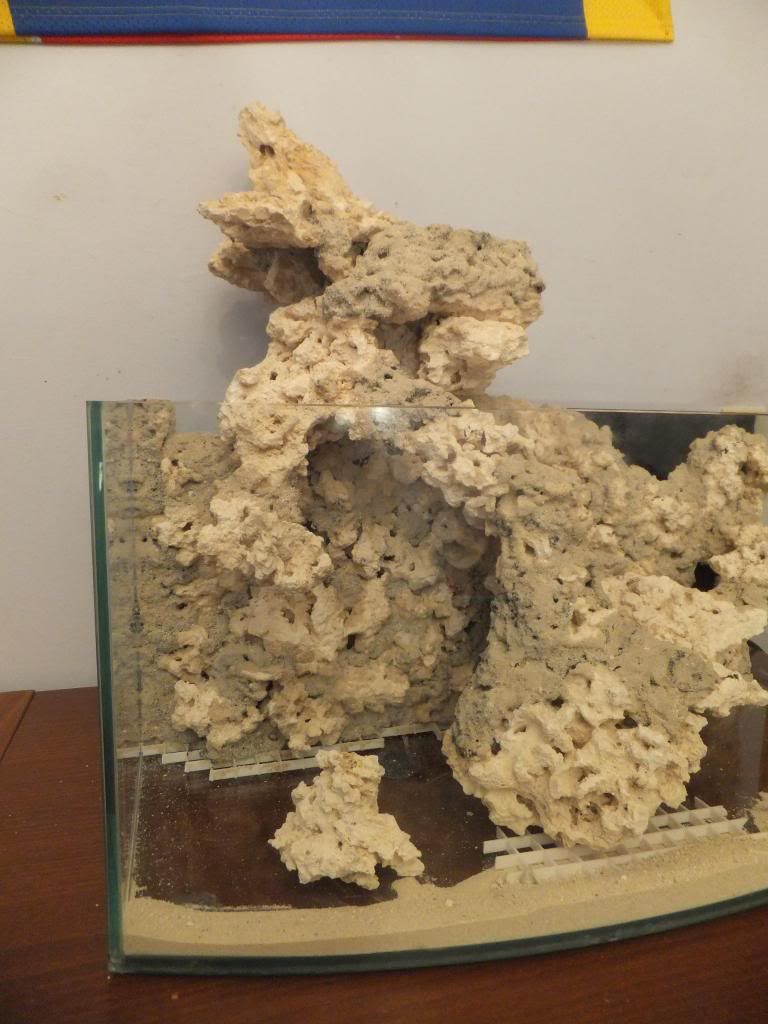 Then came the destruction of the wall, i cut off the upper rock that was out of the water and the moved it over to determine where i wanted it to sit  Once i figured that out i had to cut some off the back of the rock so that it sat flush with my wall - thats where the hack saw came into play 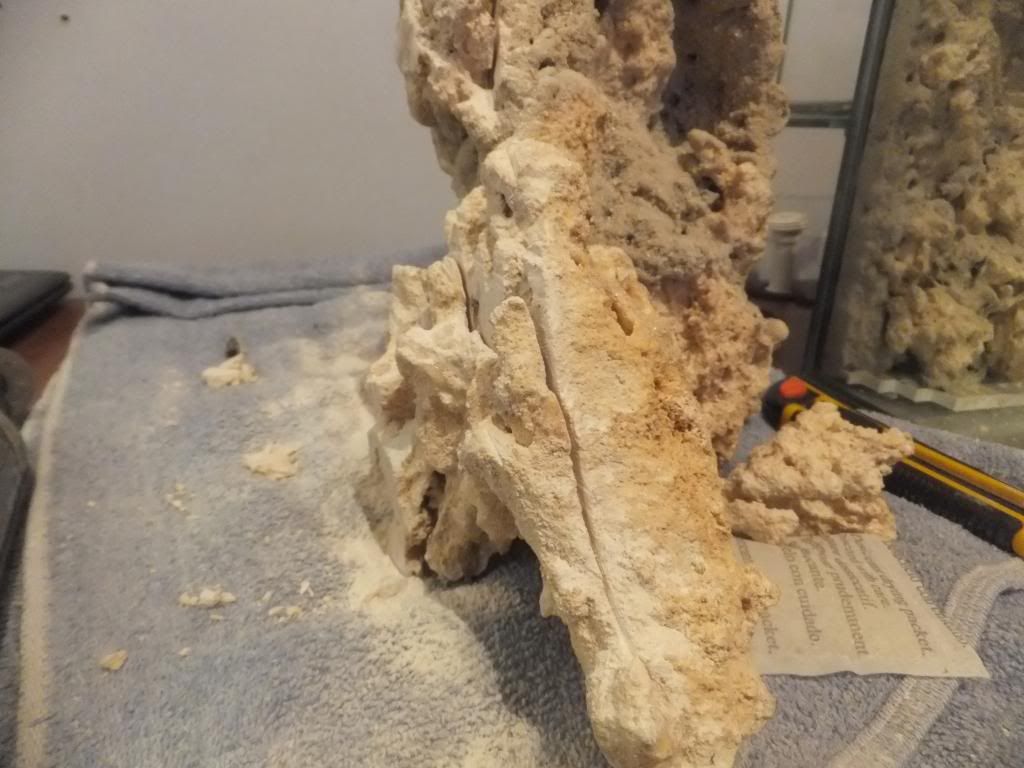 After a few hours of cutting dow the rock i was finally ready to start putting it back into place, but I knew that i wasn't happy with the size of the pond so out came the chisel and hammer and away i went until i had chunked out a very substantial portion of the work i had previously done  Then out came the foam and it was time to start rebuilding... This is the new pond 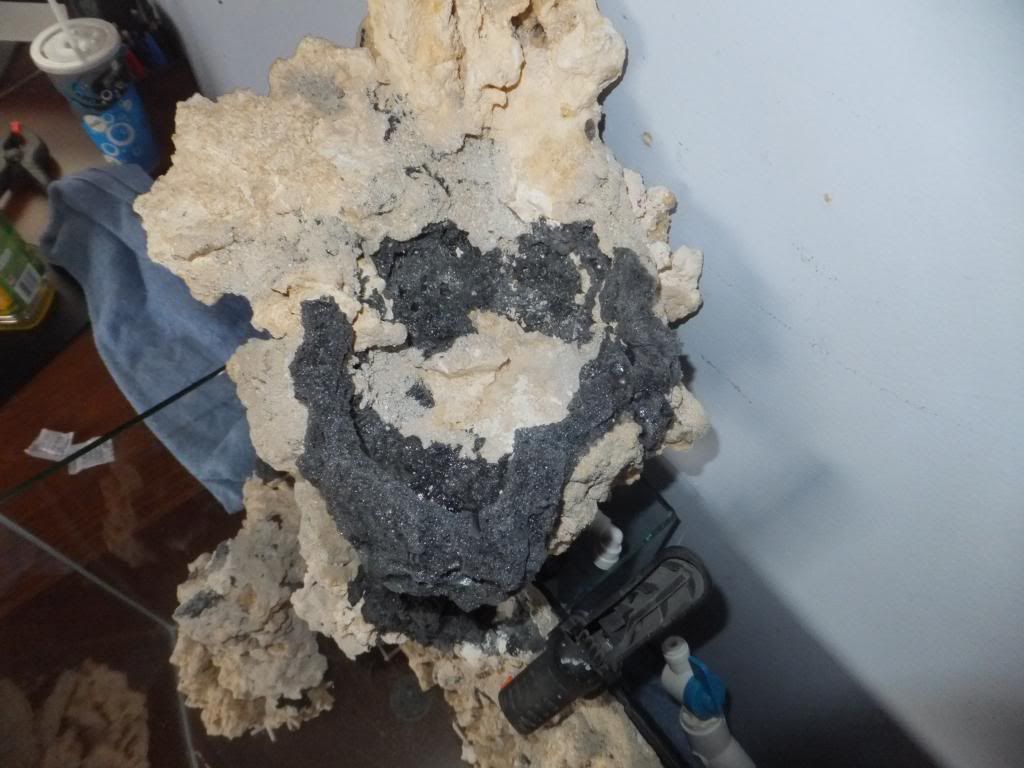 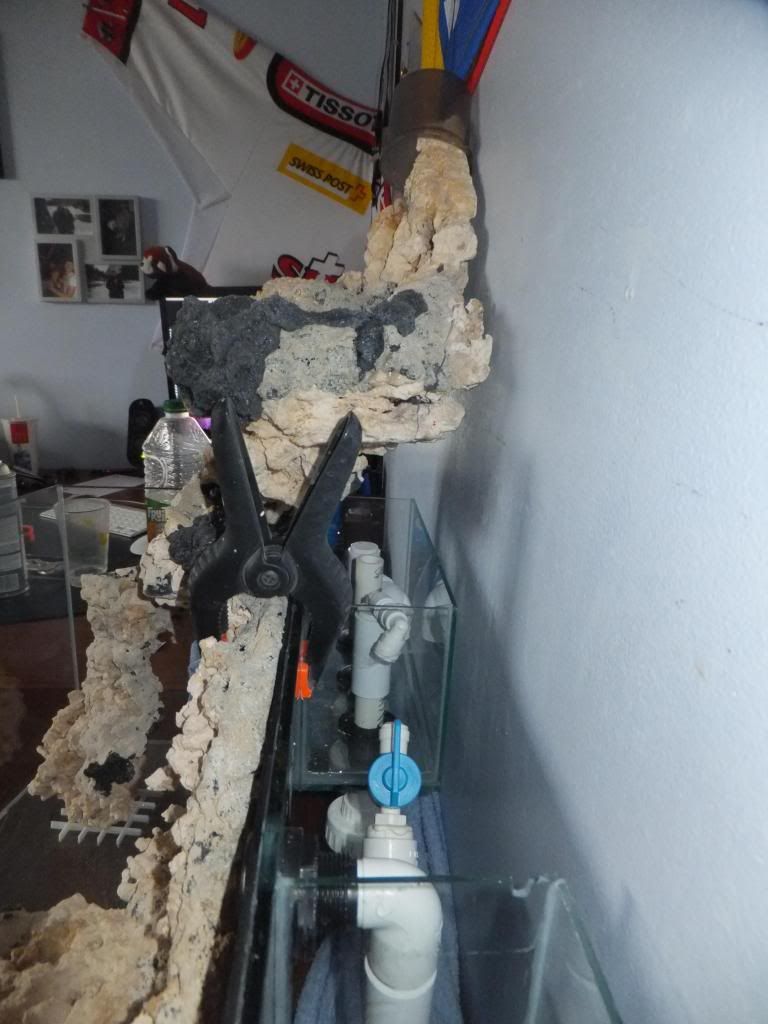 This what i ended up doing to the rock that was in the middle of the tank - I hammer out quite a bit of it and moved it around until i found a place for it 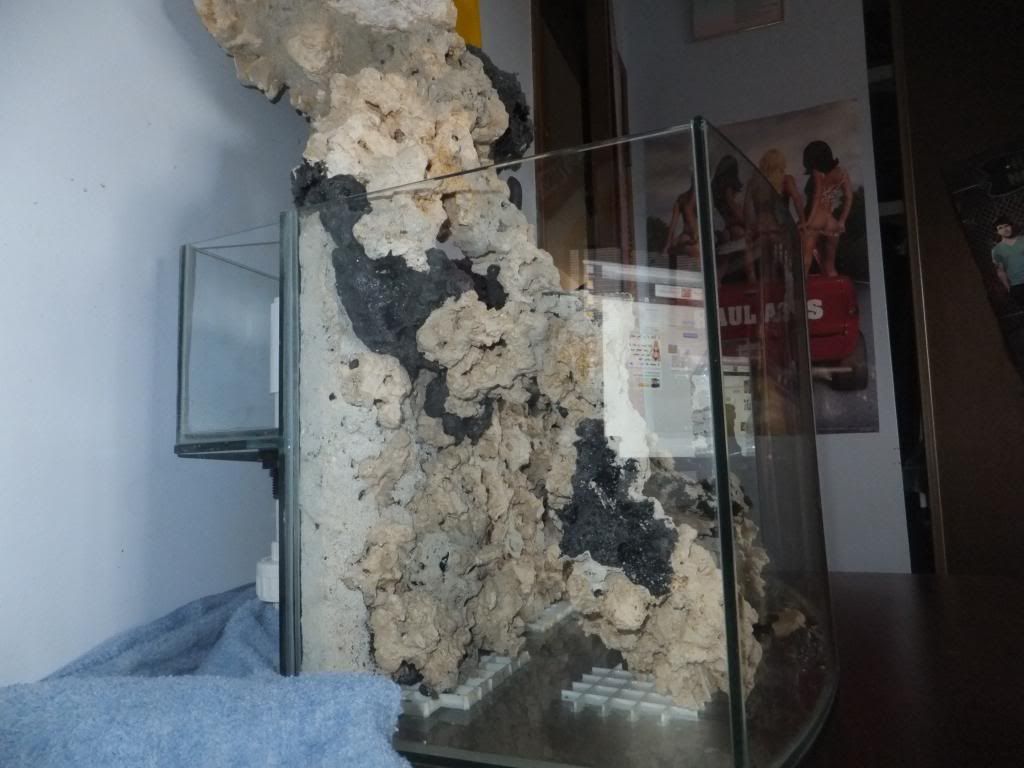 I added a leg to the ledge just for looks 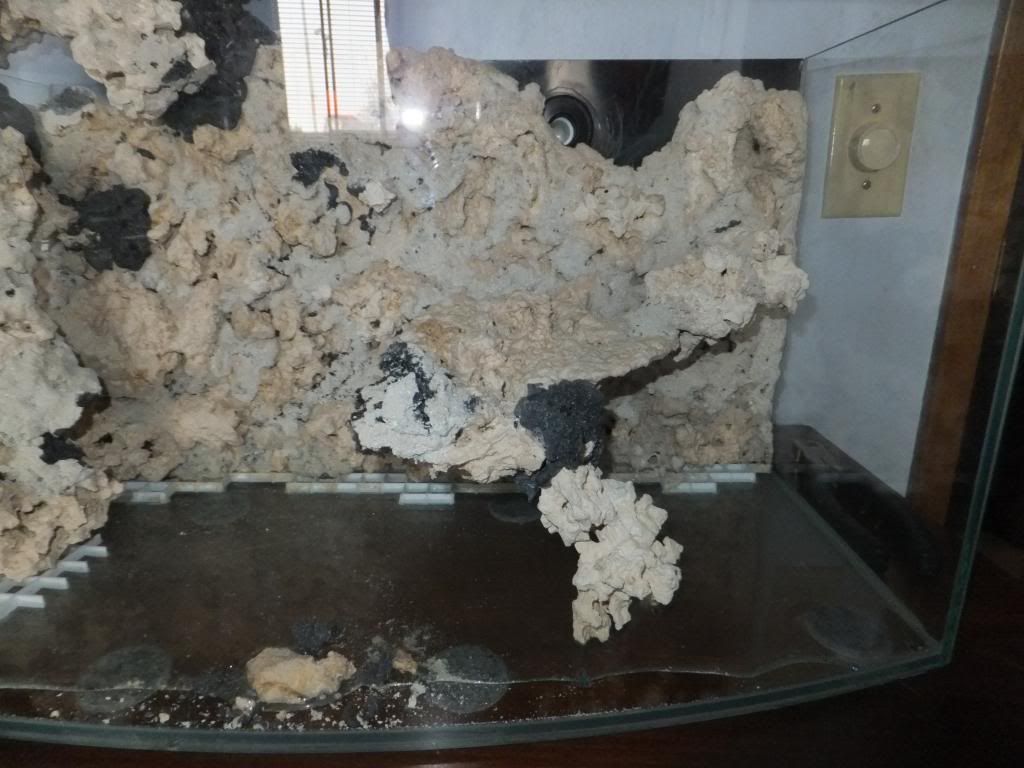 And finally this is the new scape from the front  
|
| Tags |
| bowfront, custom, exposed rock, tunze, wavebox |
|
|


 Threaded Mode