
|
|
|
#1
 01-30-2010, 12:07 AM
|
||||
|
||||
|
Hi,
I have started a 40 breder reef at the beginning of Jan and I will be keeping a journal of it on here. Most of the stuff will be copied and pasted from another forum yntil it's caught up to date  So here goes So here goesI've just moved to a new place and have decided to go from my 10 gallon nano to 40 breeder This is going to be a SPS dominated tank (hopefully). I will be transferring everything over from my now shabby looking 10 gallon. so here's the 10 gallon as it is now:  Some of the live rock was removed and put in buckets along with the mangroves; mainly because i was lazy didn't want to deal with stacking them again. They'll be in the big tank within the month.: 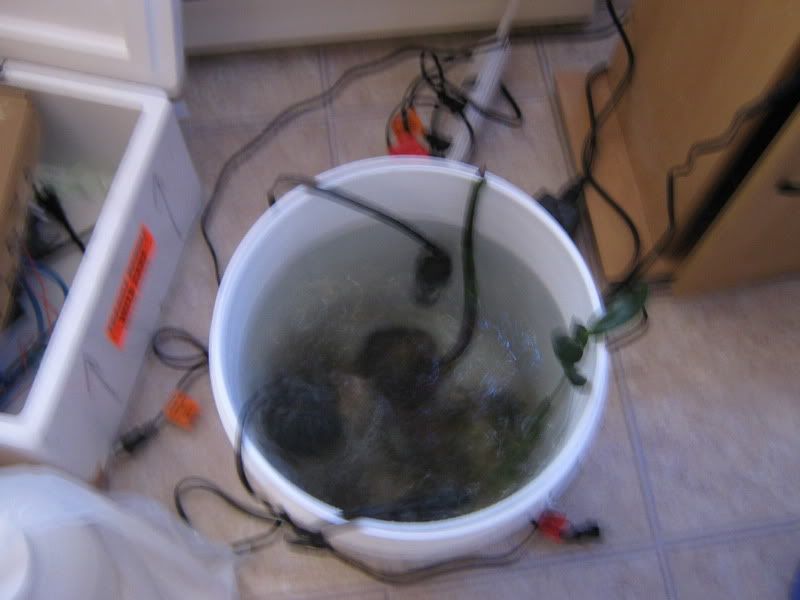 Here's the 40 gallon, the hood won't be used: 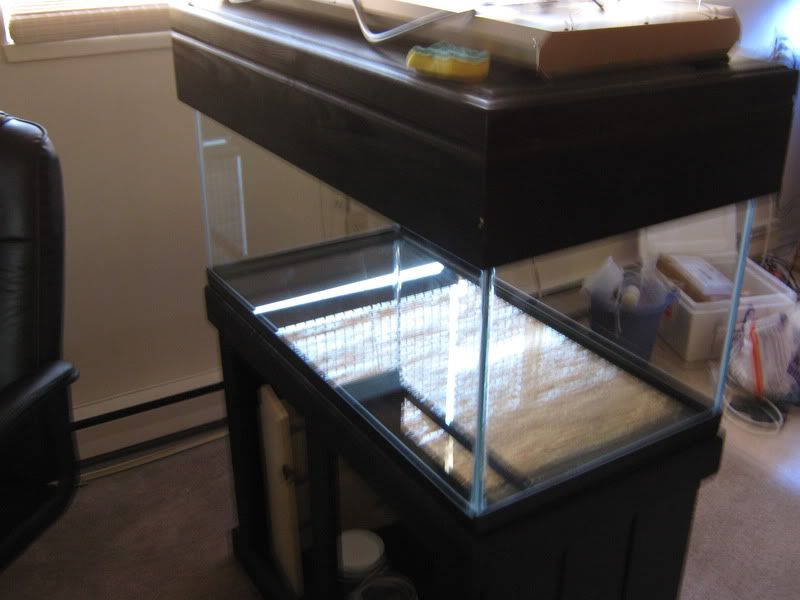 My Mp20 arrived 2 weeks ago  http://www.youtube.com/watch?v=37uXxHQ9rJo This will be a peninsula style tank. For the rockwork i'm hopint to achieve this look: http://i48.photobucket.com/albums/f248/123...dt/IMG_2427.jpg oh right... and the lights: 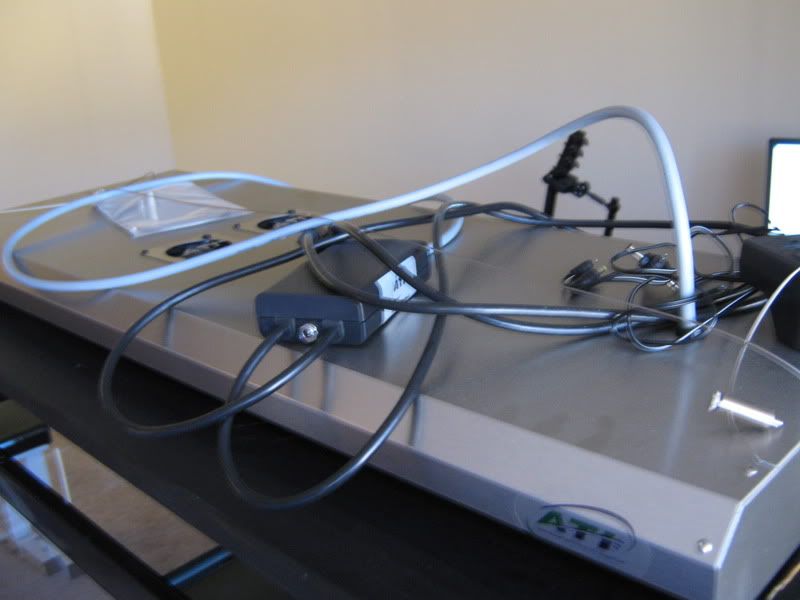 
|
|
#2
01-30-2010, 12:10 AM
|
||||
|
||||
|
Made some progress since the last update.
Bought a sump from a local reefer. But the darn thing won't fit under the stand  . .I think i'll just be using a 10 gallon tank into a sump/ refugium. I was debating whether or not to just lie my lights across the tank, because I couldn't figure out how to hang it. There was no space to access the tank when it was over and it would just be too inconvenient for doing maintenance. So I built the light hanger from 2x4's and painted it black. The height of the light fixture can be adjusted via the hanging kit that came with it:  Here is the current set up: 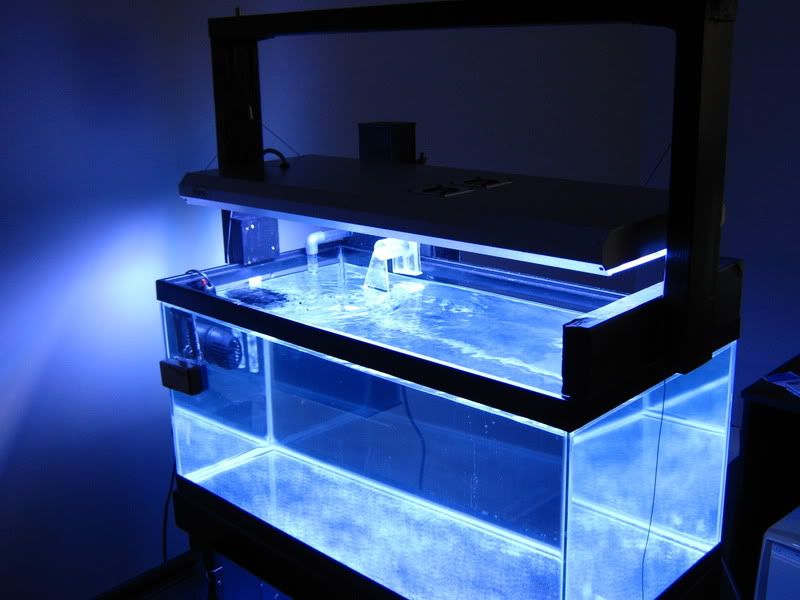 The deltec skimmer will be moved under the cabinet and hanging off the sump once I get the sump all set up. I have decided to go with a DIY pvc over flow and so far this is what i've got:  The check valve still has to be placed on the first "hump". I'll do that later today. It's waiting for me at the post office . Nothing has been glued in place yet.
|
|
#3
01-30-2010, 12:12 AM
|
||||
|
||||
|
I managed to get it all together and I think I got high from the fumes while doing it..... this stuff stttiiiinks! I even had the exhaust and windows cracked open. lol.
Any way I followed some advice on a youtube video on how to cement pvc pipe together, and I think it came together pretty well. The primer was purple and it made a bit of a mess by running down the lengths of some of the pipes so I went out and got some krylon fusion like most post recommended and spray painted it black. I finished it about a week ago, and today I put in the check valve and siliconed it. Now waiting for it to cure so I can do a test.... *crosses fingers* I hope it works! 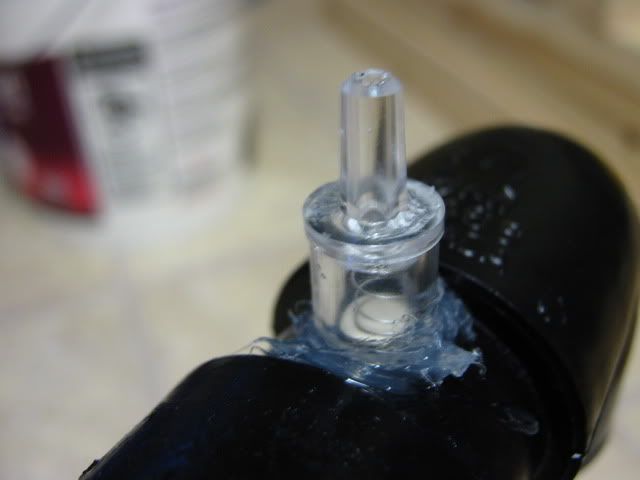 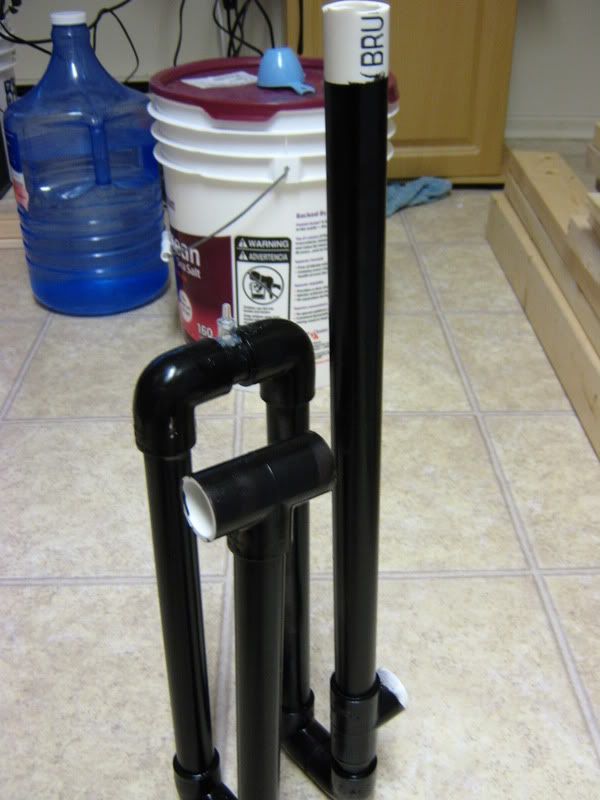 Well I became impatient and couldn't wait for the silicone to fully cure, and i had to test it. lol Good news is it works! DIY PVC overflow I'll probably have to re-silicone if it comes loose due to my impatience.
|
|
#4
01-30-2010, 12:13 AM
|
||||
|
||||
|
I finally finished the final setup. It has been running for about 3 days now checking that everything is running smoothly, and tweaking anything that needs it. I had a few moments of over flowing water, but it's all fixed and running smoothly now
So here's the system so far. 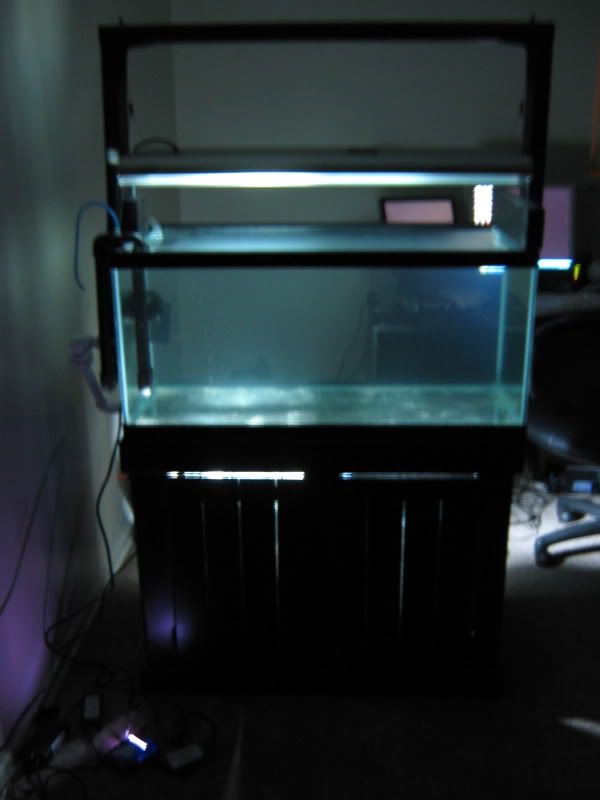 Here's he PVC overflow. 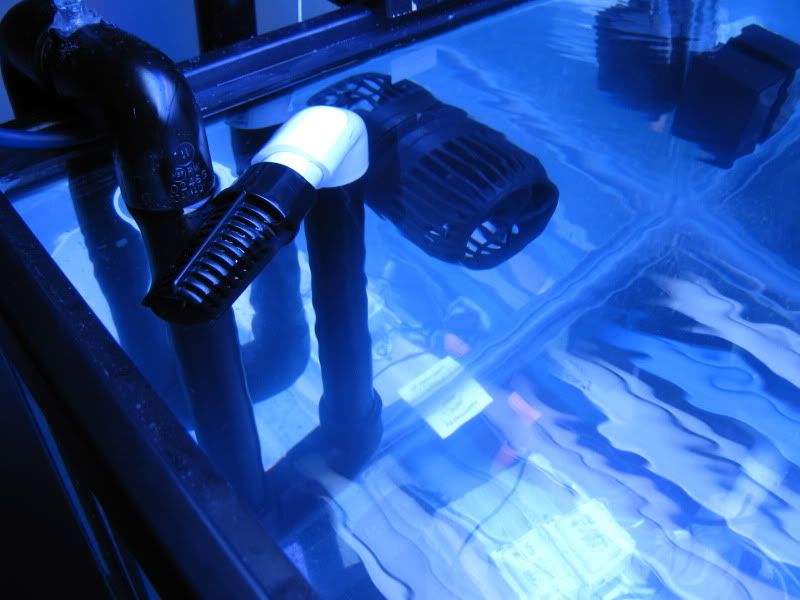 It's pretty silent unless the water level changes suddenly. Then air gets trapped in the pipes (I think) and it starts gurgling. This means I won't be able to use the short pulse mode on the mp20, unless there's another solution to taking care of the intermittent gurgling noise. But the other modes are pretty sweet too, so it's not a big deal. It's pretty easy to fix though, once the water level in the display tank calms down i unplug the return pump and let it drain water till it's at the set level, then plug the return pump in and it' silent again. The overflow is plumbed with pvc pipe to the first tank below the stand, which is the refugium area. 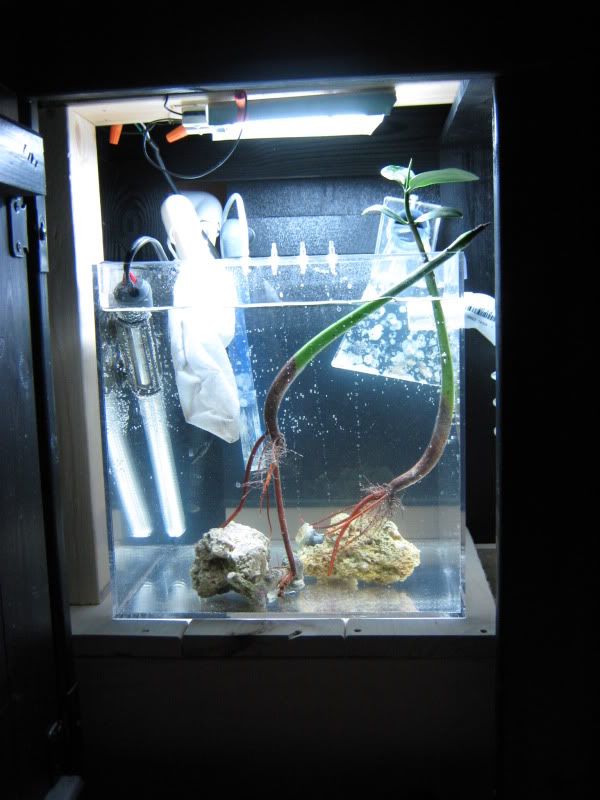 So far I just have mangroves and a few pieces of live rock inside. Will be getting some cheato soon and if I can find various other macro algae i'll be getting some too. The lights are 2 9watt coralife PC bulbs that I took out of a mini light last year I made a little airline tubing holder for where the dosing and ATO tubing will be connected to to keep things neat. So far the ATo tube is connected, haven't set up the dosing pump/timers yet. 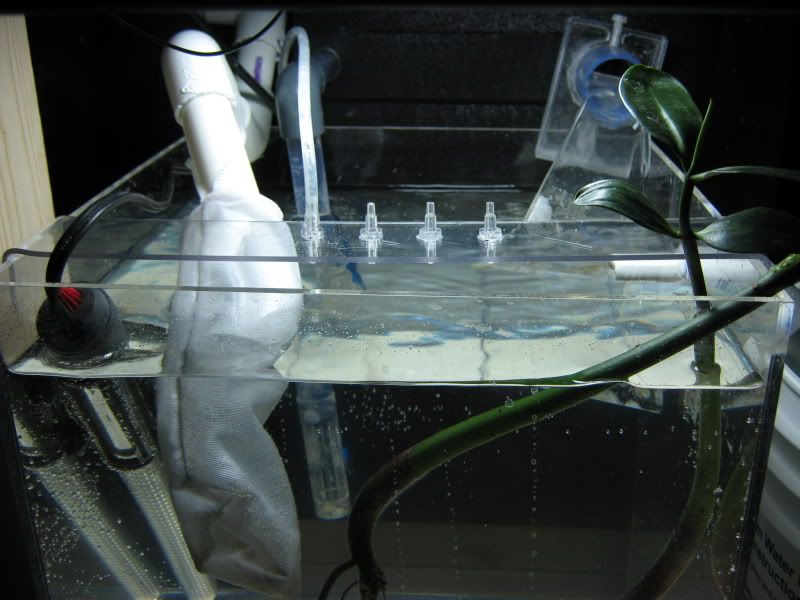 The water from the refugium is then transfered to a 5 gallon bucket through a PVC 40 degree elbow i bonded to the acrylic using weldon 16. It makes a really good seal and works perfectly. 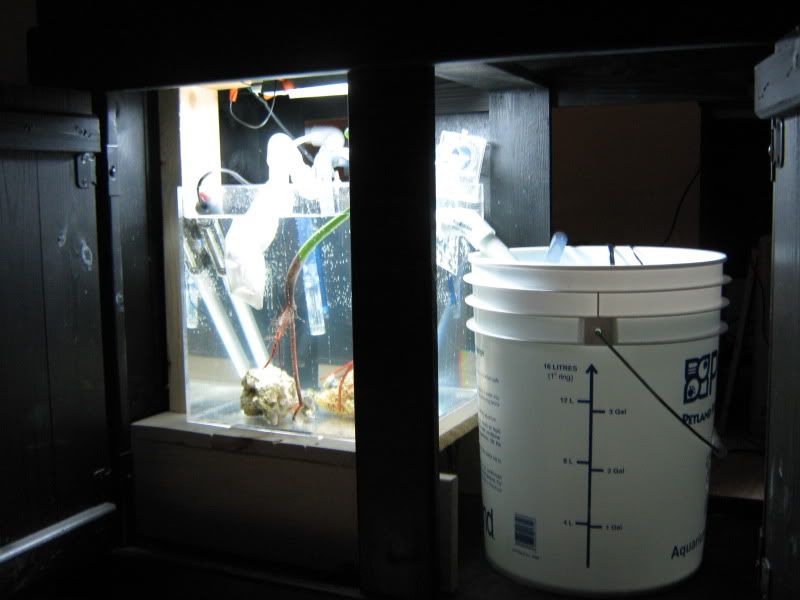 Inside the 5 gallon bucket is the ATO float switch and the return pump which is a maxijet 900. I initially had a brand new Quiet one pump in there. But the flow was waaaaay to much for my over flow to handle, and I really didn't need 600gph being pumped from my sump since I already have the vortech providing more than enough flow in the display. I tried slowing it down with a ball valve but it had to be turned way down, and the pump made a loud vibrating noise so I decided to go via the maxijet route and it worked out perfectly 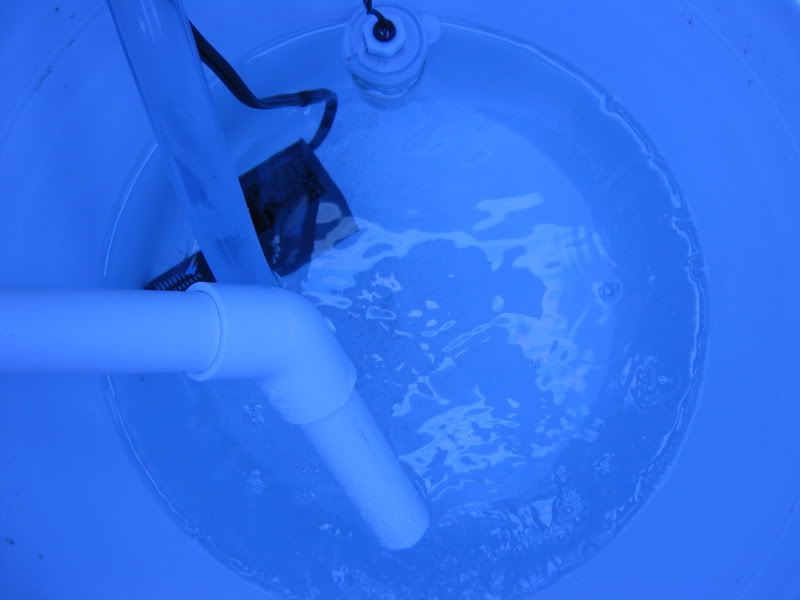 The protein skimmer is a deltec MCE 600 and there's a media bag filled with carbon in the return section of the skimmer. It wouldn't fit underneath the stand, so i had to prop it up on 2x4's and keep it outside the stand on the back. I wanted it to be a peninsula style tank but the equipment spilling out from underthe tank couldn't be helped. I guess it's a semi -peninsula tank now lol. 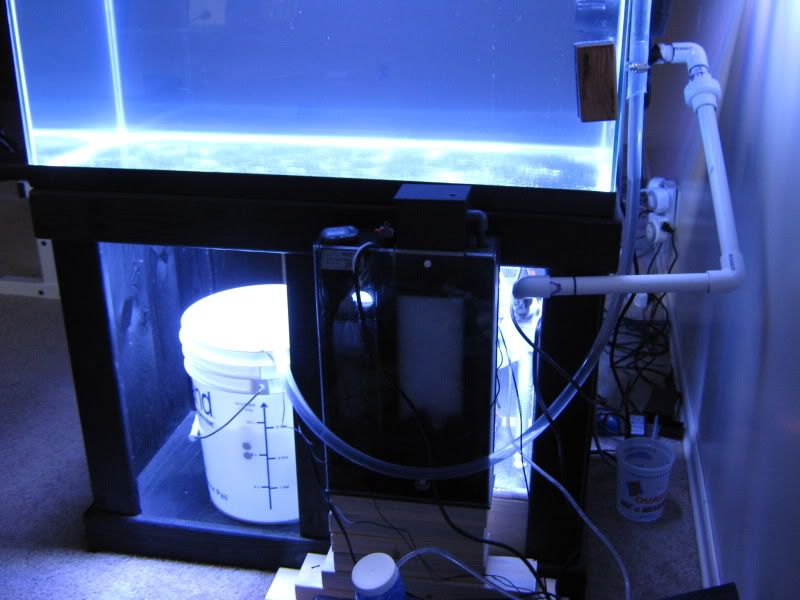 Light timers hogging a wall socket 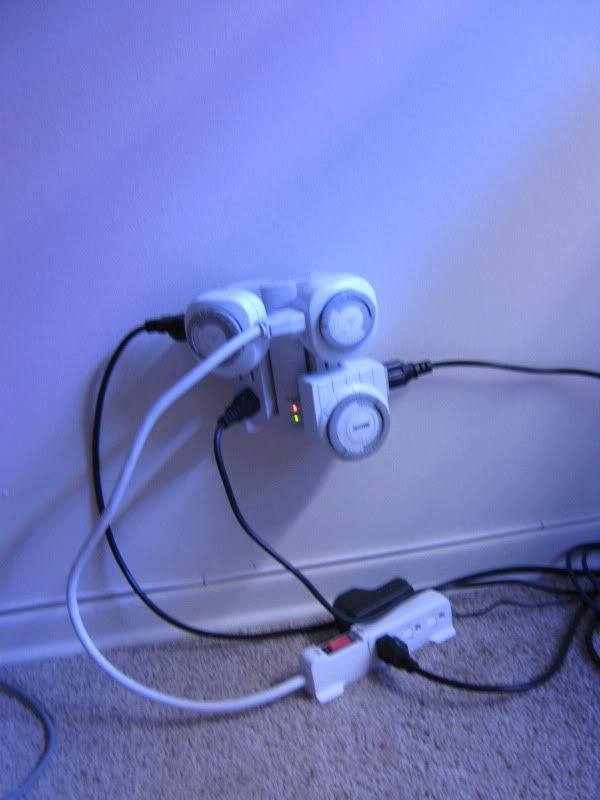 And finally, Here's where all the dosing /ATO equipment will be kept. It's next to the sump and I decided to use the hood that came with the tank stand to keep them in so it looks all fancy and stuff lol. Might as well use it for something  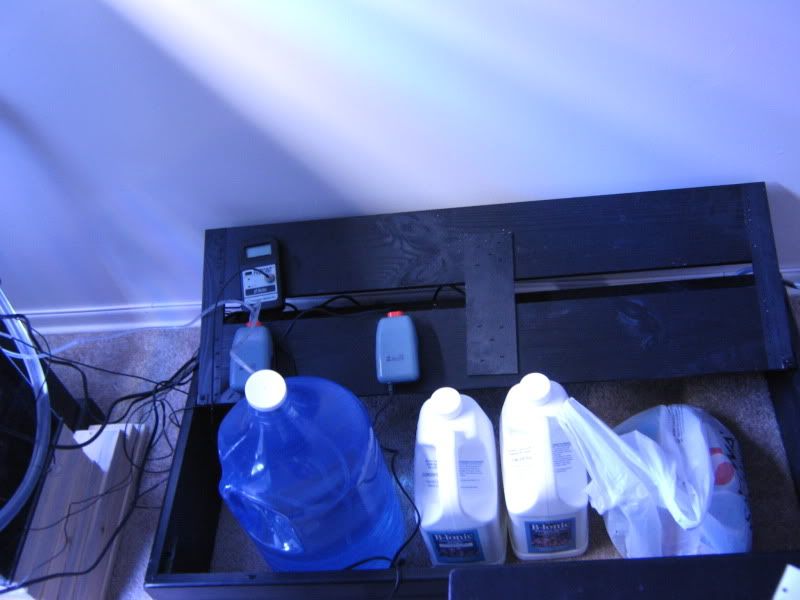 I haven't set up dosing yet, but I will be doising for alk and calcium using a method I read about on nano-reef where you use digital light timers, aqualifter pumps, and ball valves to get just the right amount in when you want. Short vid tour: http://www.youtube.com/watch?v=pu3WlX1NufI Next up will be the rock structure. I'm actually working on it right now, I love the long weekends! Will probably be in the next update
|
|
#5
01-30-2010, 12:14 AM
|
||||
|
||||
|
Added rock and aquascaped. Mostly dead rock. Built the towers and shelves using reef epoxy. Live rock will be transferred over from my old tank soon (there's 3 or 4 pieces in there right now of live rock)
left side 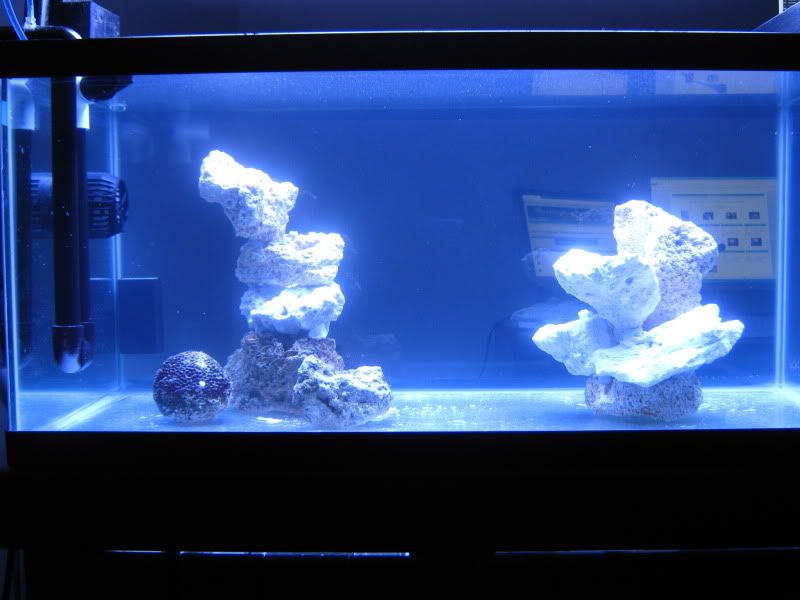 front view 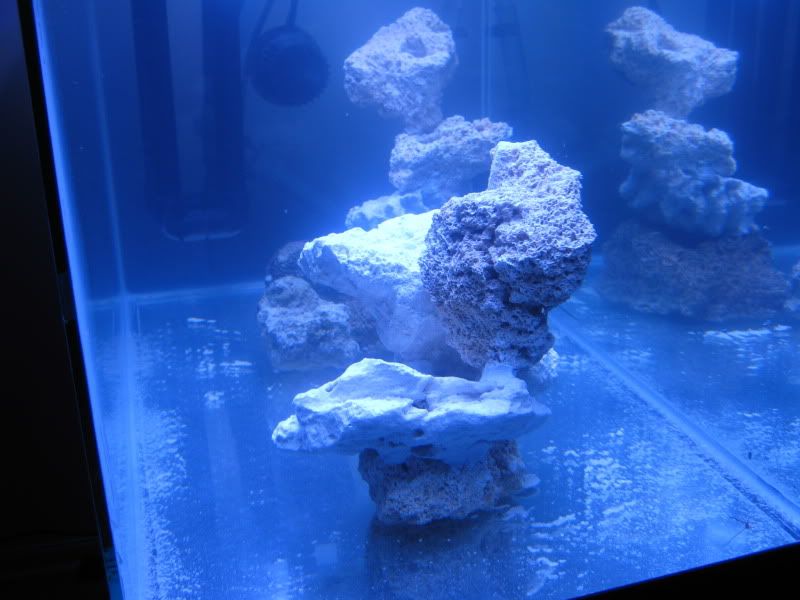 right side 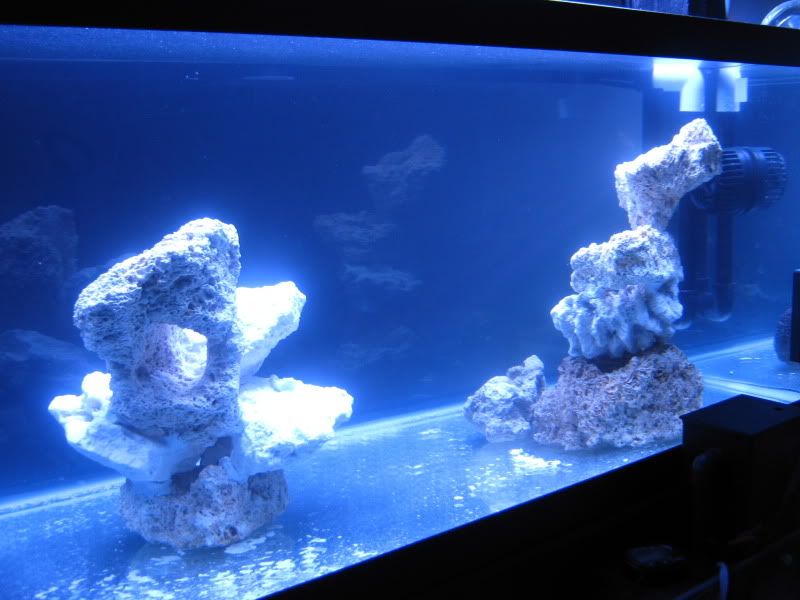 Front-Angled view to get a better look of ledges for sps 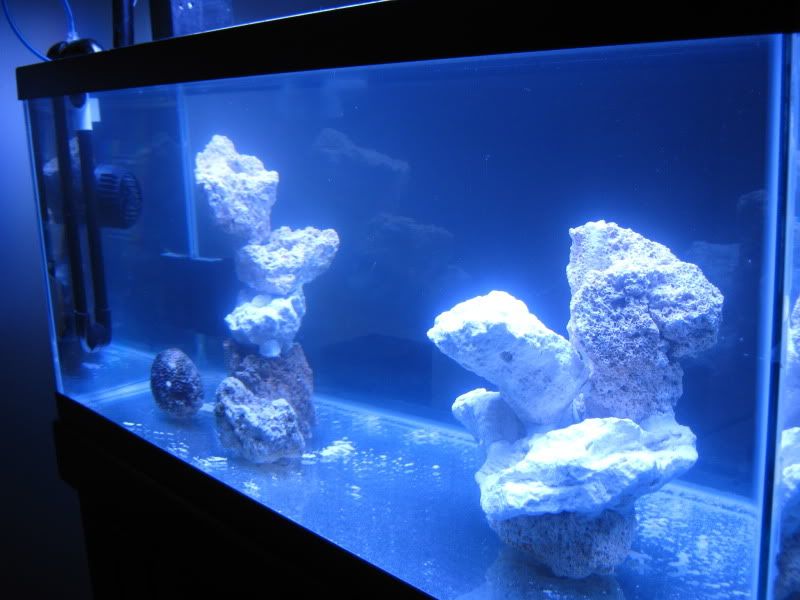
|
|
#6
01-30-2010, 12:15 AM
|
||||
|
||||
|
I changed the intake of the overflow to this:
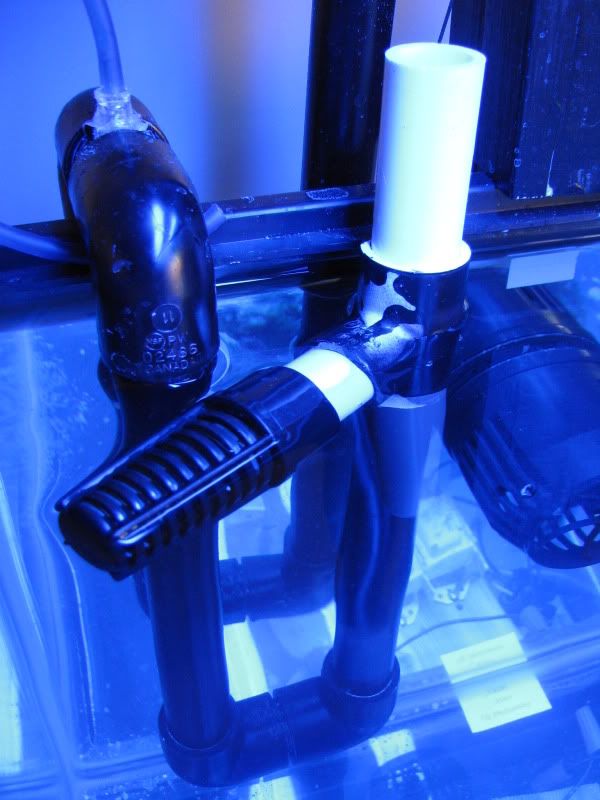 I used a 'T' pvc fitting to allow more air in. This fixed the gurgling noise problem when i had the vortech on short pulse and making waves. It used to gurgle a lot when the pump was in this mode. I figured it needed an air escape while draining, and it seems to have worked. The intake part (i.e 'T' fitting or 90 elbow whichever you choose to use) does not need to be cemented onto the rest of the pvc overflow. It's easy to switch around and experiment with.
|
|
#7
01-30-2010, 12:16 AM
|
||||
|
||||
|
Been slacking on updates.
Moved the corals into the tank: This is when they were first moved over Front/main view: 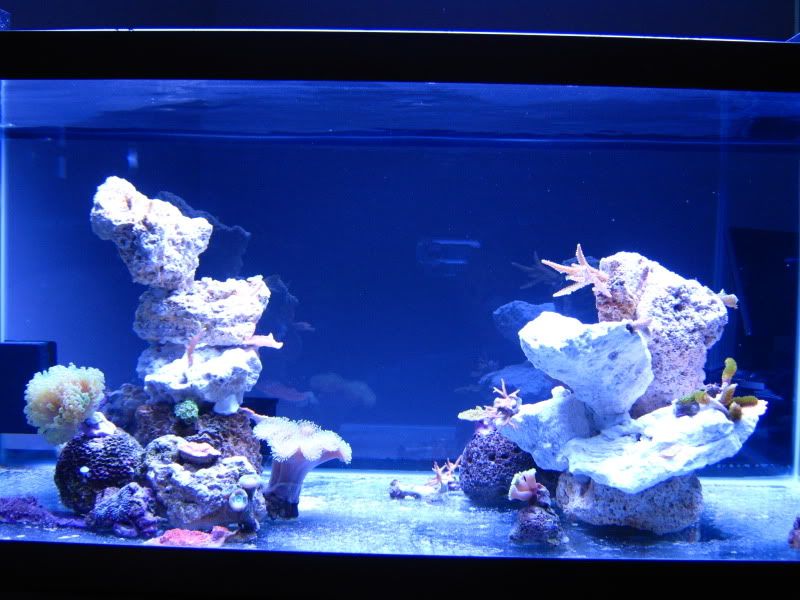 side view 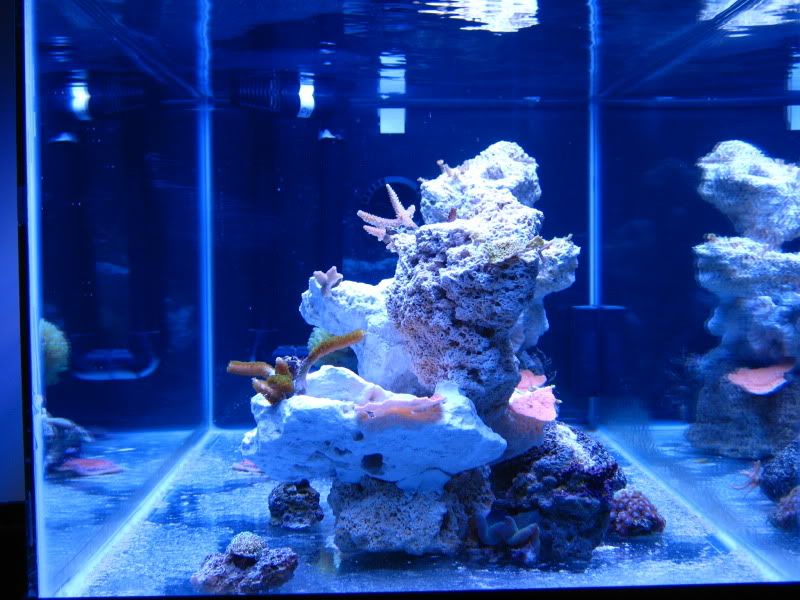 back view 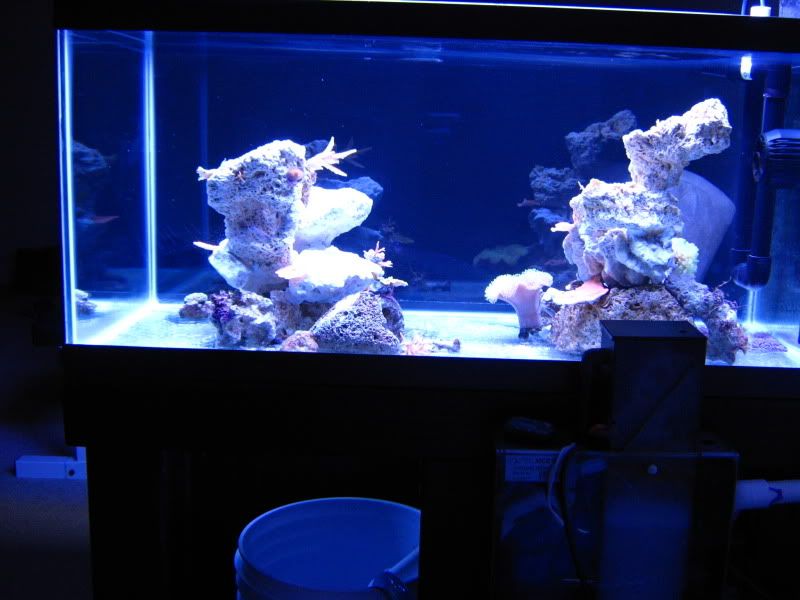 angled top view: 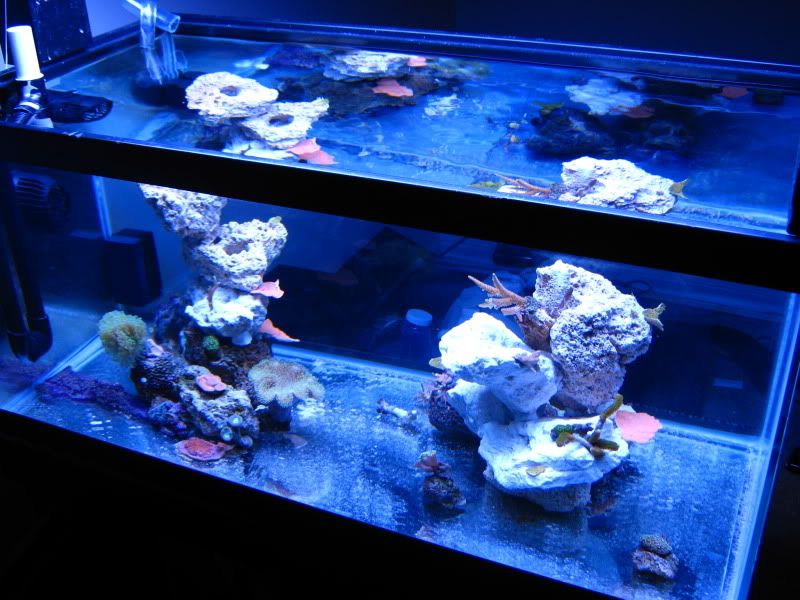 Keep in mind this is a peninsula style tank 3 days ago the dosing timer for alk f***ed up and got stuck on for half an hour. my alk level's went from 3.7 to 4.75 meq/L. Luckily the corals didn't mind the sharp change at all. Did a water change as soon a i saw the tank go milky white. Later I learned it was not necessary. A few hours later the tank water was clear. But it looked like it just snowed everywhere in the tank. 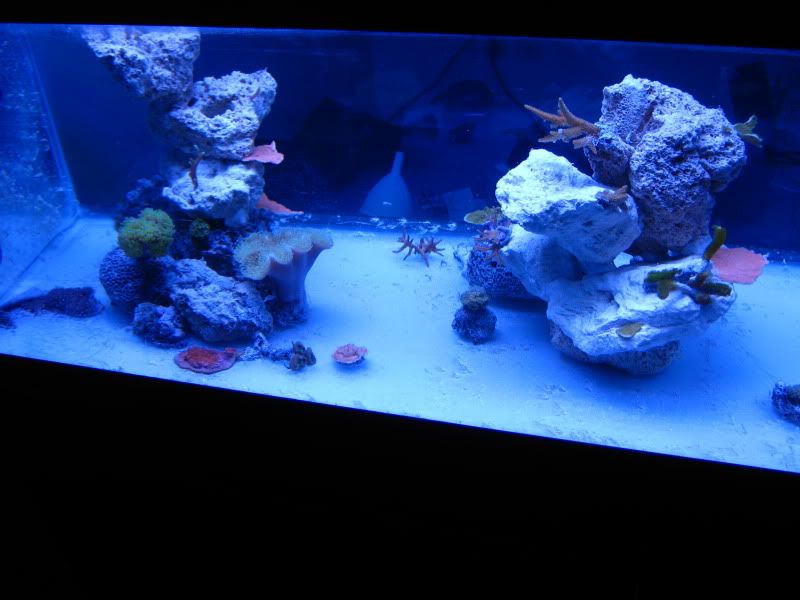 Right now I'm just dosing calcium until the alk levels come down naturally. The white precipitate on the bare bottom is slowly disappearing. It actually looked pretty nice lol. Maybe i'll change the black paper underneath the the glass bottom to white The birds nests are showing white tips already... they really are super fast growers O.o. Didn't even grow this fast in the 10 gallon
|
|
#8
01-30-2010, 12:17 AM
|
||||
|
||||
|
Not much to report except i've been dosing just the calcium part of the 2 part until the container it's in reaches the same level as the alk one that overdosed.
I guess a few closeups of the corals. ***Warning*** they are in bad shape from the move and the holding tank they were in before putting them in here. If you are offended by baldness, bleaching and browning in corals do not look any further :P They are slowly recovering! *crosses fingers* Green monti cap browning now... but has some crazy growth (whitish tips): 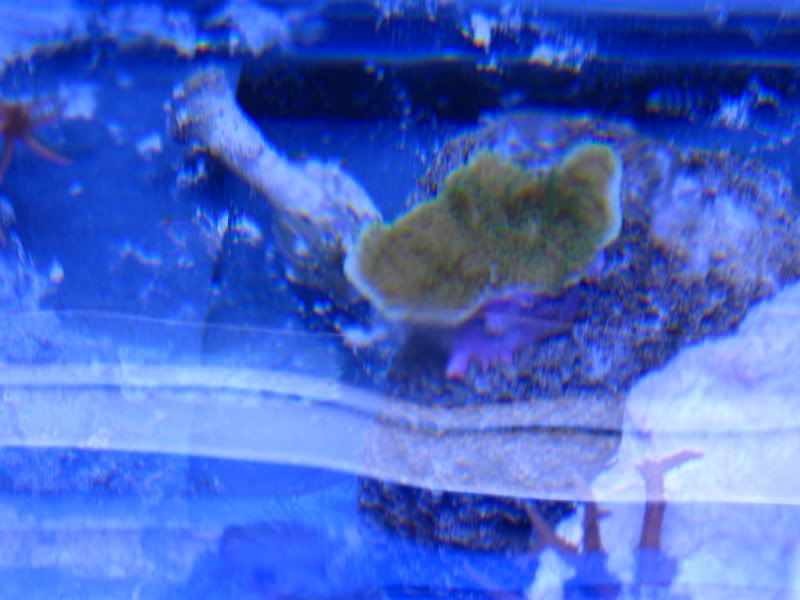 Birdsnests which seem to be coming back with a vengeance: 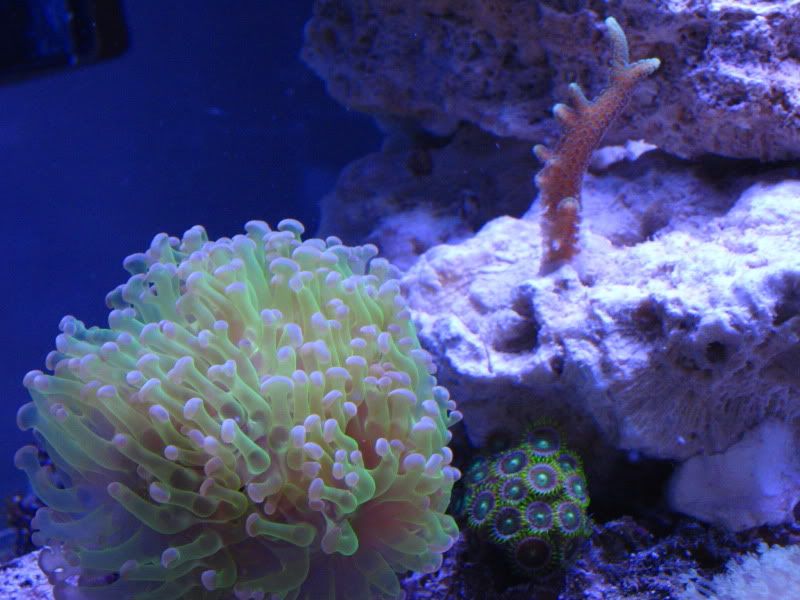 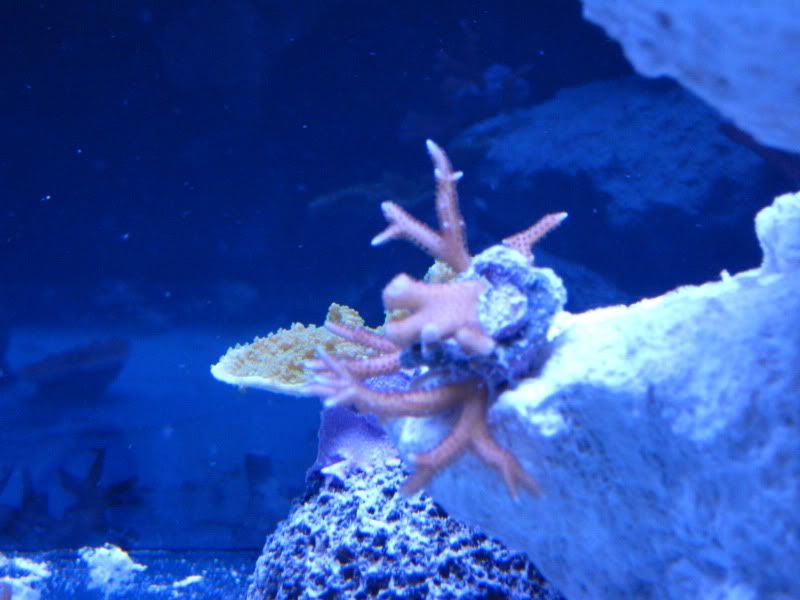 The second one is supposed to be hot pink Right now it's orange.Purple polyped green monti. Another one making a comeback. It's base was completely white. It's getting green again. Hopefully it'll be bright green soon. Yellow stag on top. 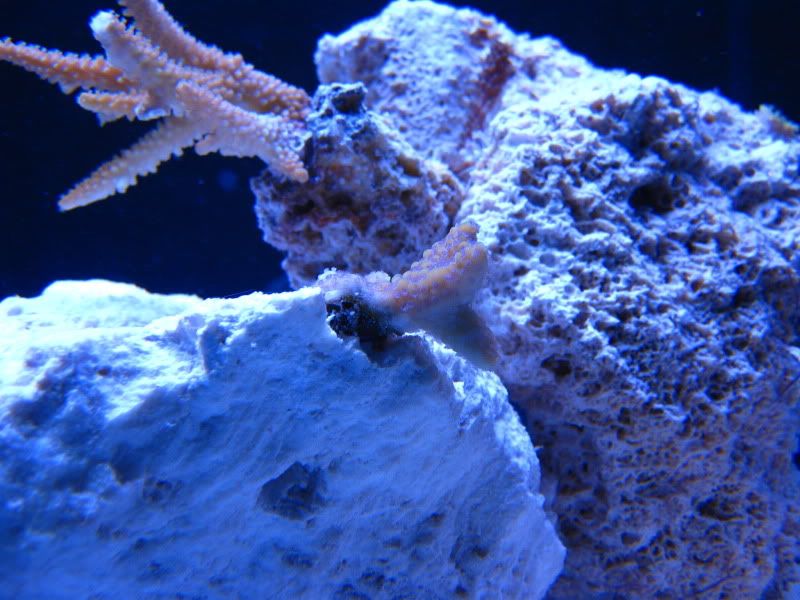 Green slimer.It's got those crazy long polyps at the tips and is very hairy... reminds me of a millipora. It started STN'n at the base so i had to frag it before putting it in. this piece here is the worst one. I decided to leave the dead part of it in to see if it would recover.  Candy cane and encrusting montipora. 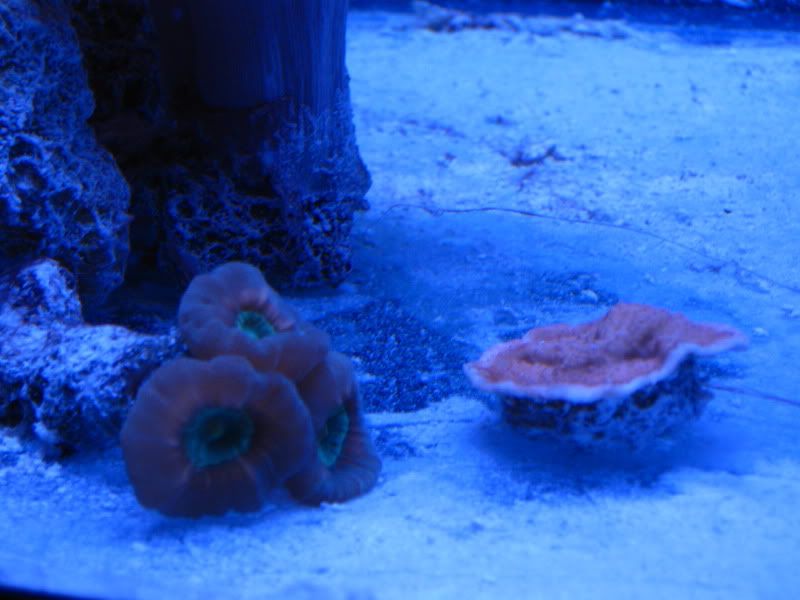 A chalice in bad shape  Rics 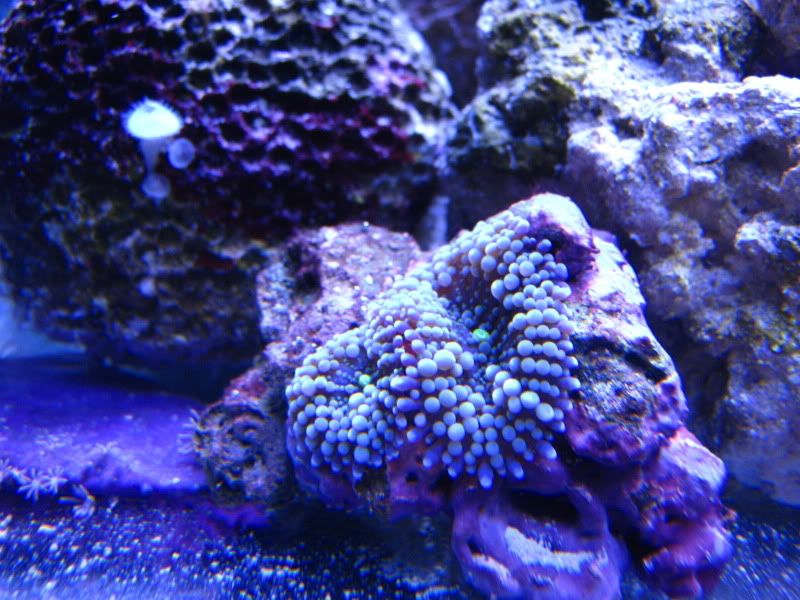 purple tip brown polyp monti. 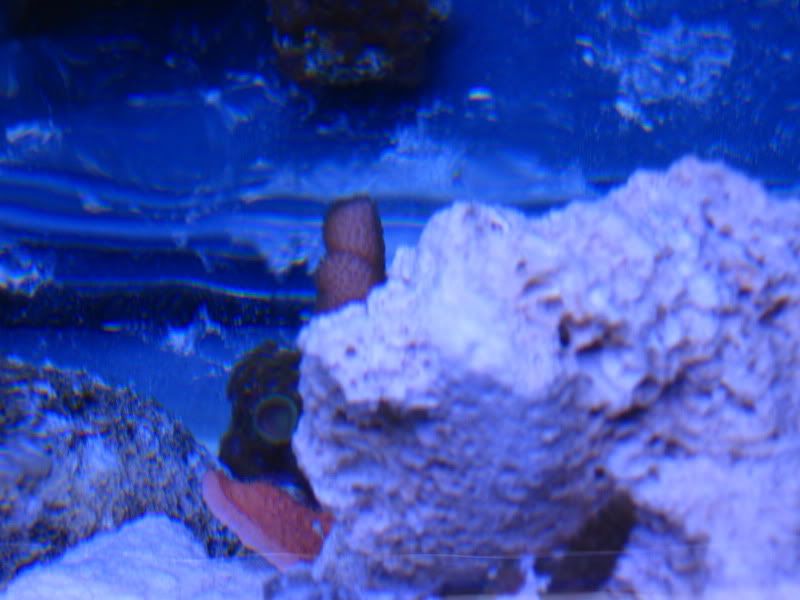 This one came as a bonus frag when I ordered sps for my 10 gallon. It's supposed to be a "sky blue" stag..... we'll see 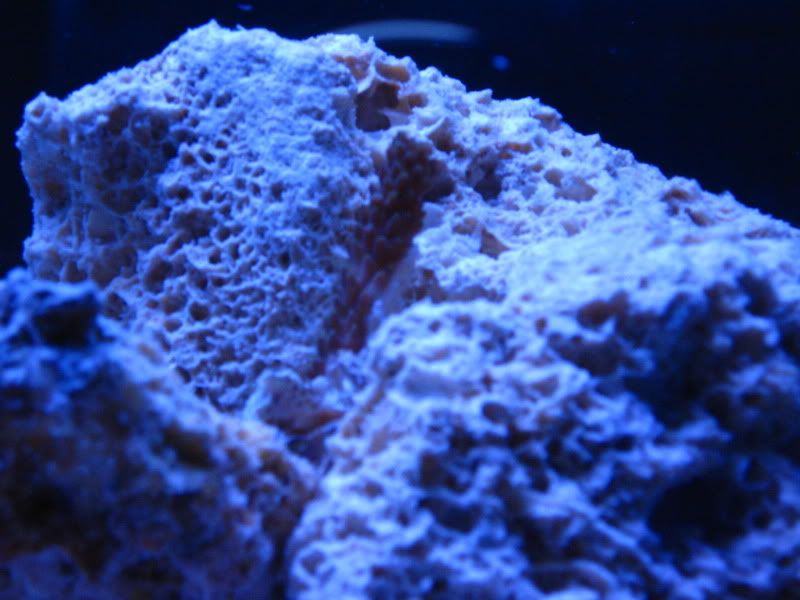 And the backside-front view, looks askew cos of the angle 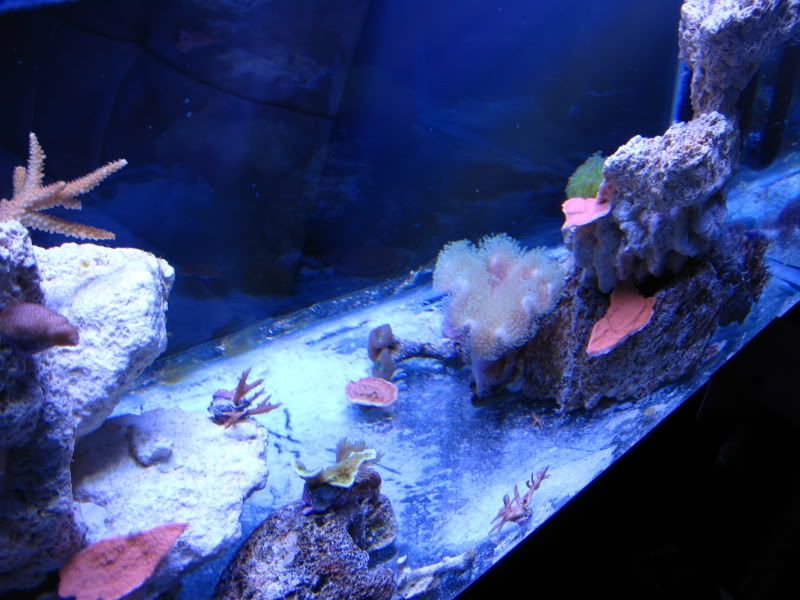 Most of these corals were hit hard when I went on vacation for a week and asked my roomate to take care of the 10 gallon a few months ago.... the light timer got stuck on for at least 30 hours.... the ATO was all screwed up... and then there was the move..... I'm lucky that some of these corals are still here
|
|
#10
01-30-2010, 01:29 AM
|
|||||
|
|||||
|
wow thats looking pretty nice. i like the way you did your rock work. and that light looks as though it pounds pretty good too
__________________
4' custom tank all starfire. End overflow 2 AI sols reef keeper lite mp40wes Diablo skimmer Mag 12 return pump also feeding two reactors
|


 Linear Mode

