
|
|
|
||||||||
| Portal | PhotoPost Gallery | Register | Blogs | FAQ | Members List | Calendar | Search | Today's Posts | Mark Forums Read |
 |
|
|
Thread Tools | Display Modes |
|
#1
 03-02-2015, 10:47 PM
|
|||||
|
|||||
|
What's a Paludarium? I'm not really sure but this thread will outline methods I used to construct one.
Step one, shut down your reef tank. Nothing in there will be useful for the remaining steps. This concludes step one. 
|
|
#2
03-02-2015, 10:54 PM
|
||||
|
||||
|
...in my living room? I think I'll stick to reefing.
|
|
#6
03-03-2015, 12:33 AM
|
|||||
|
|||||
|
should not have looked at this thread . Now I want to build one after googeling . Will follow see how it turns out
__________________
stuff happens when you go outside Im a hustler / I'll hop in the ocean / sell a whale a splash
|
|
#7
03-03-2015, 12:54 AM
|
|||||
|
|||||
|
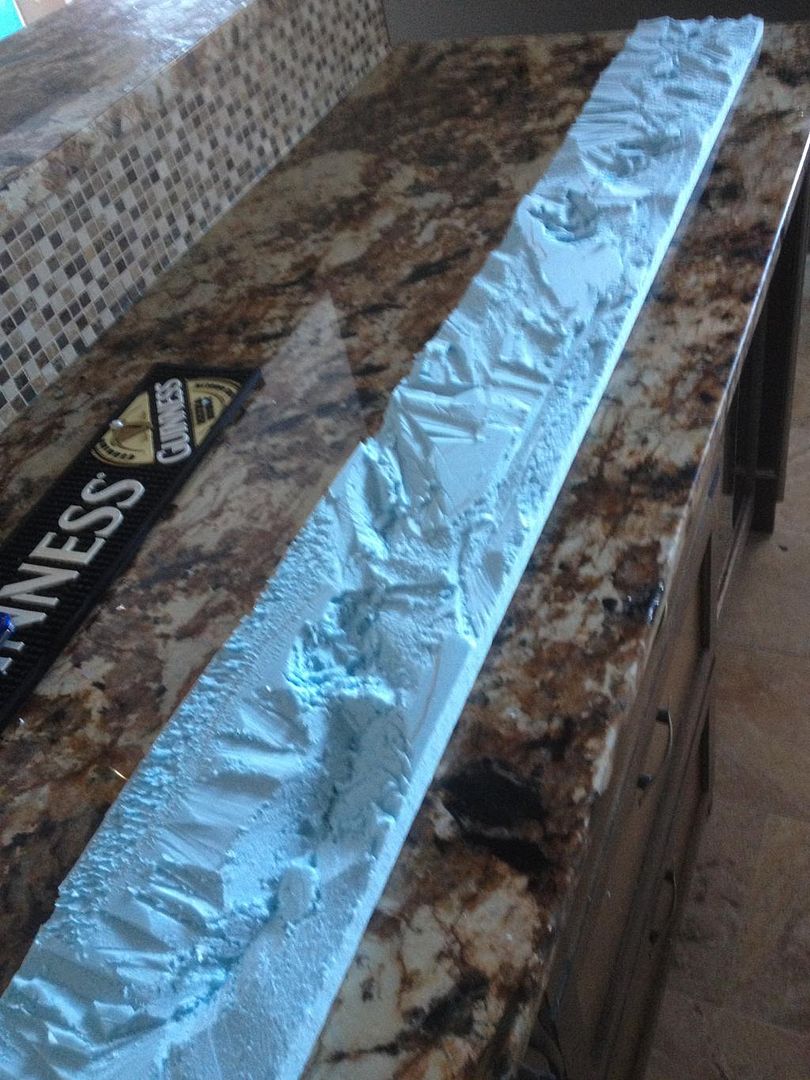
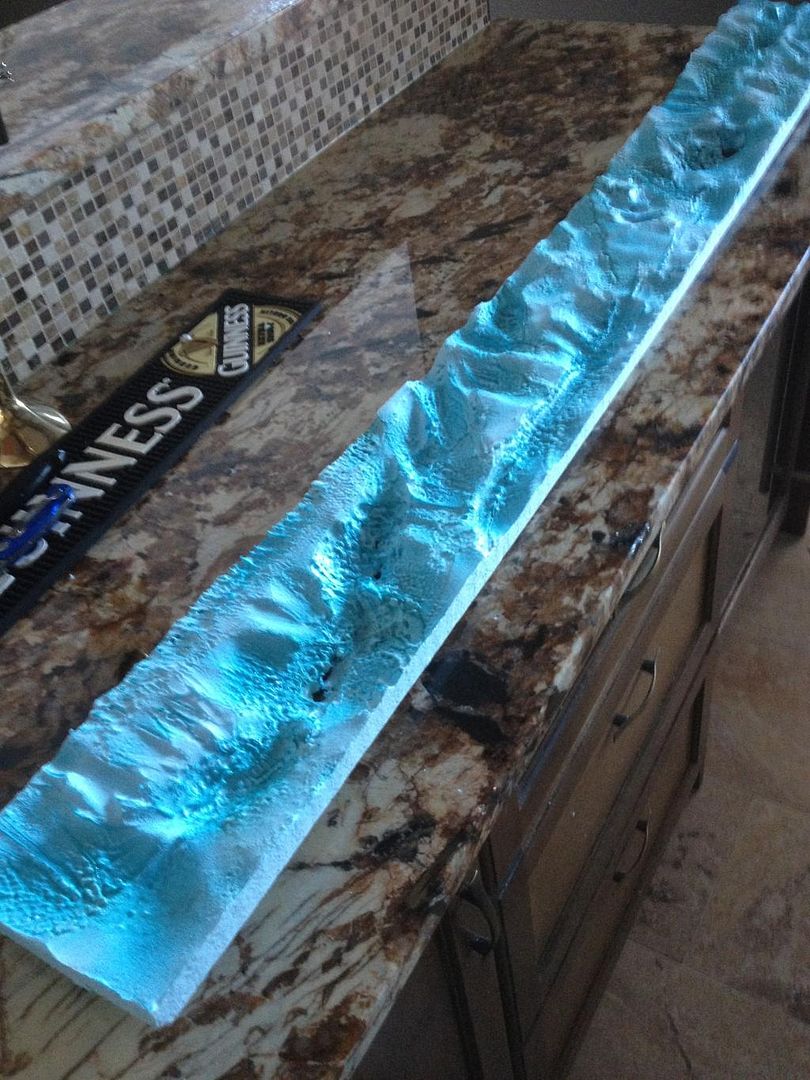
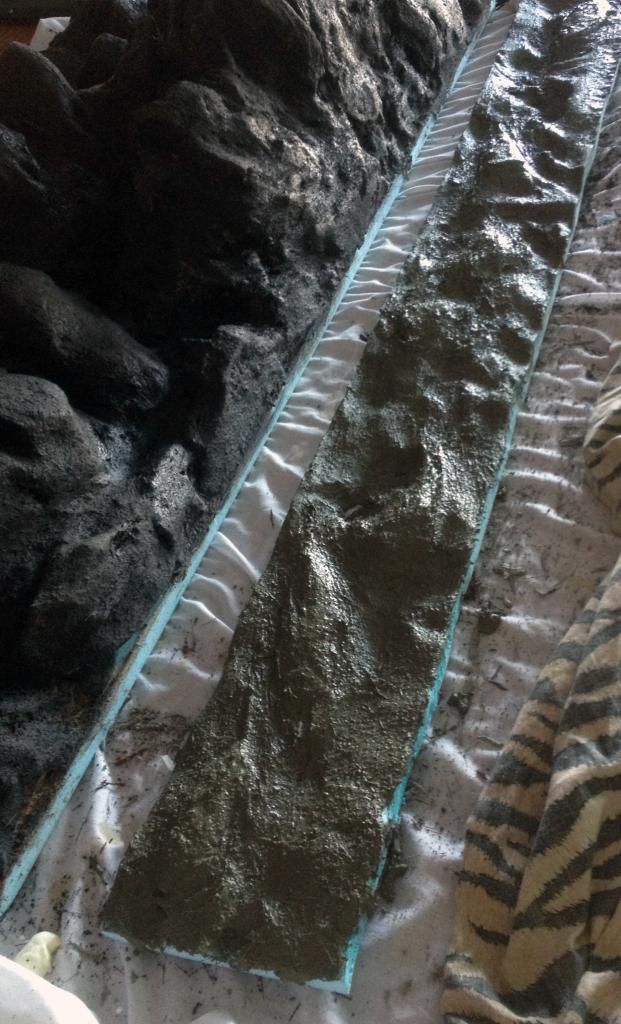
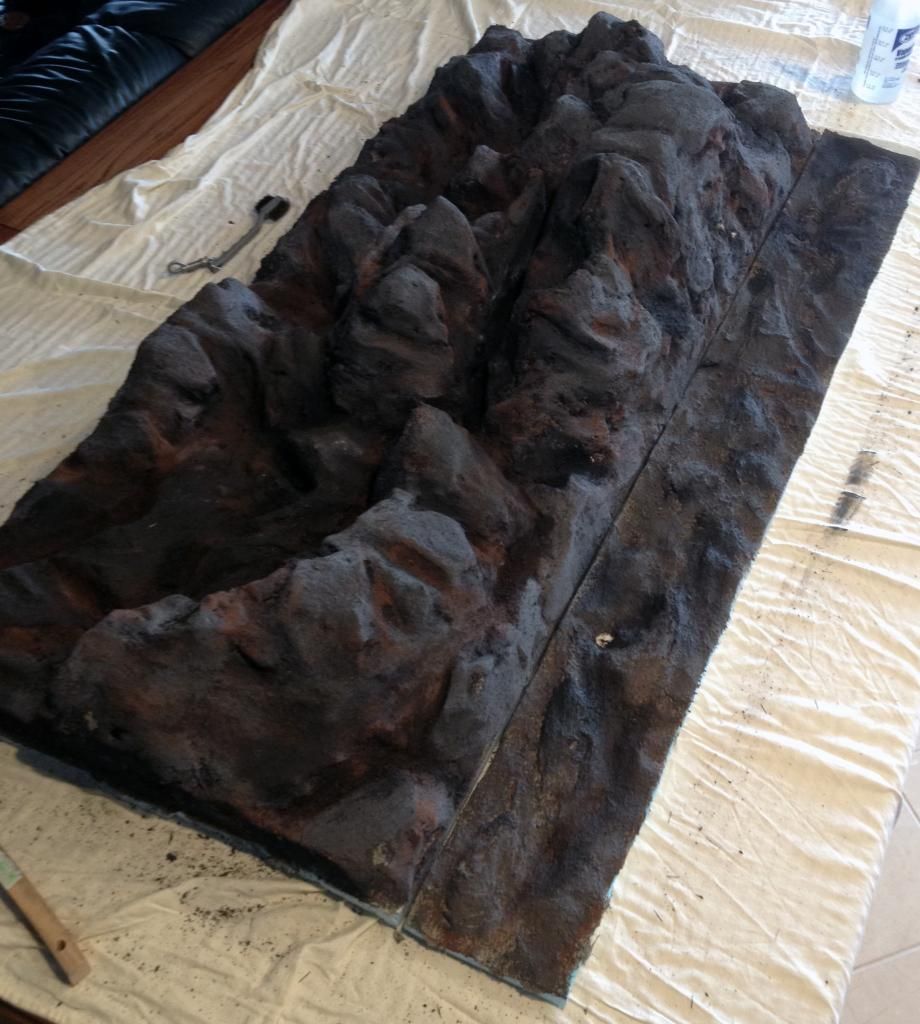
Step Two: Background.
I wanted something 3 dimensional that would hold some plants and act as a water feature. Only option was to build one from scratch so I picked up some rigid foam and some spray foam and got to work. Foam outline and pots all siliconed in place  Spray foam going on 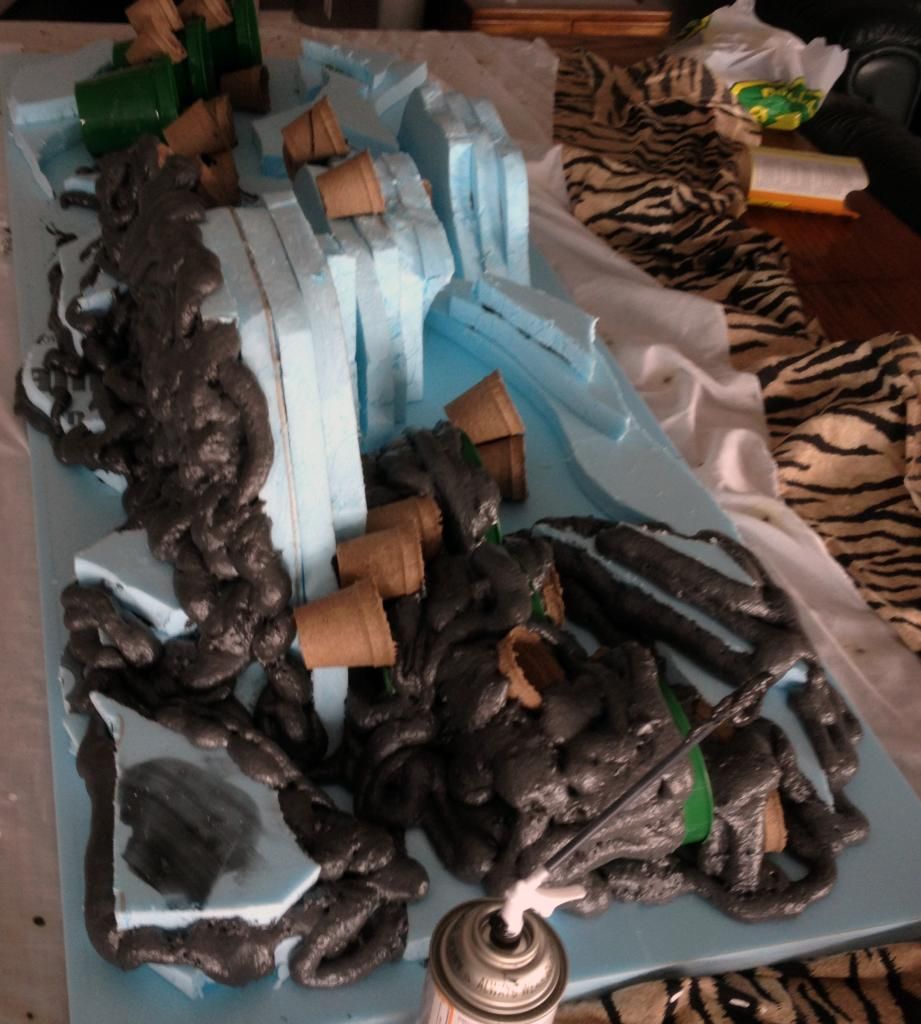 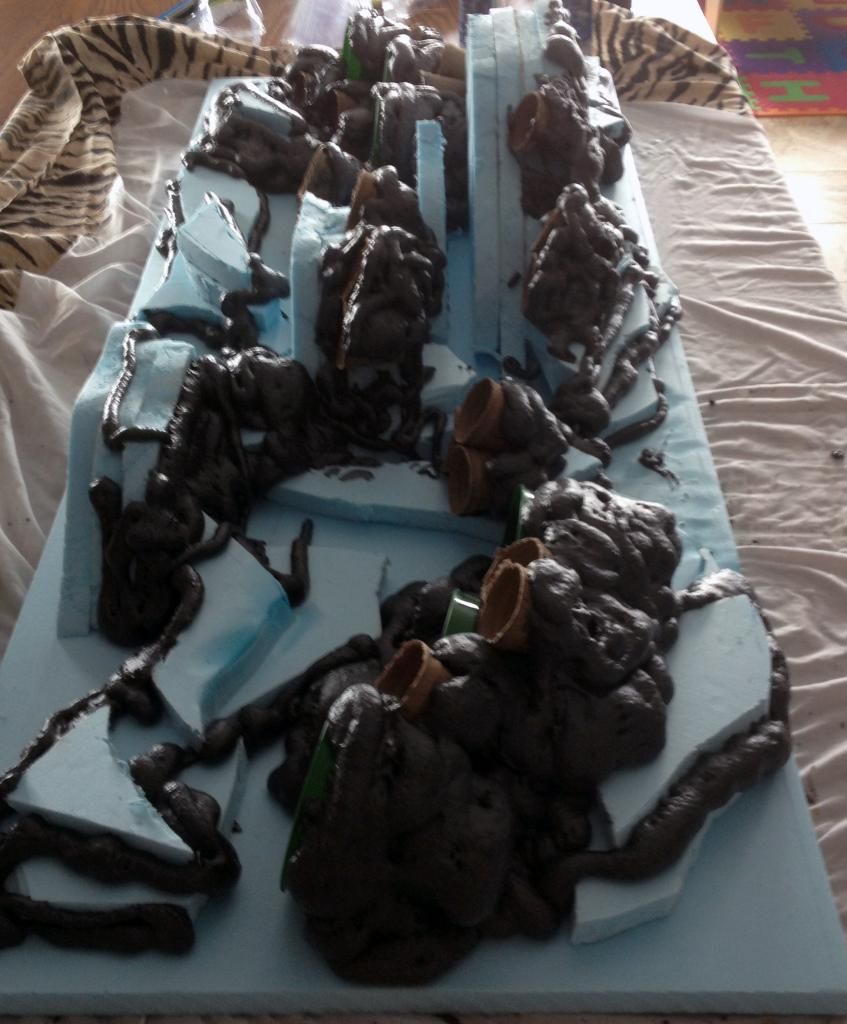 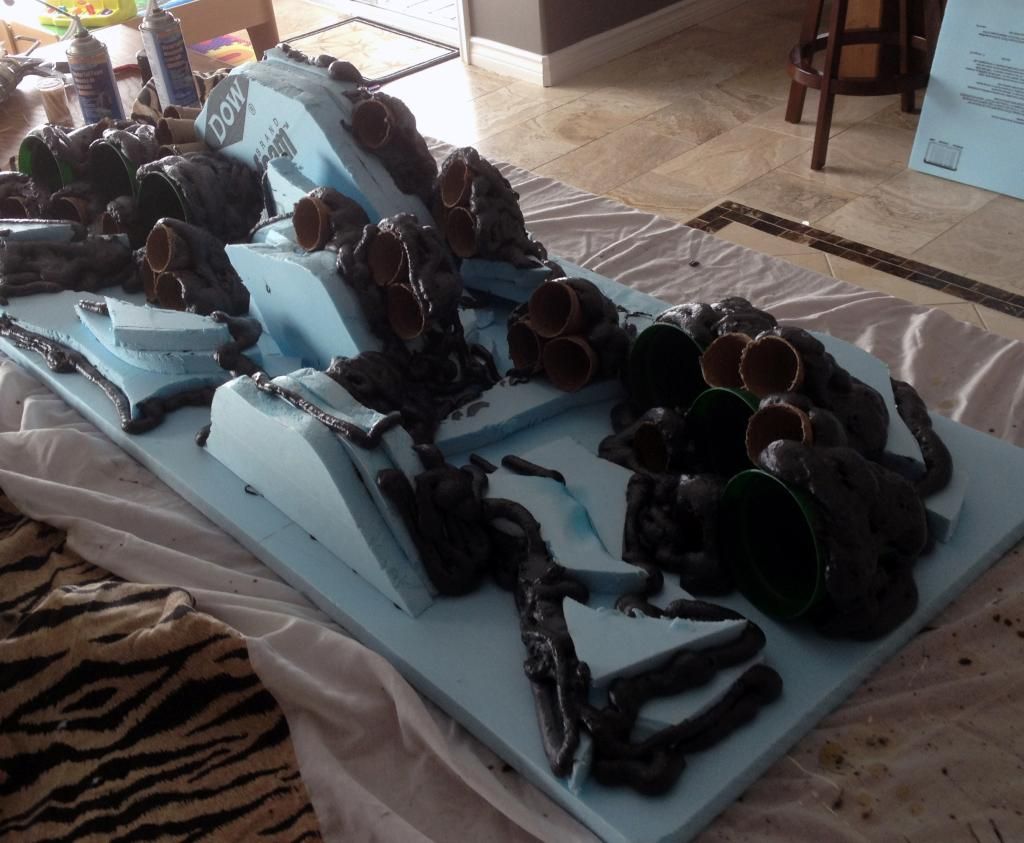 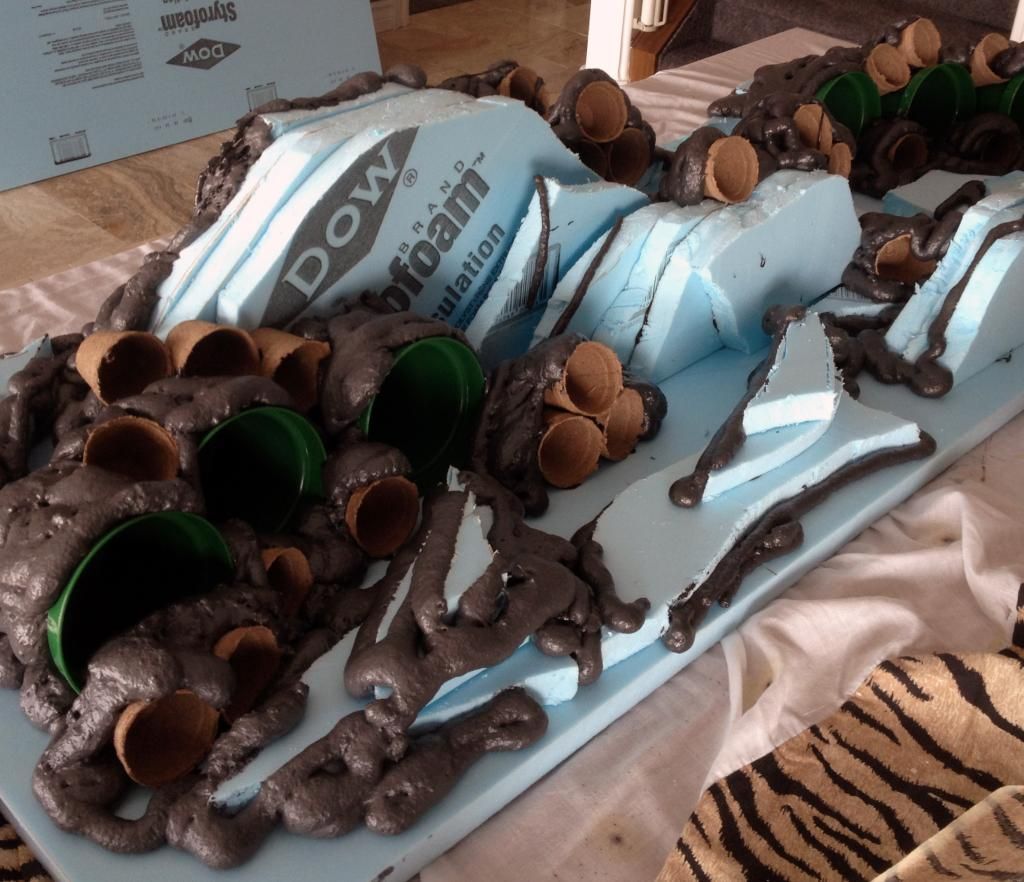 After burning through 2 cans of the expensive black pond foam rather quickly I just decided to continue with the standard great stuff. 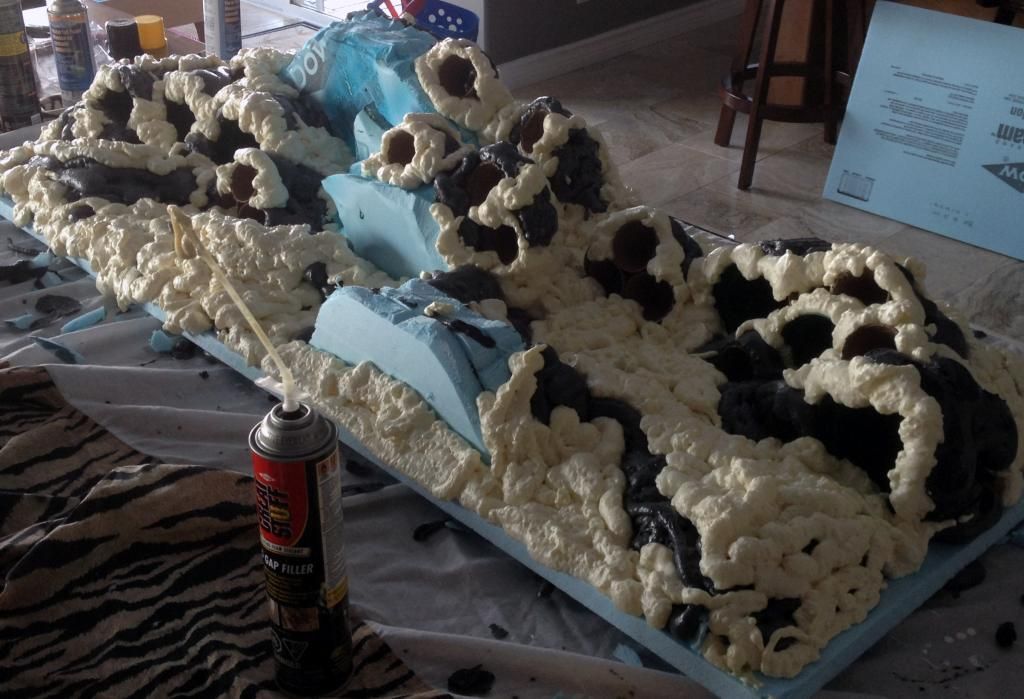  Then I curved out the exist to reveal a more rock like structure. 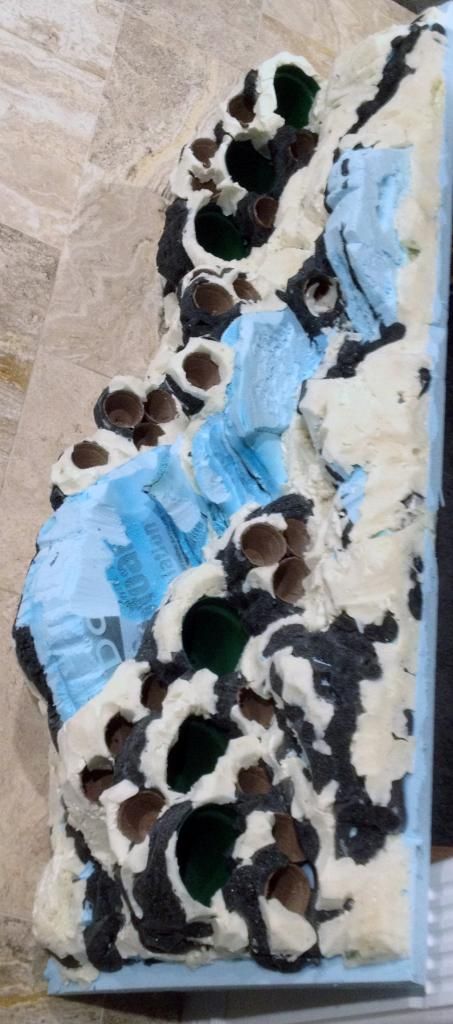 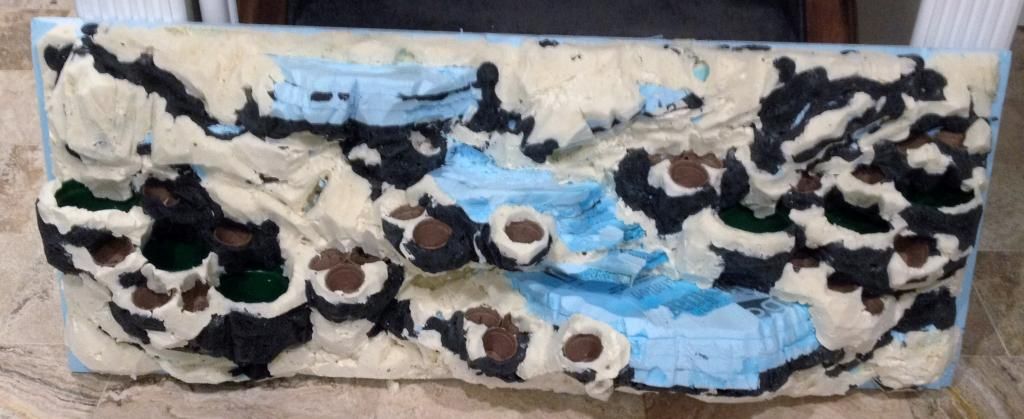 After one coat of Quickwall Cement with Acrylic Fortifier 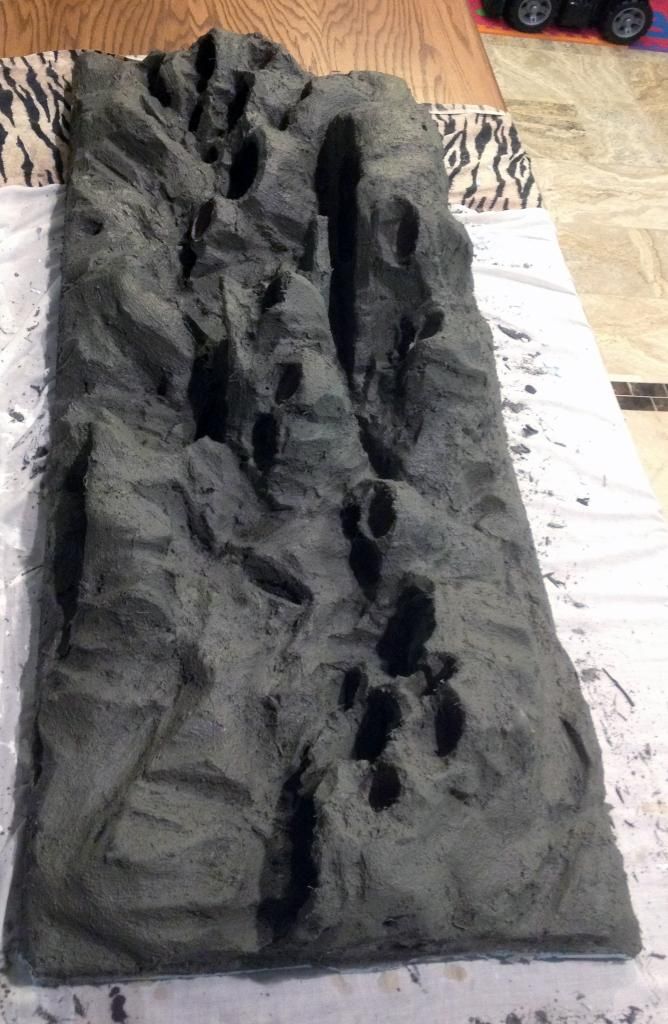  Next layer had brown cement coloring added 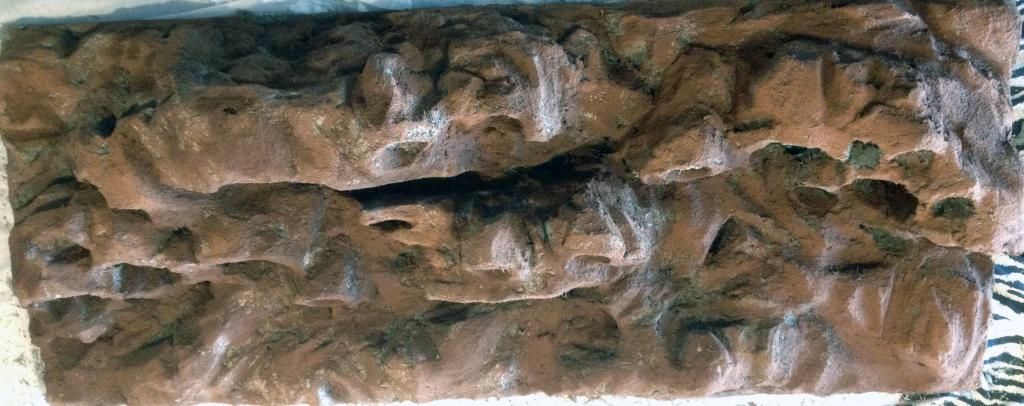 Final Layer has charcoal coloring 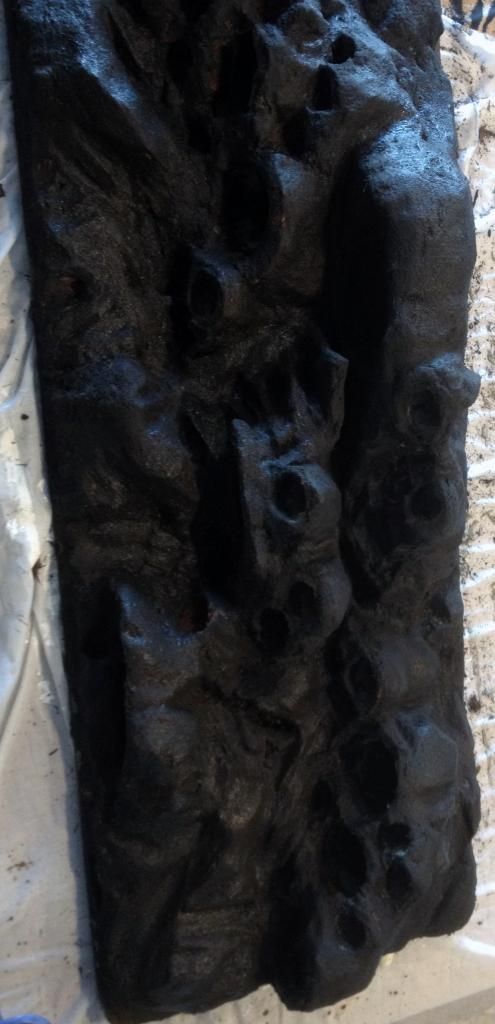
|
|
| Thread Tools | |
| Display Modes | |
|
|


 Linear Mode

