
|
|
|
|
|
#1
 11-04-2012, 08:05 PM
|
|||||
|
|||||
|
Hey everyone, after a year of planning my nano reef project is finally taking shape. Lots of indecision on design and complexity, but I finally settled on a simple AIO design with dims 16x16x10 and a display area of 16x12x10. Aside from having the glass panels cut at the glass shop, the tank is entirely DIY. I'm planning to use a couple 4x10 pcs of window tint on the outside of the side panels to hide the rear chamber during the day. At night time the light over that area will shine through the tint and I'll be able to see in there to check up on things. I thought I would use tint instead of paint as it'll be easier to apply, and secondly it'll allow me to see in at night time to check up on the pods and such in the fuge area! The tank has a glass lid cut about an inch short at the rear to allow for power cables and hoses etc. to leave the tank. I usually run my tanks rimless and topless
Water circulation is provided by an Eheim Compact 600 return pump and a Koralia Nano. I plan to keep LPS and some easy SPS, a few inverts, and 2-3 very small fish (Clown Gobie style). The system will eventually be run on a DA RKL but for now the heater is autonomous and the lighting is on a simple day/night powerbar. I'm hoping to get away without cooling, but if necessary I did leave enough space to top-mount an Ice-Probe chiller in the back chamber. Lighting is provided by a DIY LED fixture featuring the following emitters: 4x Cree XP-E Royal Blue 2x Cree XP-E Blue 3x Cree Xp-G Neutral White 2x Luxeon Cyan 2x Deep Red 2x Violet The White and Blue (incl. Cyan) channels are on on their own circuits with dimmers, and the Red & Violet are on another ciruit. When set up on the RKL the Blues will come on first, then the White and supplementals will come up for mid-day, then drop back to just Blue in the evening. After much experimentation I settled on the above mixture of emitters which I felt provided a very good color balance as compared to the MH lamps that I'm used to. Only issue had to do with the "disco ball effect", but that can be dealt with by keeping the water surface calm. At night time the main LED fixture will be out and a smaller LED light source over the main rear chamber will grow Chaeto etc. (most likely 2x Cree XP-G NW). The main light fixture is 50% finished, with all LEDs and electronics assembled and tested. I'll soon be building the stainless steel housing and will post pics of that when completed. Water top off will be handled by a gravity fed, vacuum operated resevoir in the cabinet above the tank. I really liked the simplicity of that concept, but I've yet to find a resevoir container that will seal up air-tight and has walls rigid enough to withstand the vacuum which will be generated. Still looking for that. In the meantime have a look at these photos of the tank. I will continue to update as the tank gets placed on the desk at work, gets its sand bed and LR, and gets its lighting installed. I was dissapointed that I didn't catch the nano reef contest, but I'm still really looking forward to my little slice of reef while I'm at my daily grind! Thanks for looking! Tank modeled on the desk 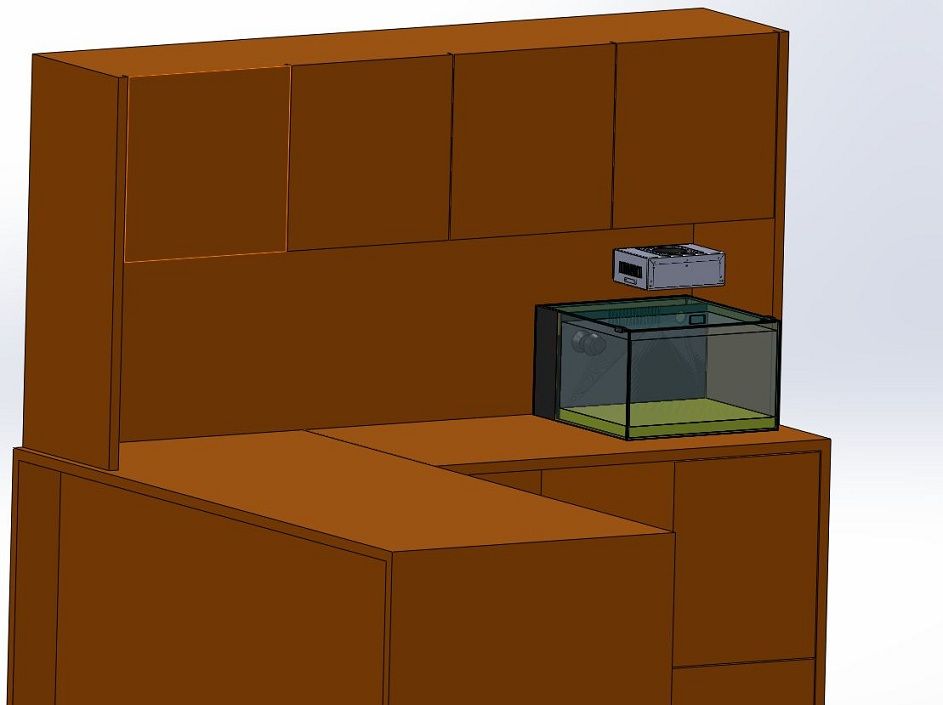 Front View with Lid 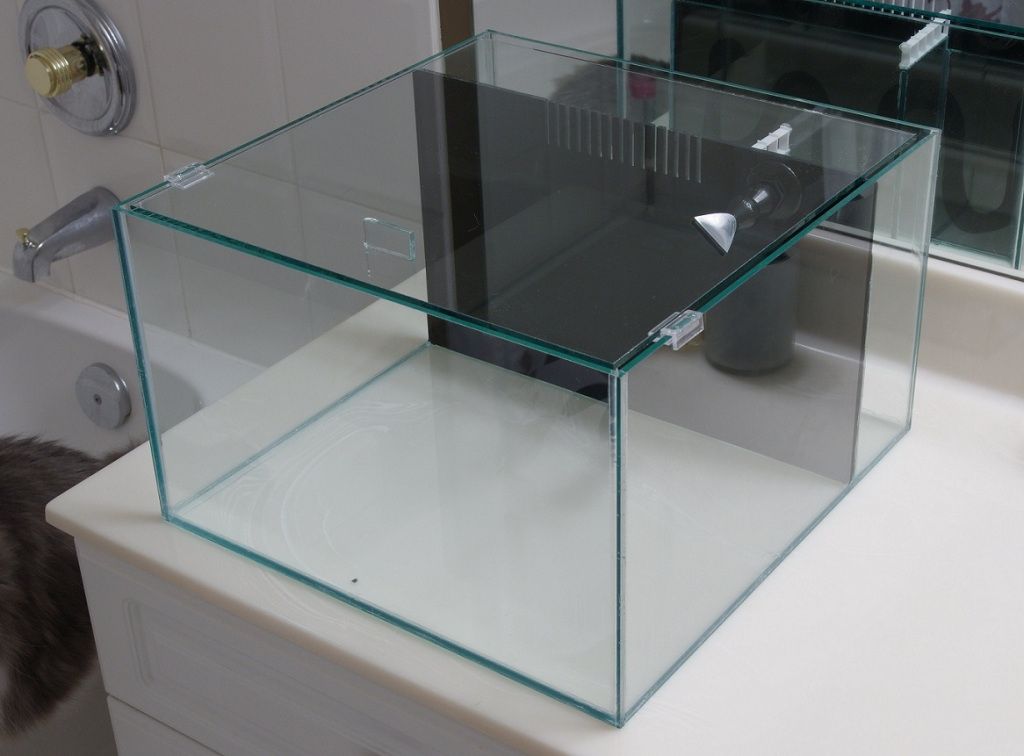 Front View, No Lid 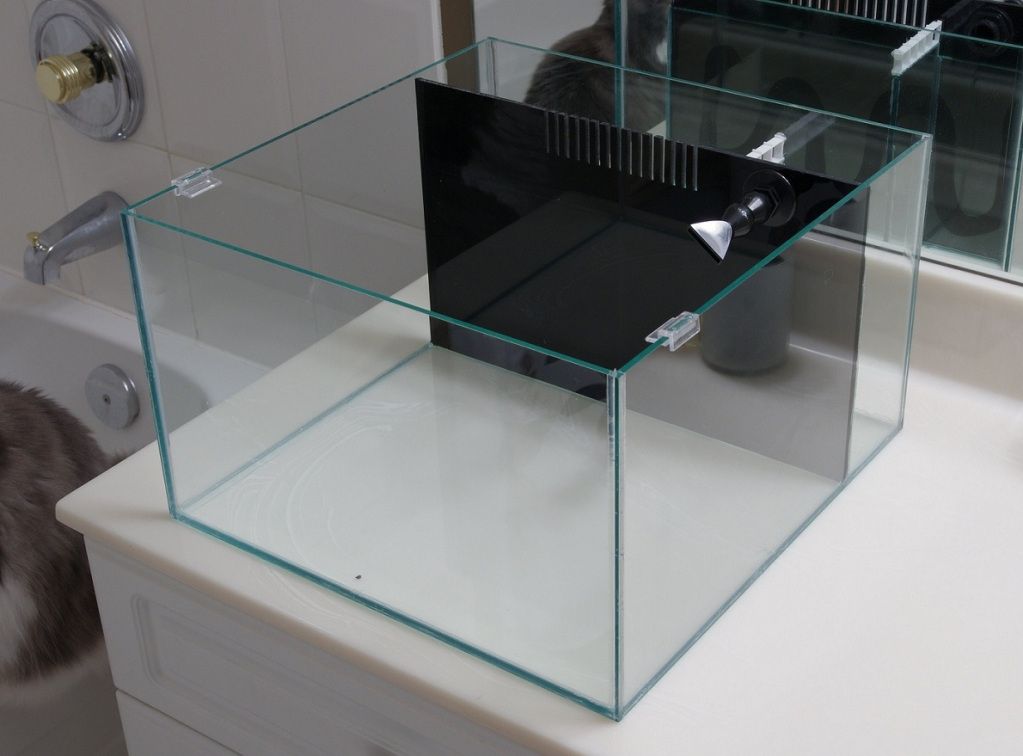 Rear View 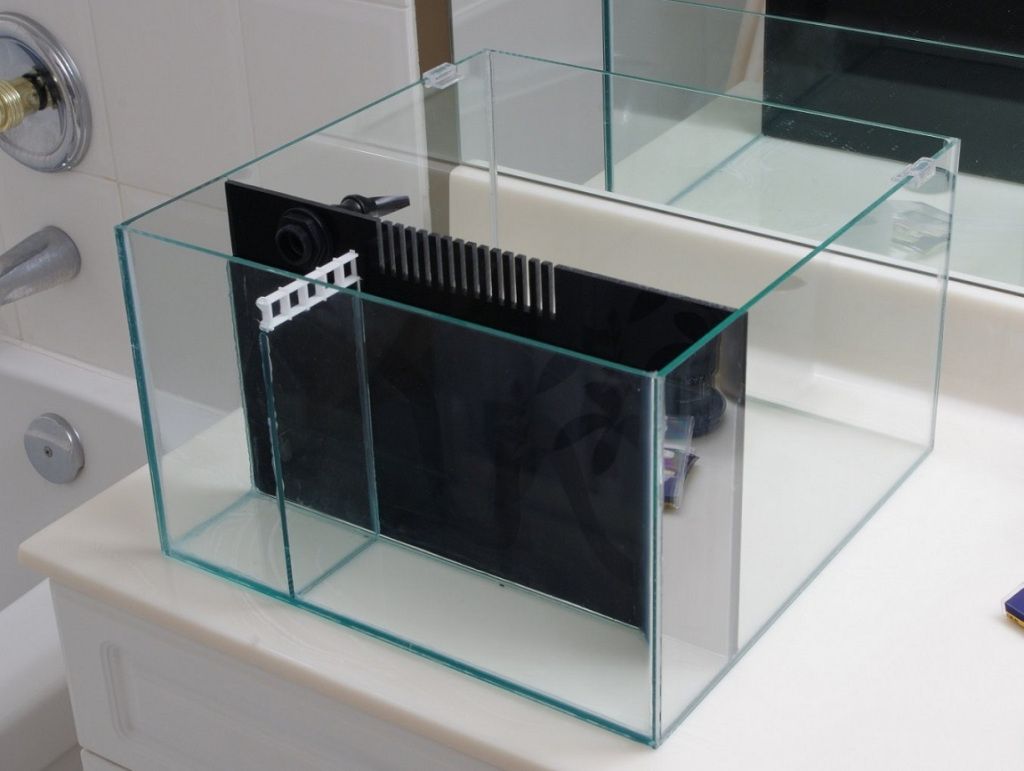 Return Pump Area 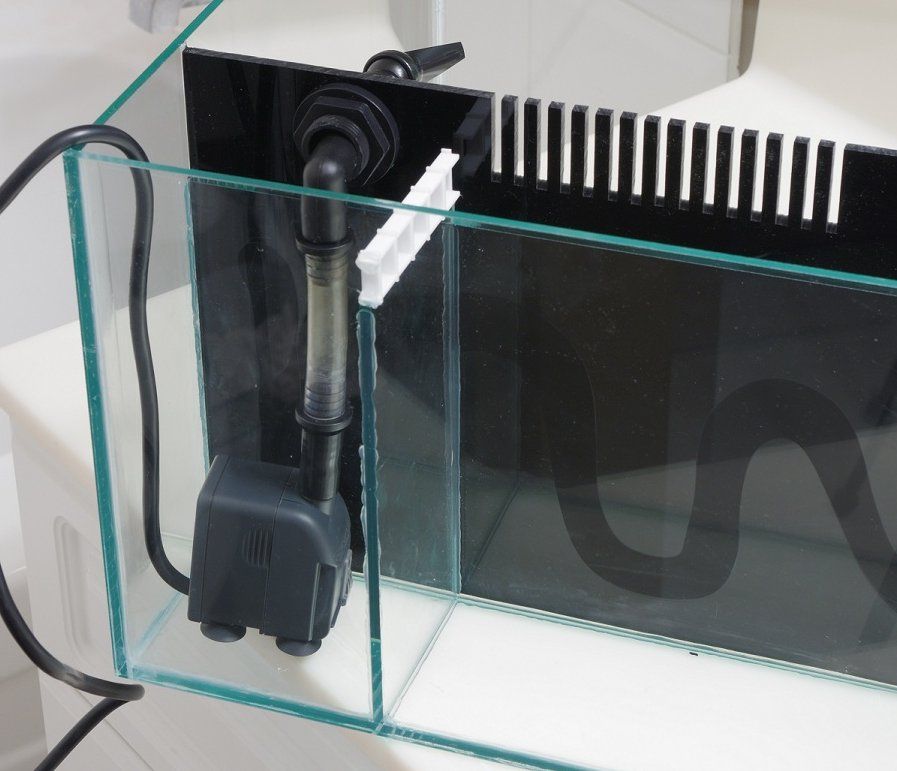 Checking sea-worthiness 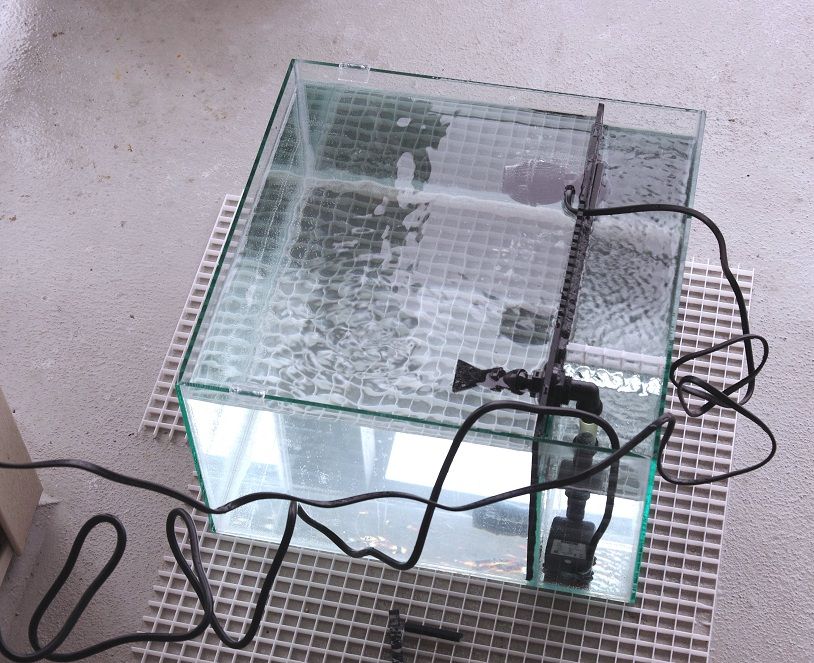 Another shot on the patio 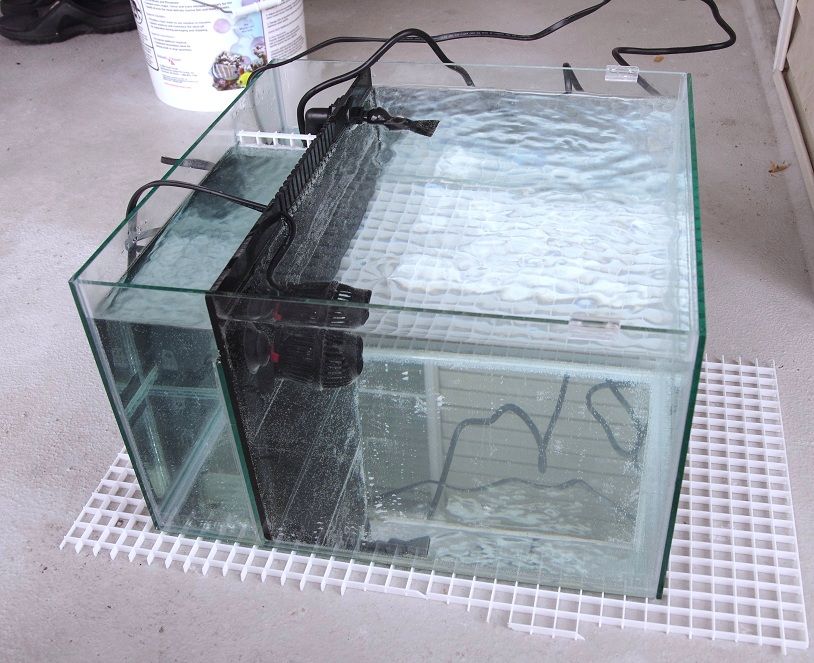 Happy Reefing! Last edited by jostafew; 11-04-2012 at 08:09 PM. 
|
|
#2
11-05-2012, 04:00 AM
|
|||||
|
|||||
|
Had a productive day at the dollar store; found a 2L hermetically sealed canning jar that should work nicely as my gravity fed FW resevoir (we'll see how long 2L lasts). Jar was $4.00 and the 1/4" glass hole saw was $20 hahaha. Oh well, never a bad excuse to buy tools!
Here's the jar 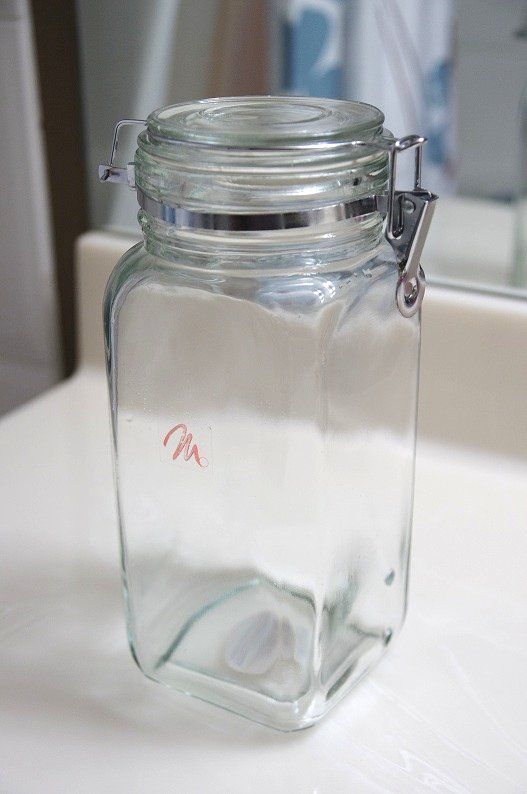 With two 1/4" holes drilled to supply the tank 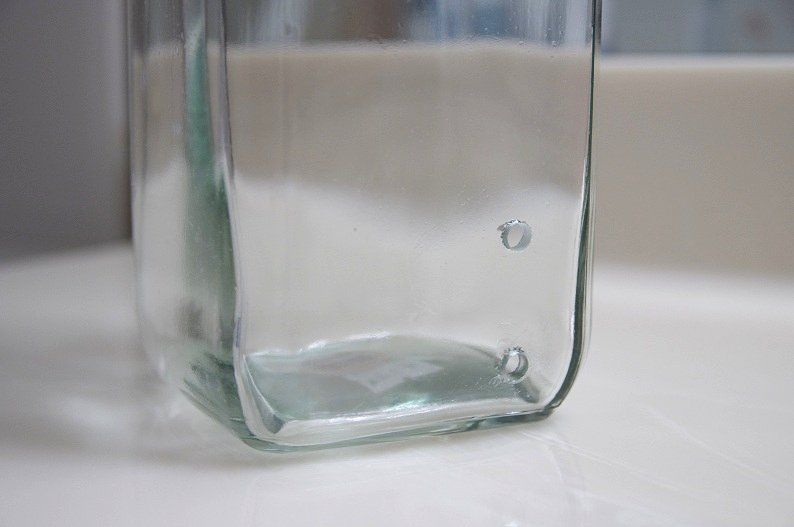 Now it's just a matter of measuring and installing the hoses (will simply use silicone as a bulkhead in the jar). .
|
|
#3
11-05-2012, 04:22 AM
|
|||||
|
|||||
|
Great job on the DIY tank!
|
|
#4
11-05-2012, 05:43 AM
|
|||||
|
|||||
|
Thanks for the compliment! This was my first build using clear silicone, which I've discovered is a lot less forgiving than black in terms of creating a tidy looking seam. Being transparent it reveals any included bubbles and changes in silicone thickness. I have a newfound respect for tank builders doing much larger tanks in clear silicone and producing nearly flawless seams. That being said I'm happy with the result on this one. I was lazy with a couple seams at the back and the bottom and didn't bother to mask them off when assembling, but I won't see those once the tank is installed ;-)
|
|
#5
11-13-2012, 05:12 AM
|
|||||
|
|||||
|
Quick update: picked up a used RKL so that will be in place from day one
|
|
#6
11-13-2012, 05:18 AM
|
|||||
|
|||||
|
Very nice and clean setup!
Can't wait to see more
__________________
225gal dt with 100g sump. Mitras, vortechs, bubble king, AI Sol and Profilux. http://www.canreef.com/vbulletin/sho...threadid=84782 Will trade subs for frags My other summer hobby: http://www.edkra.ca
|
|
#7
11-17-2012, 05:20 PM
|
|||||
|
|||||
|
It lives! The tank is installed on the desk and is up and running (aside from the lighting). Pulled live sand and rock out of the bigger system at home, along with a 50/50 mix of new water and mature, so it's all ready to go!
Now I just need to concentrate on finishing the housing for the main LED light fixture so I can start to populate the tank. Speaking of lighting, I also ordered the LED's, heatsink, power supply for the smaller light over the chaeto grow area in the back. It's all coming together! I'll post some pics of the tank once I get the lighting installed. Not very exciting to look at for the moment!
|
|
#8
12-12-2012, 09:20 PM
|
|||||
|
|||||
|
Been super busy so I haven't gotten much done, but every day I see a reminder sitting on my desk to get my butt in gear!
Light over the chaeto / LR grow area is built and installed, and the ATO plumbing is 90% finished. I find that I'm burning through a surprising amount of water even with the lid covering most of the tank, must be really dry in this office. Going through about 1L per week right now, can't wait to get this ATO working. Last major stage is to find some time on the equipment so I can knock out the chassis for the main light fixture. After that it's coral time! Enjoy the pics! Overall view 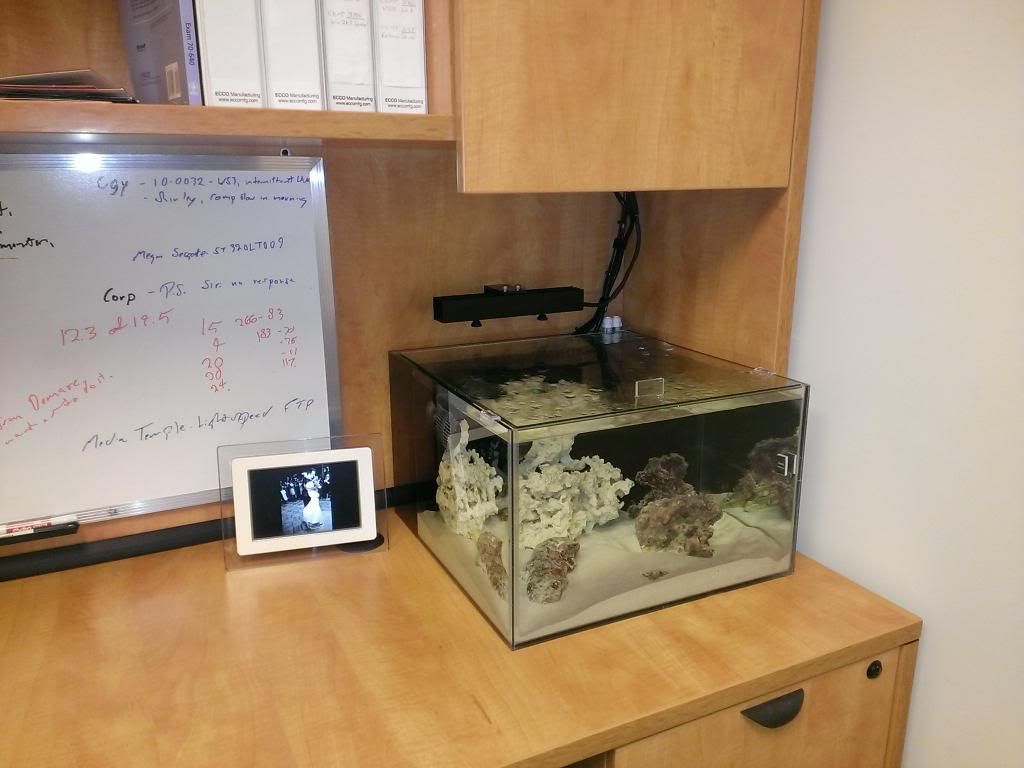 Fish room (cubby) 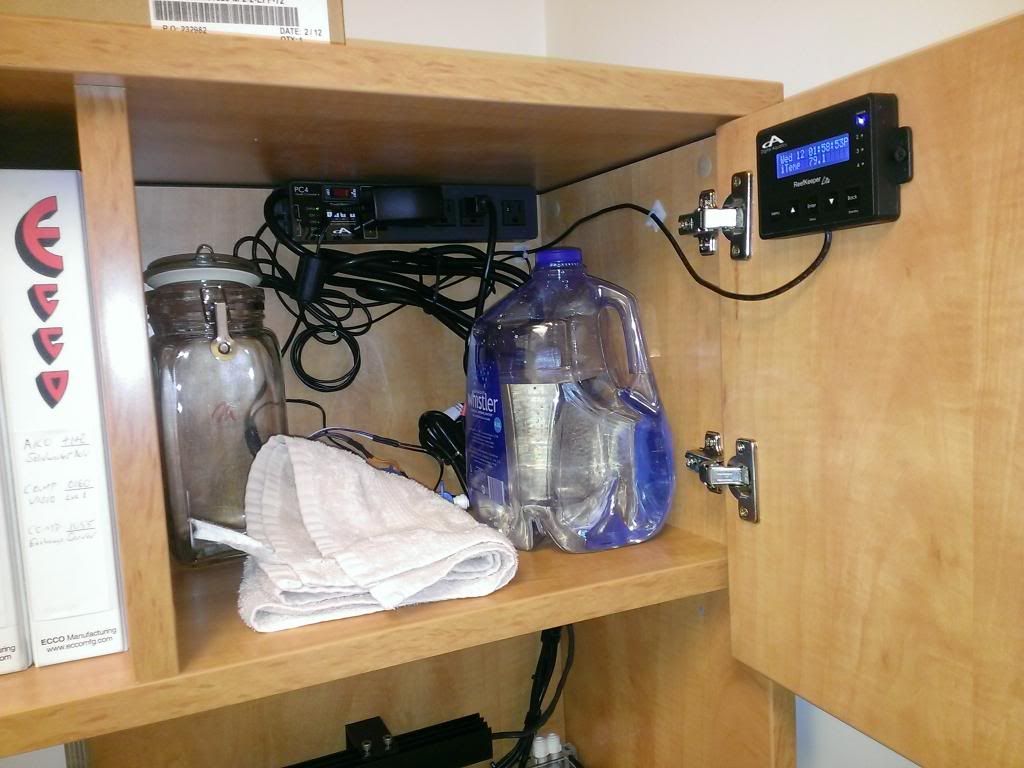 Business area showing the hoses running into the return area. Those will be plumbed up to the reservoir in the cabinet to function as ATO. 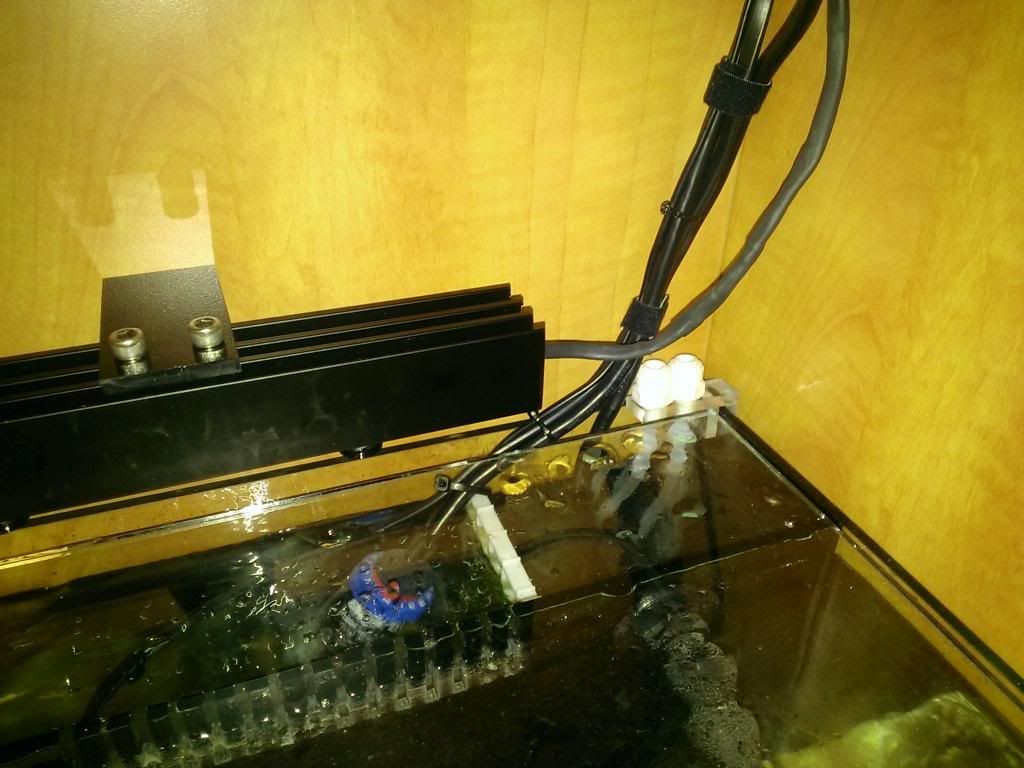 Chaeto / LR grow area with lights on. The tint is working nicely to show me what's happening in there with the lights on, looks black and tidy during the day with the grow lights out. 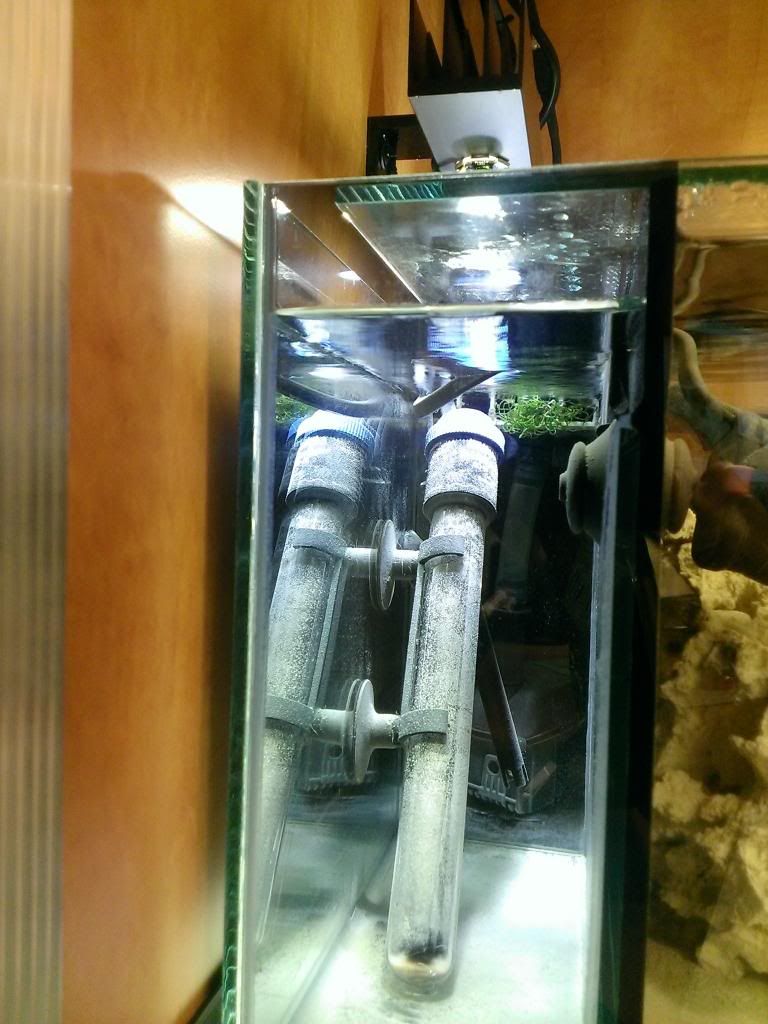
|
|
#9
12-13-2012, 06:02 AM
|
||||
|
||||
|
Really cool. I'd like a office tank like this.
|
|
#10
01-24-2013, 04:58 PM
|
||||
|
||||
|
Very cool setup nice and clean.
|


 Hybrid Mode
