
|
|
|
|
|
#1
 08-29-2009, 09:16 PM
|
||||
|
||||
|
Well now that I have messed up my ankle which eliminates my usual summer hobbies its time to start building the system that I have procrastinated on for the past several years...
The 20g reef is busting at the seems from growth (and algae) no matter how many frags I cut out. I had originally planned for a 65g but I decided to go smaller for various reasons. The tank I picked was a euro 32 decent dimensions 33Lx14Wx19T and paired it with a 20g sump. 1. The 20g is looking a little full and now i am getting some problems with hair algae. 2. Did some designs in sketchup really nice tool 3. Drilled the tank for 3 1" bulkheads. 2 for drains and 1 for closed loop I now wish i went bigger with the main drain... 4. Building the stand with 2x4s, 2x3s and 1/2" plywood. The plywood is a pain in the a$$ very very warped. 5. I am using 1/4 round moulding to frame the tank on all edges including the lid which is not shown. 6. 1" polystyrene under the tank. I plan to put it under the sump as well. I painted the back of the tank black I think it gives the tank a clean look. 7. Moulding the acrylic for the overflow. Used a heat gun and some clamps. Very easy to do it yourself. Cutting it SUCKS though. 8. Cutting acrylic with a dremmel is more like melting it. In retrospect I wish i would have cut it with the inside up. 9. The 20g to be used as the sump. Thanks to Allen at JL the first tank I bought from them developed a crack under the rim before I had even taken the cardboard off. It was very wierd but they warranteed it. 10. Some of the plumbing parts. I still have to pick up a few more pieces but the hardware stores were out of stock. I have a long way to go on the build and having a 3 month old baby around isn't going to speed things up but I figure some peer pressure from fellow reefers might  Thanks, Ken Last edited by Kronk; 08-22-2010 at 06:03 AM. 
|
|
#3
08-30-2009, 04:19 PM
|
|||||
|
|||||
|
Yay, you definitely needed a bigger tank. Nice job so far. Have fun with it.
__________________
65 gallon mixed reef and 34 gallon mixed reef
|
|
#4
09-22-2009, 12:58 AM
|
||||
|
||||
|
Well I chickened out and painted the stand black... then siliconed the overflow, buckheads and the baffles in the sump.
DISASTER when I went to do the sump baffles though.. the silicone tube kind of burst a little and instead of doing the sensible thing and throwing it in the garbage and buying another one i figured i could make it work... and maybe i did but it looks freaking terrible. Whatever sumps arent supposed to be pretty right??? With any luck i will doing the plumbing in the next couple of days and be adding water by the end of the week. I added some pics to the link above.
|
|
#5
09-22-2009, 01:18 AM
|
|||||
|
|||||
|
Sump doesn't look too bad.. Build is coming along nicely.
__________________
180G Office Reef. Started Sept 2012 http://www.canreef.com/vbulletin/showthread.php?t=88894 62G Starfire Reef. Started Jan 2013 http://www.canreef.com/vbulletin/showthread.php?t=89988
|
|
#6
10-01-2009, 04:16 AM
|
||||
|
||||
|
Well.... its never really done I guess but teh fish and corals are moved over... I am just waiting for the cement to dry on a limiter for my WAY too powerful sump pump and I need to buy a new closed loop pump cause it isnt powerful enough.. .
Still I am really happy with the results... dont mind the heaters they are going in the sump as soon as the plumbing is done. 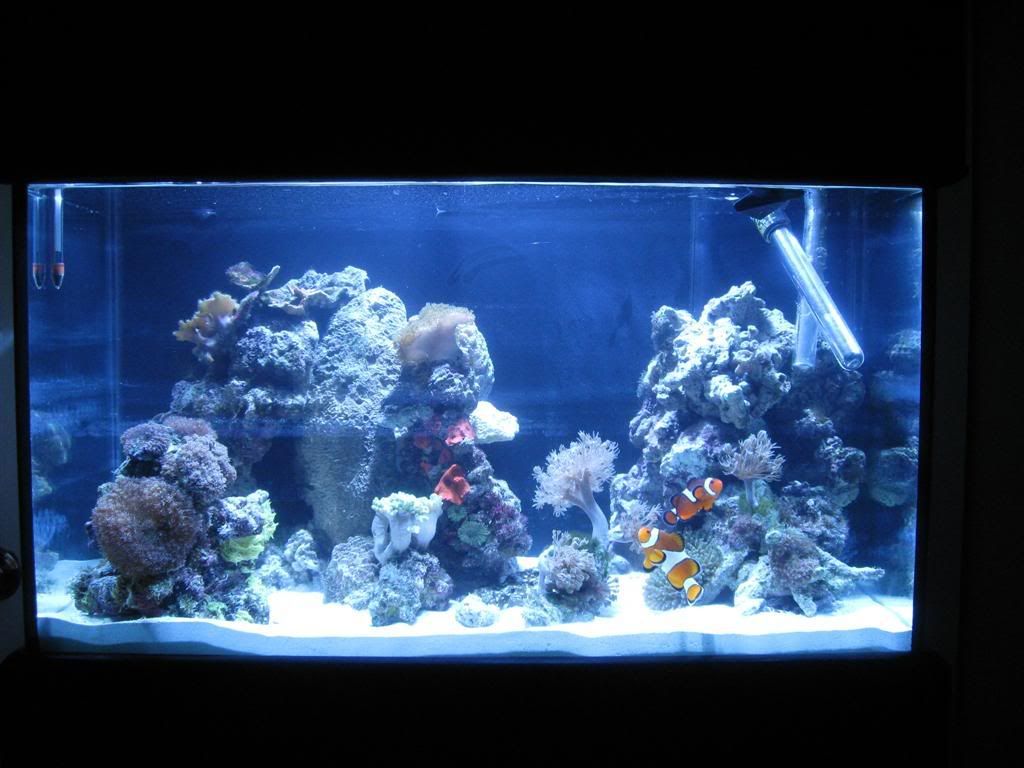 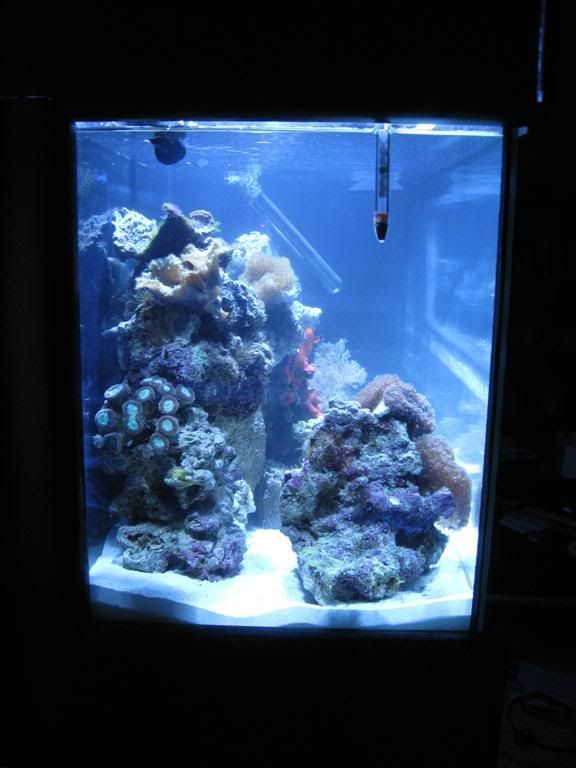 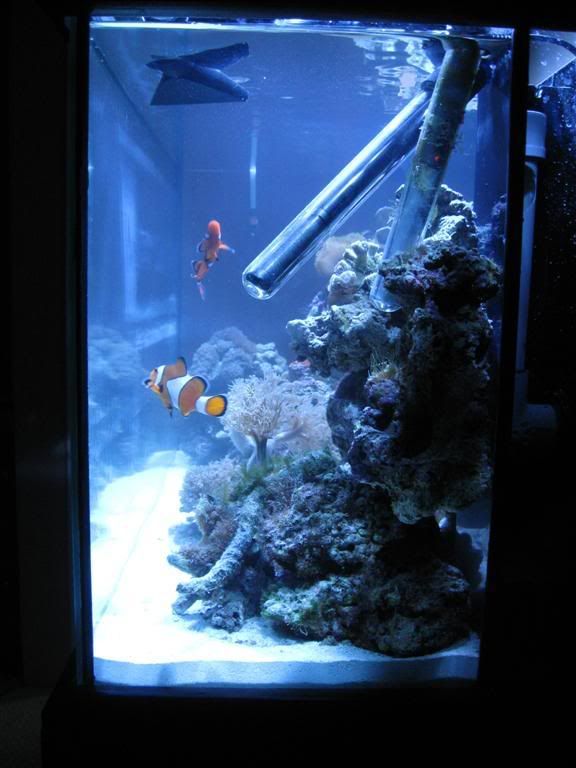 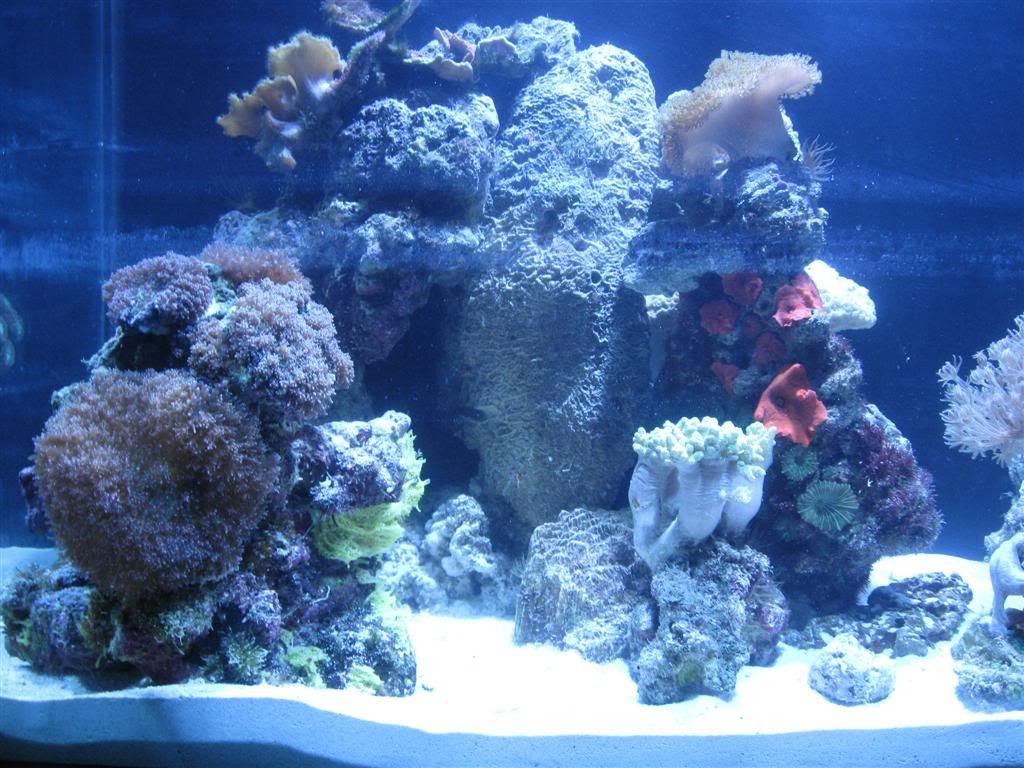 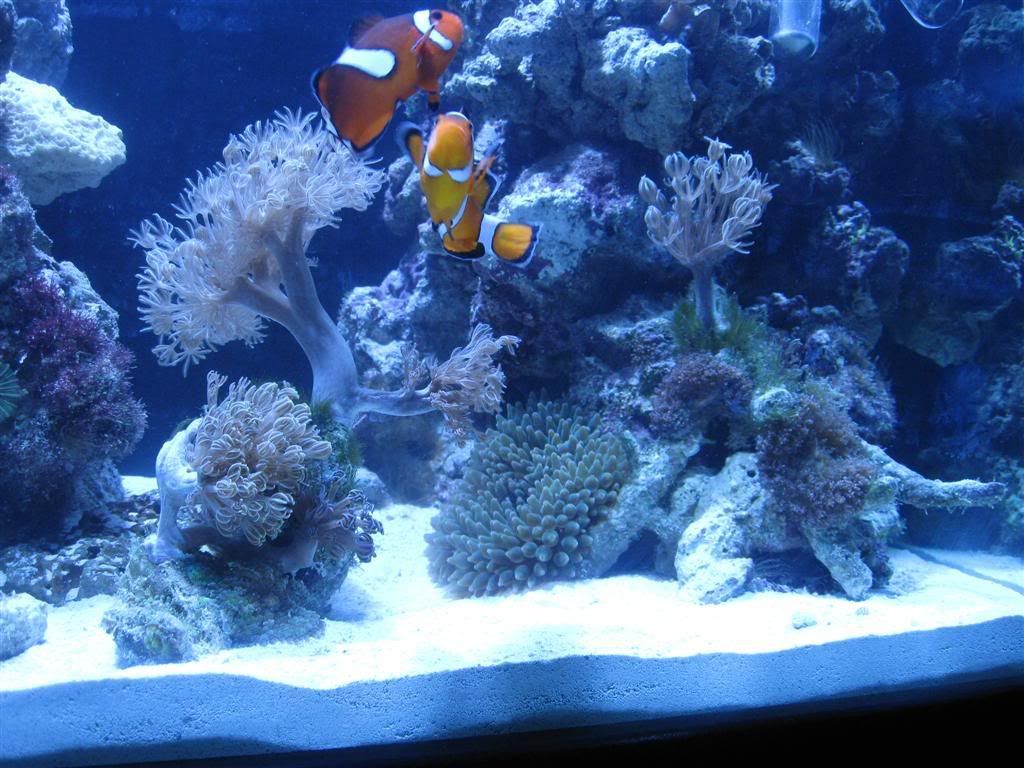
|


 Hybrid Mode
