
 |
|
|
|
#1
|
|||||
|
|||||
|
I've got a new project that I'm going to be sinking myself into and doing a lot of "custom" work with. I'm really missing my last not-so-nano tank, so its time to once again start over, just smaller. So without further a due let me introduce you to the four-walled beauty that will house the masterpiece and bring to life the inner working and creations of my imagination.
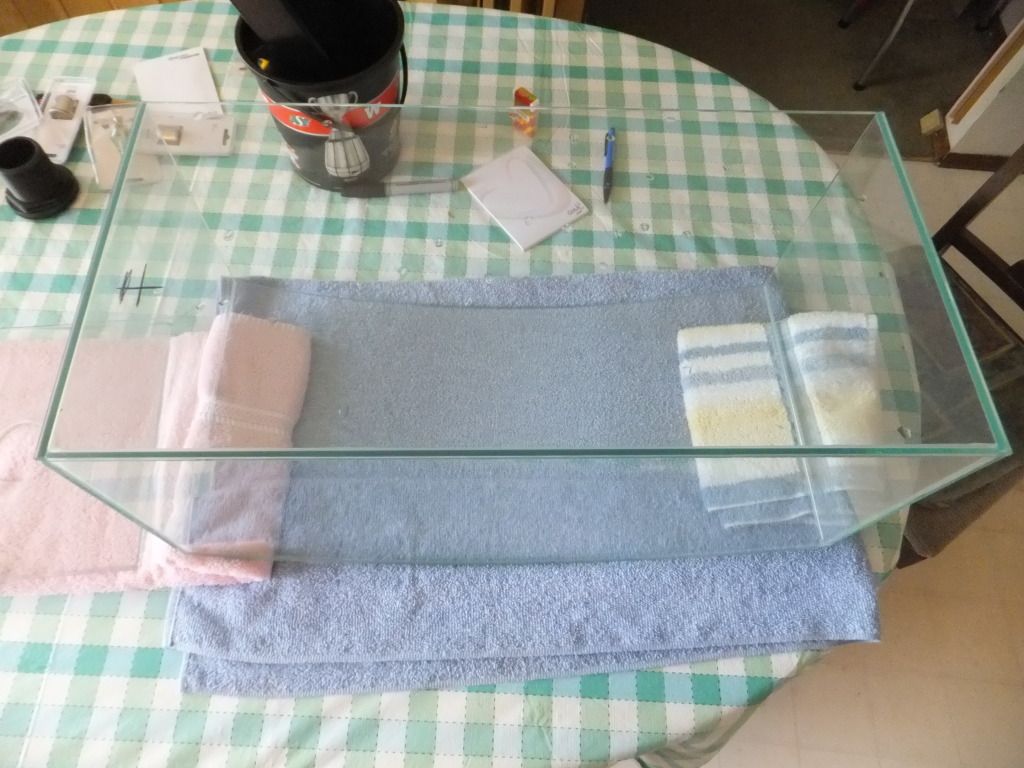
This is my new Mr. Aqua 13.3 gallon bowfront. She measures in at 23'1/2" long by 11'3/8" tall, by 9'1/2" at the outside edge and 11'1/2" at the middle of the bowfront 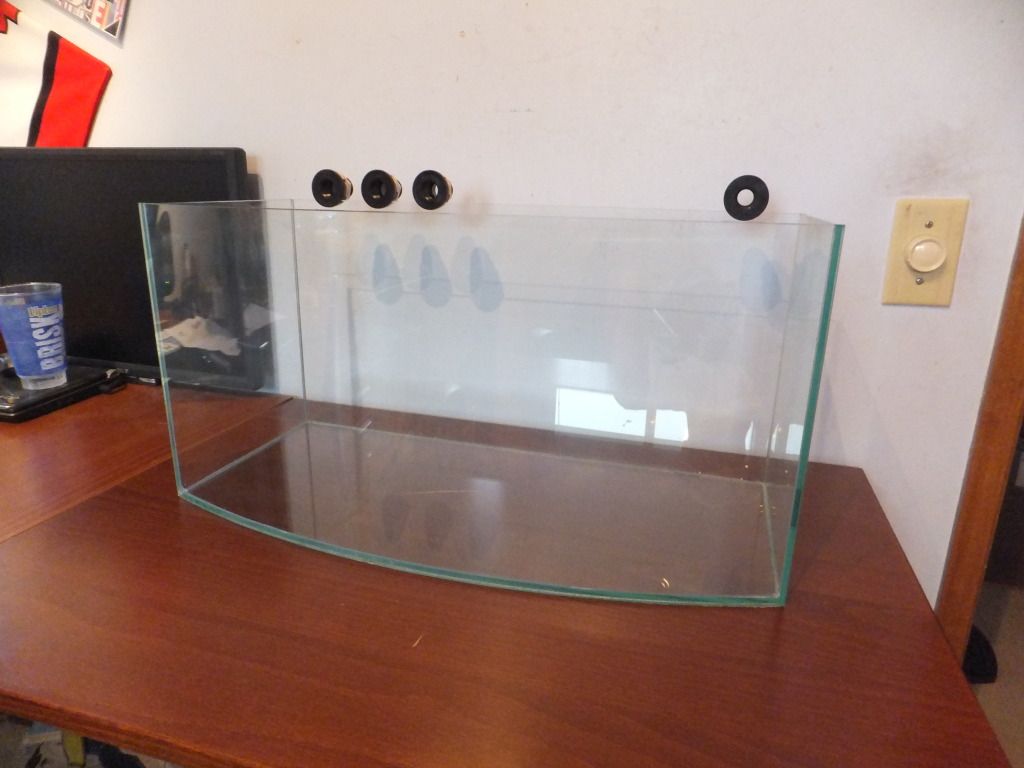 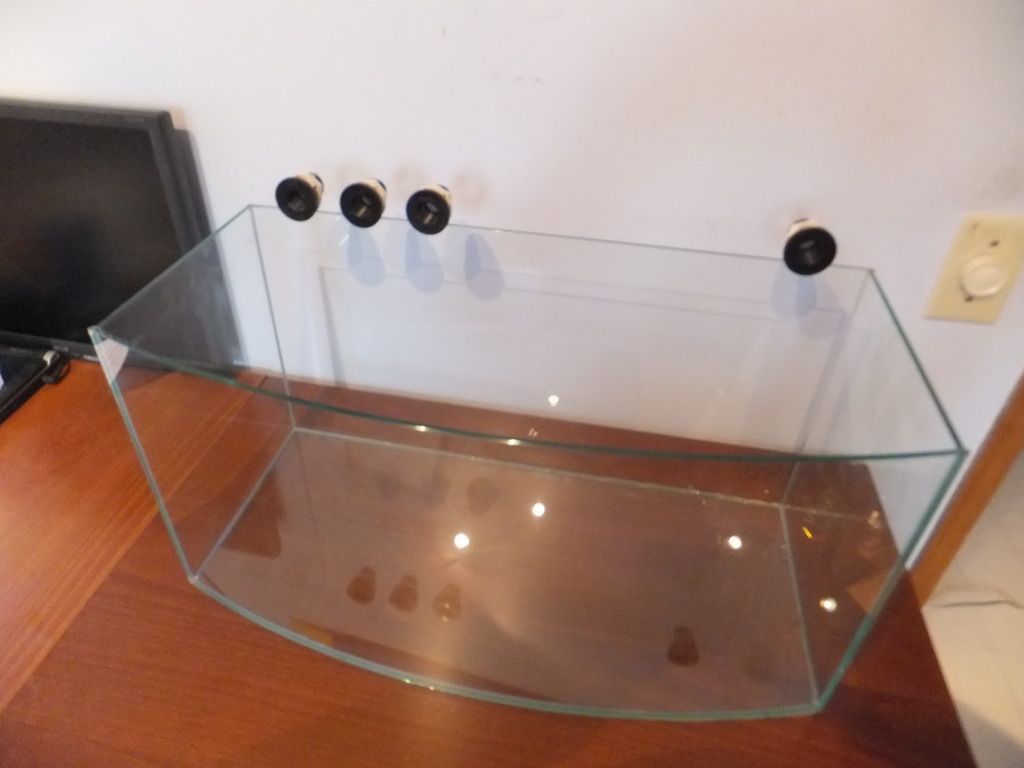 My plans for this tank are fairly extensive so ill break it all up like this. The Display Tank - Cut and drilled to accommodate an external overflow and single return - Drilled for a second addition to the back wall of the tank that will house a tunze pump and controller The Sump - 4 chambers, 1st will be the inflow and bubble trap to the filter sock, 2nd skimmer and reactor, 3rd Macro algea / live rock rubble, 4th return pump. - Separate ATO box and pump The Scape - The scape will be dry rock and foam creating a bunch of negative space in the front of the tank, it won't cover the full back of the tank just create more space by using up the un-used debris catching areas thats usually don't get flow The Equipment Lights -DT, Kessil A150w -Sump, Panorama Strips Pumps -Return, Tunze Silence 1073.xxx -Tunze 6202.200 Massacred Nano Wavebox -DT, if needed EcoTech MP10 Skimmer -SWC 120 or BubbleMagus NAC 3.5 Reactors -BRS Deluxe Reactors Controller -Neptune Systems APEX -PM2 Salinity Monitor/Control -WEM Wireless Expansion Module (For EcoTech if needed) -Breakout Box (DIY Breakout Box) Auto Top Off -DIY 2 Float Switches, and Pump to APEX Breakout Box So thats all I've got for you guys right now, I have a bunch of figuring, measuring, cutting and constructing to do, so stay tuned for the updates and don't worry I love my camera as much as I love my fish! |
|
#2
|
|||||
|
|||||
|
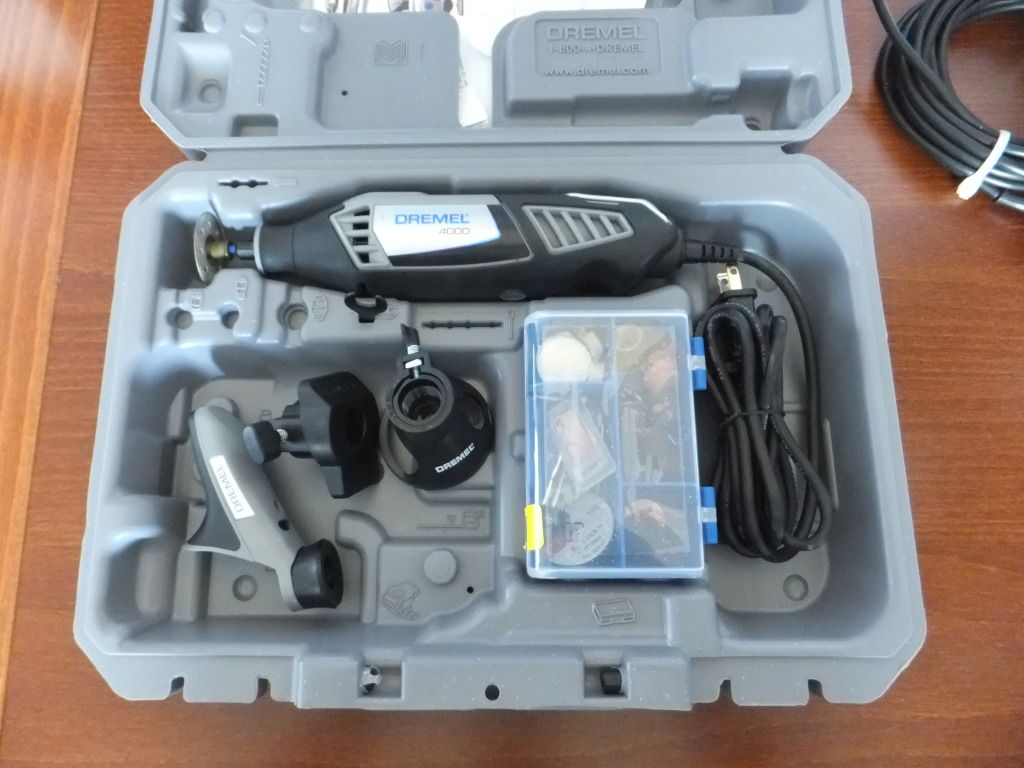
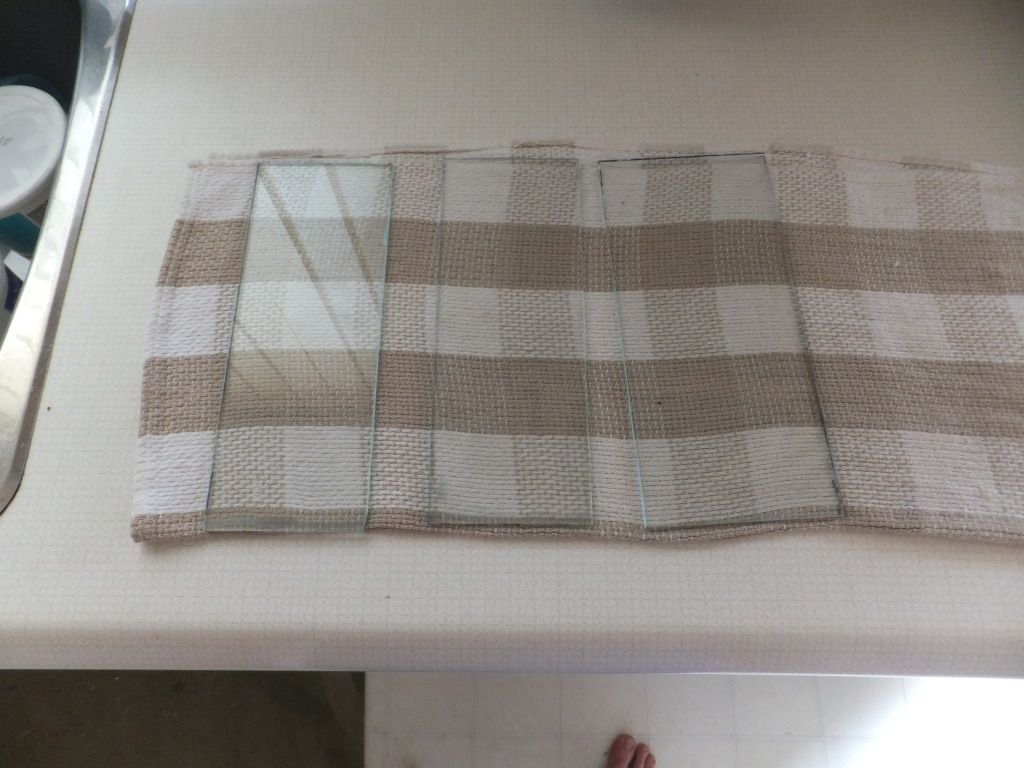
Look what I picked up today! along with a few diamond hole saws. Ill be starting to cut and drill the tank this afternoon! ill post more pictures of how it all went, stay tuned!!
  |
|
#3
|
|||||
|
|||||
|
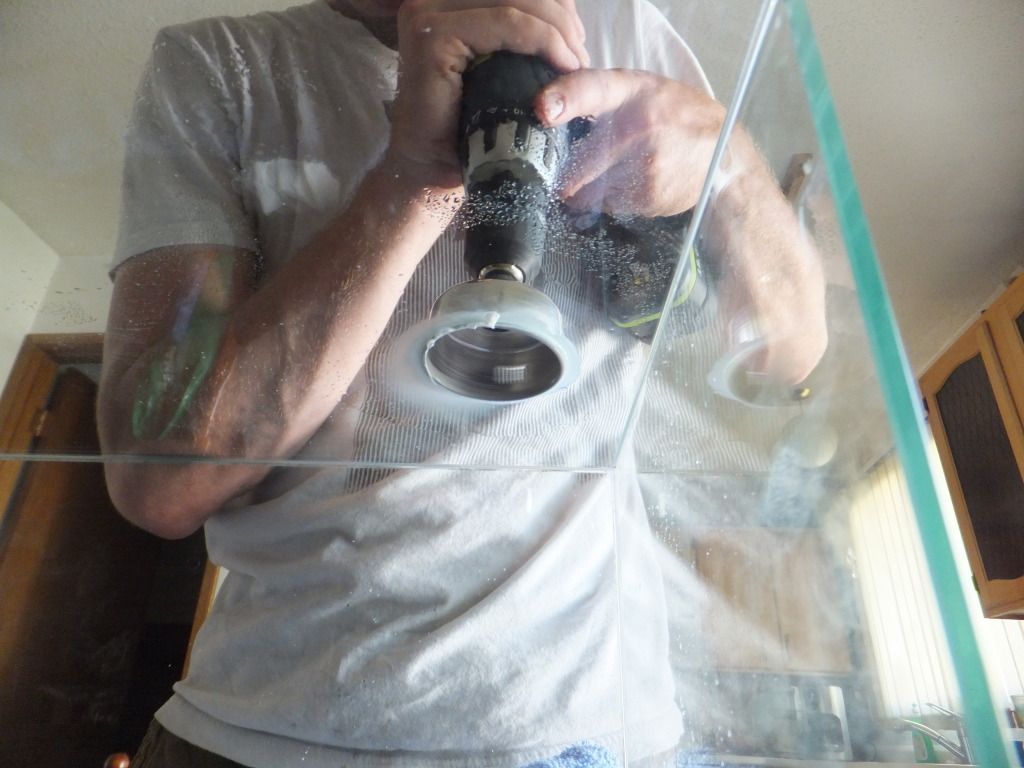
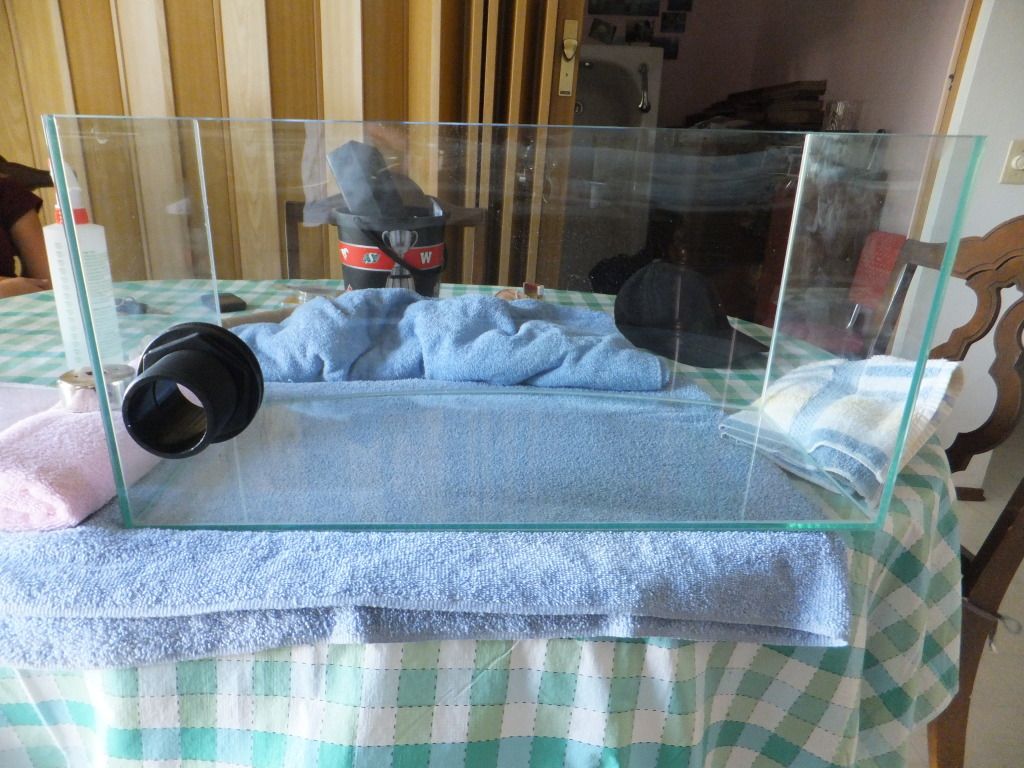
So i finally got the hole cut and the bulkhead in, man oh man was it nerve racking but its done and now its time to put the box on it then water test it this after noon!
 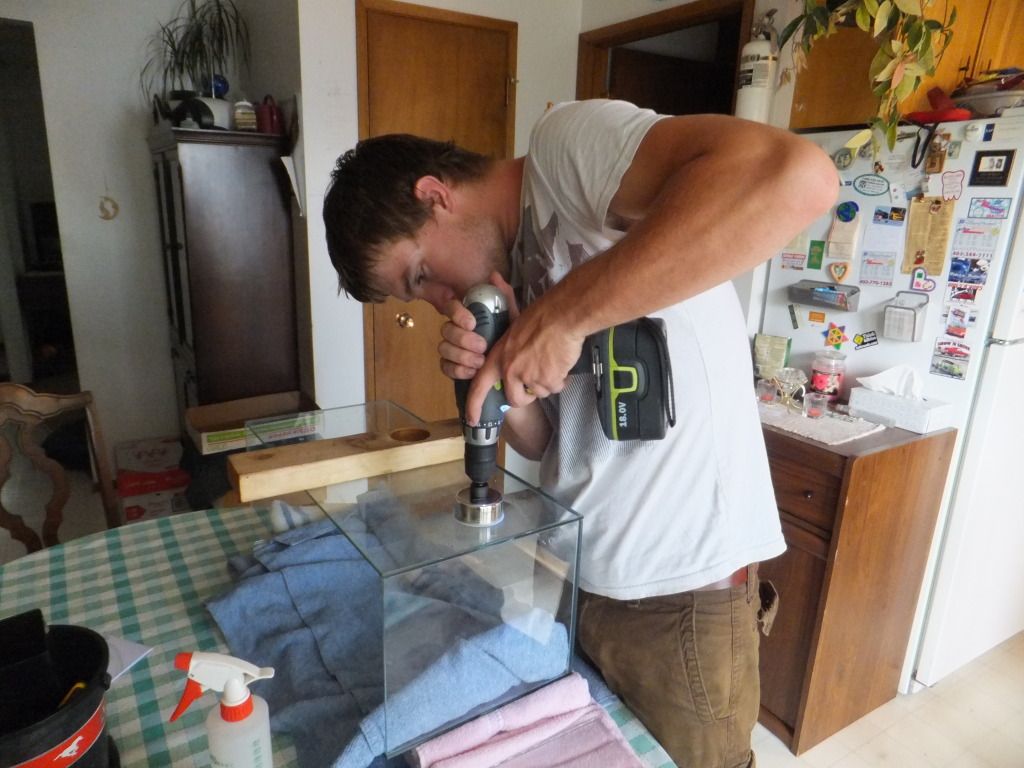 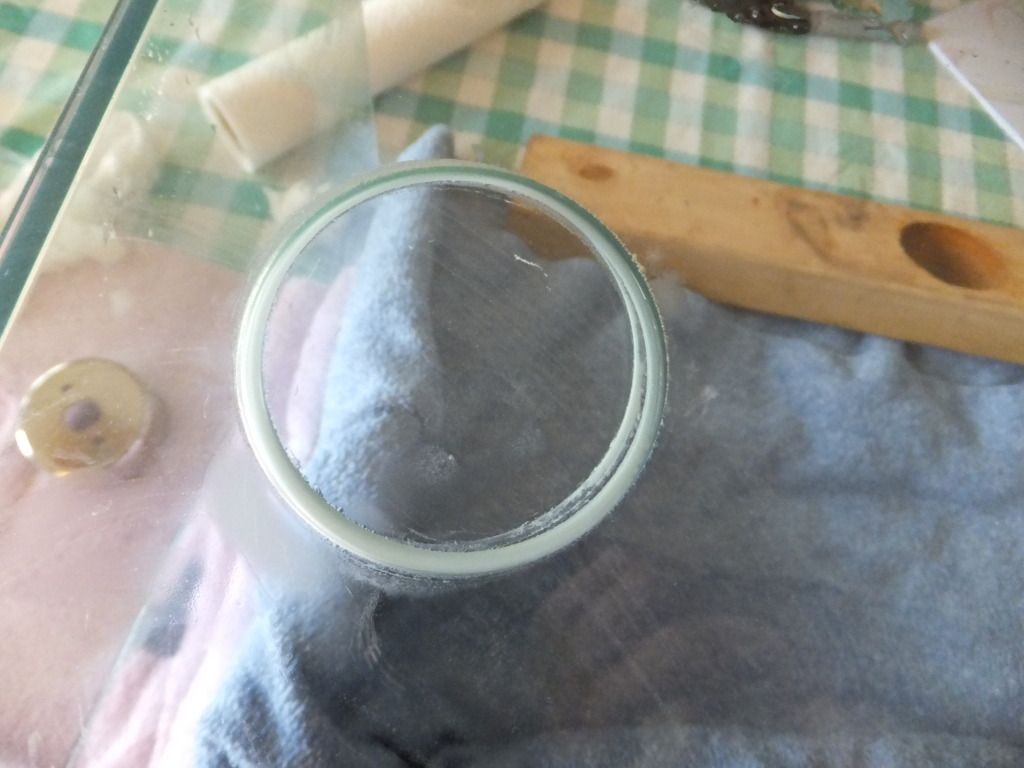 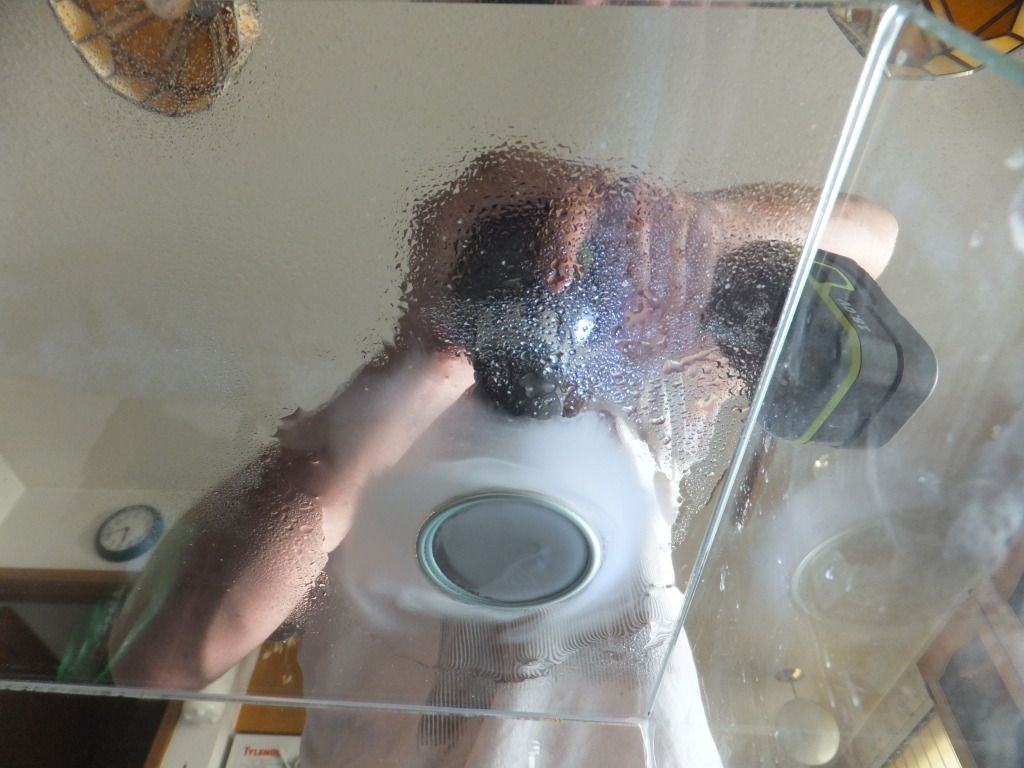     |
|
#4
|
|||||
|
|||||
|
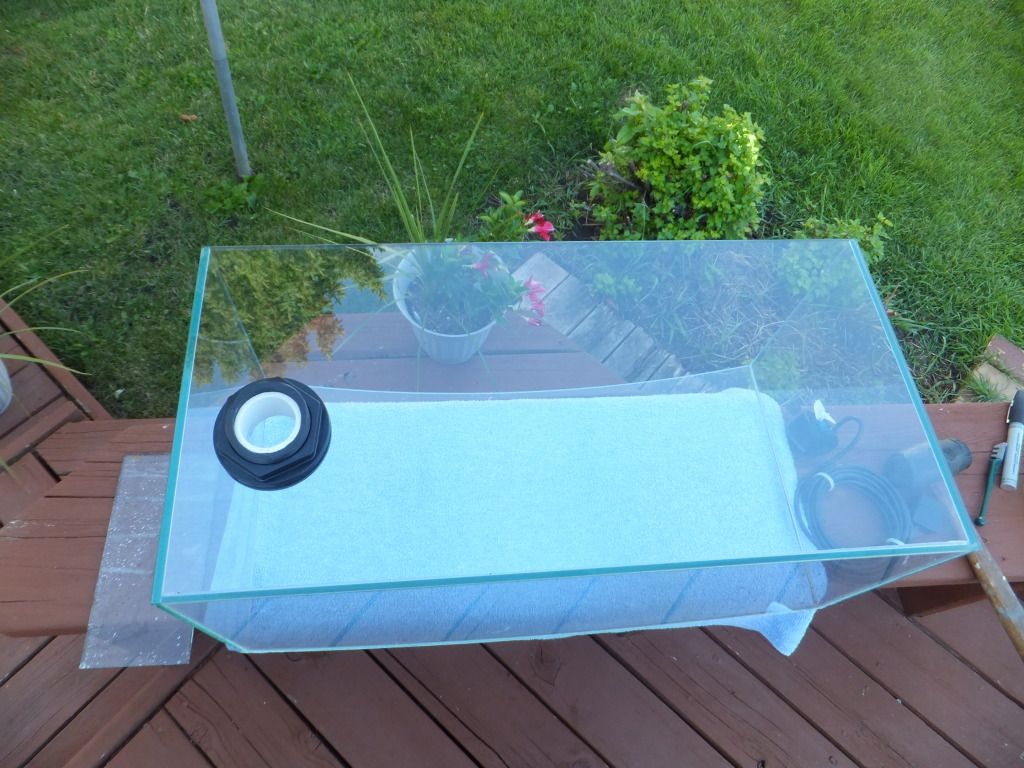
The wave box is on now, i water tested it and it looks solid to me, im going to let it sit over night with the wave running just to see if it builds slowly on itself and causes it to spill over the sides, if im all good then ill start to cut and drill the overflow, but i need to know the height of the water that i can get in the tank and still have a wave
Heres the progress so far! 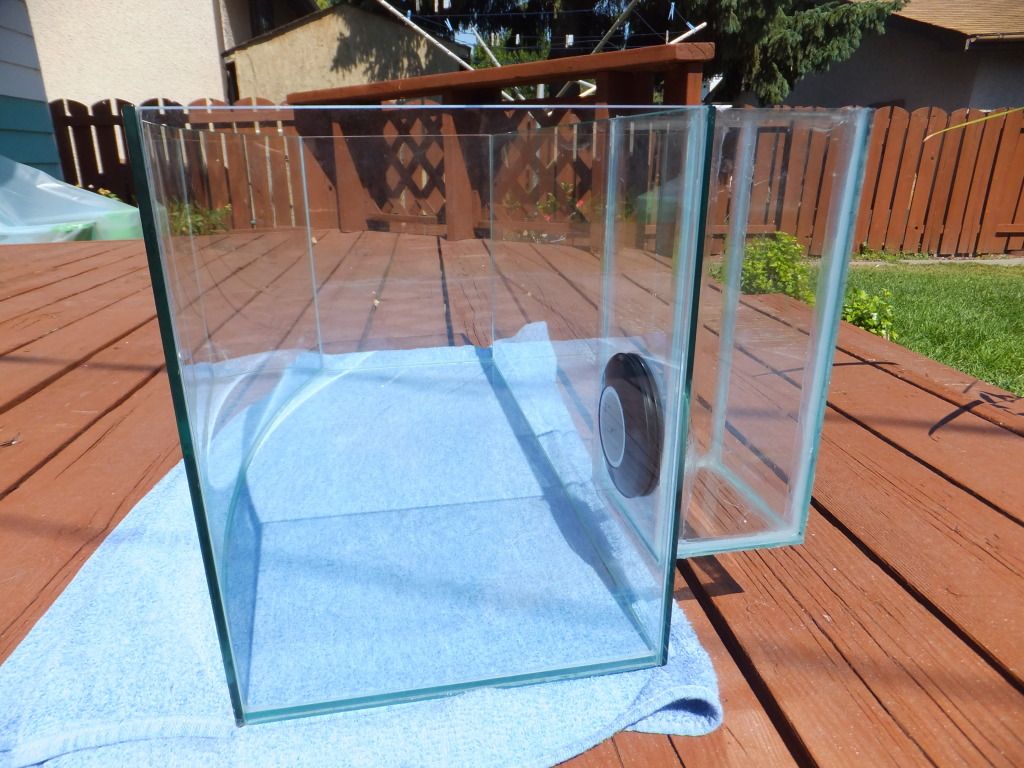 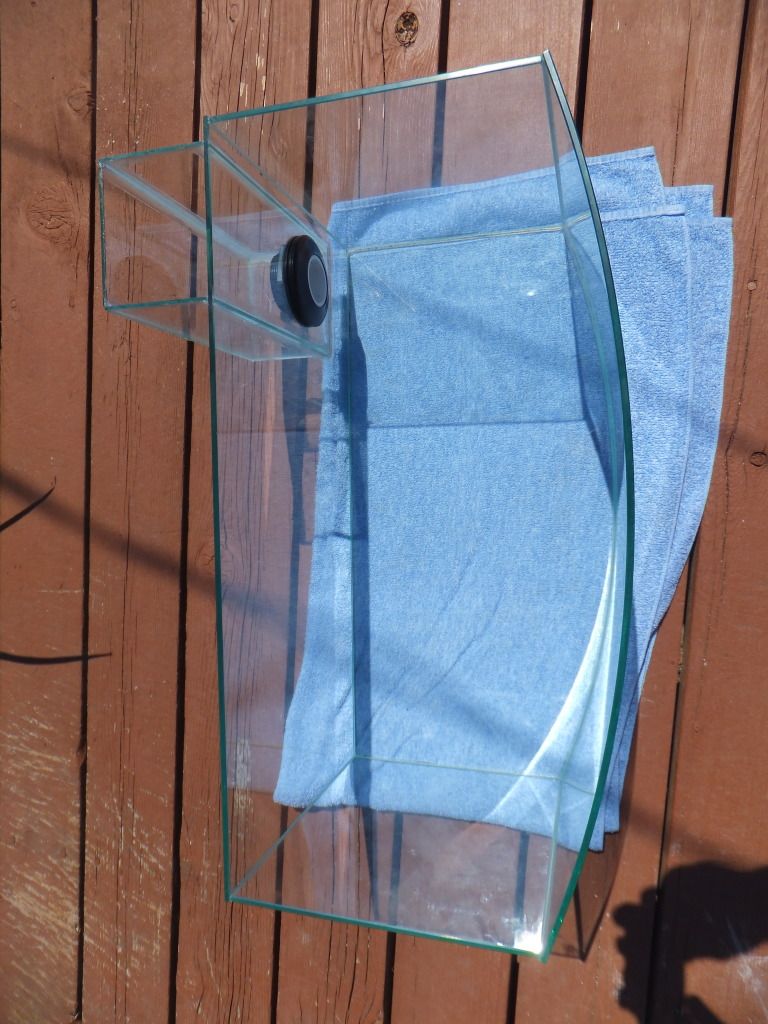 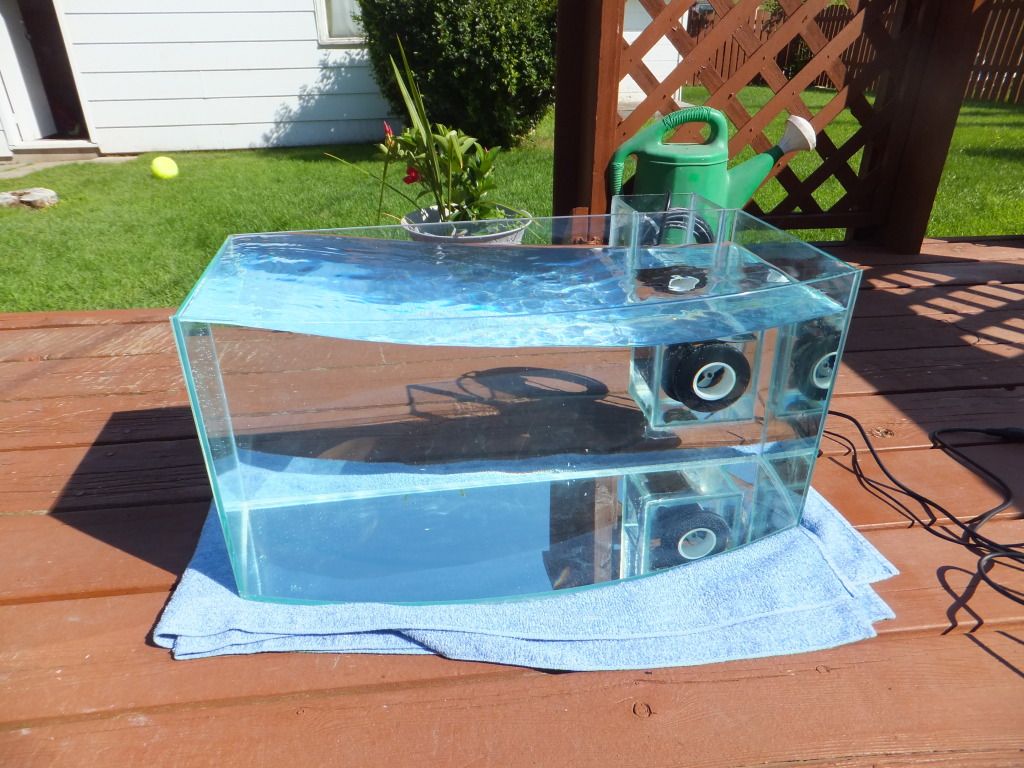 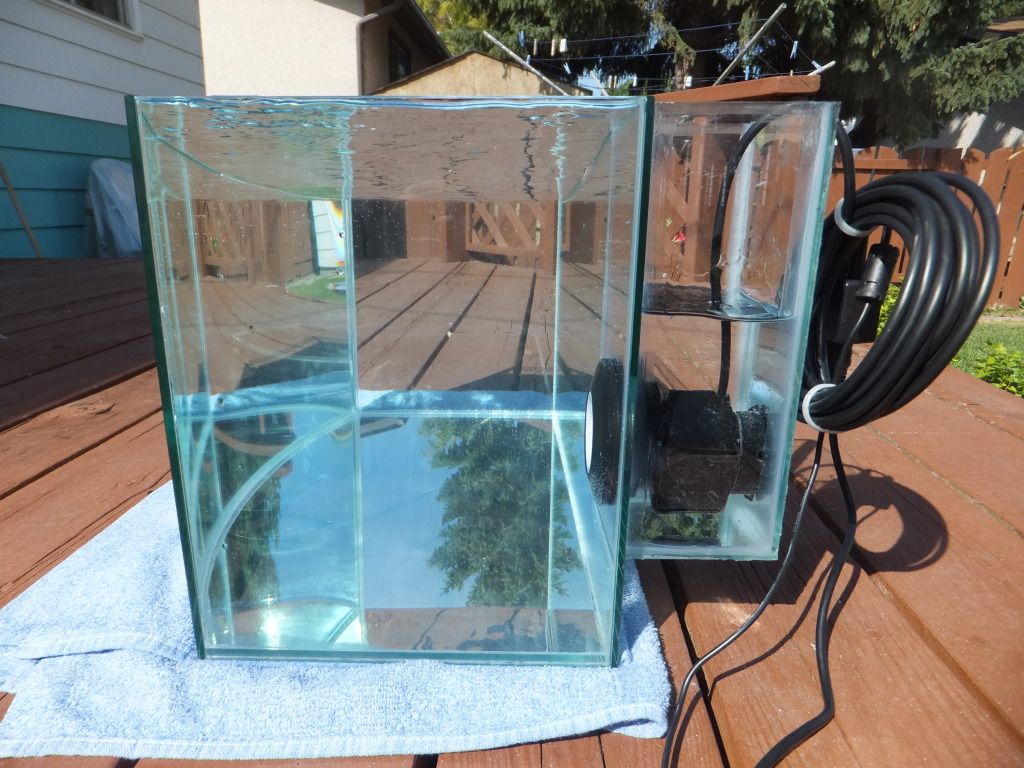 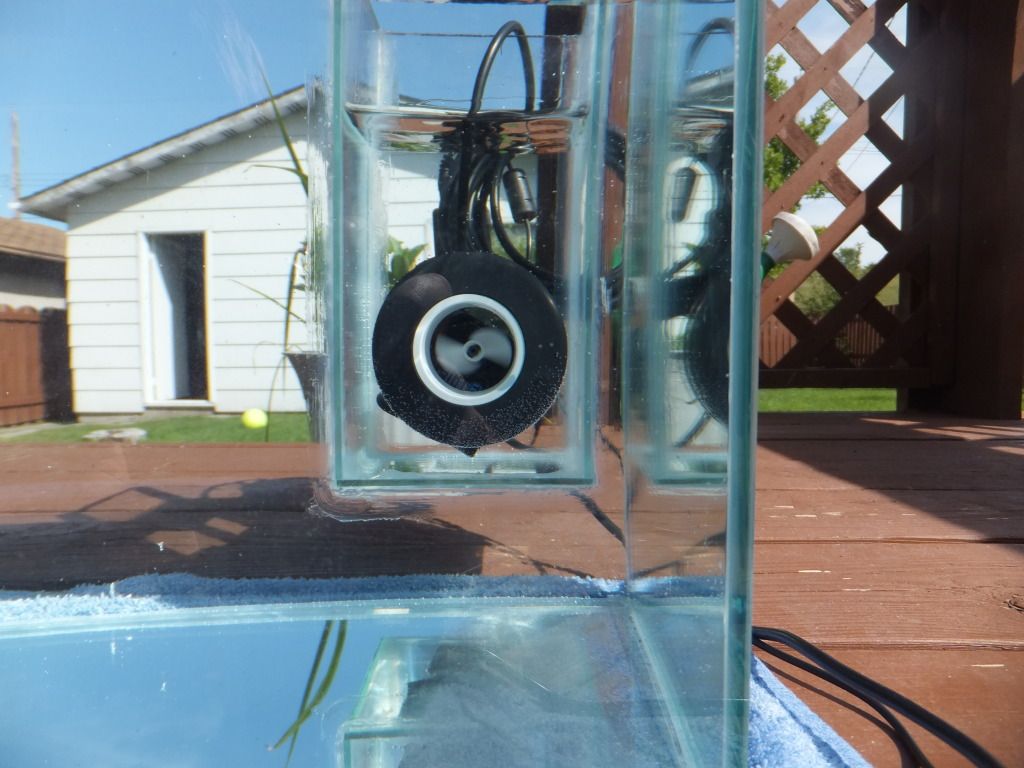 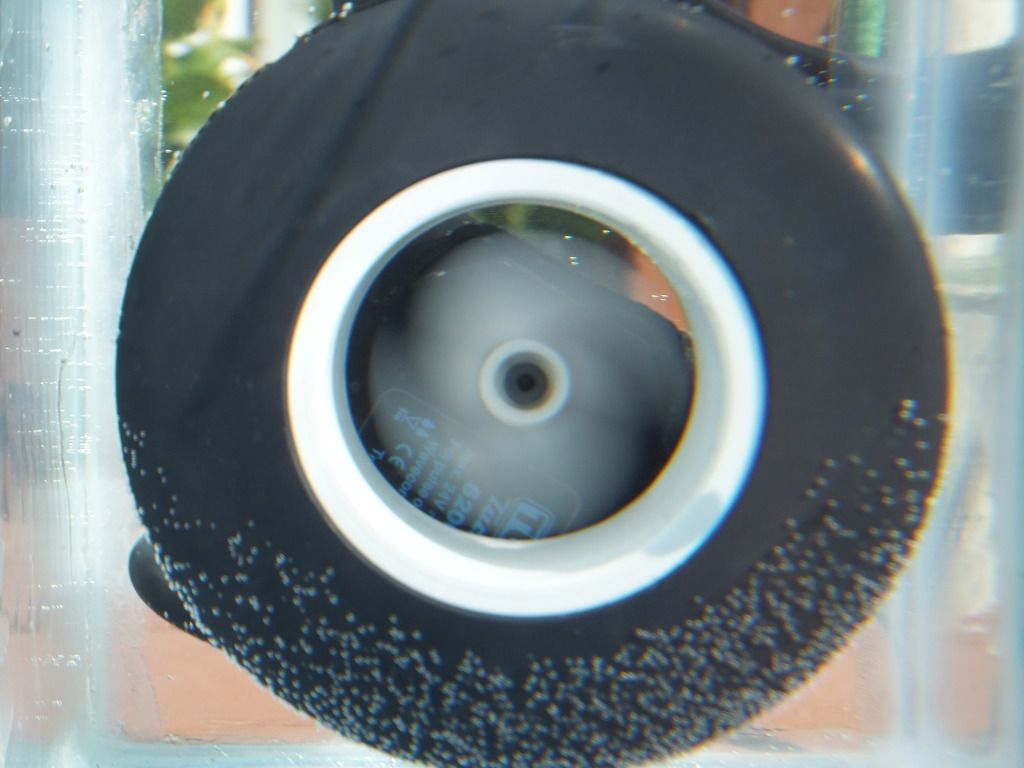 |
|
#5
|
|||||
|
|||||
|
Wow, very cool build! I love these little tanks.
|
|
#6
|
|||||
|
|||||
|
That frikin wave looks huge!
__________________
 They call it addiction for a reason... |
|
#7
|
|||||
|
|||||
|
Looks great, but didn't I already see thus on nanoreef?
 did you post the link to the YouTube vid if the wave? Or am I just having flash from the past here? did you post the link to the YouTube vid if the wave? Or am I just having flash from the past here?
__________________
I'm not 'fallow' you must be talking about my tank! |
|
#8
|
|||||
|
|||||
|
hahaha thats cus its a bowfront, its really only about an inch or so
|
|
#9
|
|||||
|
|||||
|
I find exposure to sunlight will cause that in SOME silicones, it happened to the one corner of my wife's tank that is exposed to sunlight but the rest of the tank is unaffected
No negative affects from what I've noticed on corals or structural integrity of the tank, just an eye sore
__________________
Guide to building super awesome rock structures / my tank journal http://www.canreef.com/vbulletin/sho...d.php?t=116410 |
 |
| Tags |
| bowfront, custom, exposed rock, tunze, wavebox |
|
|