Picked up a used sump the other day. Dimensions are 36"(L)x18"(W)x20"(H). It comes out about 56 gallon. It is a little bit tall for my liking. I was going to get a 40g breeder. But on the plus size it holds more water in case of a drain from main tank to sump happening. It was not baffled therefore I needed to get some glass cut and glued them myself. It has 2 holes drilled and some plumbing connections but I don't plan to use an external pump therefore I will have them plugged.
I am just going to divide the sump into 3 sections, skimmer(drain, 11"L), return (10"L) and refugium (12"L). Pretty standard stuff.
masking it before the gluing.

I am just going to skip the gluing process because it doesn't require any skills. A lot of patient waiting for one baffle to dry before doing the other because they are so close to each other when doing the bubble baffles.
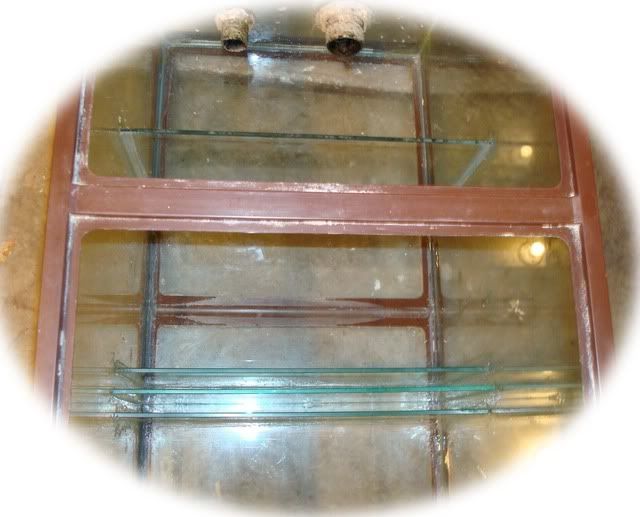
All three partitions are done. Bubble baffles are 9" high. Middle baffle is 1" above the bottom. 1" space between each baffles. Refugium baffle is 11" high. From left to right are skimmer section, return and refugium.
Glass is 1/4".

Top down view
Lessons learned from DIY sump:
1. Get a longest tank you can get for your sump. A short tank making diving sections really challenging.
2. Probably should plan the skimmer first before the sump. A smallish skimmer section really limit the choice of skimmers.
3. Mask the hell out of the tank before applying glue. I got lazy on masking and applying a lot of glue and it shows in the pictures.