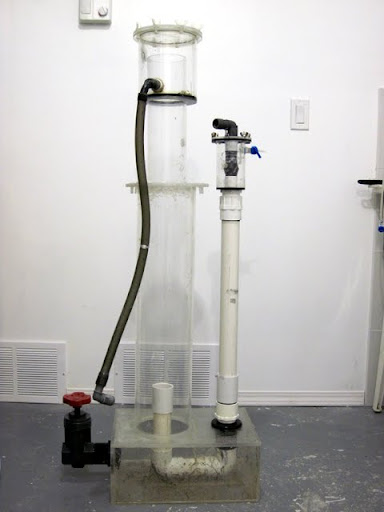
So, next on the radar is the plumbing for the skimmer. I have Canadian Man's old DIY beckett skimmer that has been waiting to be put back to use for a few years now.
Plumbing is such an interesting exercise. I both love and loathe it at times. It's like putting together a jigsaw puzzle but you don't know what the end picture will look like.
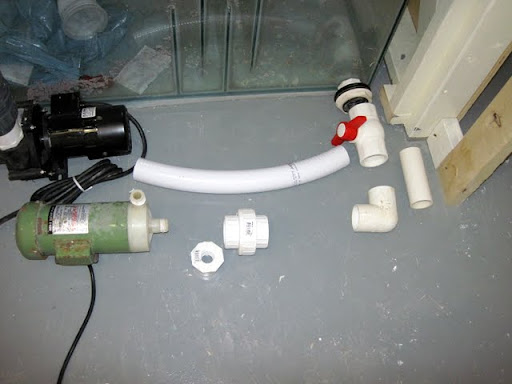
This was my first thought on how I'd run the line. I'm using 1.5" line that will step down to 3/4" for the GenX/Mak4 pump intake.
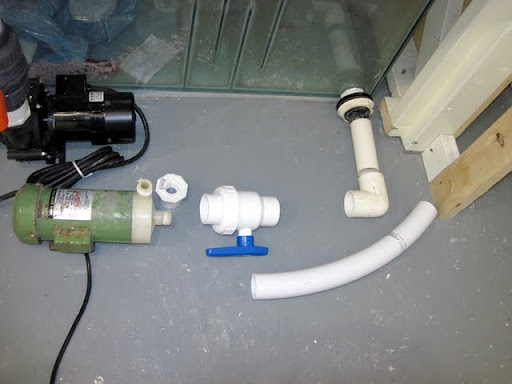
... But I just didn't like it. It wasn't speaking to me. So I ended up picking up a few different pieces and am right now thinking about something like this instead:
I've had the red handled valve in my junk drawer for years and was excited to use it again. But the problem is the threaded ends means threaded-to-slip adapters are needed and it just adds to the overall length needed. I want flex PVC involved to suck up pump vibration and also compensate for any alignment issues but flex PVC is defeated if you don't have a long enough run.
So, a switch to a half-union valve from Western Pump (man I love that store, more on this later) and hopefully a pump feed arrangement I can live with.
Here's a look at the skimmer itself.
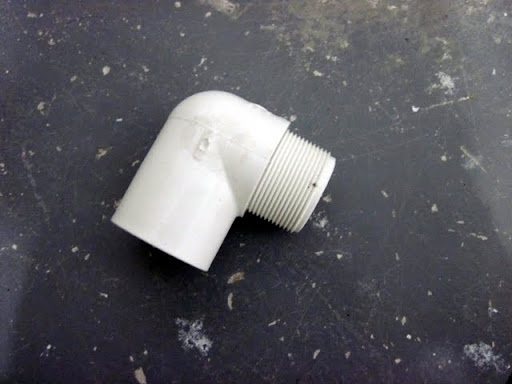
Jonathan didn't have a gate valve and I've been wanting to add one to this skimmer forever. So finally here I am and I've done it! Haha! WOOHOO!
.. but .. in the "I don't know WHAT I was thinking" category, I ordered a threaded gate valve instead of a slip. I was probably thinking "this way I can reuse it later!" ... but the problem is all those threaded to slip adapters just keep adding length and more length to the pipe (holy that sounds terrible) but I want a lower profile on that sort of thing.
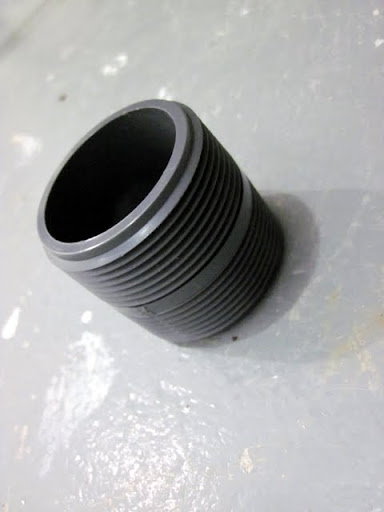
Again, Western Pump to the rescue with stuff like this:
.. and this:
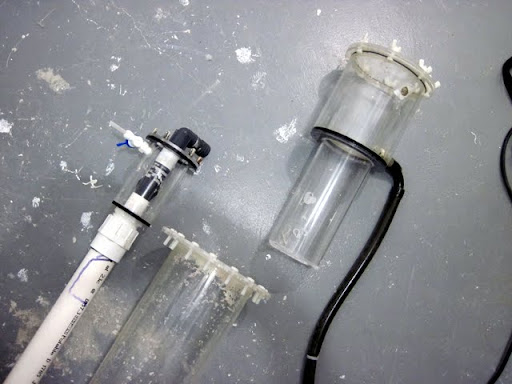
The close nipple will sit inside the bulkhead and that is a challenge in itself. I used a copious amount of "heavy bodied" PVC cement and am hoping that it will seal up. If it does, the valve can then just thread on and off the bulkhead as needed.
A second option would have been to add a threaded to slip adapter but again it just makes the pipework huge and a bother to work around.
The male threaded elbow just goes into the other side of the valve and drains down into the sump.
On the topic of draining down .. another one from the "I don't know what I was thinking." Remember that most of this stuff happens late at night - don't judge me!

Instead of measuring the sump height, I got it into my head that to find out how high the skimmer needs to sit off the ground (ie., how tall the skimmer stand needs to be made at), that I should hold the skimmer up and measure the height it took to get the effluent pipe to clear the sump wall.
Can you see where this is going? Well, I'll give you a hint: doing it that way was not smart.
Ouch. There was a time I might have reacted with swear words but at this point I'm more just "ugh, now I need some weldon. This will also undoubted push back the wet test."
So a trip to Industrial Paints and Plastics today was in order because I was out of Weld-On 16 (I use a LOT of that stuff fixing stuff and toys that the boys break. Man if the butterflies are destructive to a reef, they don't hold a candle to a 5 year old and a 2 year old, and the damage they will do to a household.)
Or a dad who works on his hobbies at midnight and after.
But, it's given me the thought that sometimes things like this are an opportunity. One thing about this skimmer that I worry about is, well, let me just show you. This:
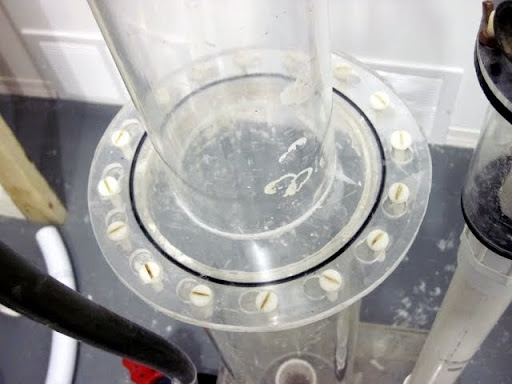
My goodness that is a lot of screws. It will take forever to take this apart to clean and put back together and I'll need a screwdriver to boot. I am tempted to see about replacing the flanges to something that uses maybe 3/8" acrylic and no more than say 8 thumbscrews. And keyholed screw holes so it can just twist off.
Only problem with that is I don't want to make them. At one point Barr Aquatics was selling ready made flanges but unfortunately his reseller, Austin Aquatics, has gone out of business. I put in an email to Brent a couple days ago but no reply. I'm not sure if he's still doing acrylic fabrication for the hobby.
So I might be looking around at some point to see if someone can make me some. I might even talk to Industrial Paints and Plastics about that.
It would be a good opportunity to install a second flange at the bottom of the reaction chamber so that the skimmer can be taken apart for cleaning.
On the topic of cleaning .. I always wondered where people get muriatic acid to clean out things like skimmers. Today I was at Western Pump and thought .. hey I wonder if people use that stuff to clean out pools. Lo and behold - they do! $16 later I have a gallon of 35% muriatic acid. Dirty skimmers beware!
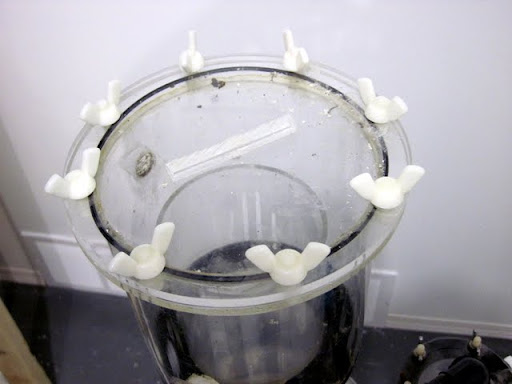
The top of the skimmer cup as well could probably stand to be reflanged with something that includes keyholed openings for the bolts:
.. as well as the injector housing:

It's just that, in my experience, when something becomes a drag to do, it gets pushed off. And it's a slippery slope between "I'll clean that out tomorrow" and "why does my tank look like crap?" ...
.. but it's a balance point too. I don't want to re-engineer the entire skimmer. At some point it might just be further ahead to say "to heck with it" and buy a new skimmer. The problem with that of course is funds or more specifically a lack thereof. So the initial plan will be to just fix the break for now, and worry about "making it better" later on.