For whatever reason, the previous owner decided to keep the overflow comb for himself so I was left with nothing but some silicone residue on the top of the pieces of glass that formed the overflow. So I figured this would be a perfect time to test out my new table router.
First I cut the pieces of acrylic to size with an 80 tooth blade on my table saw.
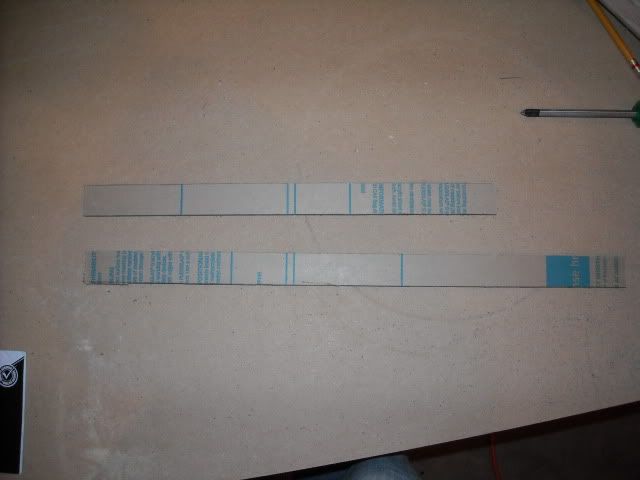
Since the max height my overflow comb could be was 1", I decided to go with 3/8" acrylic in order to make the comb a bit more rigid. After I cut the pieces of acrylic to size, I started cutting out the notches using my router table. The router table worked real good to cut the first few teeth but since the fence on the table would only go back 2 1/2", I could only cut 4 teeth. Since my overflow is 14" long, and I had 18 teeth to cut out in total, I had to come up with another idea. So I tried building a secondary fence and feeding the acrylic in perpendicular to the "proposed" feed direction. The result, an Epic Failure.
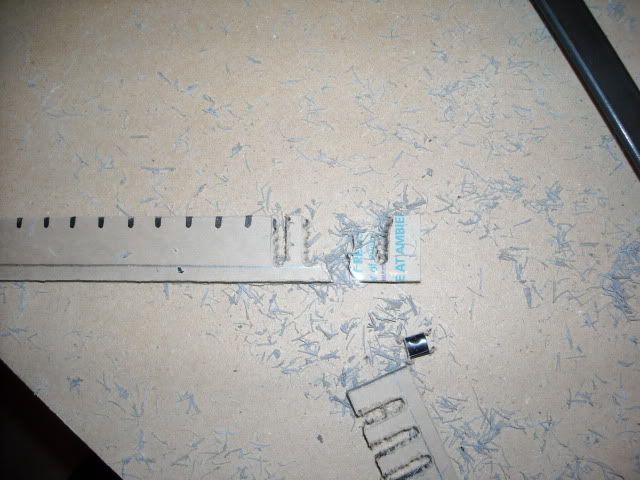
So after destroying half of the 3/8" acrylic that I had, I decided to build a stationary jig and hand router the teeth into the overflow comb. This time, I was going to leave the pieces uncut, router the teeth in, then trim them to size on the table saw in order to give the acrylic a bit more rigidity when routering out the teeth.
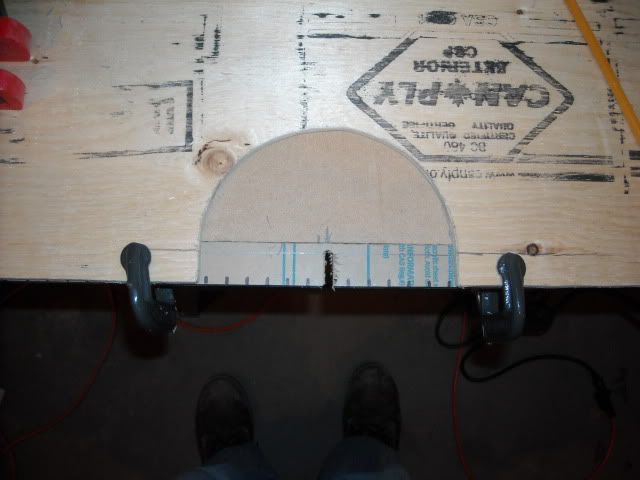
Here is the jig I quickly built
After cutting out a tooth, I'd just readjust my piece of acrylic, clamp it back in place and cut out another tooth.
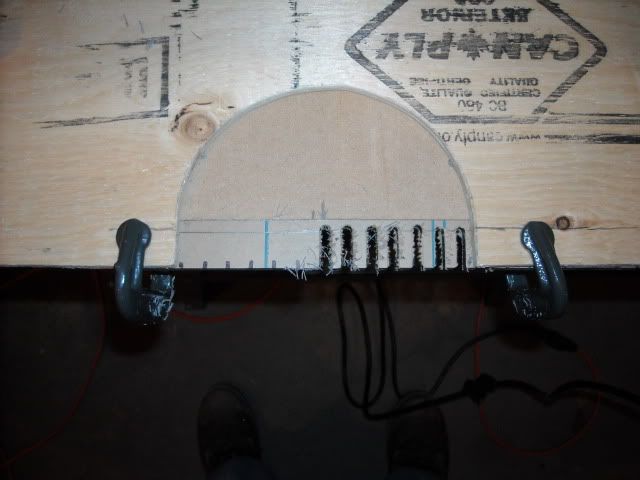
All the teeth cut out and my acrylic is still in one piece. Amazing!
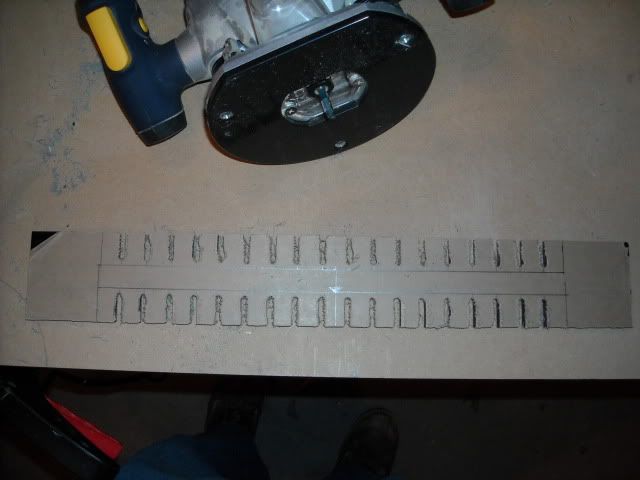
And all trimmed to size and dry fit
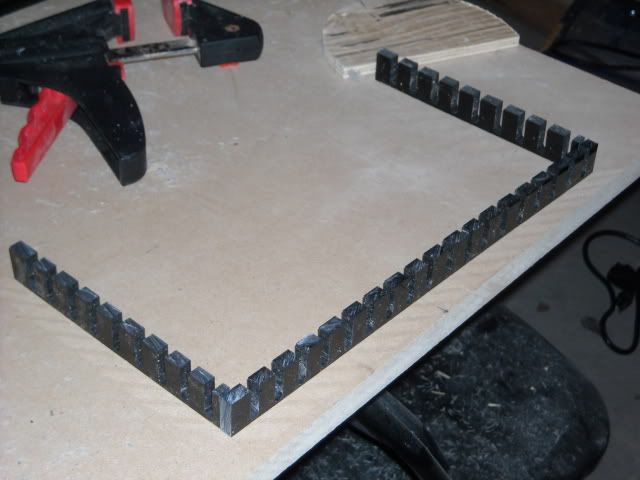
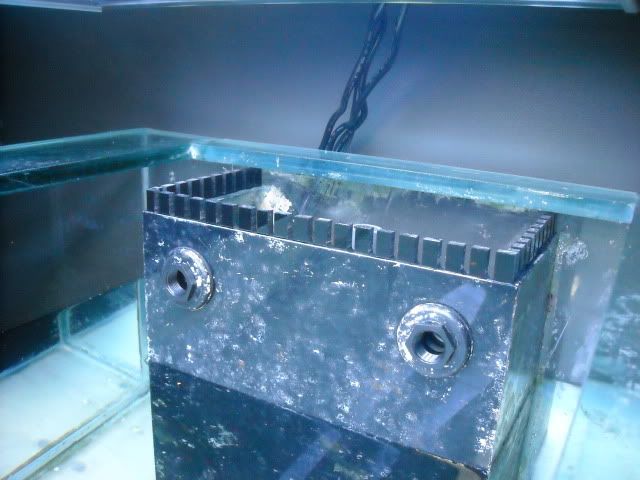
Siliconed onto the top of my overflow. Here you can also see the 2 outlets from my return pump. Each of these will be getting a 3/4" pacific coast flow accelerator which is basically a smaller version of an eductor.
Well that about ends the DIY portion of my build until I get around to bracing my drain plumbing (since it is ridiculously heavy) and manifold into my stand as well as installing the doors on the stand and finishing the exterior.