After I got the sump finished, I started working on the plumbing to connect the tank to the sump. After removing what seemed like another entire tube of silicone from inside of the overflow, I removed the existing 2" and two 1" bulkheads from the holes in the glass. I replaced these with new bulkheads since the previous ones had fittings glued and not threaded into them.
The way the return lines were setup, I decided to do a 2 in 1 style herbie overflow utilizing the 2" hole for both the main drain and emergency overflow. The other 1" holes in the overflow were used for the return line since they lined up perfectly with the bulkheads for the return outputs in the top of the overflow pointing into the tank.
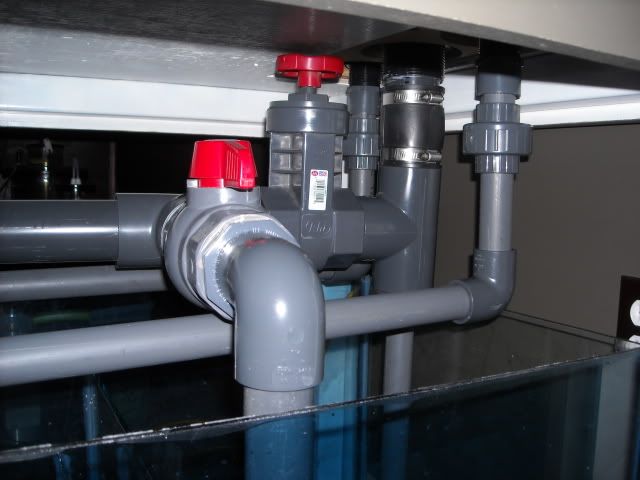
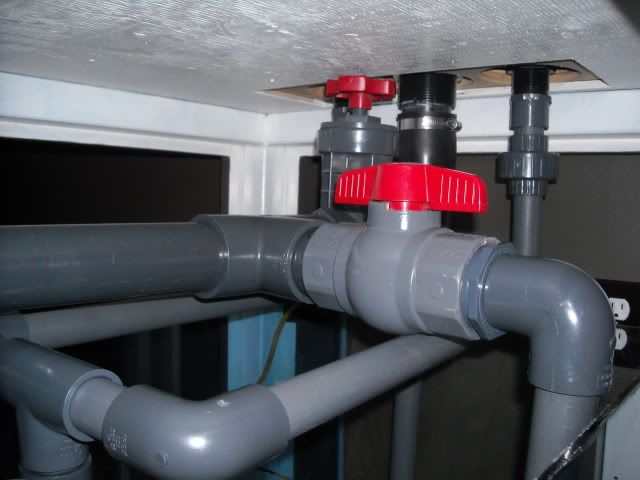
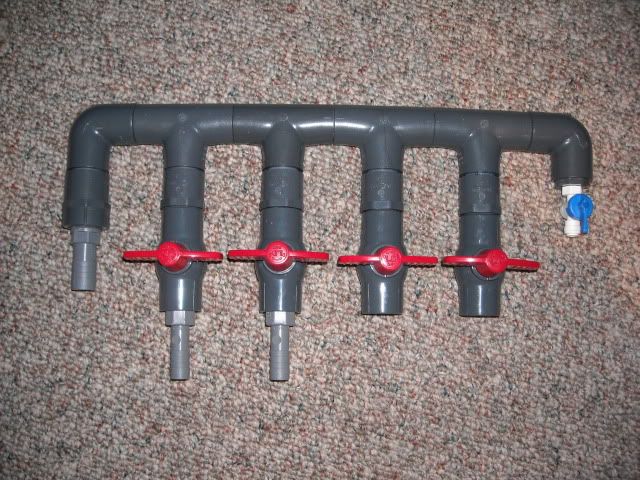
Here is the finished product
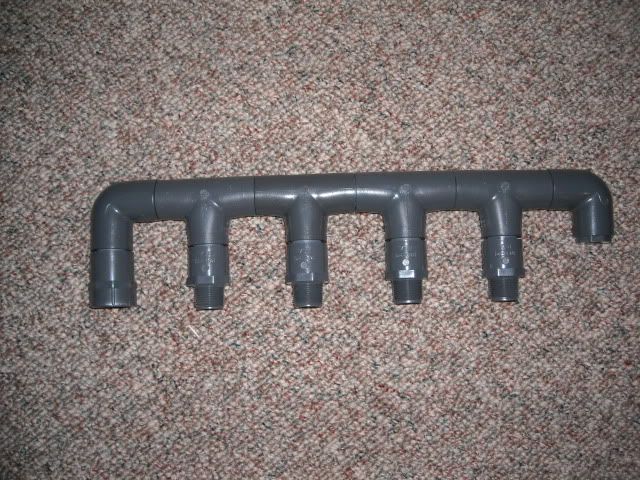
Here is the manifold I glued together. It will be fed by a mag 9.5 and the outlets will deliver water to my calcium reactor, UV sterilizer, phosban reactor, Vertex media reactor, and I left 1 outlet open incase I add any other new device that requires a feed of water in the future.
Here is a little schematic I drew up to explain how I plumbed the herbie overflow using only a single 2" pipe.
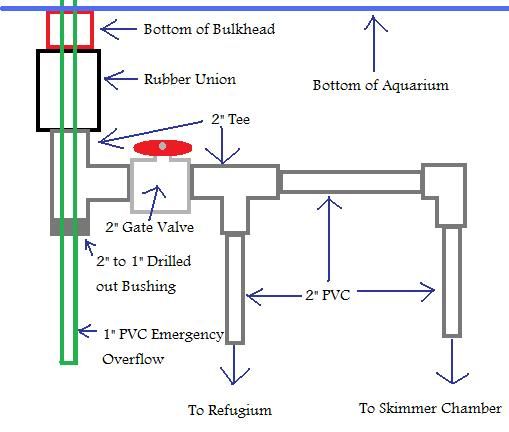
Basically, water drains down the bulkhead into a space between the inside diameter of the bulkhead (which will soon be getting a piece of 2" sched 40 PVC jammed in there to prevent my entire overflow from draining when the power goes out) and the outside diamter of the 1" pipe in the center of the bulkhead. From here, the water travels down to a T where it passes through a gate valve that serves to regulate the height of the water in my overflow. If I close this gate valve too much, the water level in my overflow fills up to the point where it starts flowing into the 1" emergency overflow pipe which sits approximately even with the top of my overflow. In the event the gate valve becomes clogged completely, the 1" emergency overflow will handle all of the flow from my return pump so there is no way the tank "should" be able to overflow.
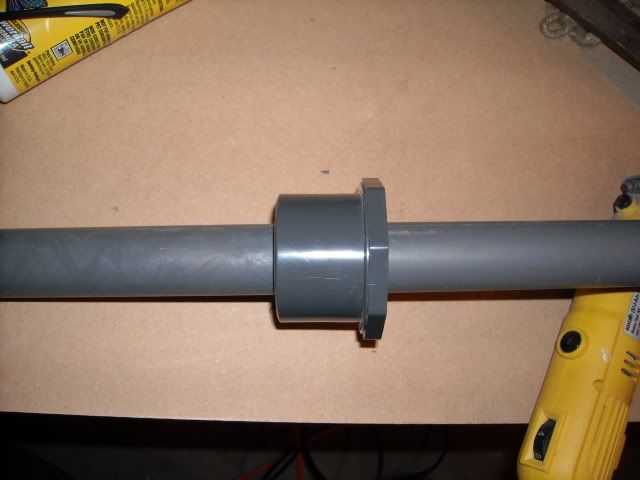
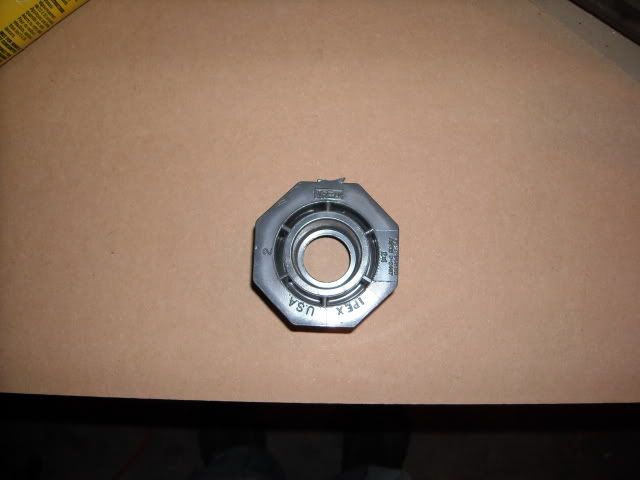
All I had to do was drill out a 2" to 1" Slip reducing bushing so that the 1" pipe could slide through.
2" to 1" reducing bushing right out of the box
And after a little bit of dremel work. You can see that the central ring is now gone which allows a 1" pipe to pass all the way through the bushing instead of bottoming out half way in.
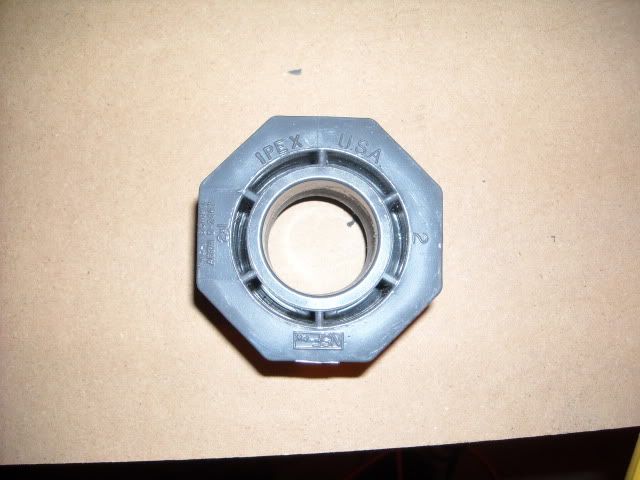
Then I slid the 1" pipe through the bushing and glued the bushing into the bottom of the 2" T on my drain assembly. The 1" pipe I did not glue in case I ever want to adjust the height of my emergency overflow. Even with the gate valve fully closed, I only get a slow drip out around the 1" pipe through the bushing. This doesn't matter though as it drips directly into the refugium anyways.