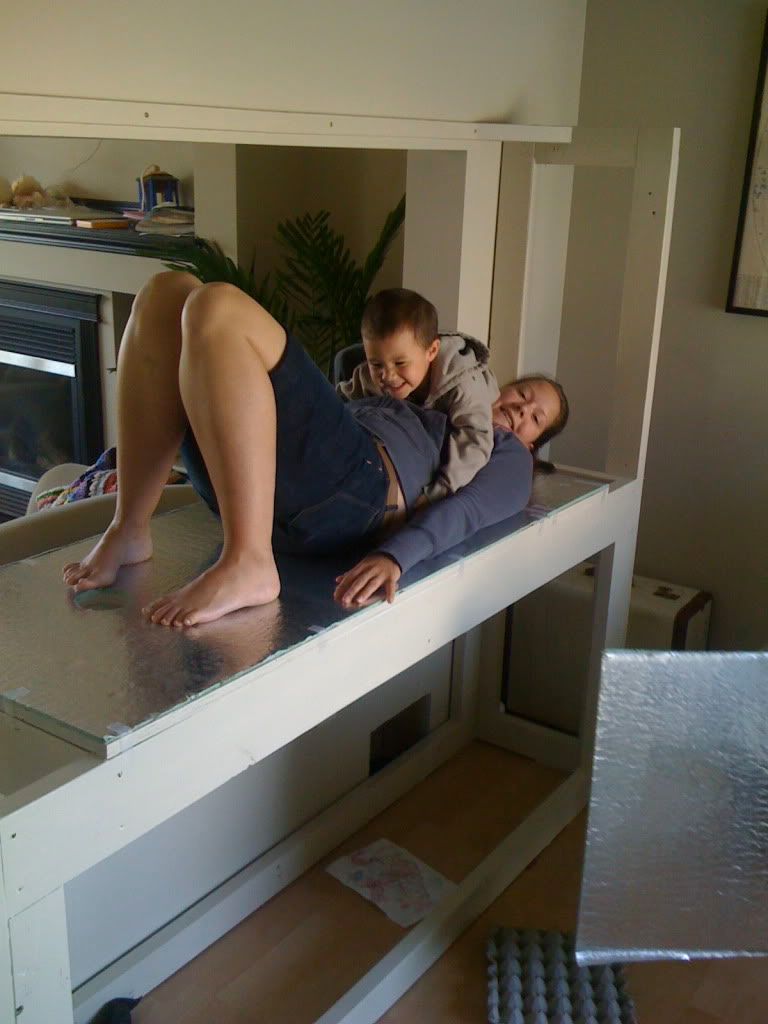
More progress. I put foam on my tank a yesterday and then my family wanted to lie down on the tank stand

. My daughter joined in later. I almost took a snooze on it.
Then with the help on my 2 neighbours I lifted the tank into place. At first I grabbed one neighbour and he tried but didn't trust himself to lift it, so later we grabbed another neighbour and we got her in. My neighbour then proceeded to lift up one corner of my mini since he was in the "lifting" mood. He got the car up about an inch in one corner....yikes.
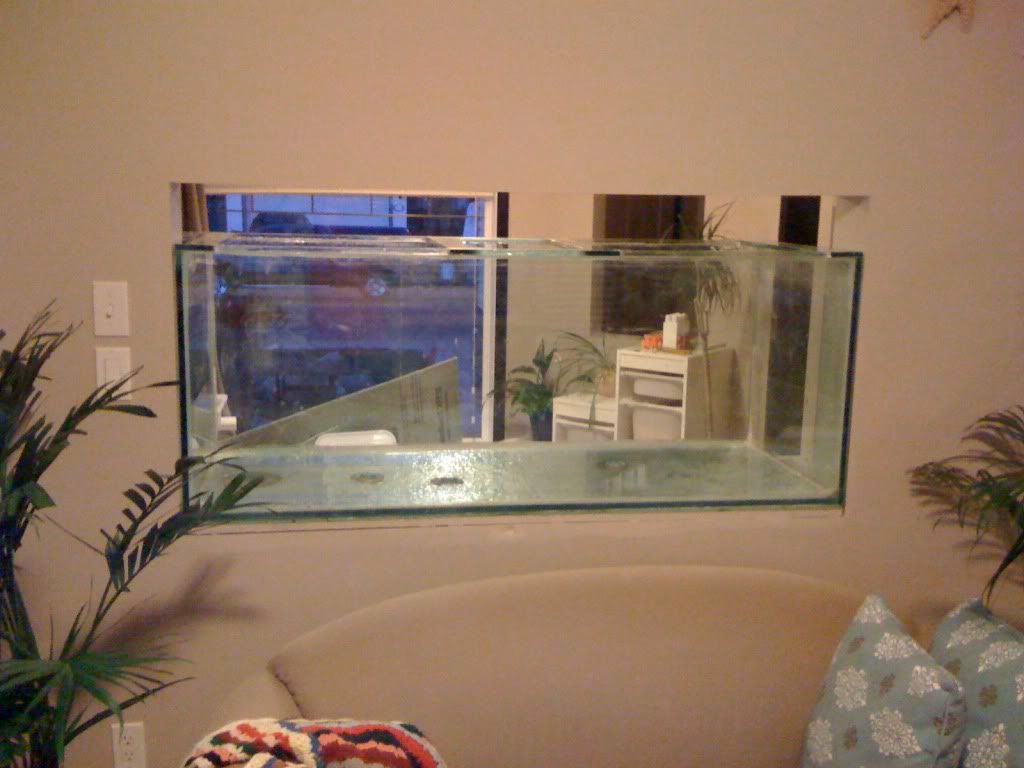
Here's a picture looking from the living room.
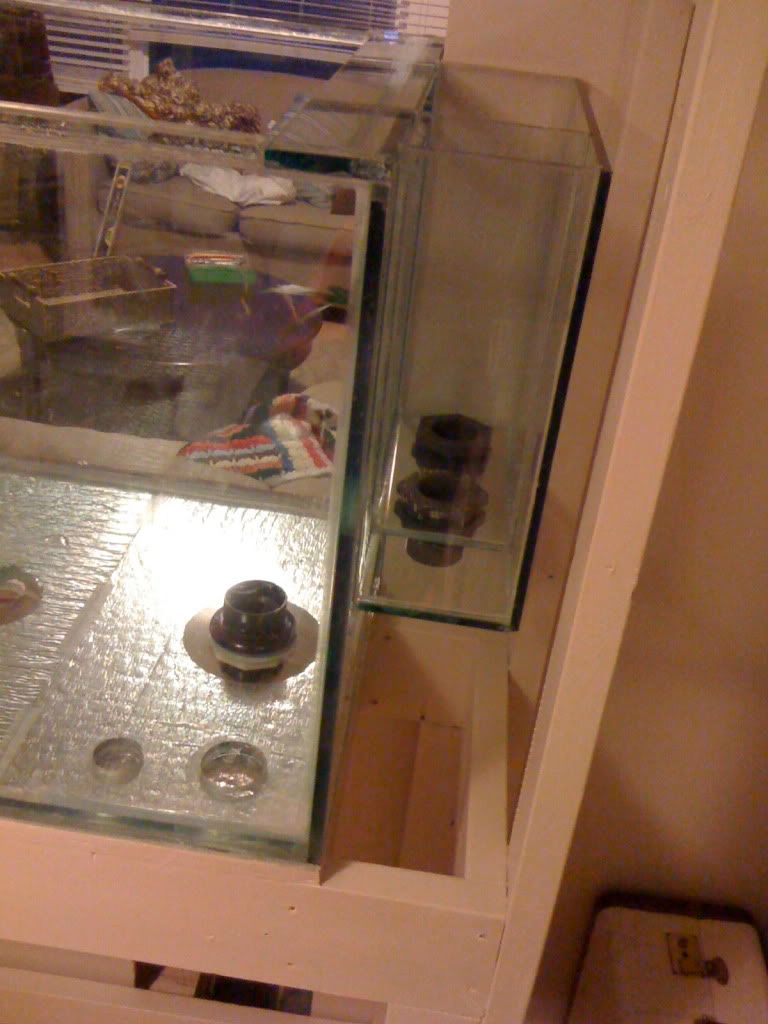
Here's a picture from the den side, my tolerances were tight. I have about an eighth of an inch on either side of the tank and my overflow is about an eighth of an inch away from the wall. I'm so glad it fit:
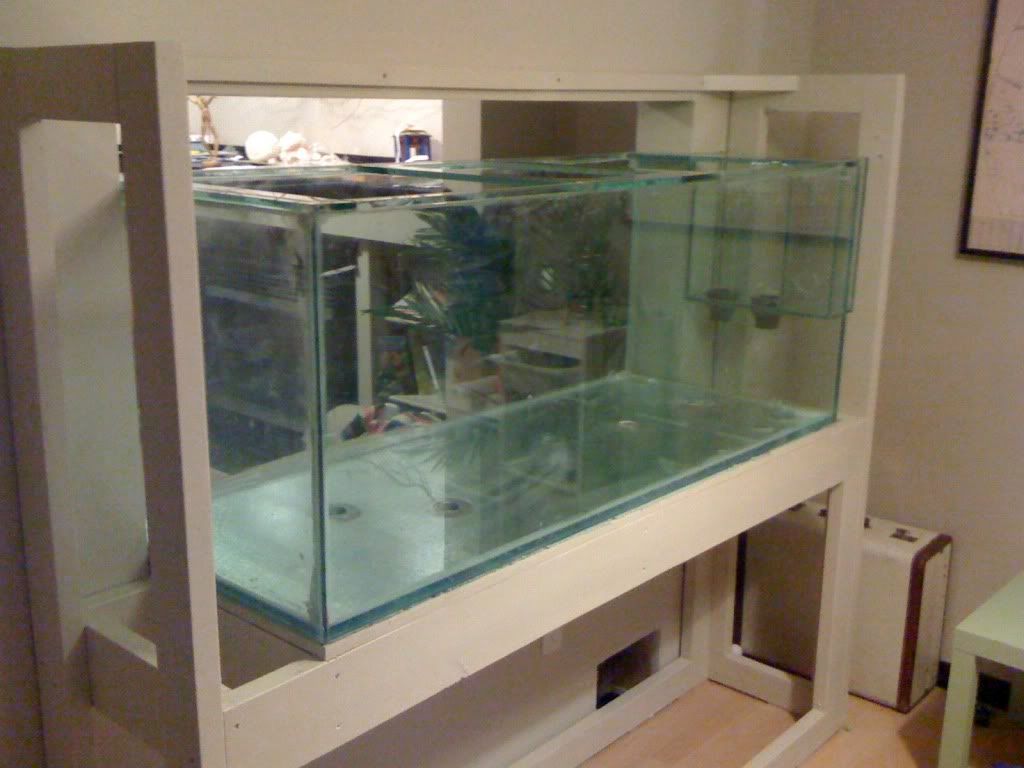
The external overflow - the 2" bulkhead in the bottom of my tank is the intake for my closed loop.
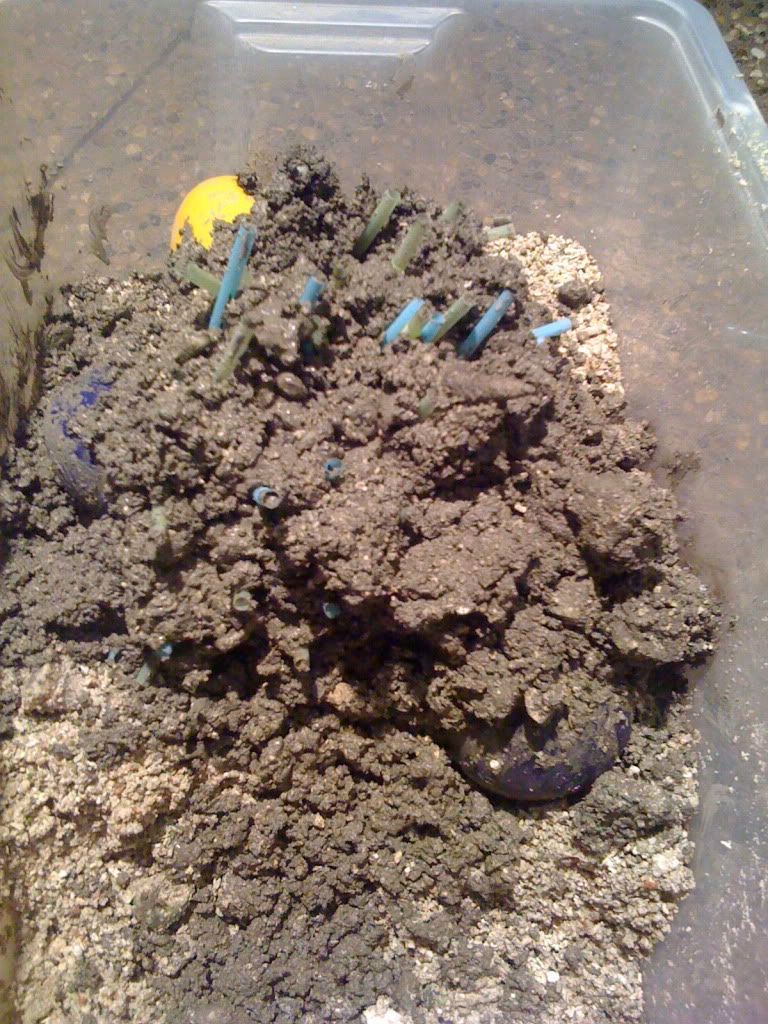
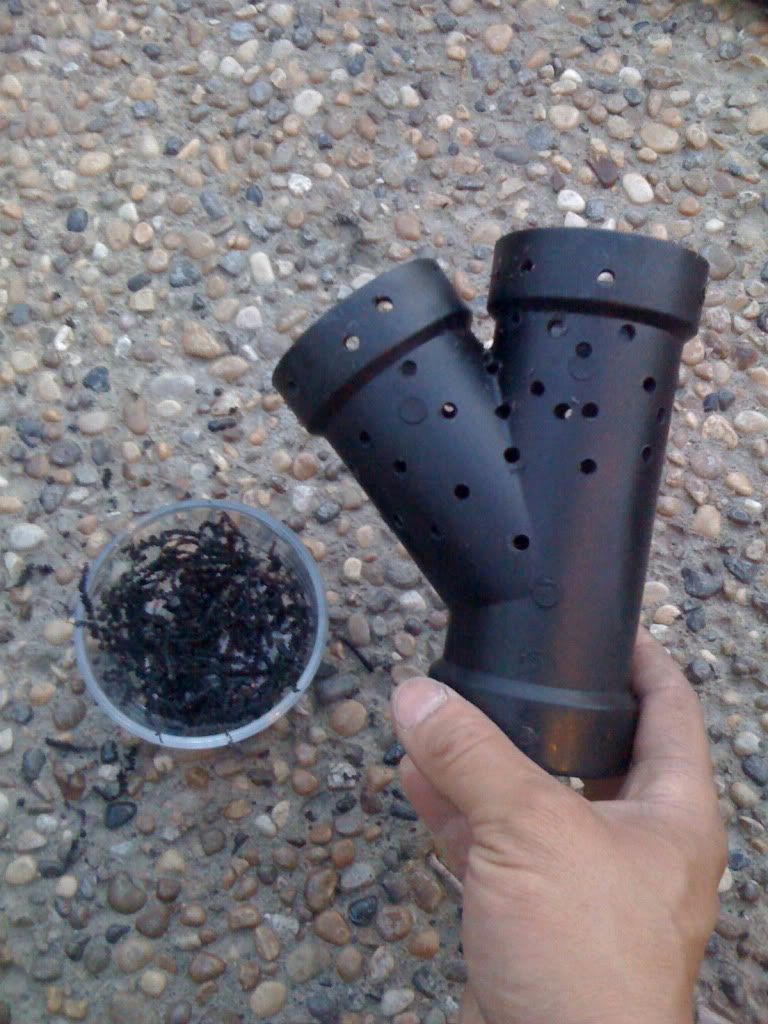
Tonight I decided to make my first piece of aragocrete. The idea is to make a piece of rock around a 2" plumbing "Y" to use as an intake for my closed loop. I hate the idea of the strainer and trying to hide it with rocks, so I'm making a strainer rock.
Here is the Y with a ton of holes drilled. I've kept the shavings to add to my aragocrete mix to make it more porous.
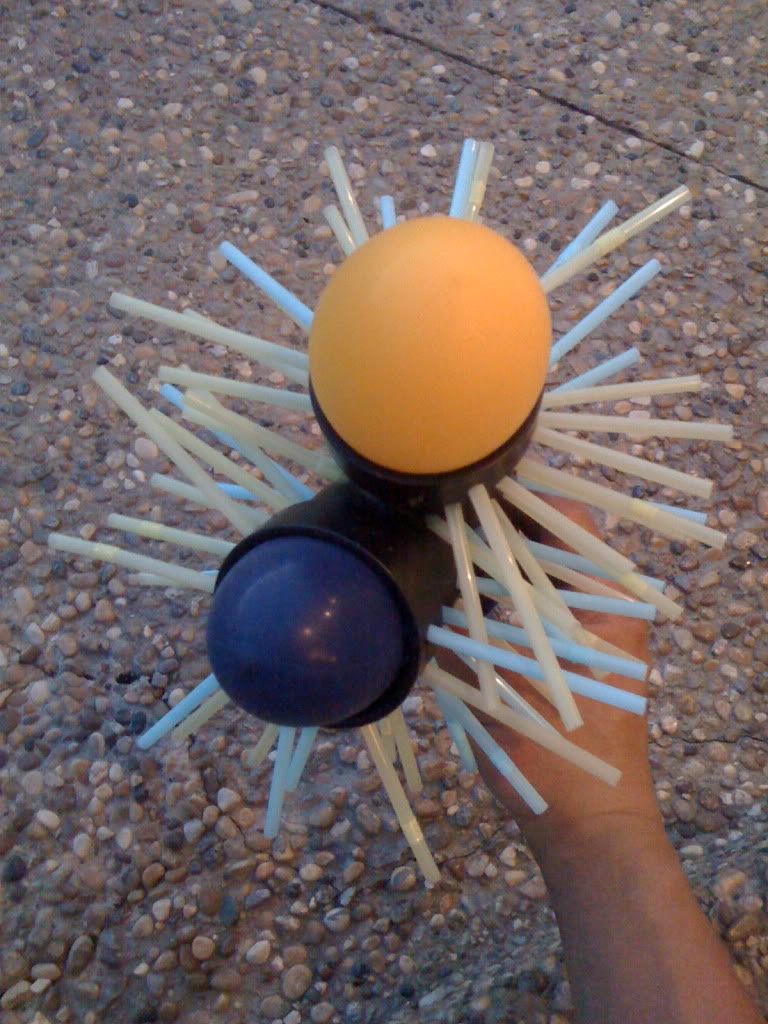
Here's another couple of pictures with straws inserted so that there will be holes to suck water in from. The balloons are to prevent my aragocrete mix from going into the fitting.
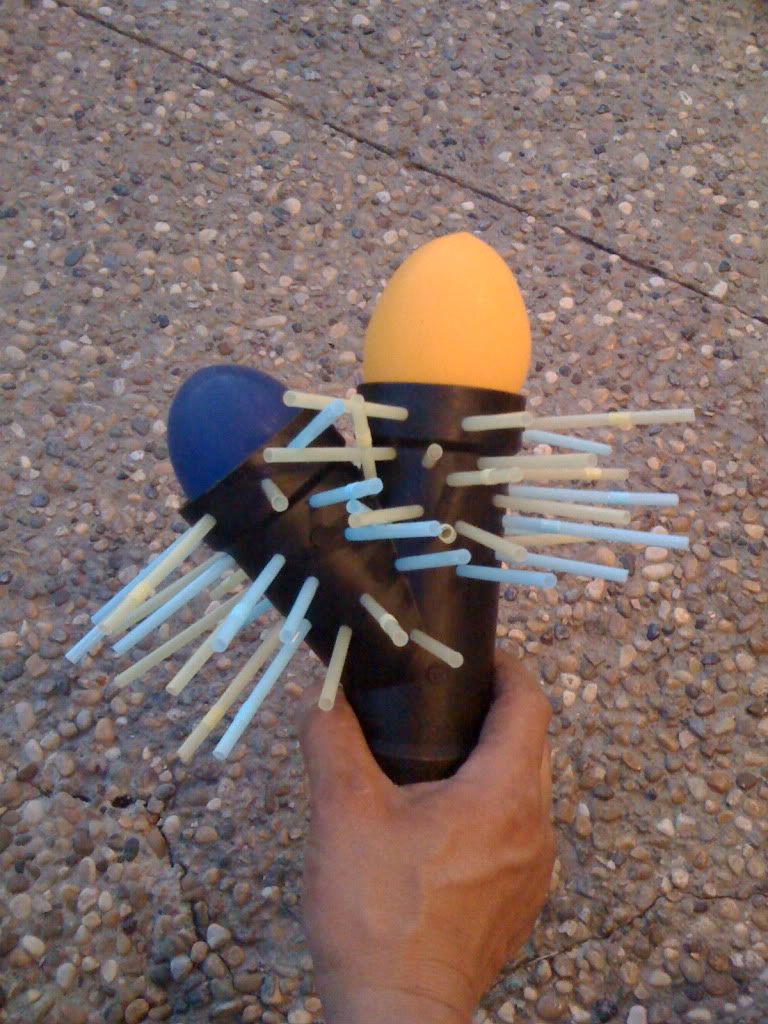
And finally, my artwork. Hopefully the backside turns out alright. I think I'll put the backside toward the overflow side cause it's going to be rather "flat". The reason I'm using a Y is to try to create more surface area for the suction to create less "suction" points. I don't know if that makes sense. Not to great with words. Hopefully you're enjoying this slow tank build.