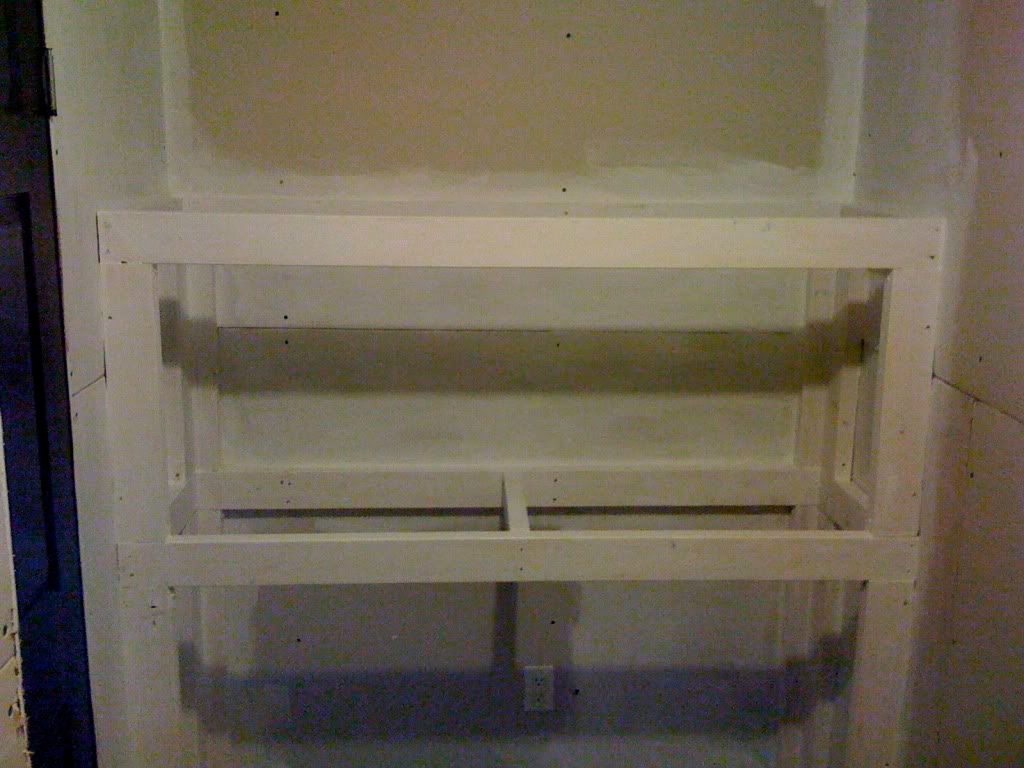
Found some time today to continue on the project. I cut holes in the plywood to match the holes in my tank. I went to Canadian tire to buy a hole saw but couldn't bring myself to pay $40 for a 4 1/2" hole saw/mandrel. Then I'd have to buy a 3" hole saw for the other holes. So I ended up using a jigsaw. Here's the result. I screwed the plywood on and I also screwed the stand into the wall after ensuring everything was level.

This piece of plywood came with the tank when I bought it, so I figured that I might as well use it. That's why it's black. I had to trim it to the exact dimension of the tank because it was overall 1/4" bigger than the tank. I proceeded to prime the inside of the holes so that I can paint it later with that moisture resistant paint.
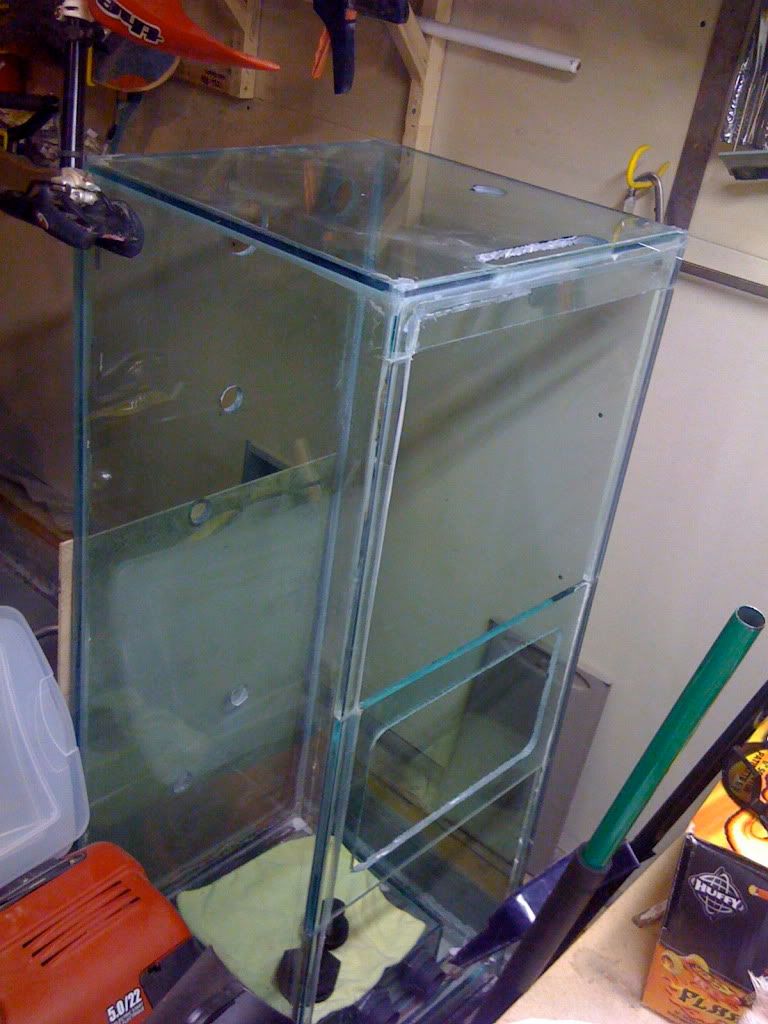
I also took most of the black plastic trim off of my tank today. The reason for doing this is so that my stand and moulding can be flush to the tank itself when it is all said and done. Then I'll silicone the molding right to the glass so that moisture can't get behind it. I left the 2 pieces of black trim on so that when it is sitting on end as shown, nothing gets scratched. I'm getting excited to get this tank out of my garage. After it's lifted onto the stand, then I'll take the last 2 trim pieces off quickly and clean up the edge before sliding it into position. I'll have to silicone my external overflow box on soon.
I got enough energy to prime the stand and some of the wall in the basement sump room. I ran out of primer though. Tony is completely correct, that darn wood just keeps soaking up the paint. One thing I found when I went downstairs to the sump room is a marble

, I guess my kids threw a marble down the hole from upstairs.