After you've done that at both ends, I also glued in the ballast. Now this can be tricky because if you choose the wrong spot on the reflector, it won't fit in the fixture. Fortunately, hot-gun glue can be stripped away fairly easily if you get it wrong.
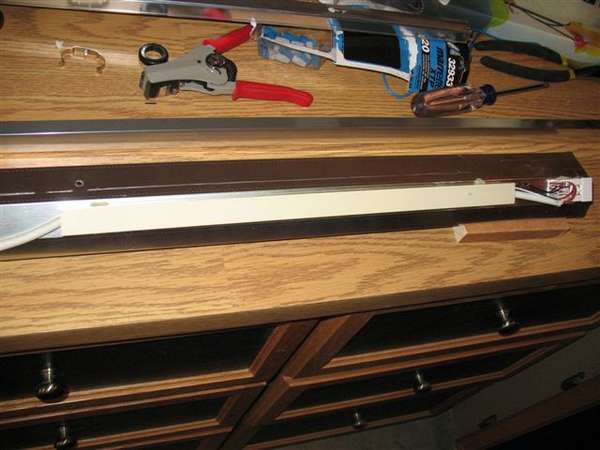
Repeat the above steps with the 2nd strip light so that both are side by side. Make sure that you have the "cut" end at the same side of the reflector so that wiring is easier.
So now you need to re-wire the power together. I decided that rather than running new power cords out the Aqualight, I would splice into their power cord so that my switch still worked. So that you know, it's the center of the three power cords coming out the back. You will also need to break off or pop out the grommet holding that power cord at the back, otherwise you will not have enough wire to work with.

When you do this, you will need some extra wire to work with. Try to make it stranded as solid core wire is hard to twist and mar. Make sure you keep track of which color you used for white and black. I couldn't find white and black laying around so I used blue and brown. If you want to use the switch on the aqualight, then you will need to include it in wire twist you mar along with the wiring from the power cord out the back of the fixture. Unfortunately, I forgot to snap a few shots while I did this (my hands were full)
To do this wiring, you need to lay the reflector on-top of where it will eventually snap down into.
If you can make your extension wires long enough, then you can pull most of the mar-connections into the area where the coralife ballast is (thus making the fitting of the reflector much easier.

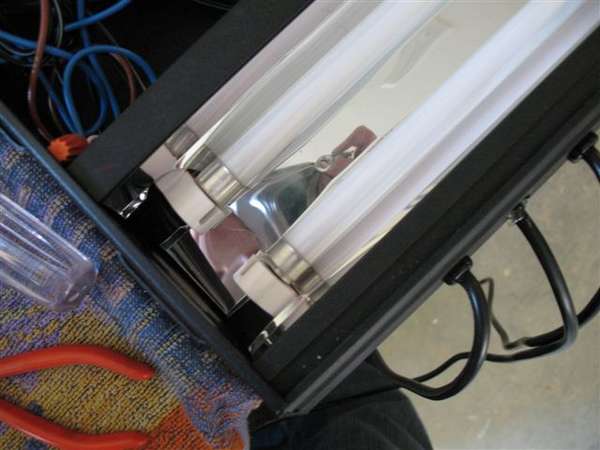
At this point you need to fit the reflector back into the fixture. This is not easy...expect to be working at it a while, especially if you didn't get the angle of the ballasts you glue on correct. I did experience a small fold in the reflector on one side that I couldn't get out because it was pressed against one of my mar-connectors. I don't see it affecting how the light works though.
Here is a shot of the reflector ends in place.
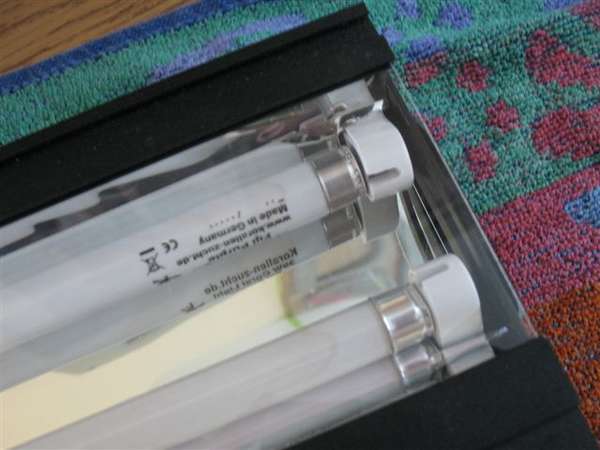
Again, you will notice that they are more to one side than the other.
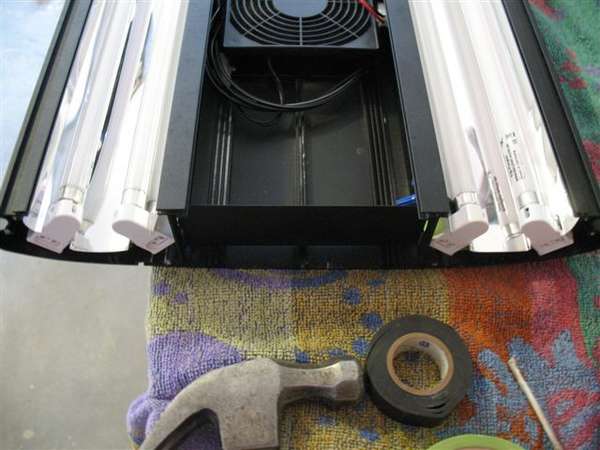
Here is a shot of the end of the fixture once they are all in place.
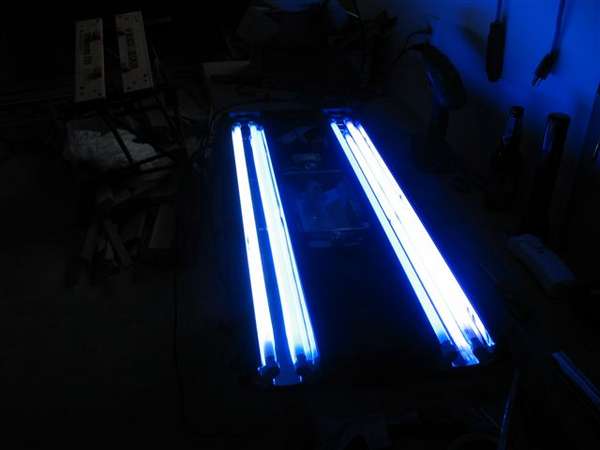
And here they are lit up.
Last but not least, here they are on the tank.
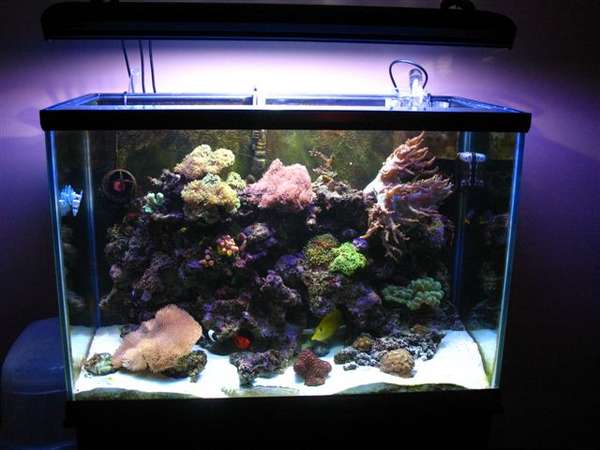
I hope that helps some people with deciding whether they want to try this mod. I am really happy with the change. As for coloring, that is simply a factor of the bulbs I have in, but at least with this setup, I can change the coloring a lot more easily.